Embed Size (px)
Citation preview

Useful practices to maintain your power tools properly
Helpful tricks and tips to allow you using your tools longer and cheaper
Solutions to common problems appeared during use of the tools
NOTE:All the images used in next pages
are for explanatory purposes only. They do not advocate for particular brands.
GO ON...
ЗА ПО-ДЪЛГО И ЕВТИНО ИЗПОЛЗВАНЕ НА АКУМУЛАТОРЕН ВИНТОВЕРТ
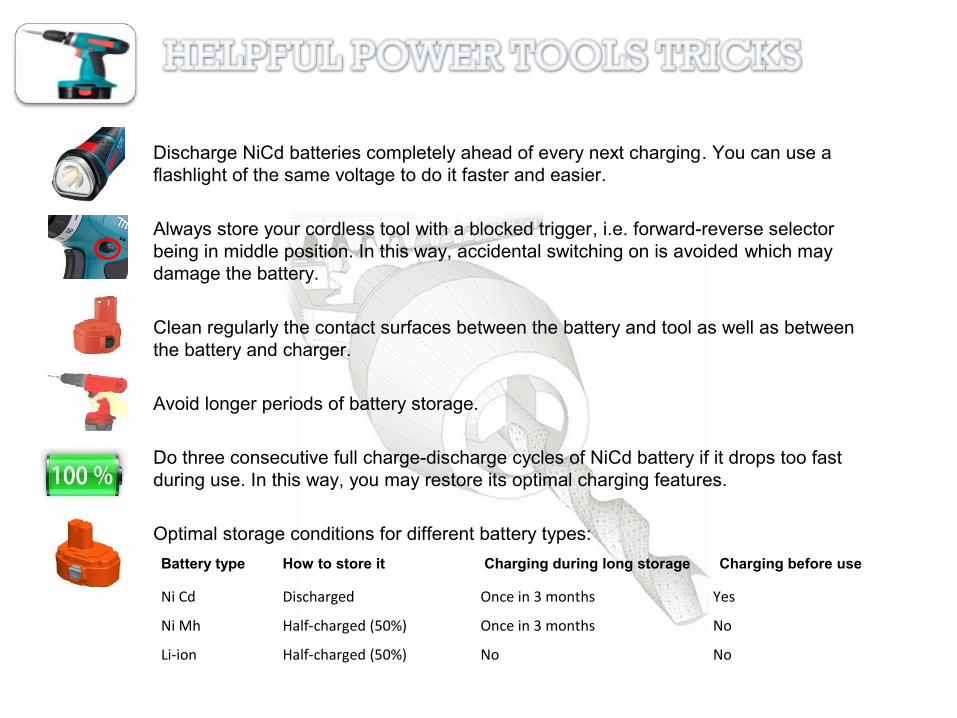
Discharge NiCd batteries completely ahead of every next charging. You can use a flashlight of the same voltage to do it faster and easier.
Always store your cordless tool with a blocked trigger, i.e. forward-reverse selector being in middle position. In this way, accidental switching on is avoided which may damage the battery.
Clean regularly the contact surfaces between the battery and tool as well as between the battery and charger.
Avoid longer periods of battery storage.
Do three consecutive full charge-discharge cycles of NiCd battery if it drops too fast during use. In this way, you may restore its optimal charging features.
Optimal storage conditions for different battery types:
Battery type How to store it Charging during long storage Charging before use
Ni Cd Discharged Once in 3 months Yes
Ni Mh Half-charged (50%) Once in 3 months No
Li-ion Half-charged (50%) No No
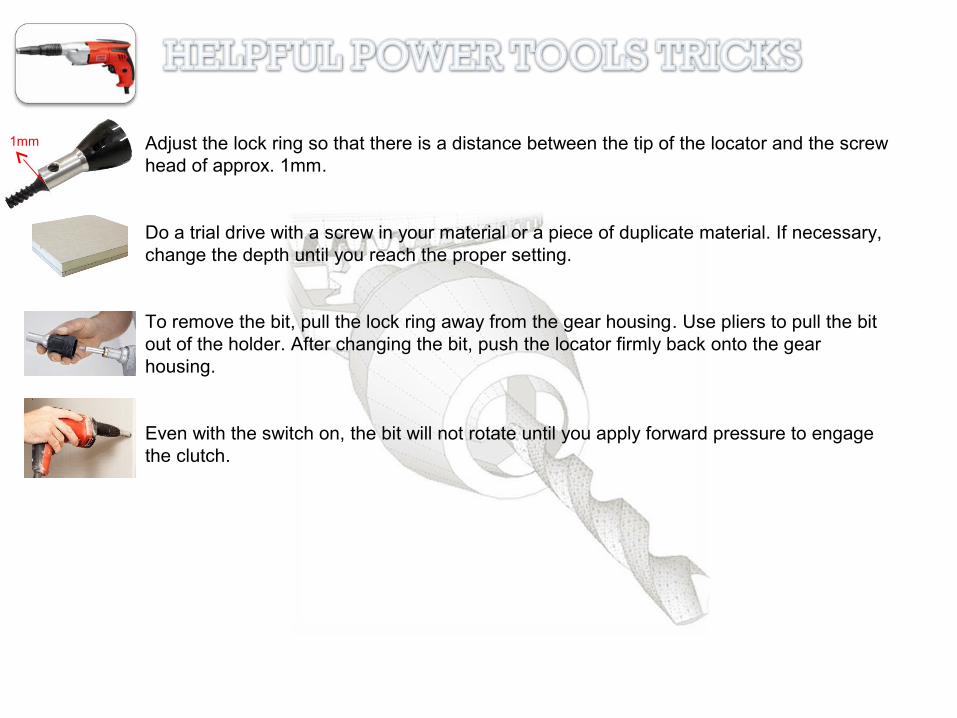
Adjust the lock ring so that there is a distance between the tip of the locator and the screw head of approx. 1mm.
Do a trial drive with a screw in your material or a piece of duplicate material. If necessary, change the depth until you reach the proper setting.
To remove the bit, pull the lock ring away from the gear housing. Use pliers to pull the bit out of the holder. After changing the bit, push the locator firmly back onto the gear housing.
Even with the switch on, the bit will not rotate until you apply forward pressure to engage the clutch.
1mm

Let your drill run for 1-2 minutes at max speed and with no load after prolonged use.
Apply moderate pressure on the drill bit while you are drilling. If its progress is too slow perhaps the bit is blunt or unsuitable for the material.
Use 2 speed drill for mixing mortars like paints or glues of low viscosity (in limited quantities). Set the first speed when you perform mixing jobs.
Avoid driving screws of large diameter into metal, unless your drill provides torque limitation setting.
Use more powerful drill (at least 1000W), with higher torque and safety clutch in case of core cutting in masonry.
Use a drill with constant electronics and safety clutch to have finer results and more safety while you are drilling on a stand.
Stick an adhesive paper on the place you have to drill through – in case of drilling in ceramics. In this way, the drill bit will not slip.
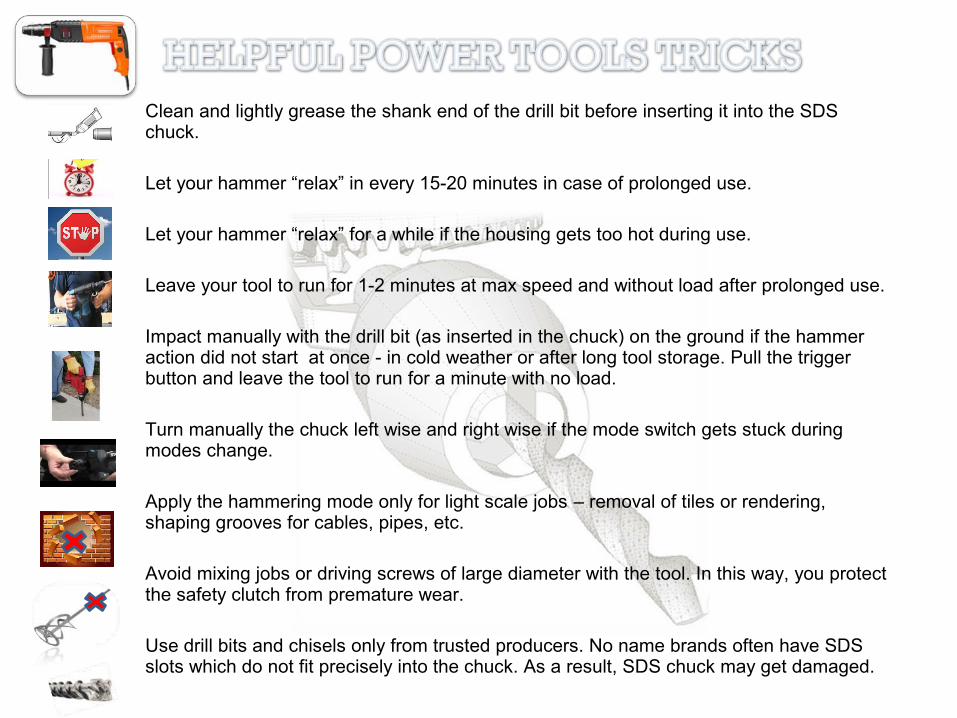
Clean and lightly grease the shank end of the drill bit before inserting it into the SDS chuck.
Let your hammer “relax” in every 15-20 minutes in case of prolonged use.
Let your hammer “relax” for a while if the housing gets too hot during use.
Leave your tool to run for 1-2 minutes at max speed and without load after prolonged use.
Impact manually with the drill bit (as inserted in the chuck) on the ground if the hammer action did not start at once - in cold weather or after long tool storage. Pull the trigger button and leave the tool to run for a minute with no load.
Turn manually the chuck left wise and right wise if the mode switch gets stuck during modes change.
Apply the hammering mode only for light scale jobs – removal of tiles or rendering, shaping grooves for cables, pipes, etc.
Avoid mixing jobs or driving screws of large diameter with the tool. In this way, you protect the safety clutch from premature wear.
Use drill bits and chisels only from trusted producers. No name brands often have SDS slots which do not fit precisely into the chuck. As a result, SDS chuck may get damaged.
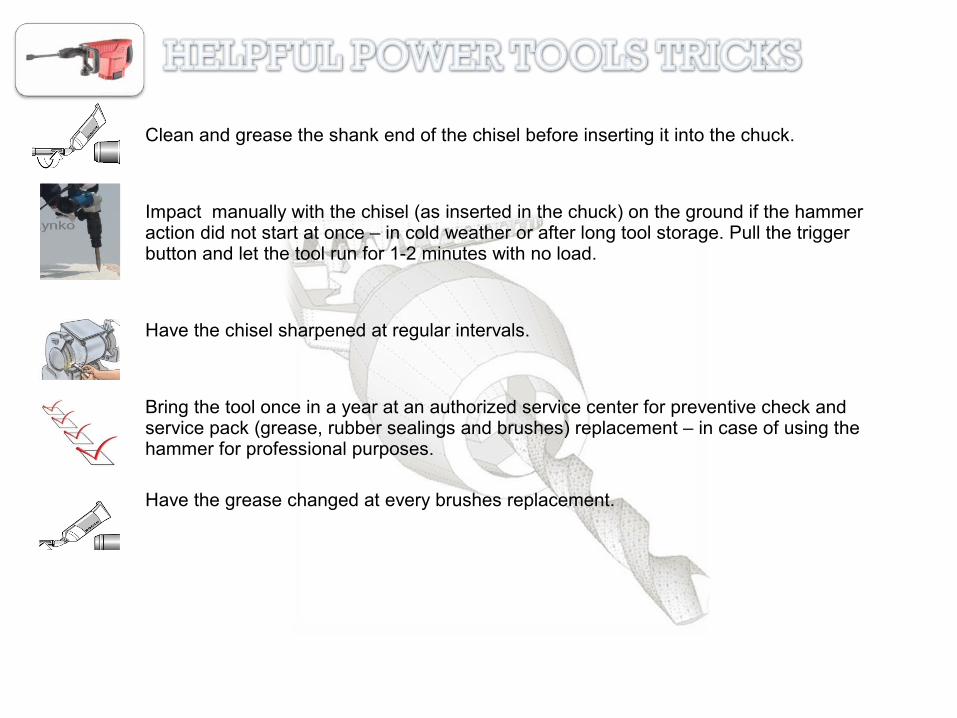
Clean and grease the shank end of the chisel before inserting it into the chuck.
Impact manually with the chisel (as inserted in the chuck) on the ground if the hammer action did not start at once – in cold weather or after long tool storage. Pull the trigger button and let the tool run for 1-2 minutes with no load.
Have the chisel sharpened at regular intervals.
Bring the tool once in a year at an authorized service center for preventive check and service pack (grease, rubber sealings and brushes) replacement – in case of using the hammer for professional purposes.
Have the grease changed at every brushes replacement.
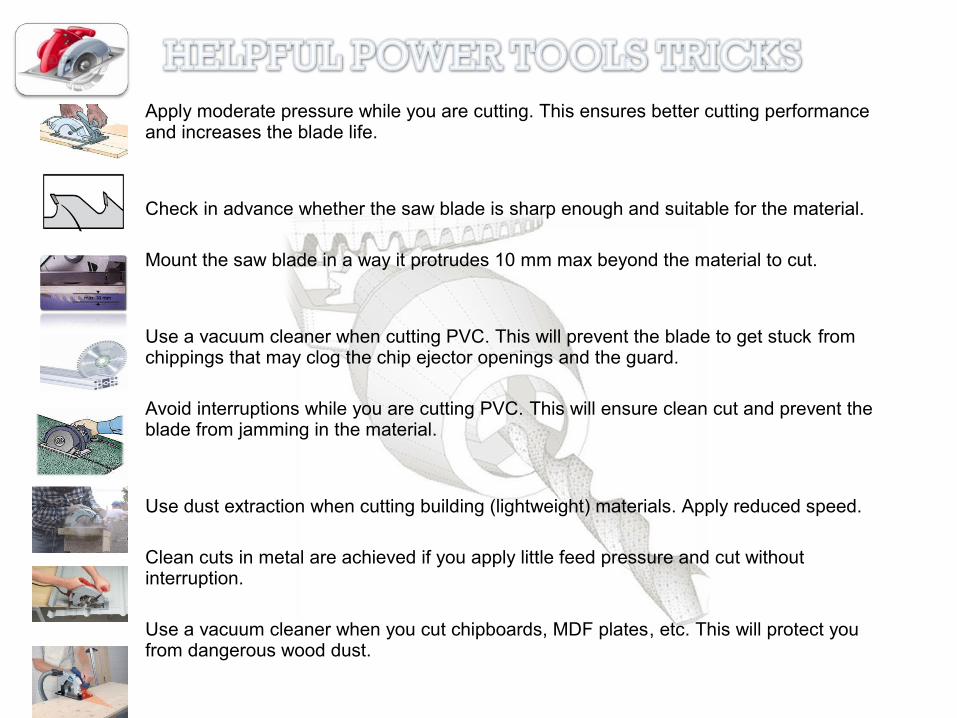
Apply moderate pressure while you are cutting. This ensures better cutting performance and increases the blade life.
Check in advance whether the saw blade is sharp enough and suitable for the material.
Mount the saw blade in a way it protrudes 10 mm max beyond the material to cut.
Use a vacuum cleaner when cutting PVC. This will prevent the blade to get stuck from chippings that may clog the chip ejector openings and the guard.
Avoid interruptions while you are cutting PVC. This will ensure clean cut and prevent the blade from jamming in the material.
Use dust extraction when cutting building (lightweight) materials. Apply reduced speed.
Clean cuts in metal are achieved if you apply little feed pressure and cut without interruption.
Use a vacuum cleaner when you cut chipboards, MDF plates, etc. This will protect you from dangerous wood dust.
ЗА ПО-ДЪЛГО И ЕВТИНО ИЗПОЛЗВАНЕ НА ПРОБОДЕН ТРИОН - ЗЕГЕ
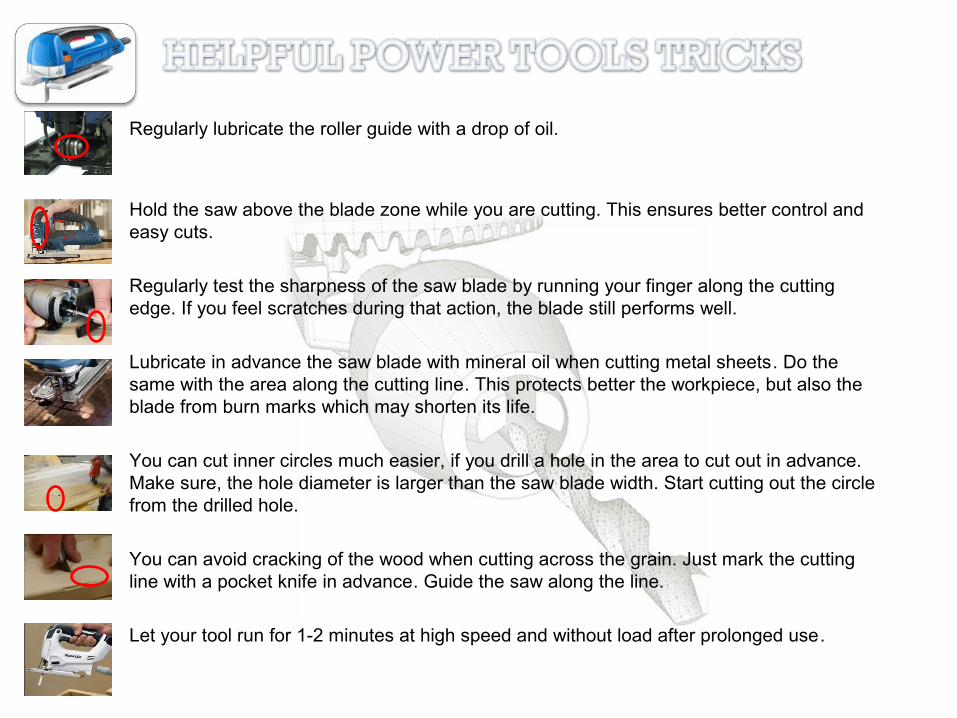
Regularly lubricate the roller guide with a drop of oil.
Hold the saw above the blade zone while you are cutting. This ensures better control and easy cuts.
Regularly test the sharpness of the saw blade by running your finger along the cutting edge. If you feel scratches during that action, the blade still performs well.
Lubricate in advance the saw blade with mineral oil when cutting metal sheets. Do the same with the area along the cutting line. This protects better the workpiece, but also the blade from burn marks which may shorten its life.
You can cut inner circles much easier, if you drill a hole in the area to cut out in advance. Make sure, the hole diameter is larger than the saw blade width. Start cutting out the circle from the drilled hole.
You can avoid cracking of the wood when cutting across the grain. Just mark the cutting line with a pocket knife in advance. Guide the saw along the line.
Let your tool run for 1-2 minutes at high speed and without load after prolonged use.
Clean the blade and check whether it is sharp prior to use. This prevents from kickback which may result in a personal injury.
Avoid cleaning the housing of the miter saw with gasoline, thinner, alcohol or the like. This may cause discoloration, deformation or cracks.
If the laser line (only for models with built-in laser light) is no longer easily visible, remove and clean the lens for the laser light. Use a damp, soft cloth. Do not apply solvents or any petroleum-based cleaners on the lens.
After replacing brushes, plug in the tool and break in the brushes by running the tool with no load for about 10 minutes. Check the tool while running and electric brake operation when releasing the switch trigger.
After use, wipe off chips and dust adhering to the tool with a cloth or the like. Keep the blade guard clean.
Regularly lubricate the sliding portions with machine oil to prevent rust.
When storing a sliding miter saw, pull the carriage toward you fully so that the slide pole is thoroughly inserted into the turn base.
ЗА ПО-ДЪЛГО И ЕВТИНО ИЗПОЛЗВАНЕ НА ВЕРИЖЕН ТРИОН
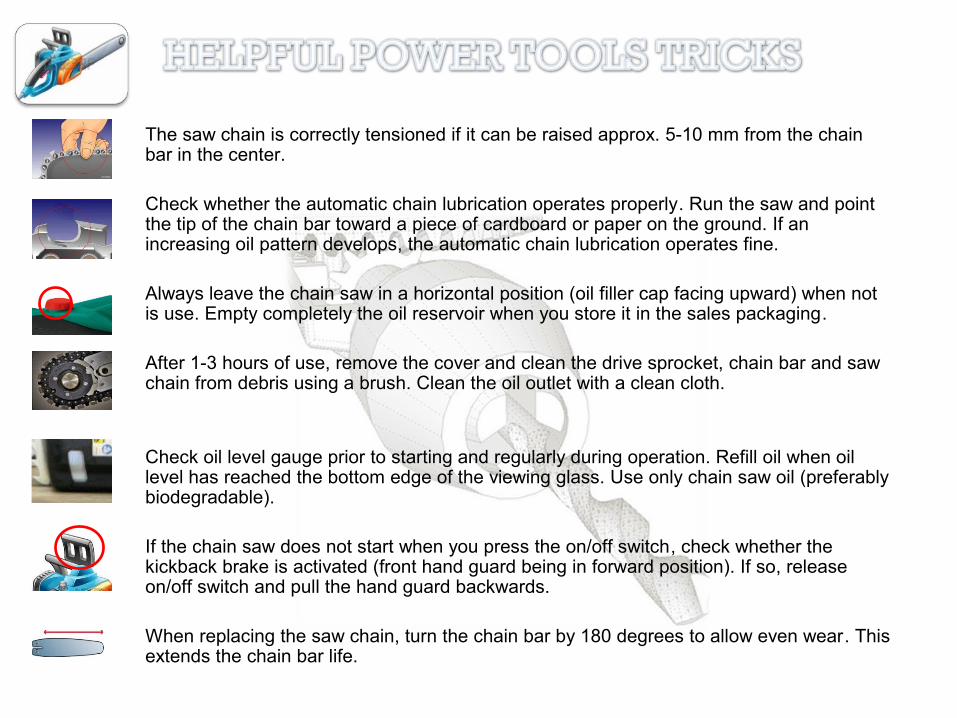
The saw chain is correctly tensioned if it can be raised approx. 5-10 mm from the chain bar in the center.
Check whether the automatic chain lubrication operates properly. Run the saw and point the tip of the chain bar toward a piece of cardboard or paper on the ground. If an increasing oil pattern develops, the automatic chain lubrication operates fine.
Always leave the chain saw in a horizontal position (oil filler cap facing upward) when not is use. Empty completely the oil reservoir when you store it in the sales packaging.
After 1-3 hours of use, remove the cover and clean the drive sprocket, chain bar and saw chain from debris using a brush. Clean the oil outlet with a clean cloth.
Check oil level gauge prior to starting and regularly during operation. Refill oil when oil level has reached the bottom edge of the viewing glass. Use only chain saw oil (preferably biodegradable).
If the chain saw does not start when you press the on/off switch, check whether the kickback brake is activated (front hand guard being in forward position). If so, release on/off switch and pull the hand guard backwards.
When replacing the saw chain, turn the chain bar by 180 degrees to allow even wear. This extends the chain bar life.

ЗА ПО-ДЪЛГО И ЕВТИНО ИЗПОЛЗВАНЕ НА ЪГЛОШЛАЙФ
Use 1 mm disc on a small grinder to make cutting process easier. In addition, your disc will last much longer.
Cut thicker metal profiles in smaller steps applying minimum pressure on the disc. In this way, both the tool motor and the disc will last longer.
Clean regularly the motor from dust. An easy way to do it is by leaving the grinder to run with no load and tapping lightly with a woodblock on the housing.
Let your grinder run for 1-2 minutes at high speed and without load after prolonged use.
Keep your hand away from the vent outlets while you are using the grinder. In this way, the tool motor is protected from overheating.
Hold the tool at slight angle while you are grinding. In such a fashion, the disc will last longer and the workpiece is less likely to have burn marks left.
Spray the locking nut with a lubricant if you cannot unlock it. Wait for a while and try to unlock it again.
ЗА ПО-ДЪЛГО И ЕВТИНО ИЗПОЛЗВАНЕ НА ВИБРО И ЕКСЦЕНТЪР ШЛАЙФ
Check regularly whether the sanding paper is worn. If so, replace it.
Make sure the sanding sheet holes fit to the sanding plate holes (when sanding papers with dust extraction holes are used). Clean the sanding plate from dust before you mount the sheet.
Let your tool run for 1-2 minutes at max speed and without load after prolonged use.
Guide your sander with moderate pressure. In this way, you will have fine sanding surface and your sanding paper will last longer.
If you have already used a sanding sheet to process metal, do not use the same to treat wood or plastics.
Use dust extraction when sanding coats of varnish. Otherwise it is possible that these melt and smear the surface of the workpiece and the sanding belt.
Regularly check whether the sanding belt is worn or torn. Change it if necessary so that you will not damage the workpiece.
After use, clean the belt with an abrasive cleaning stick. Fix the stick firmly, switch the tool on and do some turns on the stick.
Apply moderate pressure on the tool while you are sanding. This leads to smooth sanding surface and longer life of the belt.
Guide the sander along the grain when sanding wood. Sanding across the grain may cause uneven spots.
Regularly check whether the sanding plate is worn. If so, replace it.
ЗА ПО-ДЪЛГО И ЕВТИНО ИЗПОЛЗВАНЕ НА ЛЕНТОВ ШЛАЙФ
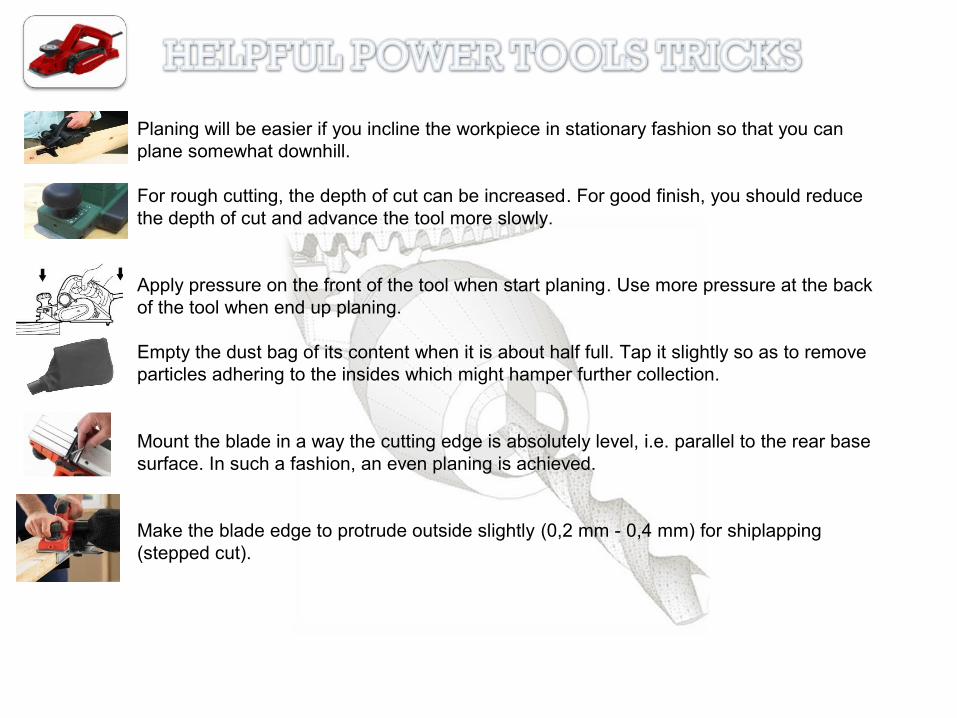
Planing will be easier if you incline the workpiece in stationary fashion so that you can plane somewhat downhill.
For rough cutting, the depth of cut can be increased. For good finish, you should reduce the depth of cut and advance the tool more slowly.
Apply pressure on the front of the tool when start planing. Use more pressure at the back of the tool when end up planing.
Empty the dust bag of its content when it is about half full. Tap it slightly so as to remove particles adhering to the insides which might hamper further collection.
Mount the blade in a way the cutting edge is absolutely level, i.e. parallel to the rear base surface. In such a fashion, an even planing is achieved.
Make the blade edge to protrude outside slightly (0,2 mm - 0,4 mm) for shiplapping (stepped cut).
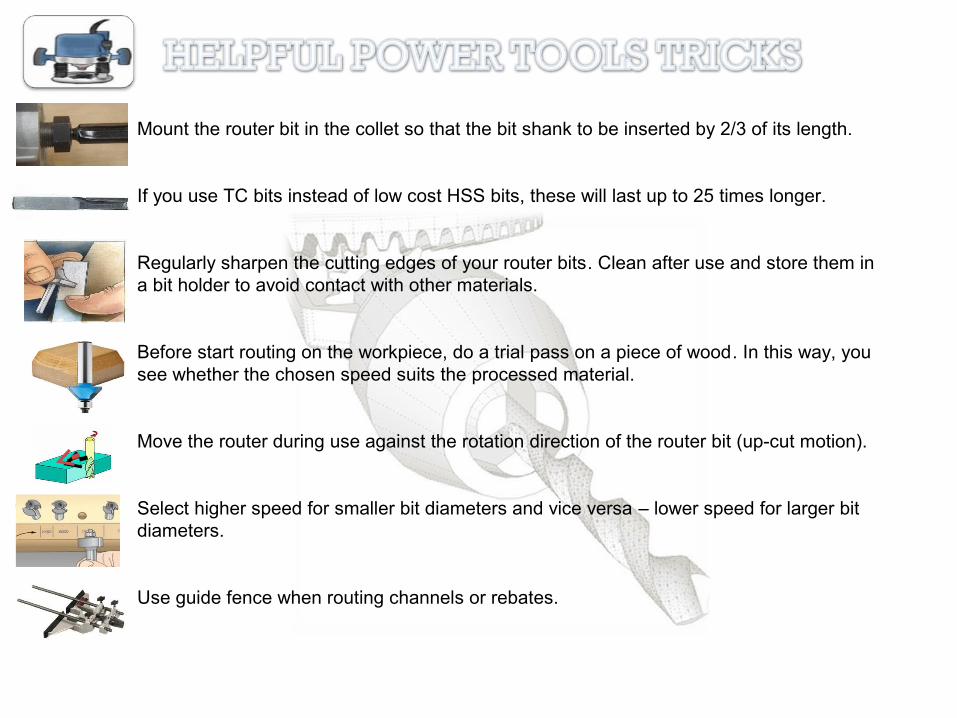
Mount the router bit in the collet so that the bit shank to be inserted by 2/3 of its length.
If you use TC bits instead of low cost HSS bits, these will last up to 25 times longer.
Regularly sharpen the cutting edges of your router bits. Clean after use and store them in a bit holder to avoid contact with other materials.
Before start routing on the workpiece, do a trial pass on a piece of wood. In this way, you see whether the chosen speed suits the processed material.
Move the router during use against the rotation direction of the router bit (up-cut motion).
Select higher speed for smaller bit diameters and vice versa – lower speed for larger bit diameters.
Use guide fence when routing channels or rebates.
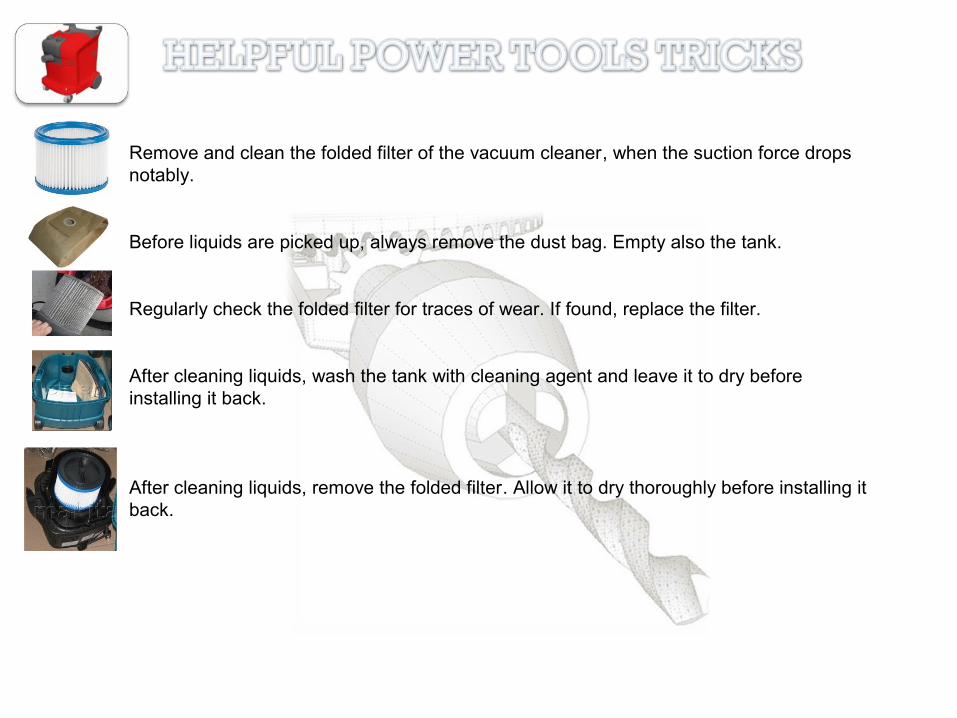
Remove and clean the folded filter of the vacuum cleaner, when the suction force drops notably.
Before liquids are picked up, always remove the dust bag. Empty also the tank.
Regularly check the folded filter for traces of wear. If found, replace the filter.
After cleaning liquids, wash the tank with cleaning agent and leave it to dry before installing it back.
After cleaning liquids, remove the folded filter. Allow it to dry thoroughly before installing it back.

summarized by Georgi Doychev