Embed Size (px)
Citation preview
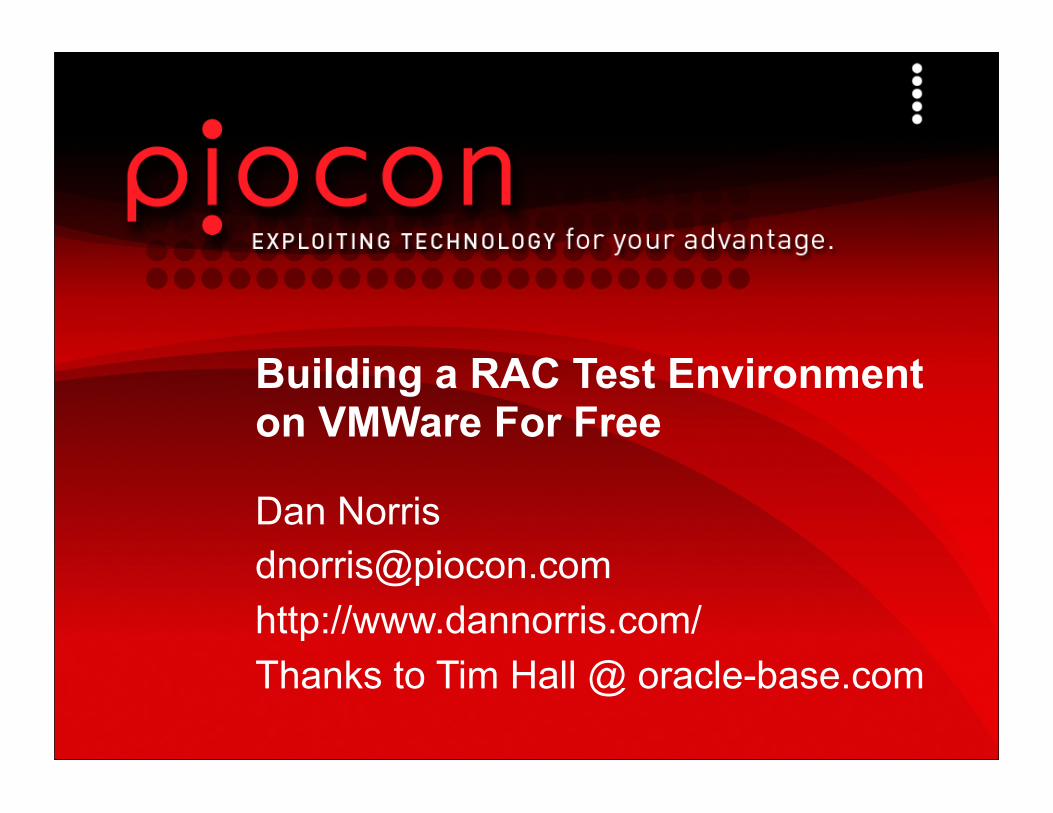
Building a RAC Test Environment on VMWare For Free
Dan [email protected]://www.dannorris.com/Thanks to Tim Hall @ oracle-base.com
2
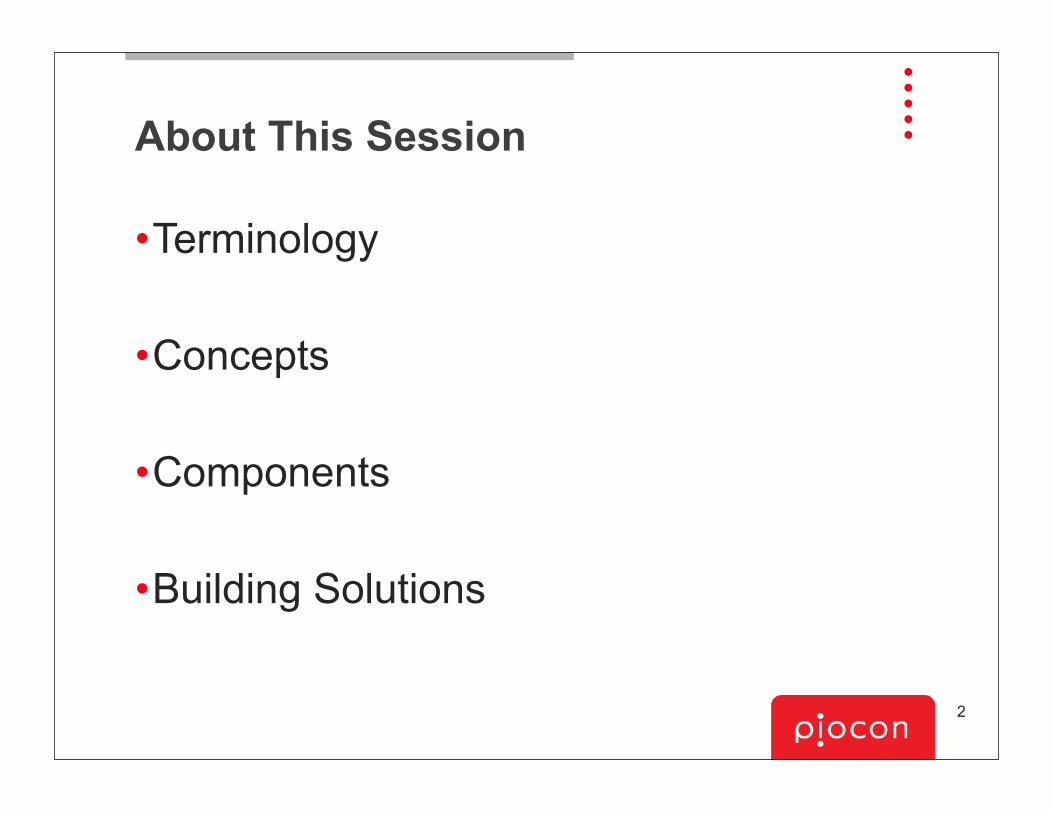
About This Session
•Terminology
•Concepts
•Components
•Building Solutions
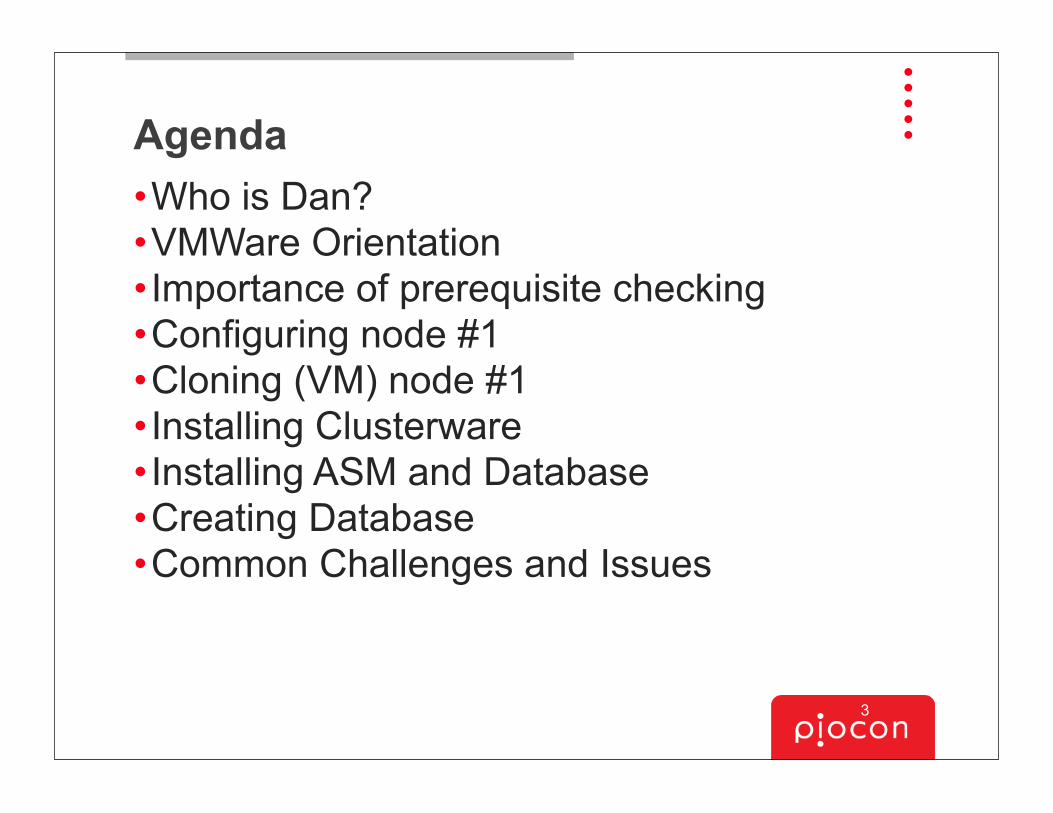
Agenda•Who is Dan?•VMWare Orientation•Importance of prerequisite checking•Configuring node #1•Cloning (VM) node #1•Installing Clusterware•Installing ASM and Database•Creating Database•Common Challenges and Issues
3
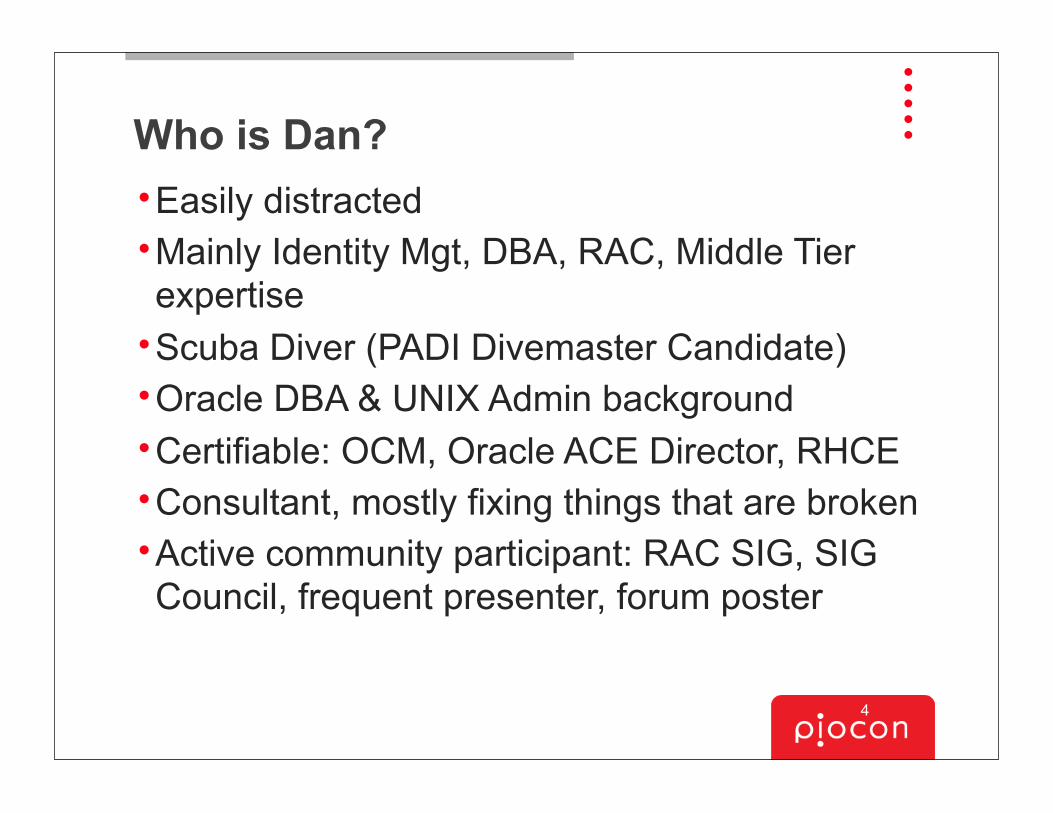
Who is Dan?•Easily distracted•Mainly Identity Mgt, DBA, RAC, Middle Tier expertise
•Scuba Diver (PADI Divemaster Candidate)•Oracle DBA & UNIX Admin background•Certifiable: OCM, Oracle ACE Director, RHCE•Consultant, mostly fixing things that are broken•Active community participant: RAC SIG, SIG Council, frequent presenter, forum poster
4
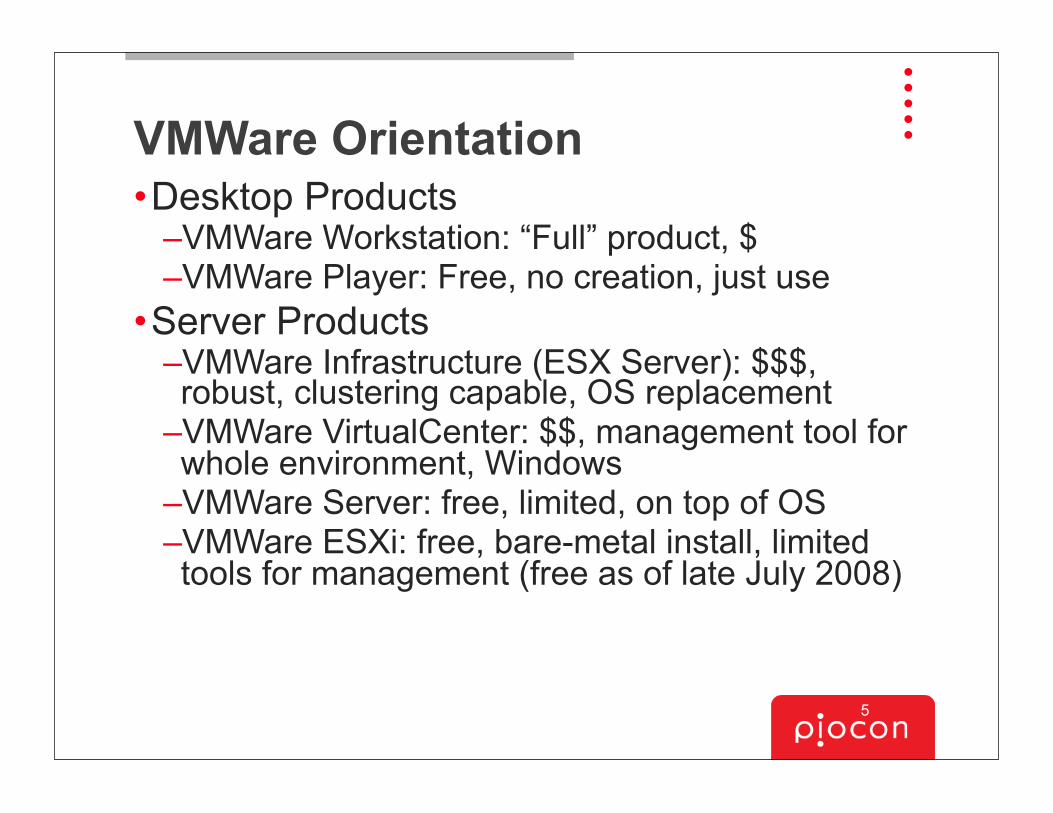
VMWare Orientation•Desktop Products
–VMWare Workstation: “Full” product, $–VMWare Player: Free, no creation, just use
•Server Products–VMWare Infrastructure (ESX Server): $$$, robust, clustering capable, OS replacement
–VMWare VirtualCenter: $$, management tool for whole environment, Windows
–VMWare Server: free, limited, on top of OS–VMWare ESXi: free, bare-metal install, limited tools for management (free as of late July 2008)
5
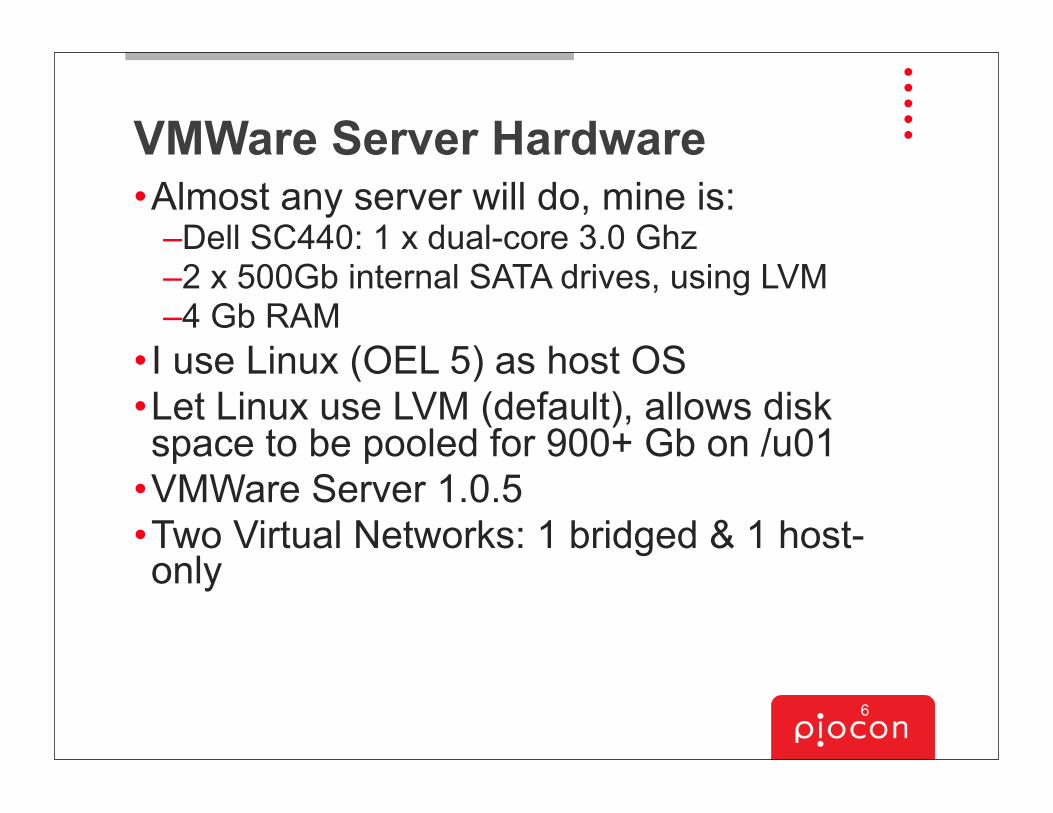
VMWare Server Hardware•Almost any server will do, mine is:
–Dell SC440: 1 x dual-core 3.0 Ghz–2 x 500Gb internal SATA drives, using LVM–4 Gb RAM
•I use Linux (OEL 5) as host OS•Let Linux use LVM (default), allows disk space to be pooled for 900+ Gb on /u01
•VMWare Server 1.0.5•Two Virtual Networks: 1 bridged & 1 host-only
6
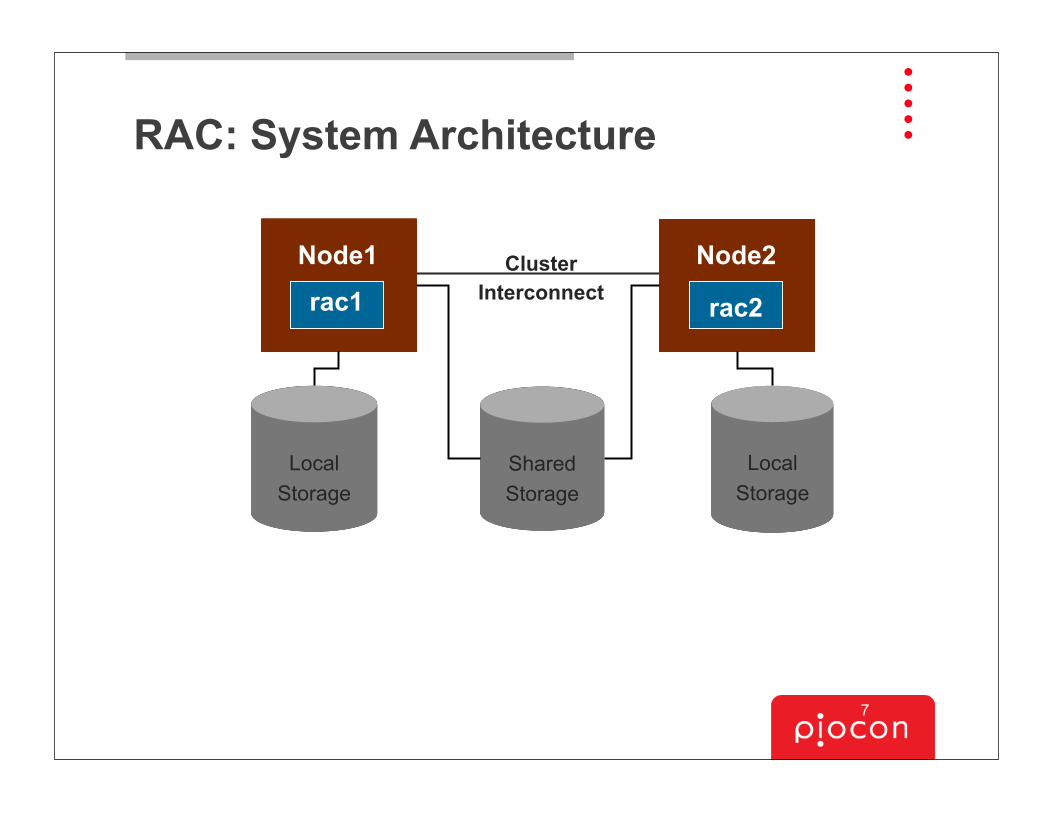
RAC: System Architecture
Shared Storage
Local Storage
Local Storage
rac2rac1Cluster
InterconnectNode1 Node2
7
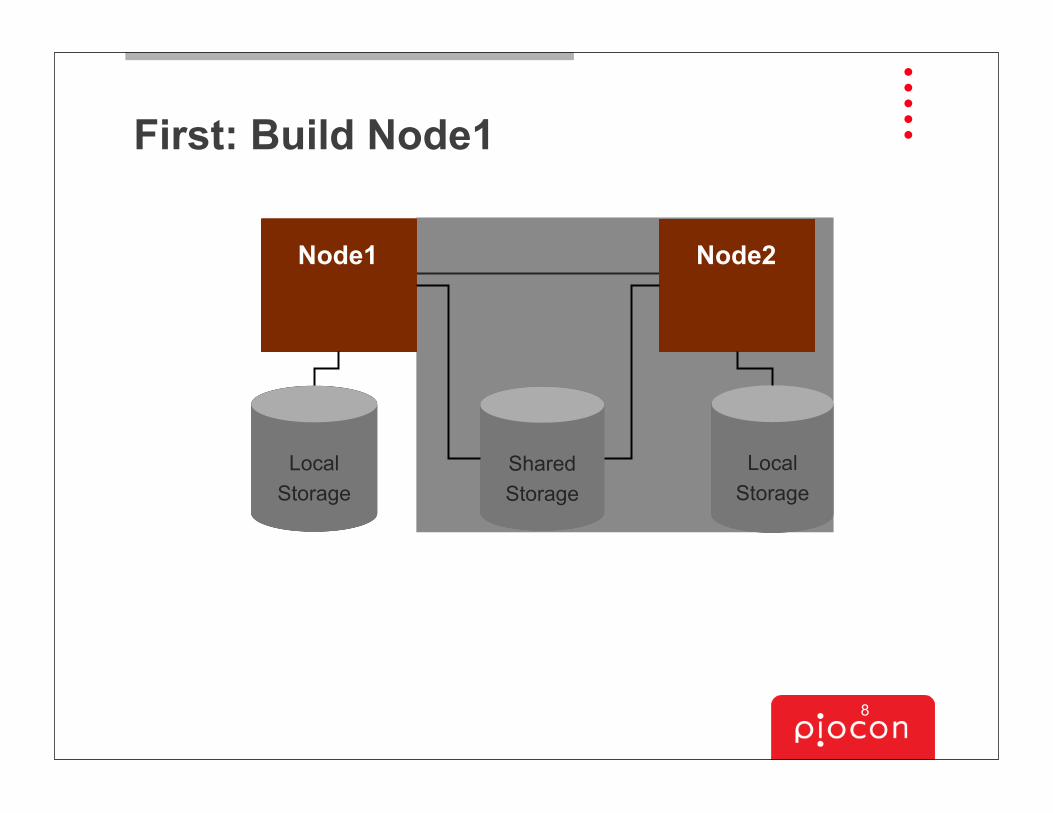
First: Build Node1
Shared Storage
Local Storage
Local Storage
Node1 Node2
8
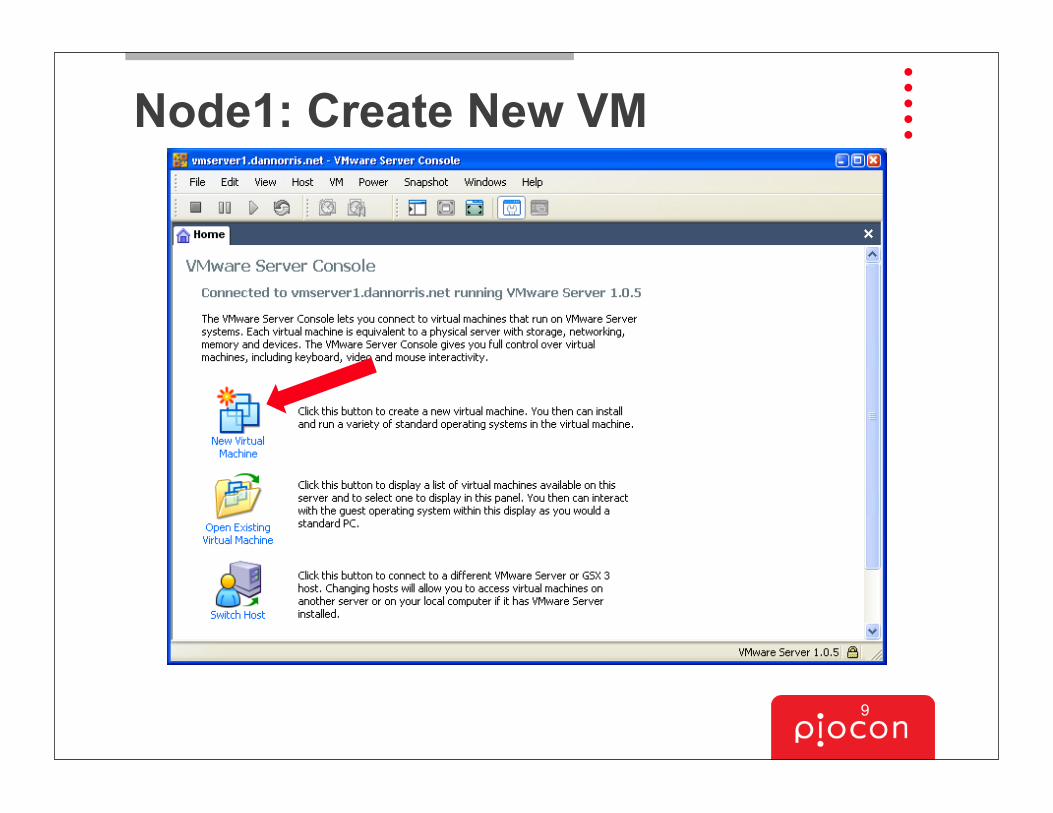
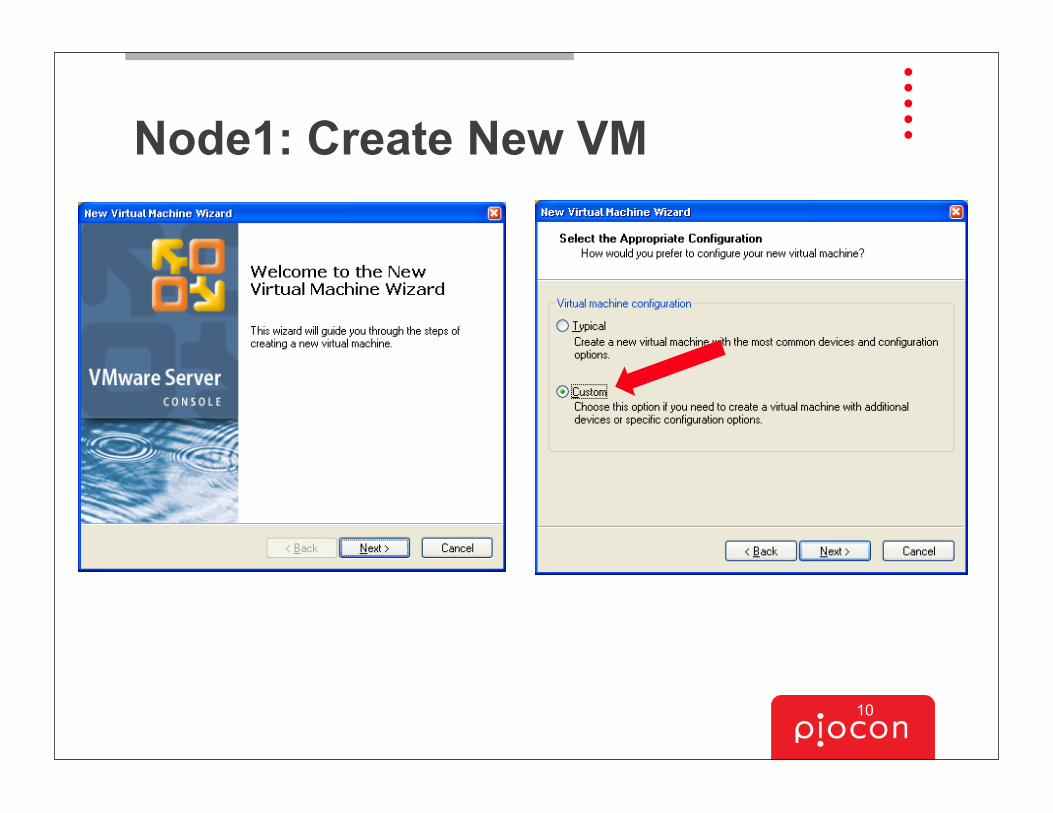
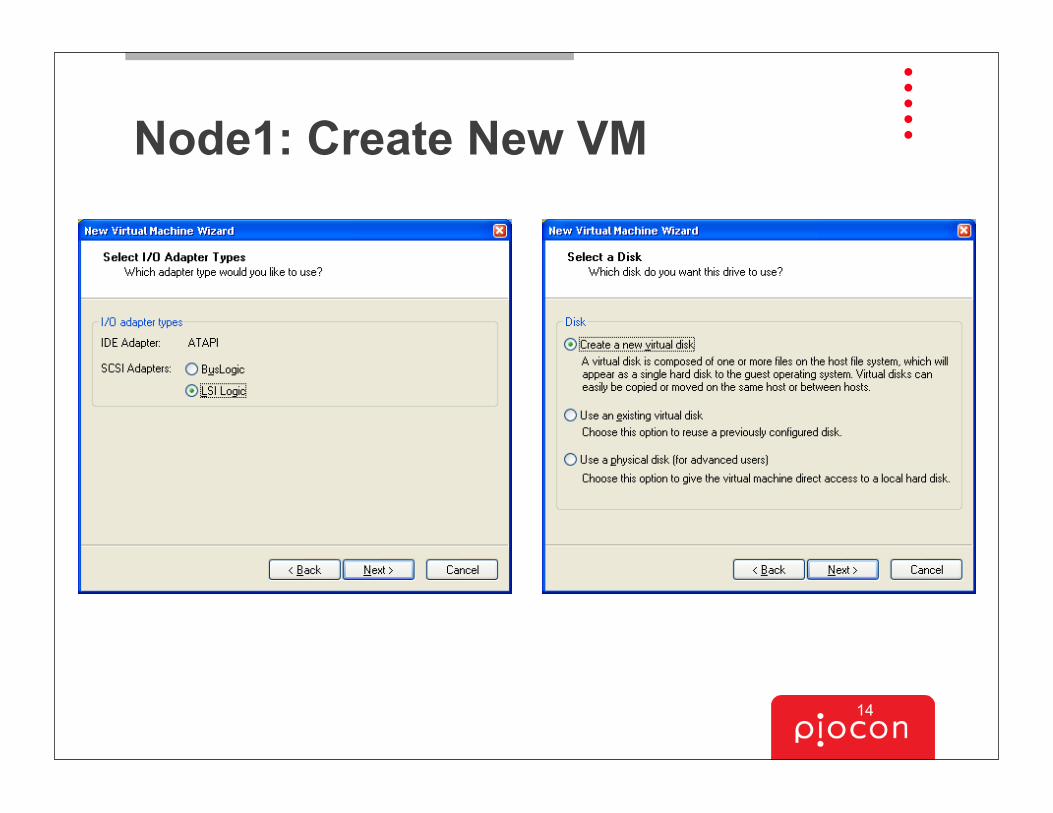
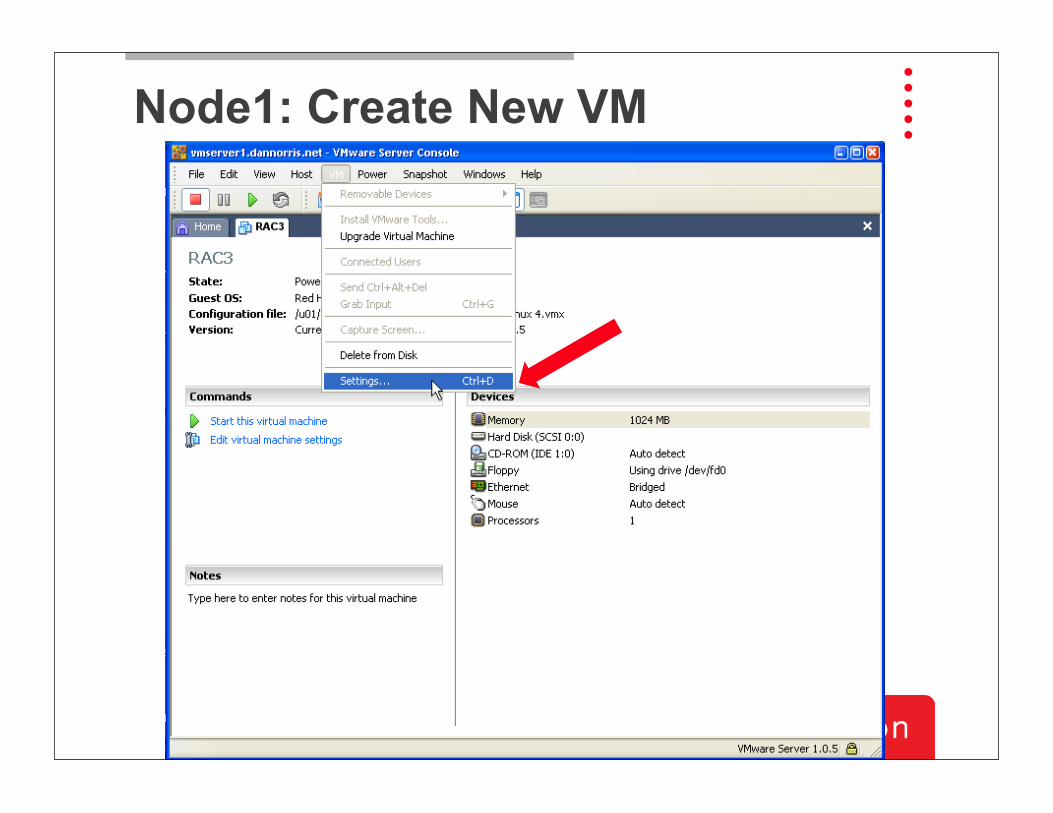
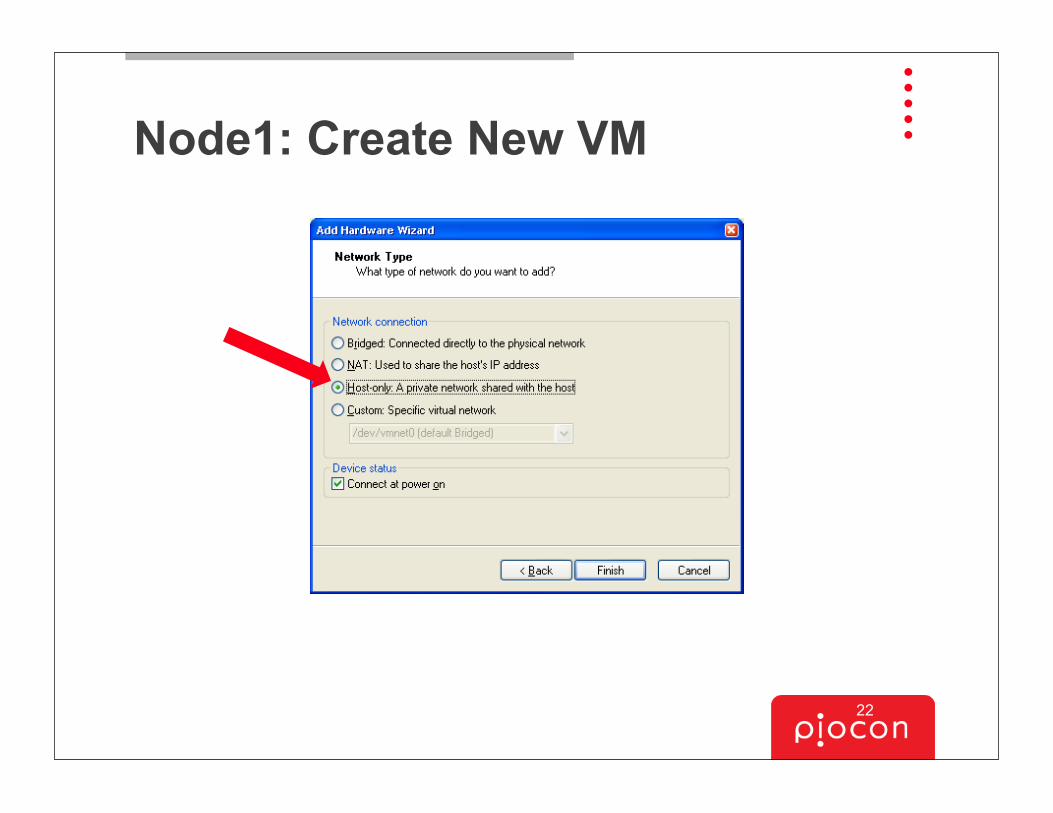
Node1: Create New VM
9
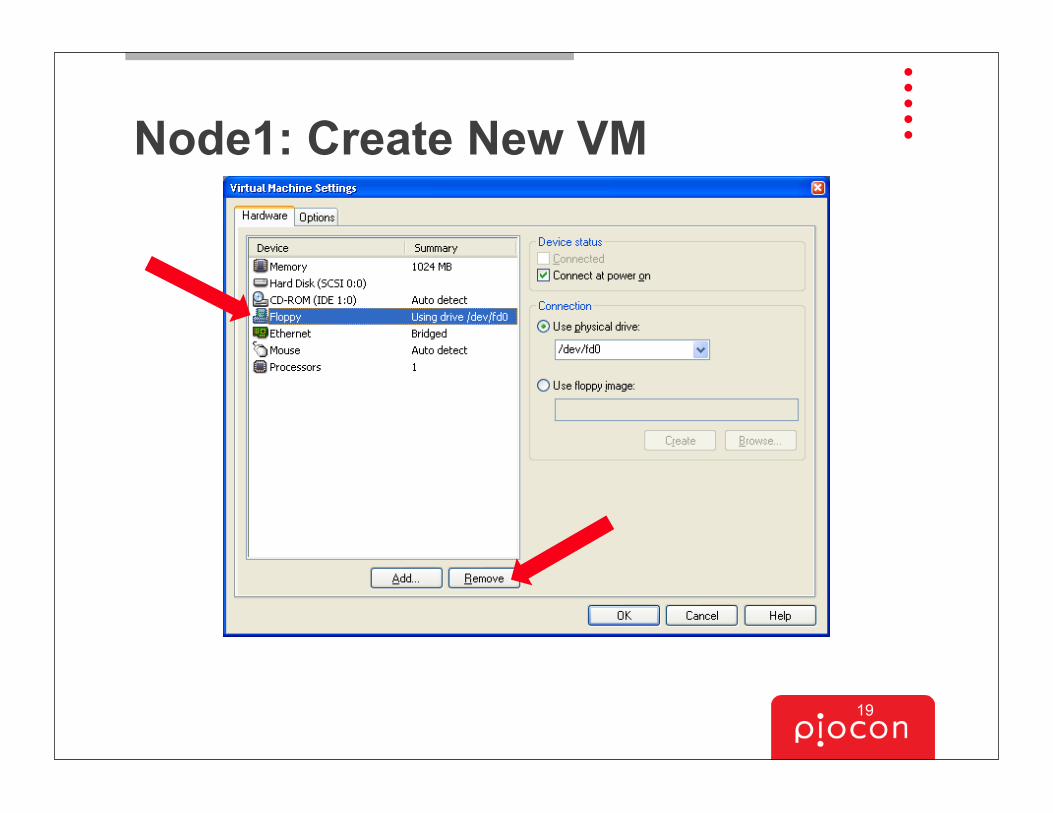
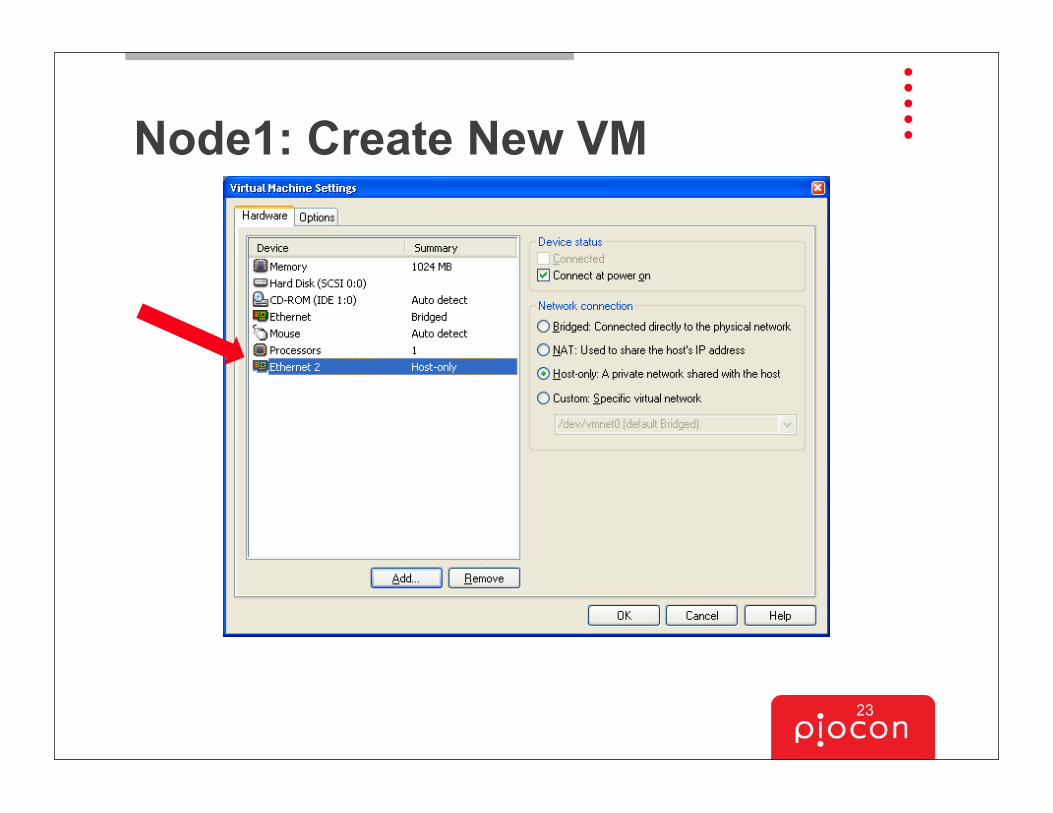
Node1: Create New VM
10
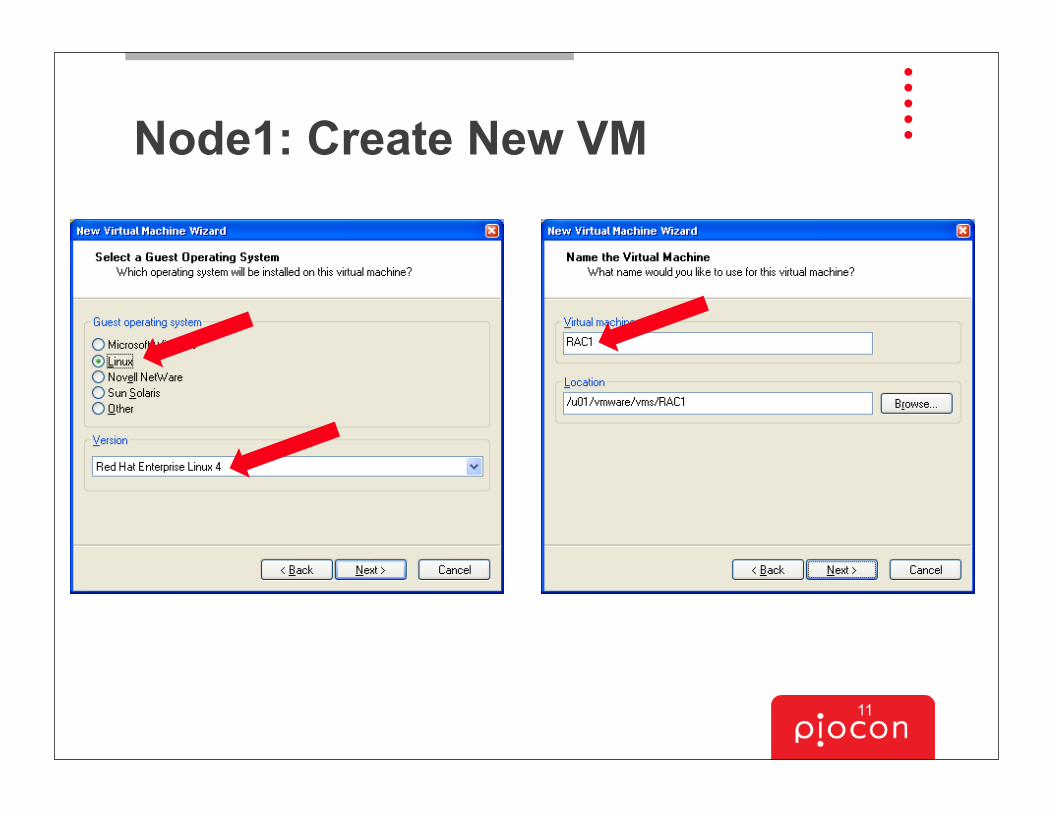
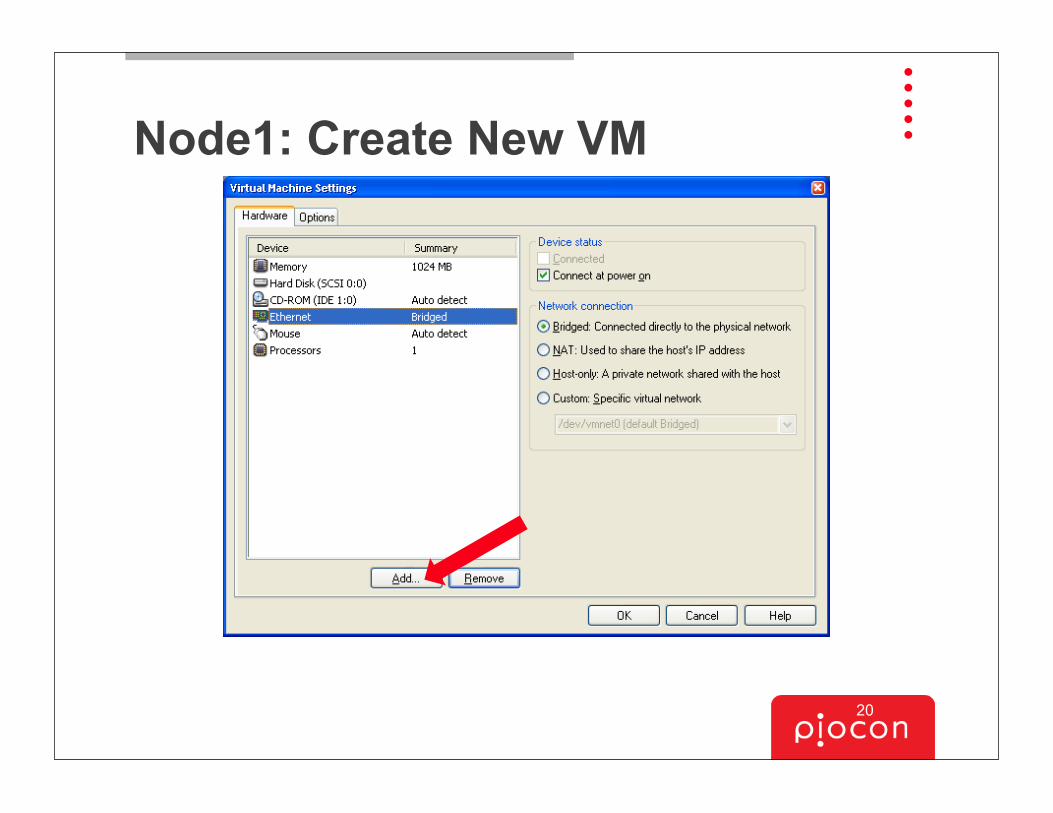
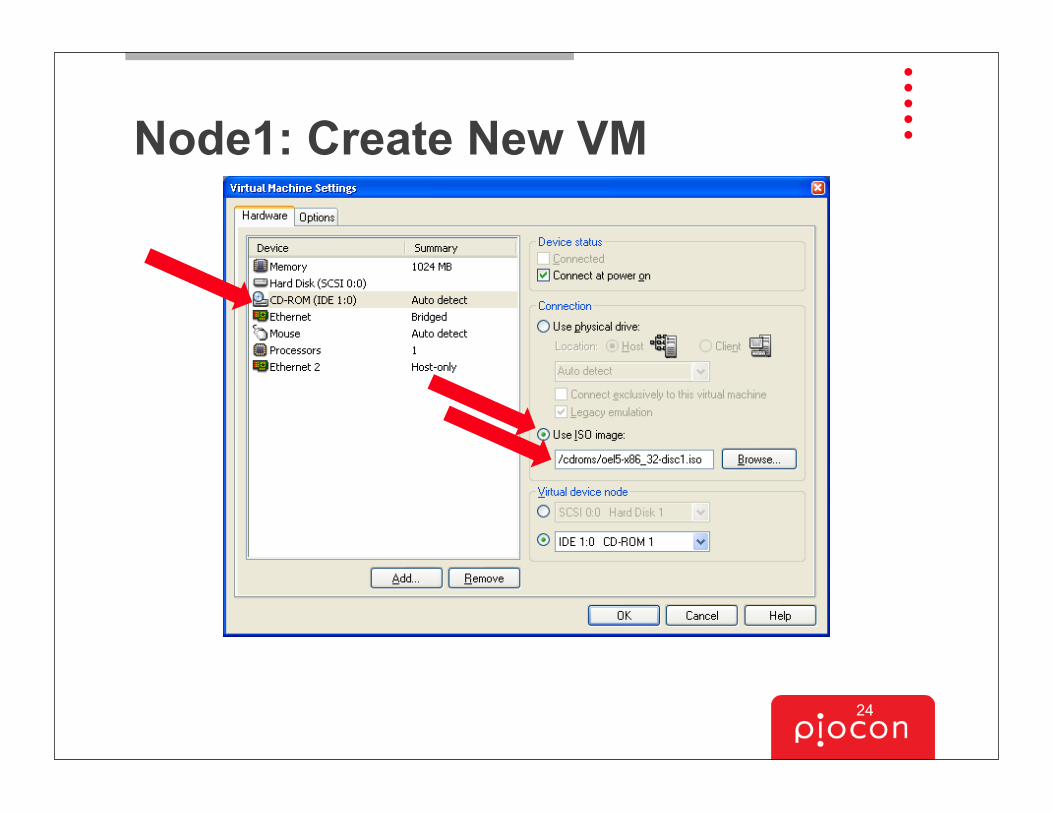
Node1: Create New VM
11
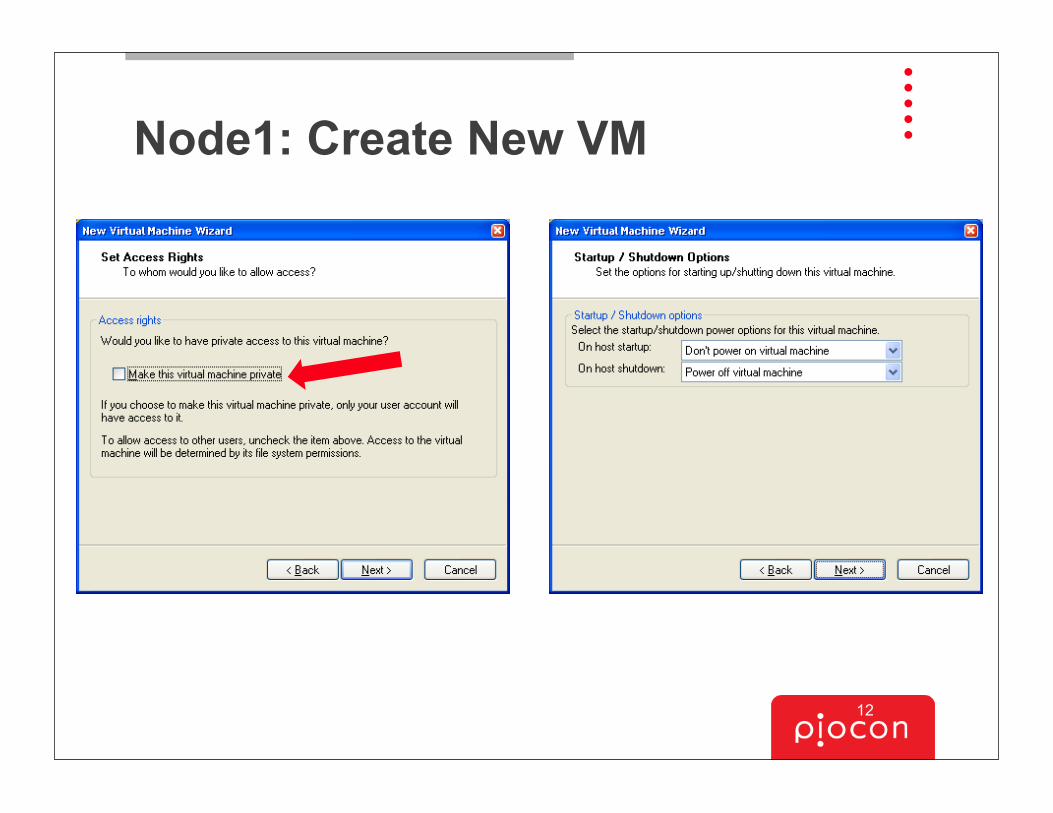
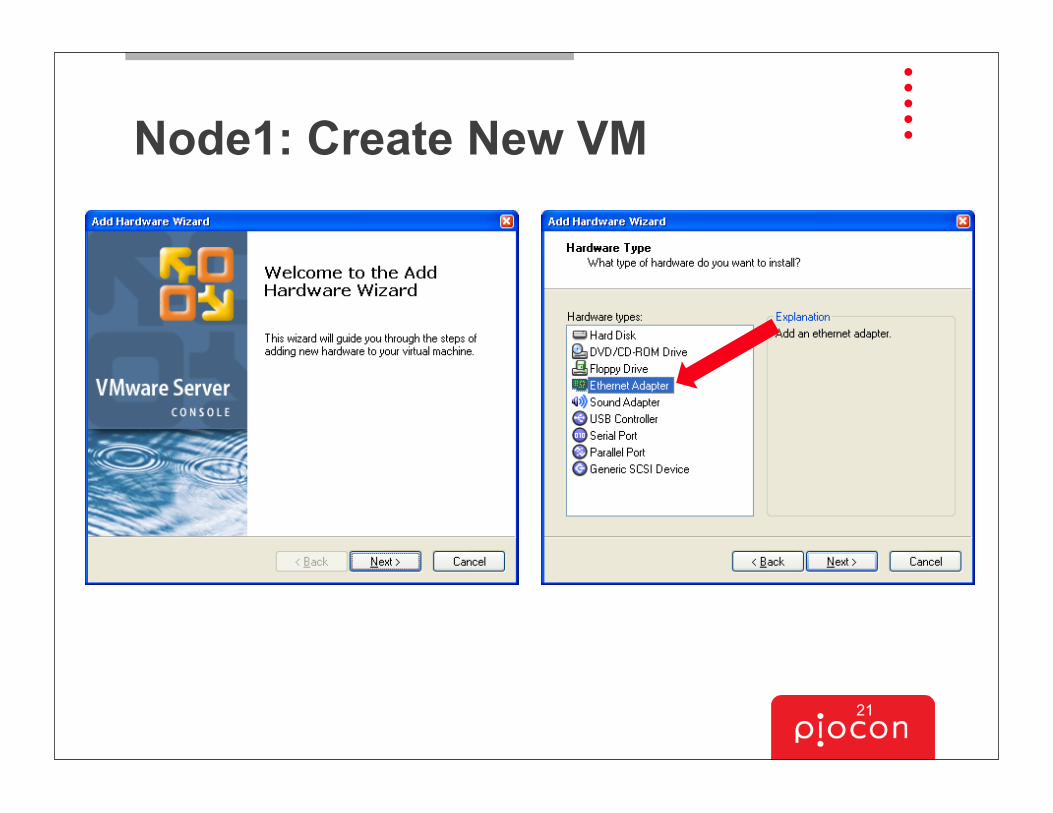
Node1: Create New VM
12
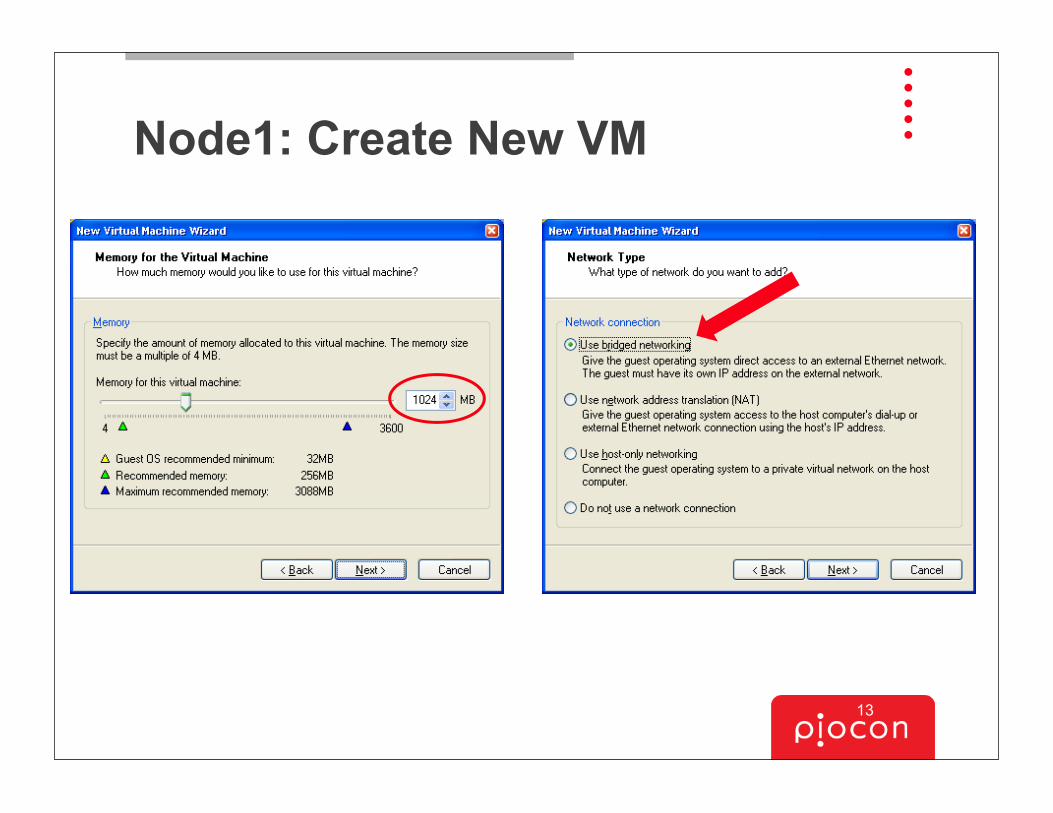
Node1: Create New VM
13
Node1: Create New VM
14
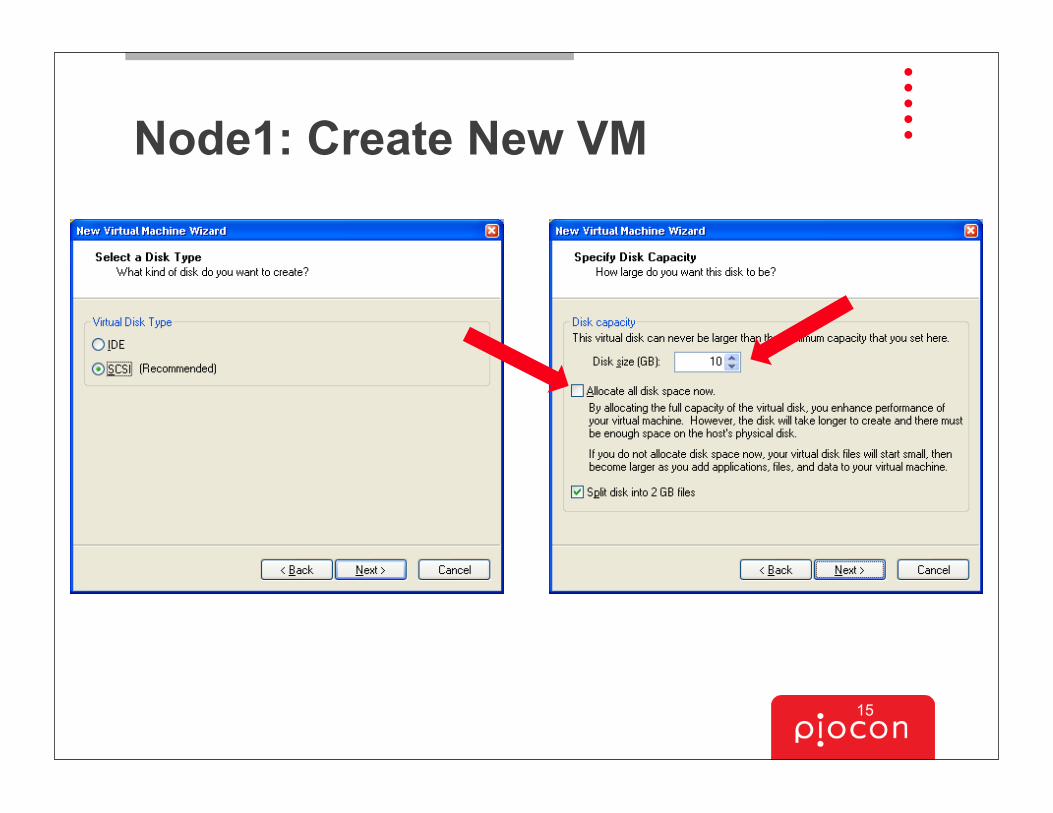
Node1: Create New VM
15
Node1: Create New VM
16
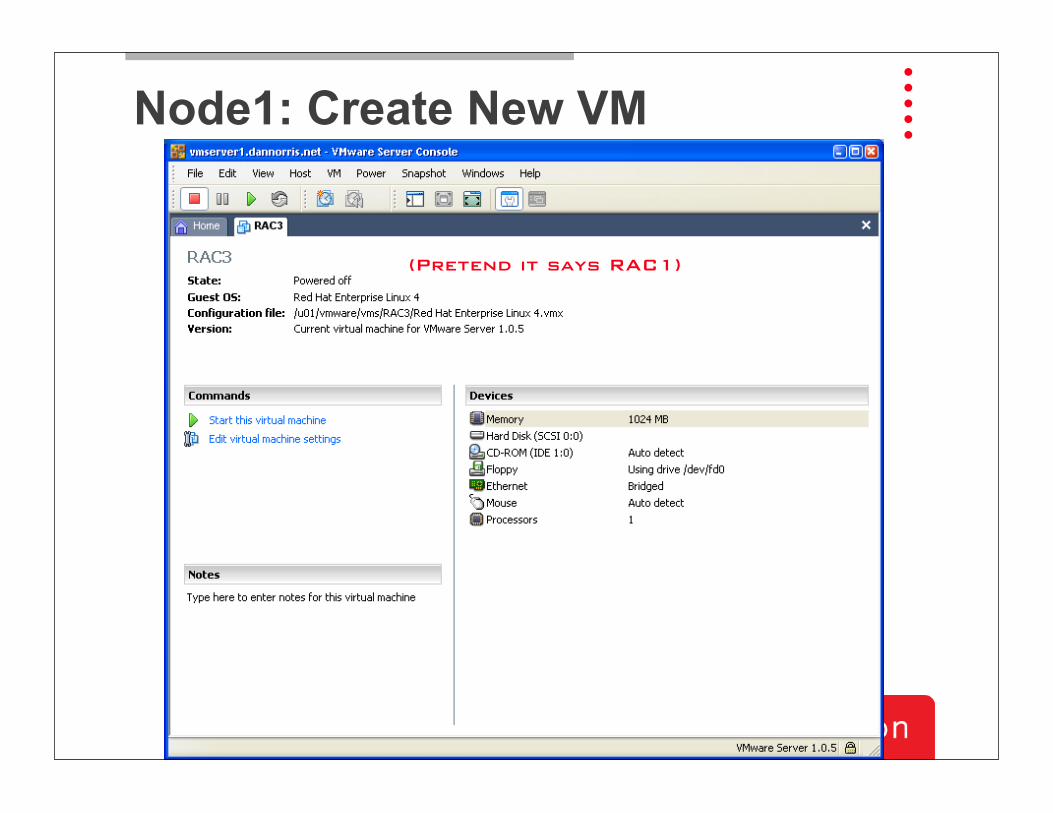
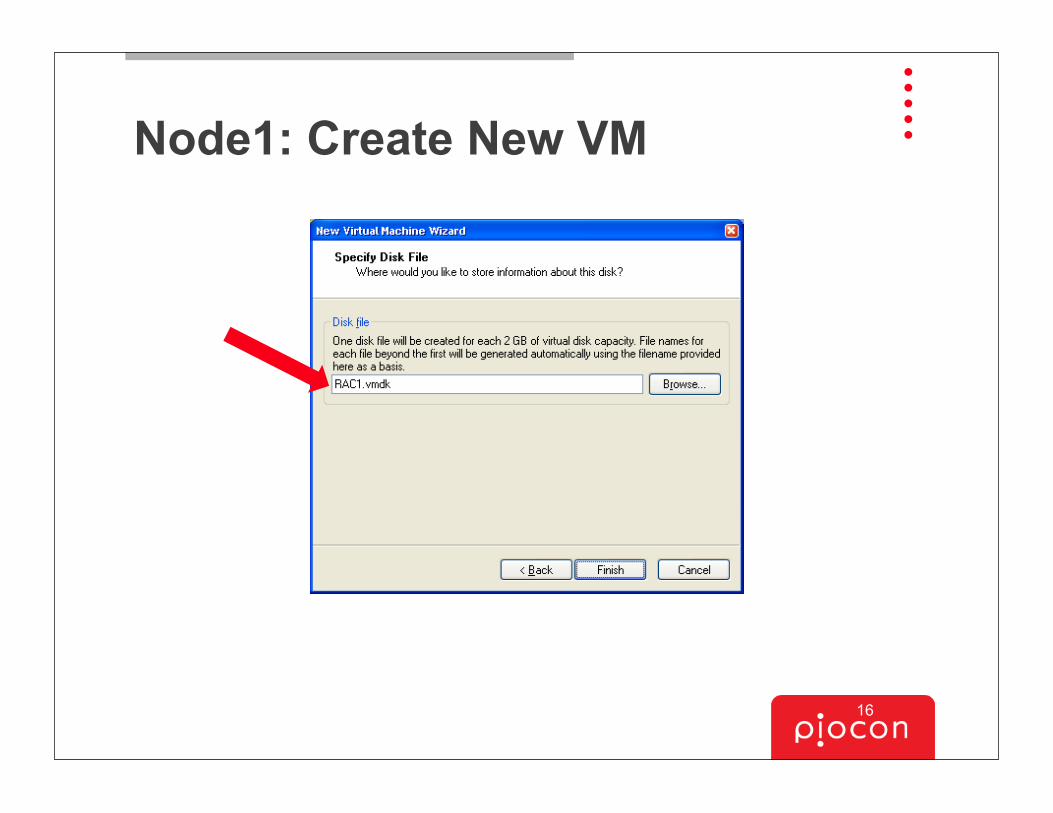
Node1: Create New VM
(Pretend it says RAC1)
17
Node1: Create New VM
18
Node1: Create New VM
19
Node1: Create New VM
20
Node1: Create New VM
21
Node1: Create New VM
22
Node1: Create New VM
23
Node1: Create New VM
24
Install Node1 OS•Plan the network addresses for public and private networks
•Start the VM and the CD image should boot• Install the OS, ensuring enough swap and /tmp
•Assign static addresses to each interface•See whitepaper for package and setup details
25
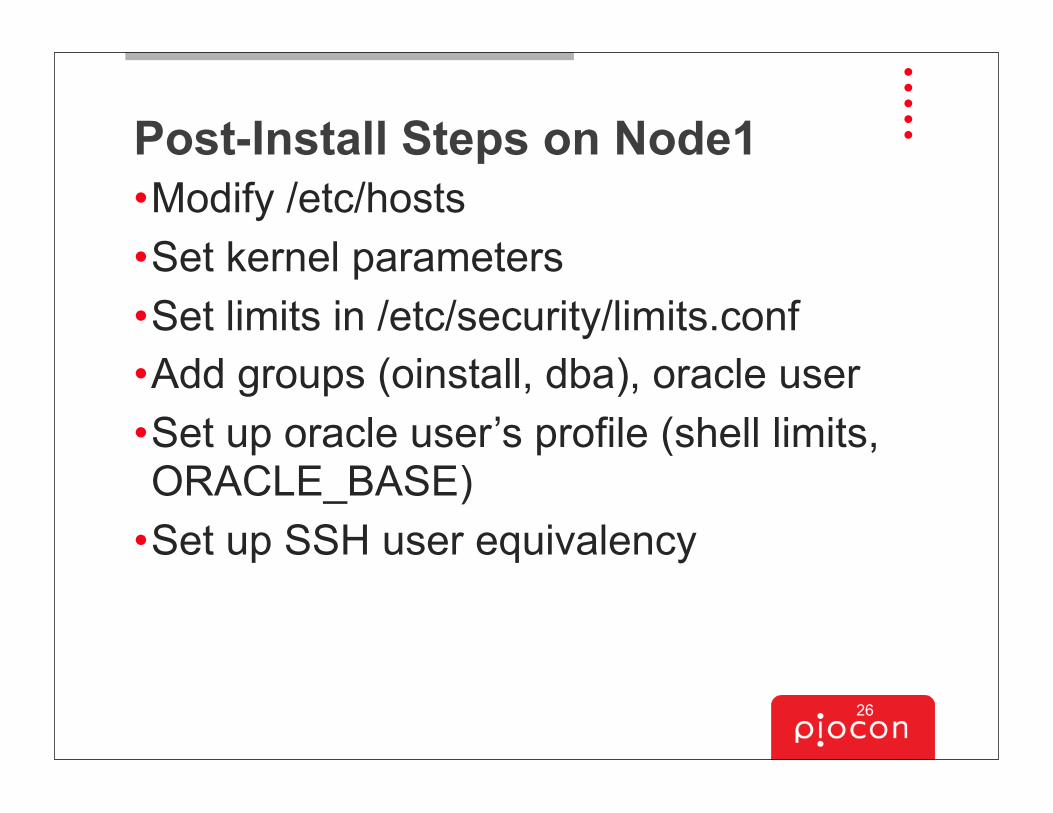
Post-Install Steps on Node1•Modify /etc/hosts•Set kernel parameters•Set limits in /etc/security/limits.conf•Add groups (oinstall, dba), oracle user•Set up oracle user’s profile (shell limits, ORACLE_BASE)
•Set up SSH user equivalency
26
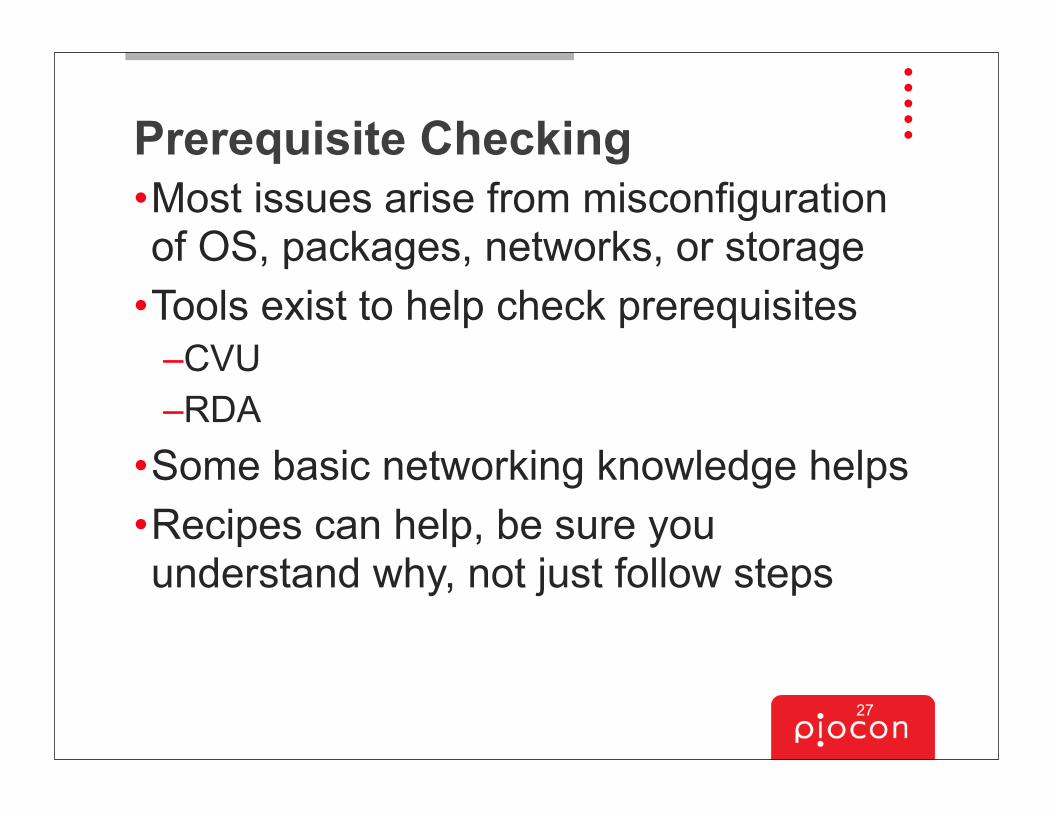
Prerequisite Checking•Most issues arise from misconfiguration of OS, packages, networks, or storage
•Tools exist to help check prerequisites–CVU–RDA
•Some basic networking knowledge helps•Recipes can help, be sure you understand why, not just follow steps
27
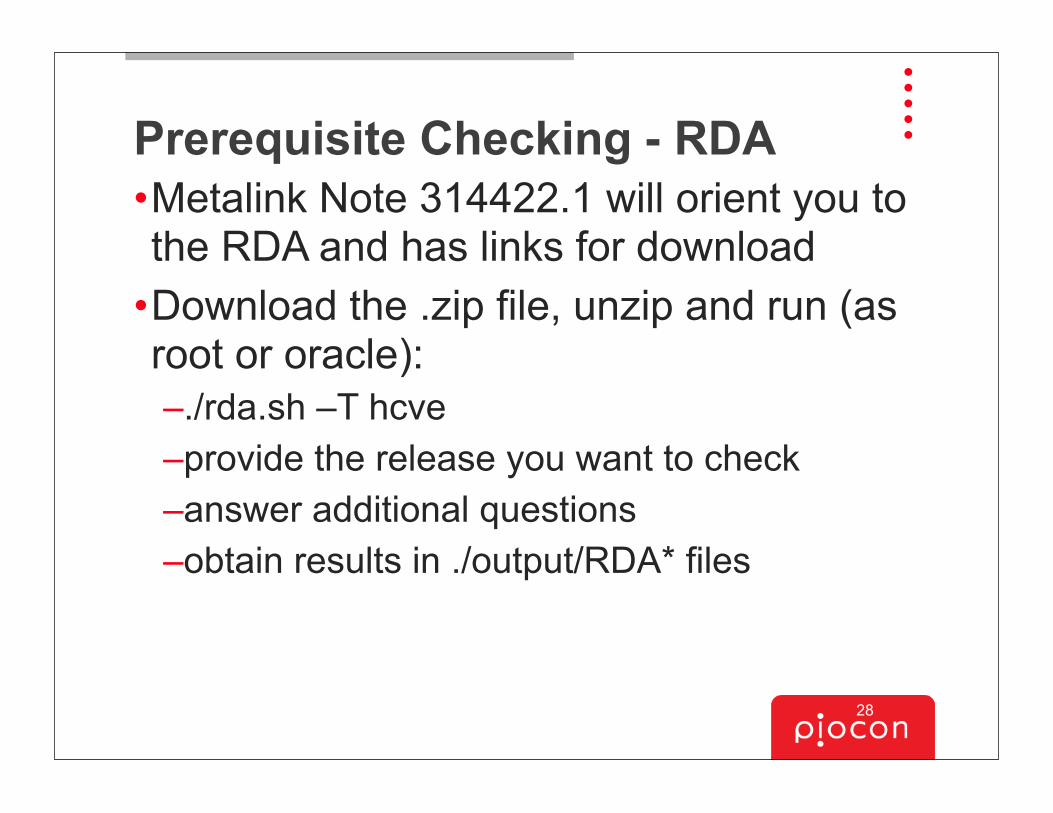
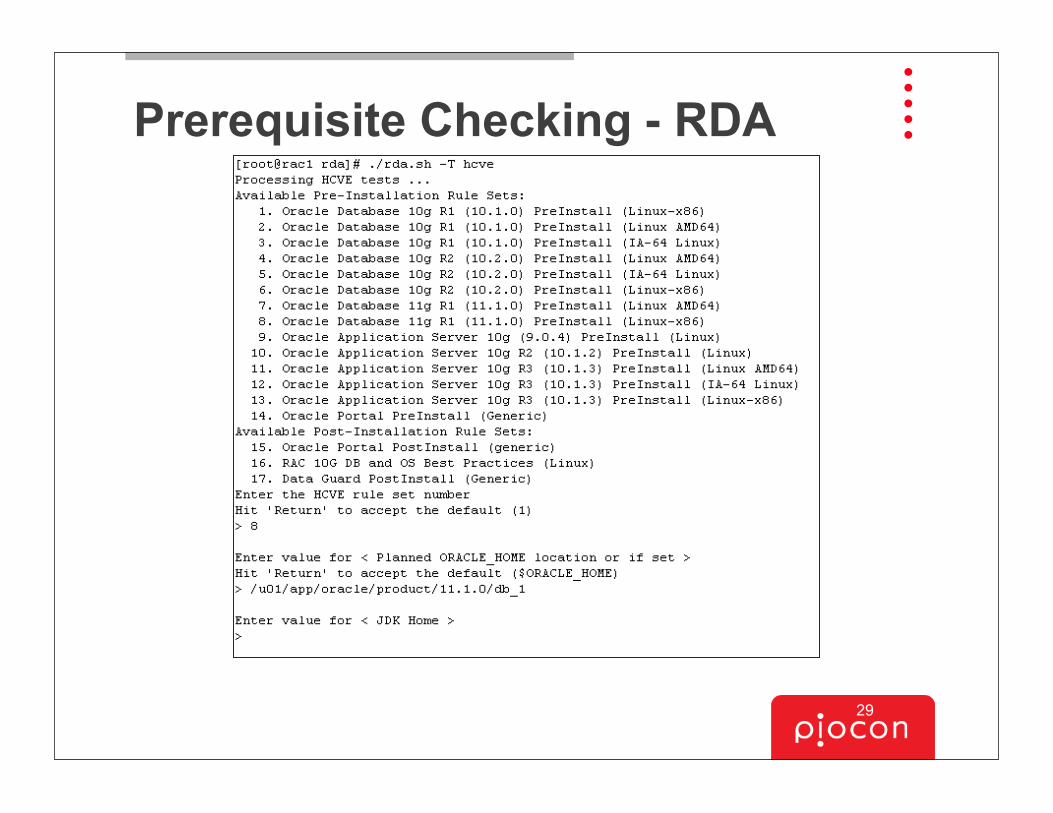
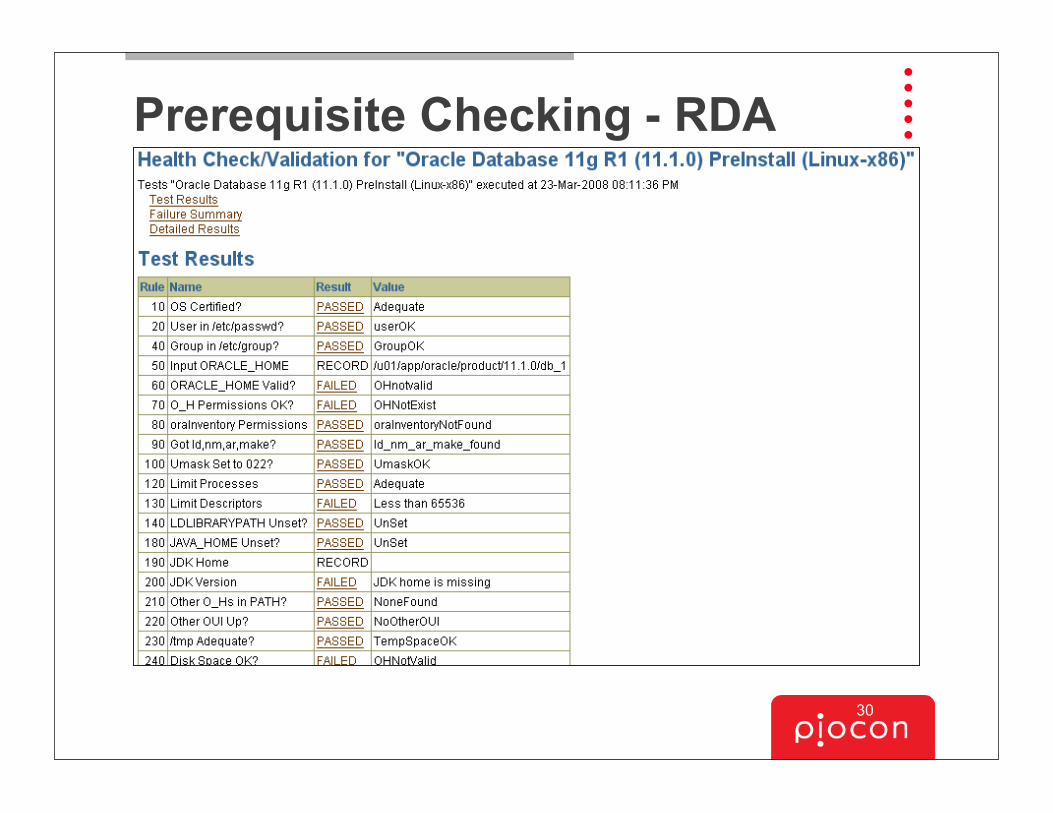
Prerequisite Checking - RDA•Metalink Note 314422.1 will orient you to the RDA and has links for download
•Download the .zip file, unzip and run (as root or oracle):–./rda.sh –T hcve–provide the release you want to check–answer additional questions–obtain results in ./output/RDA* files
28
Prerequisite Checking - RDA
29
Prerequisite Checking - RDA
30
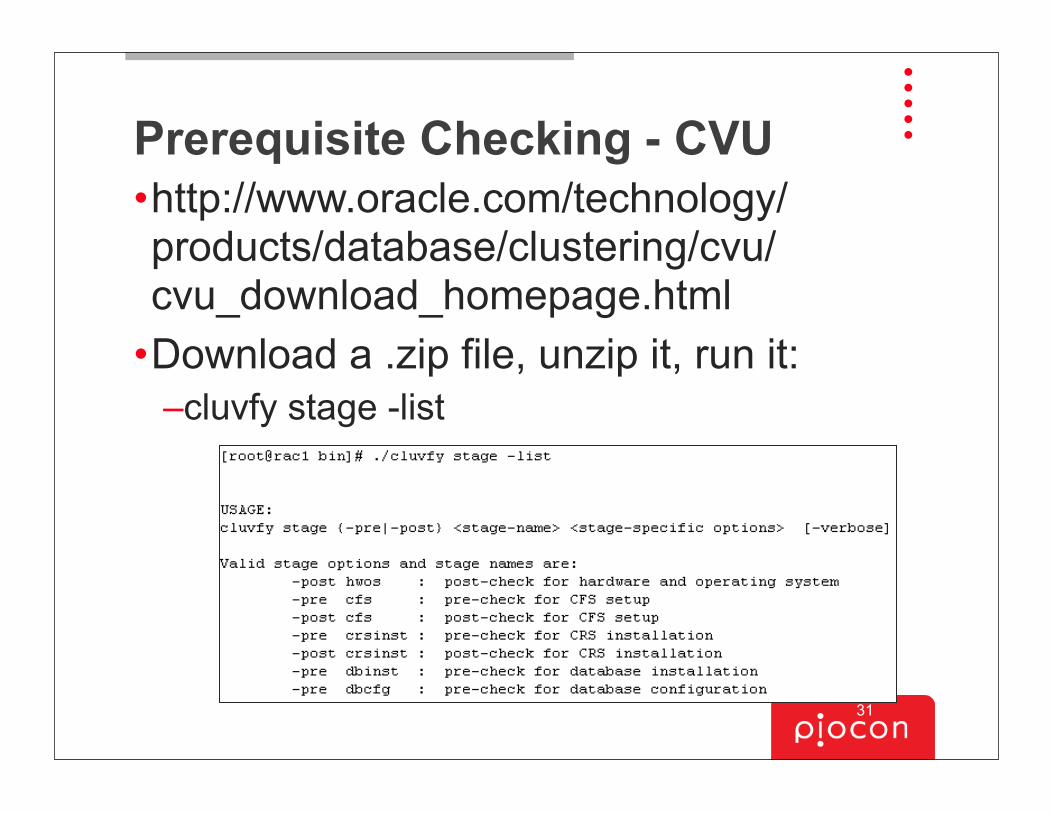
Prerequisite Checking - CVU•http://www.oracle.com/technology/products/database/clustering/cvu/cvu_download_homepage.html
•Download a .zip file, unzip it, run it:–cluvfy stage -list
31
Prerequisite Checking - CVU
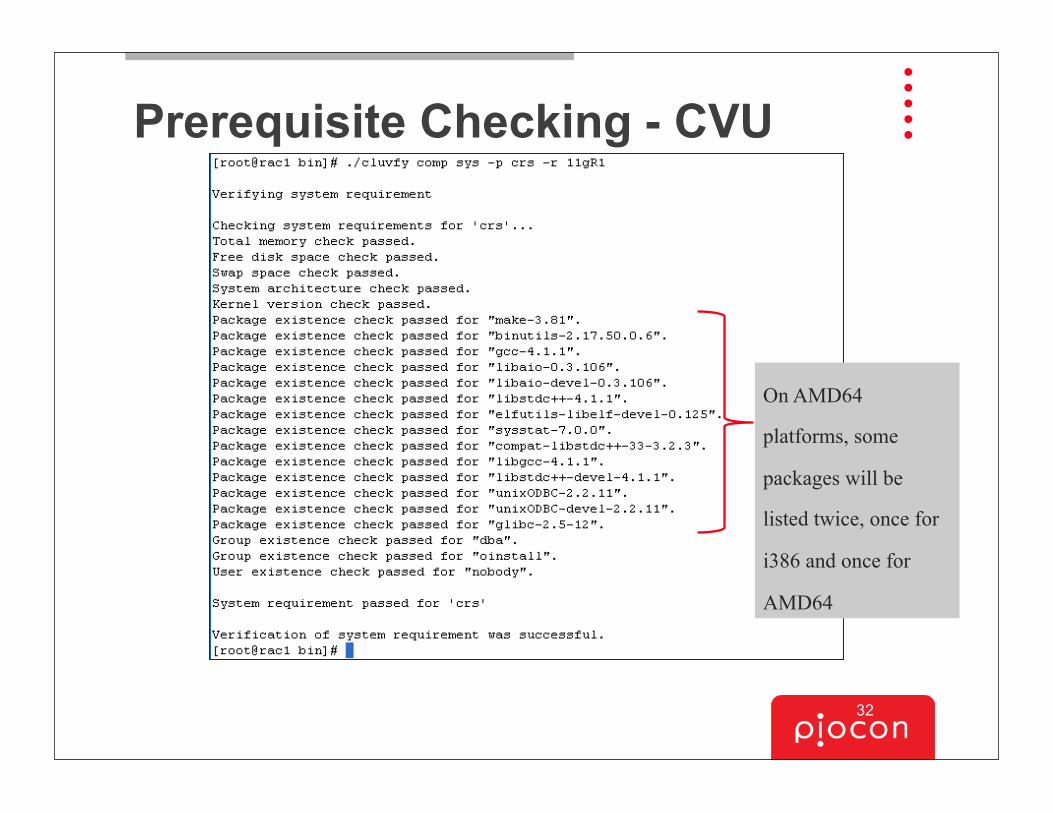
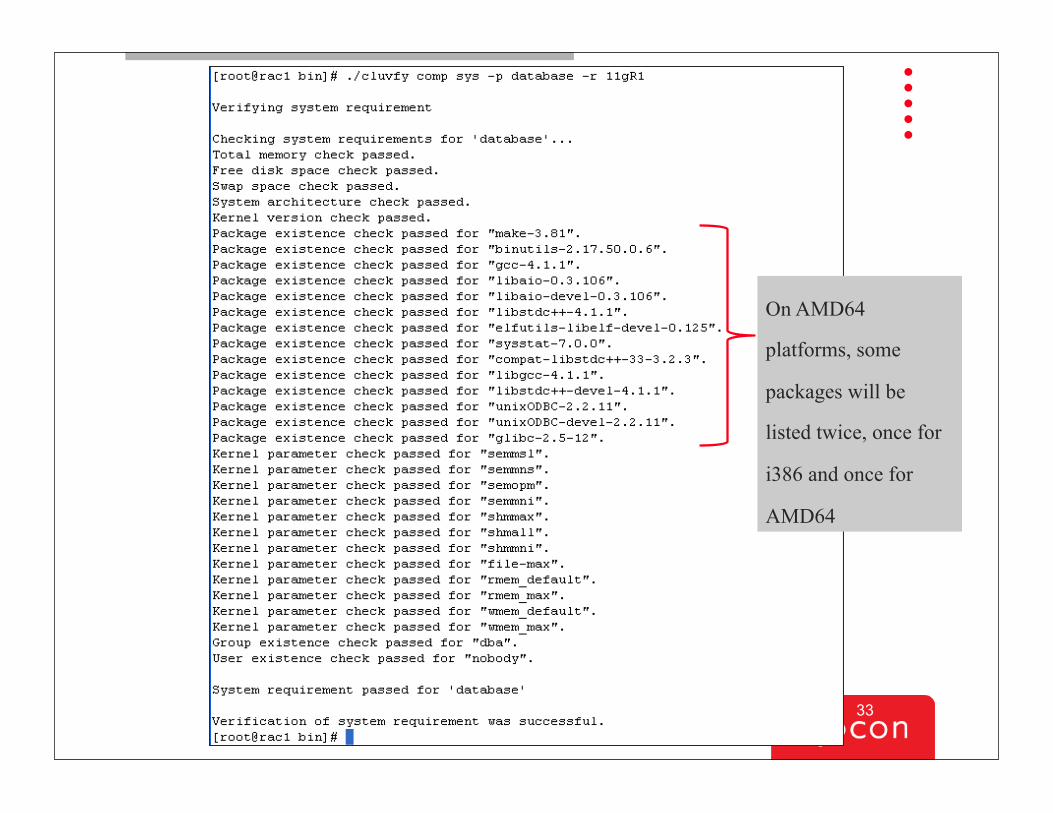
On AMD64
platforms, some
packages will be
listed twice, once for
i386 and once for
AMD64
32
On AMD64
platforms, some
packages will be
listed twice, once for
i386 and once for
AMD64
33
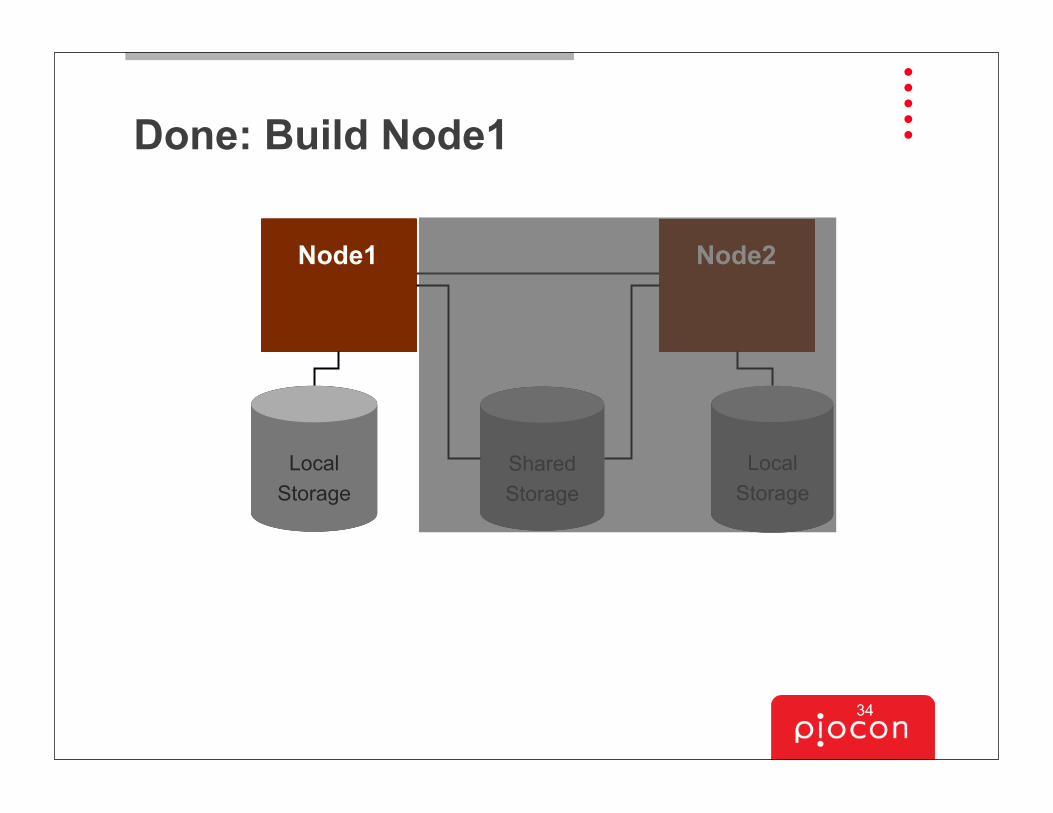
Done: Build Node1
Shared Storage
Local Storage
Local Storage
Node1 Node2
34
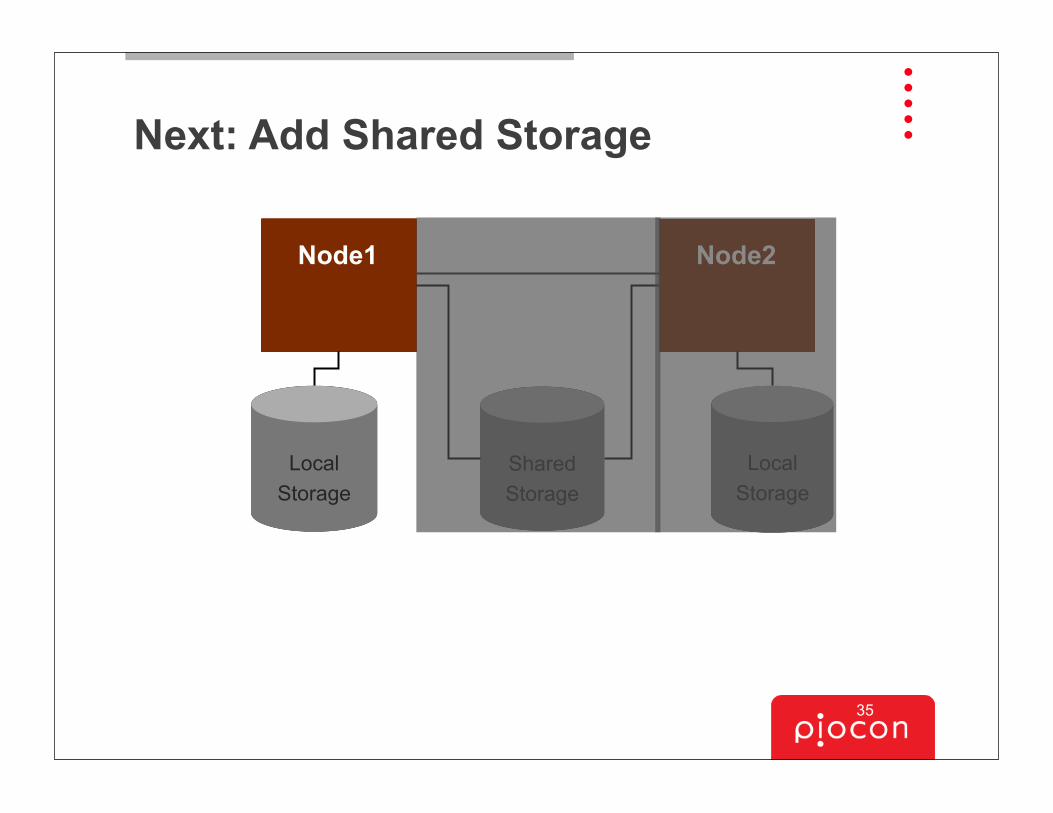
Next: Add Shared Storage
Shared Storage
Local Storage
Local Storage
Node1 Node2
35
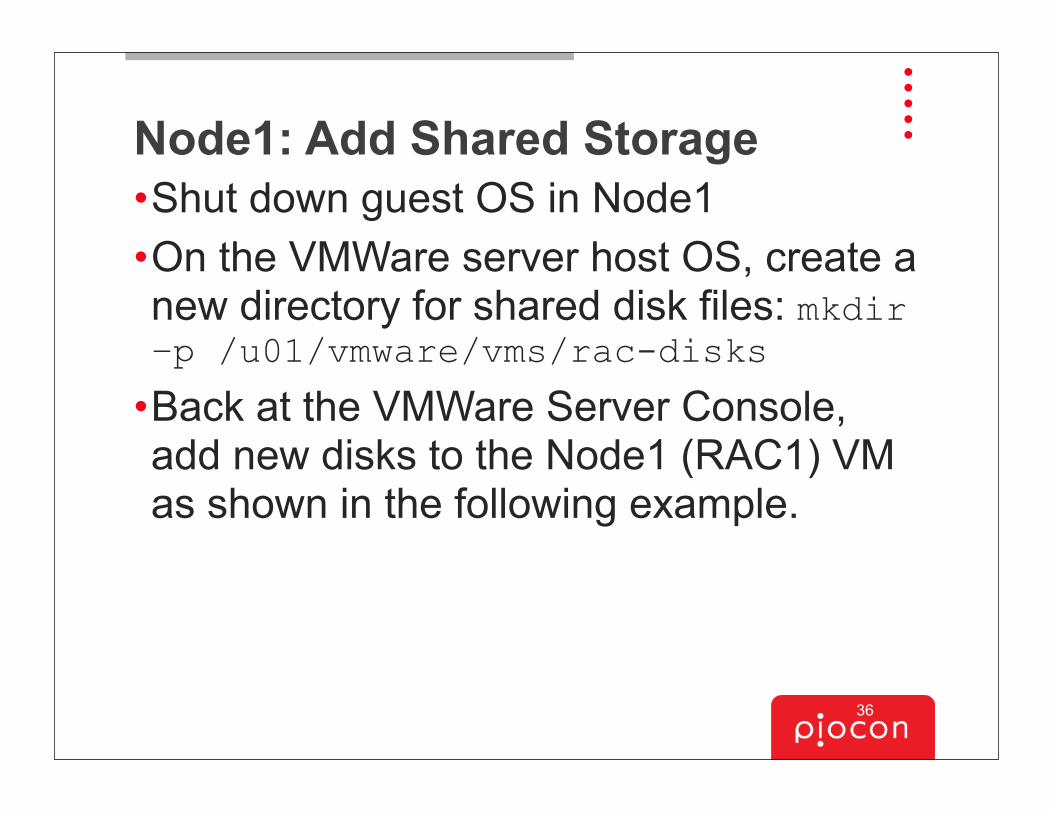
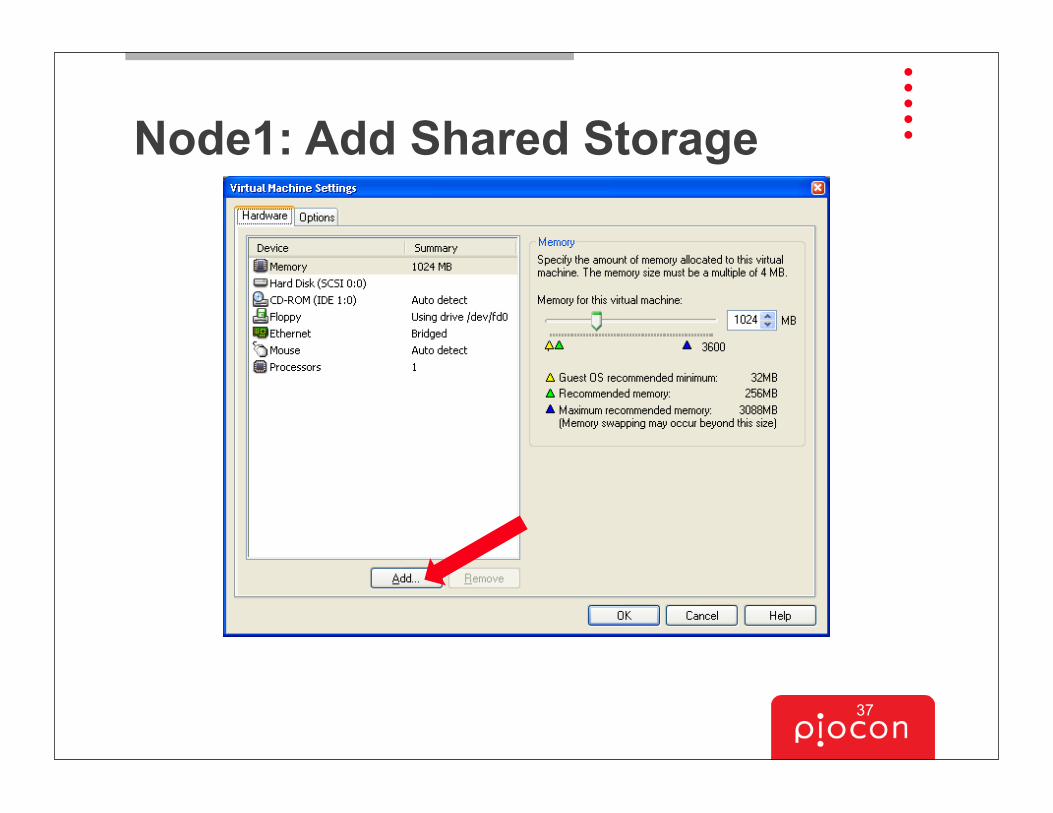
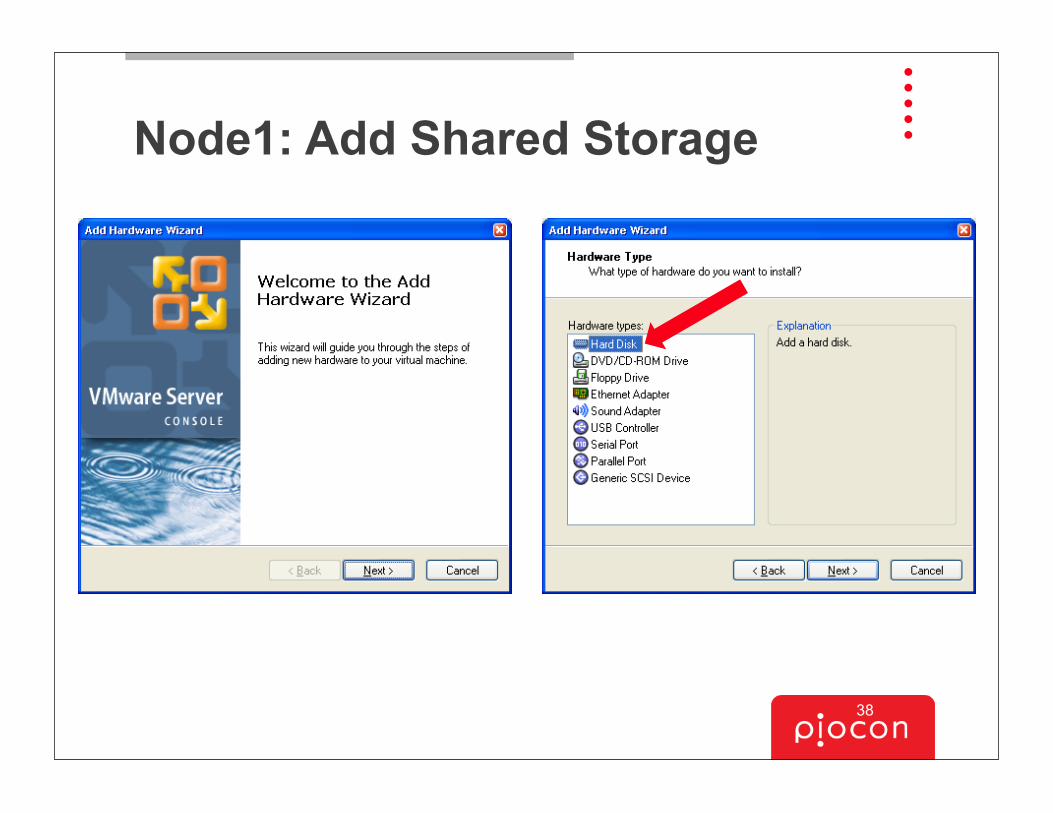
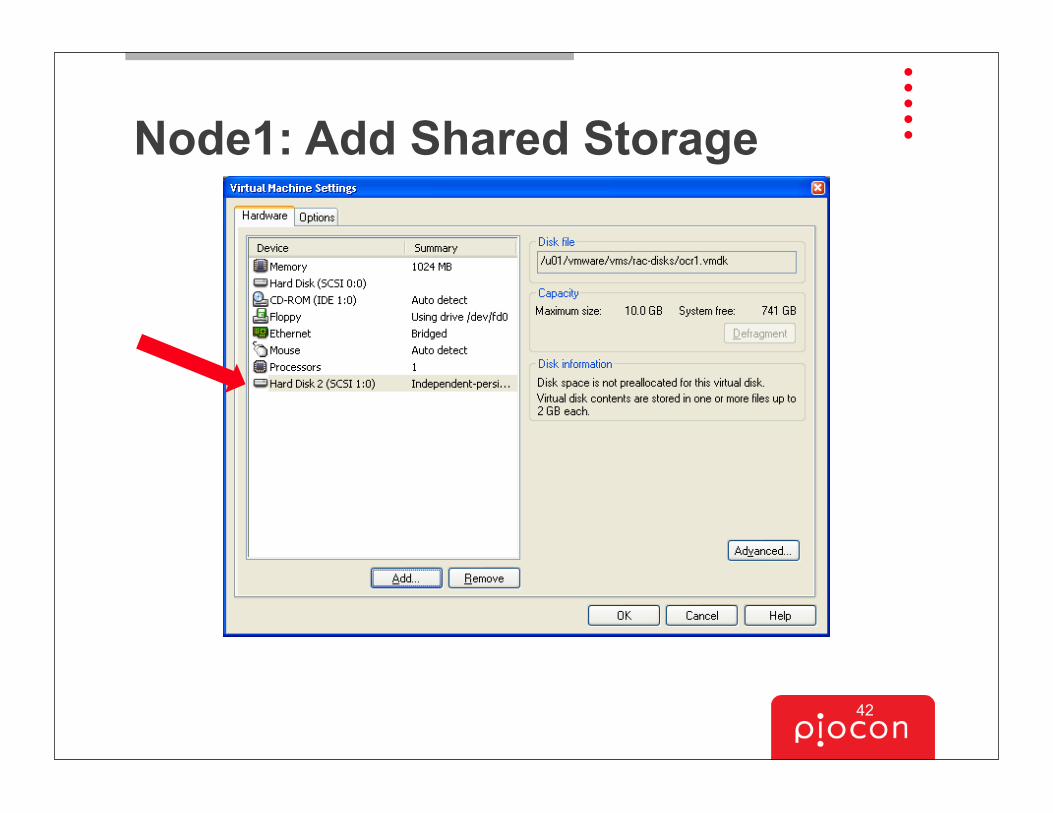
Node1: Add Shared Storage•Shut down guest OS in Node1•On the VMWare server host OS, create a new directory for shared disk files: mkdir –p /u01/vmware/vms/rac-disks
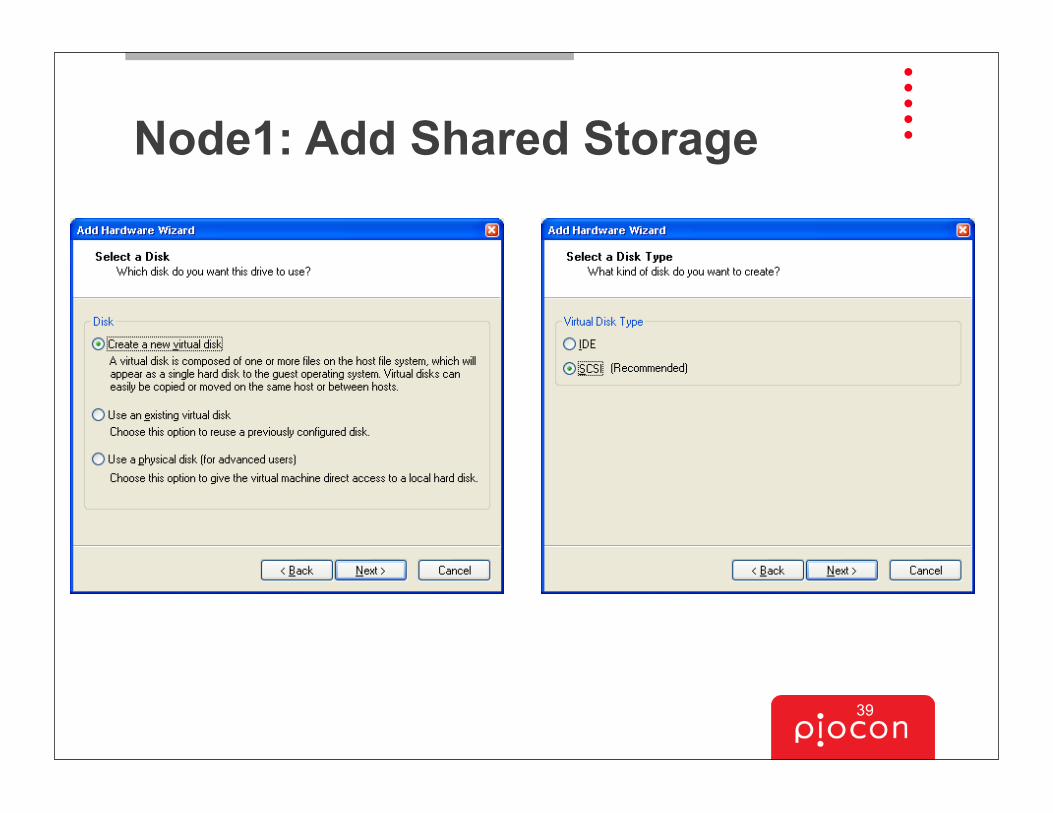
•Back at the VMWare Server Console, add new disks to the Node1 (RAC1) VM as shown in the following example.
36
Node1: Add Shared Storage
37
Node1: Add Shared Storage
38
Node1: Add Shared Storage
39
Node1: Add Shared Storage
40
Node1: Add Shared Storage
41
Node1: Add Shared Storage
42
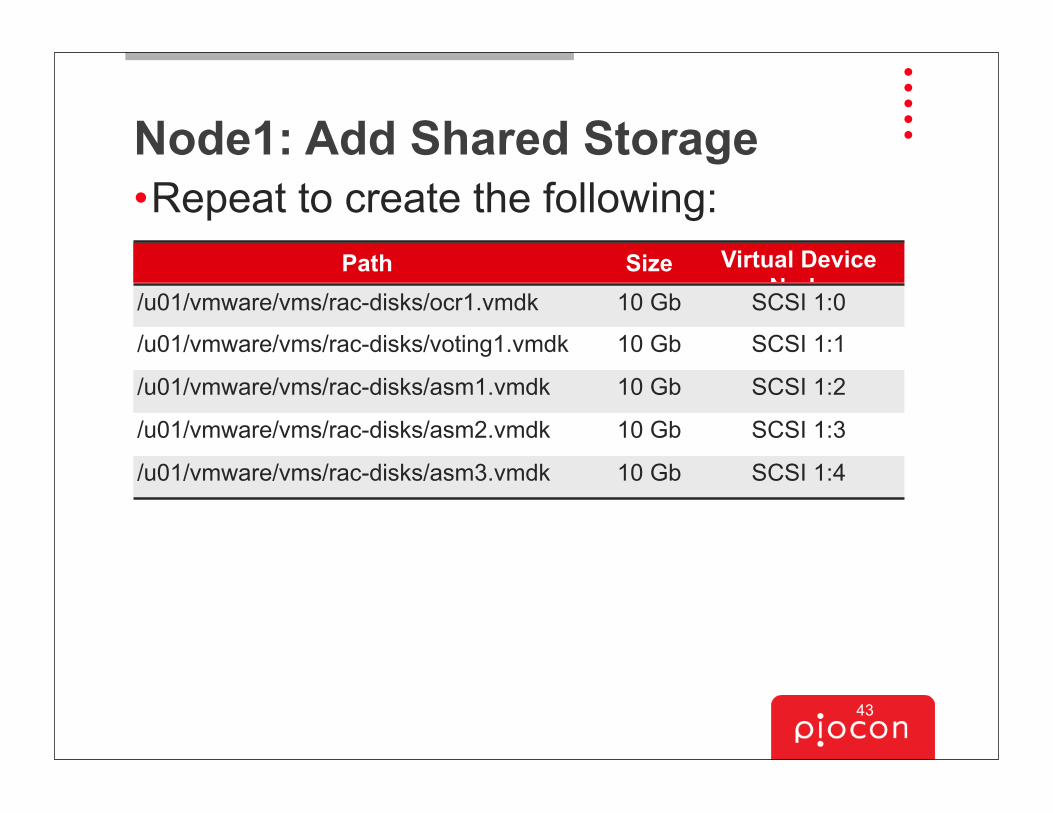
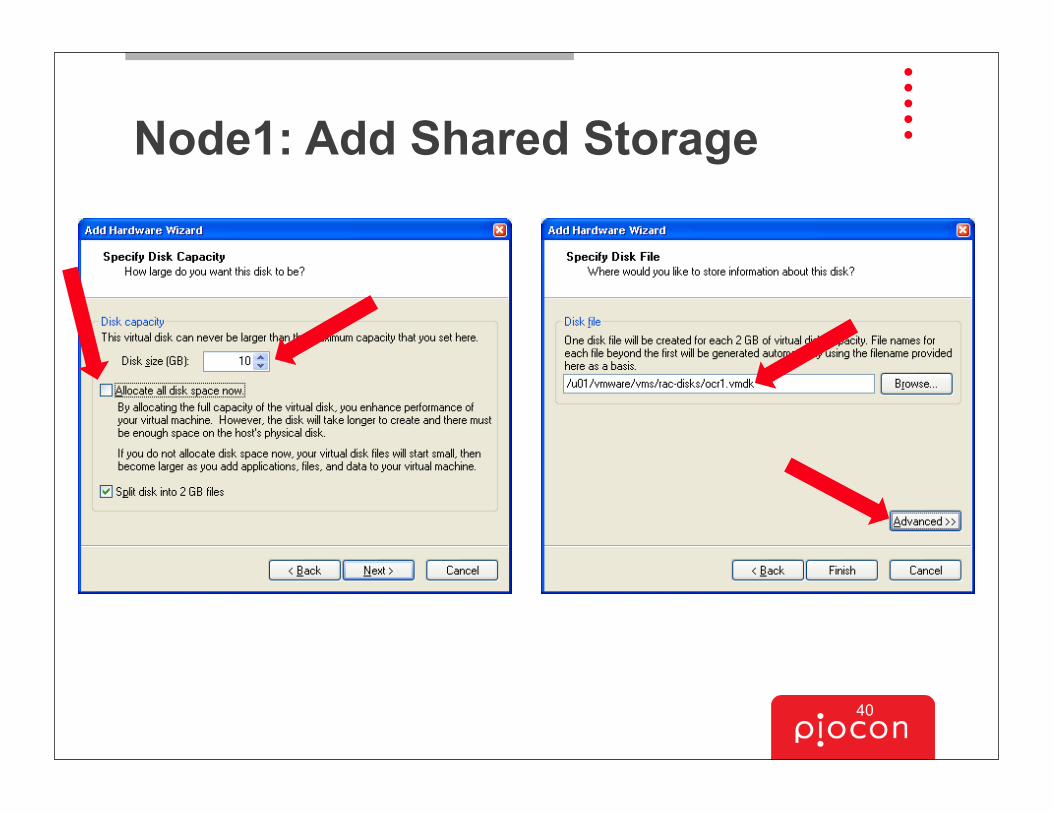
Node1: Add Shared Storage•Repeat to create the following:
Path Size Virtual Device Node/u01/vmware/vms/rac-disks/ocr1.vmdk 10 Gb SCSI 1:0
/u01/vmware/vms/rac-disks/voting1.vmdk 10 Gb SCSI 1:1
/u01/vmware/vms/rac-disks/asm1.vmdk 10 Gb SCSI 1:2
/u01/vmware/vms/rac-disks/asm2.vmdk 10 Gb SCSI 1:3
/u01/vmware/vms/rac-disks/asm3.vmdk 10 Gb SCSI 1:4
43
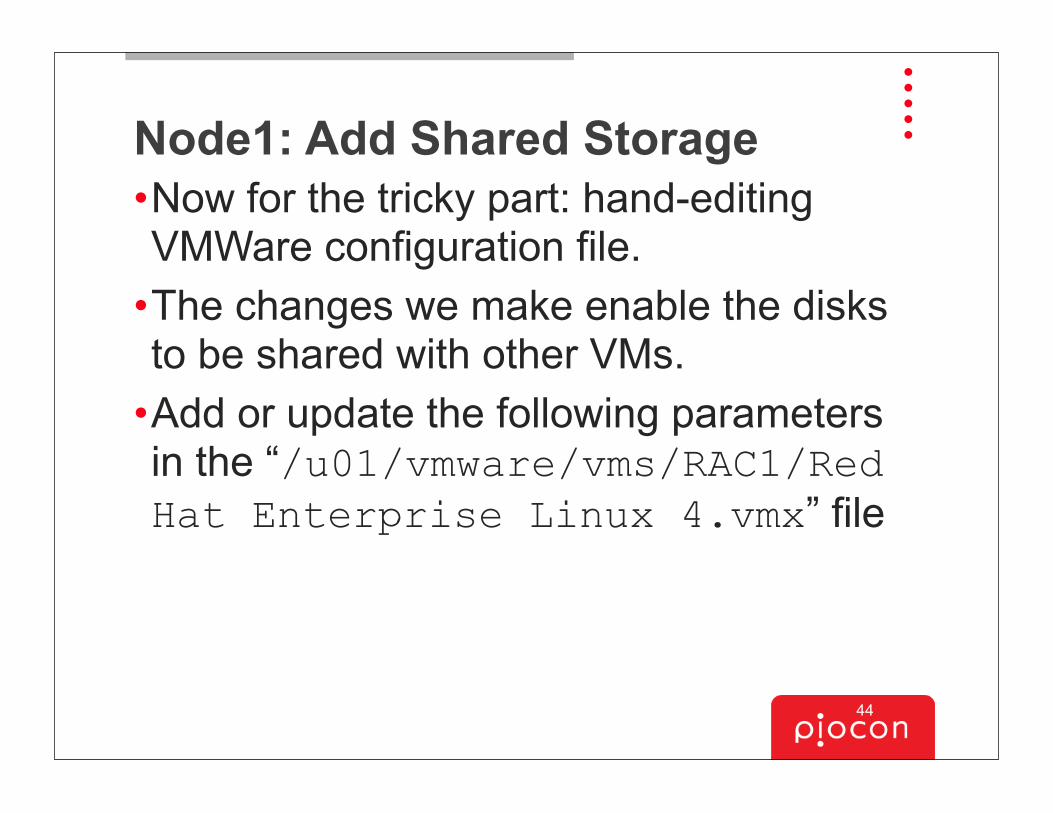
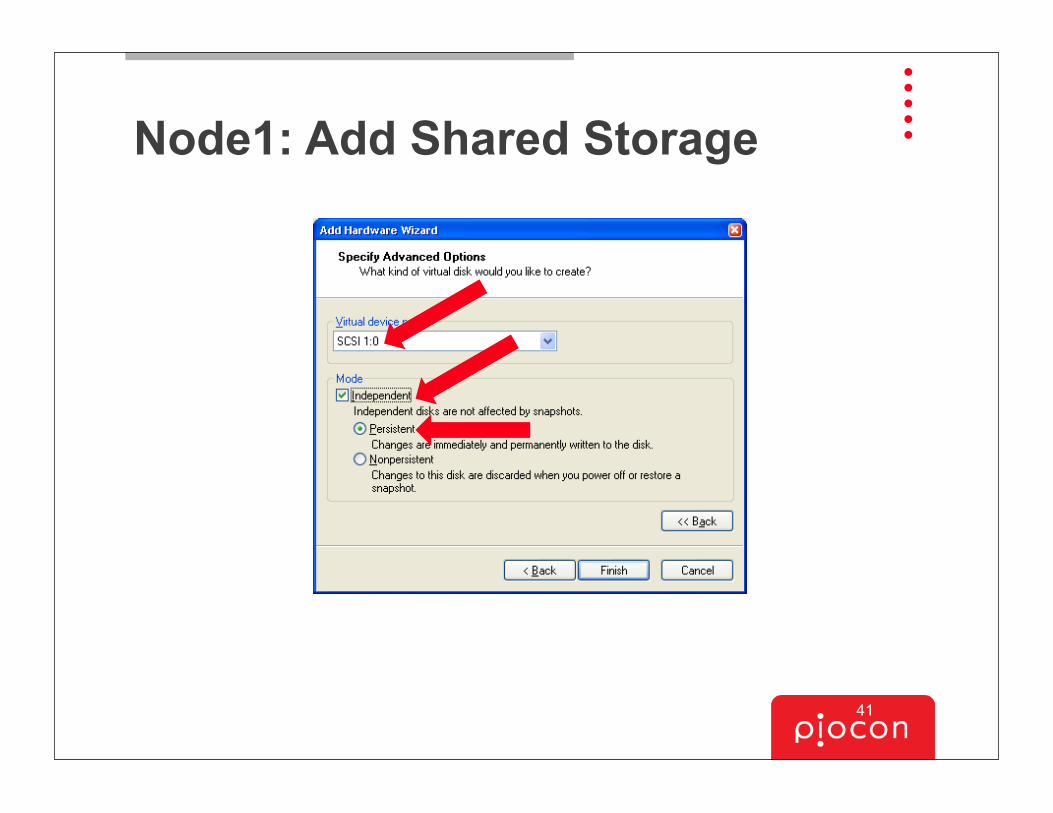
Node1: Add Shared Storage•Now for the tricky part: hand-editing VMWare configuration file.
•The changes we make enable the disks to be shared with other VMs.
•Add or update the following parameters in the “/u01/vmware/vms/RAC1/Red Hat Enterprise Linux 4.vmx” file
44

Node1: Add Shared Storage
disk.locking = "FALSE"diskLib.dataCacheMaxSize = "0"diskLib.dataCacheMaxReadAheadSize = "0"diskLib.dataCacheMinReadAheadSize = "0"diskLib.dataCachePageSize = "4096"diskLib.maxUnsyncedWrites = "0"scsi1.sharedBus = "VIRTUAL"
45
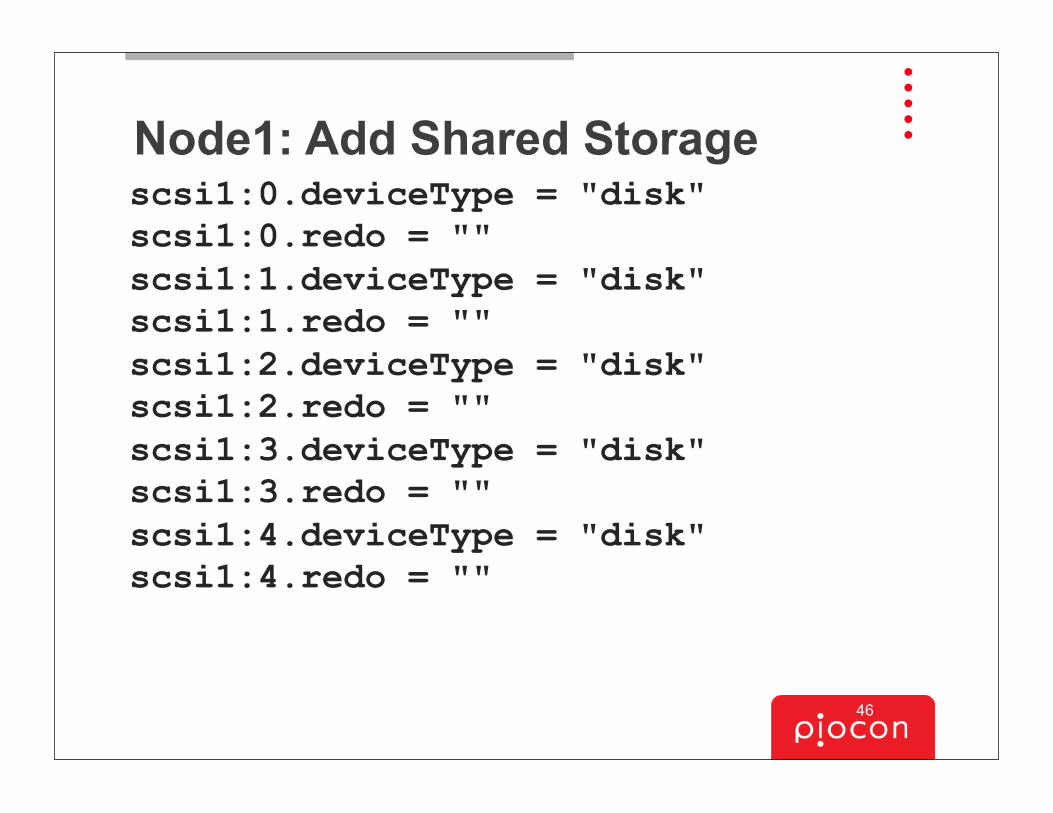
Node1: Add Shared Storagescsi1:0.deviceType = "disk"scsi1:0.redo = "" scsi1:1.deviceType = "disk"scsi1:1.redo = "" scsi1:2.deviceType = "disk"scsi1:2.redo = "" scsi1:3.deviceType = "disk"scsi1:3.redo = "" scsi1:4.deviceType = "disk"scsi1:4.redo = ""
46
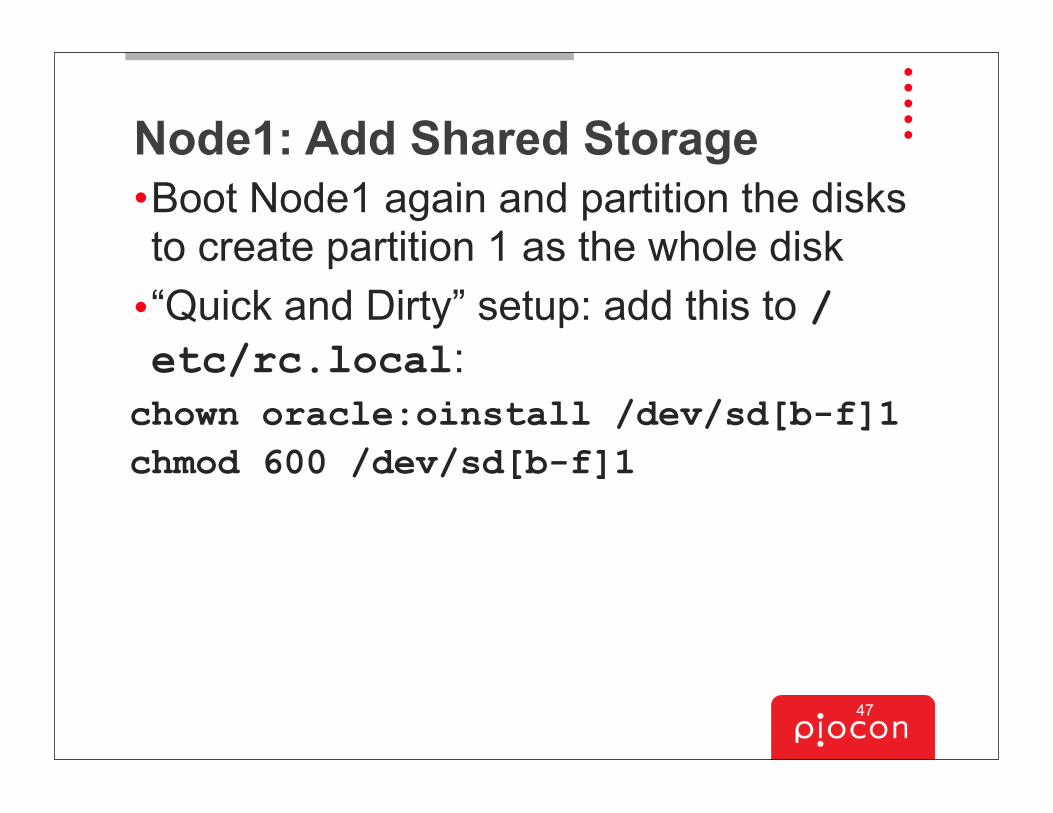
Node1: Add Shared Storage•Boot Node1 again and partition the disks to create partition 1 as the whole disk
•“Quick and Dirty” setup: add this to /etc/rc.local:chown oracle:oinstall /dev/sd[b-f]1chmod 600 /dev/sd[b-f]1
47
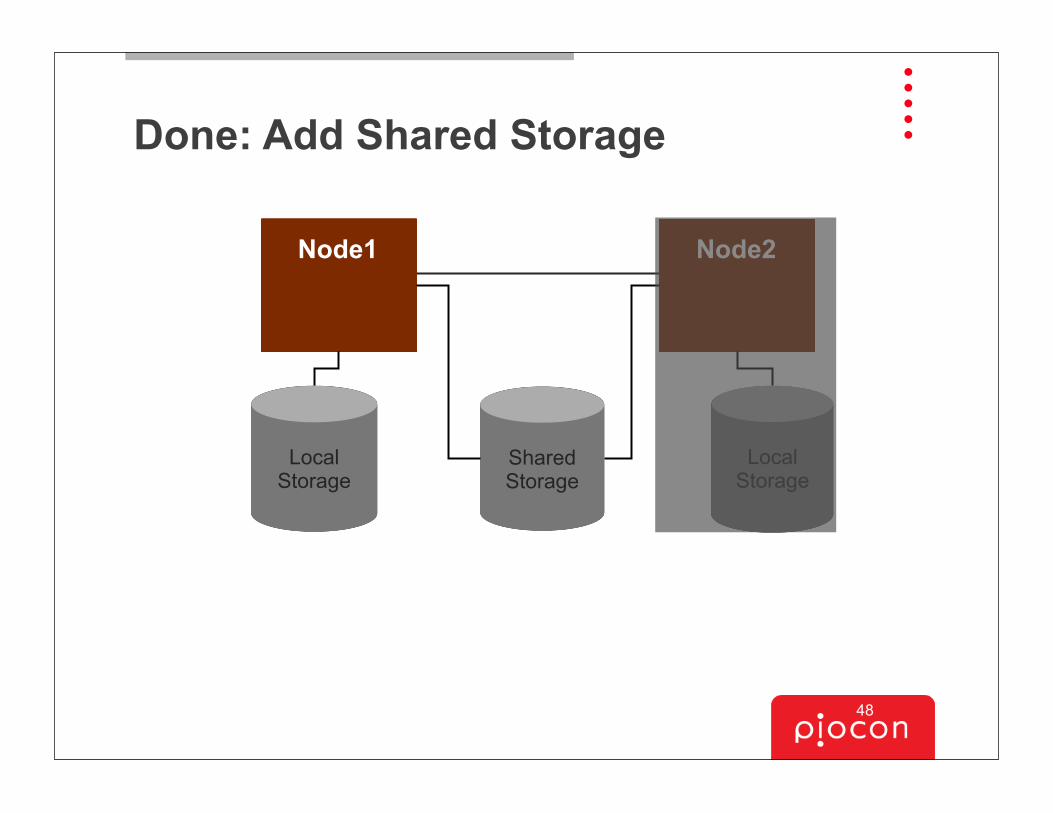
Done: Add Shared Storage
Shared Storage
Local Storage
Local Storage
Node1 Node2
48
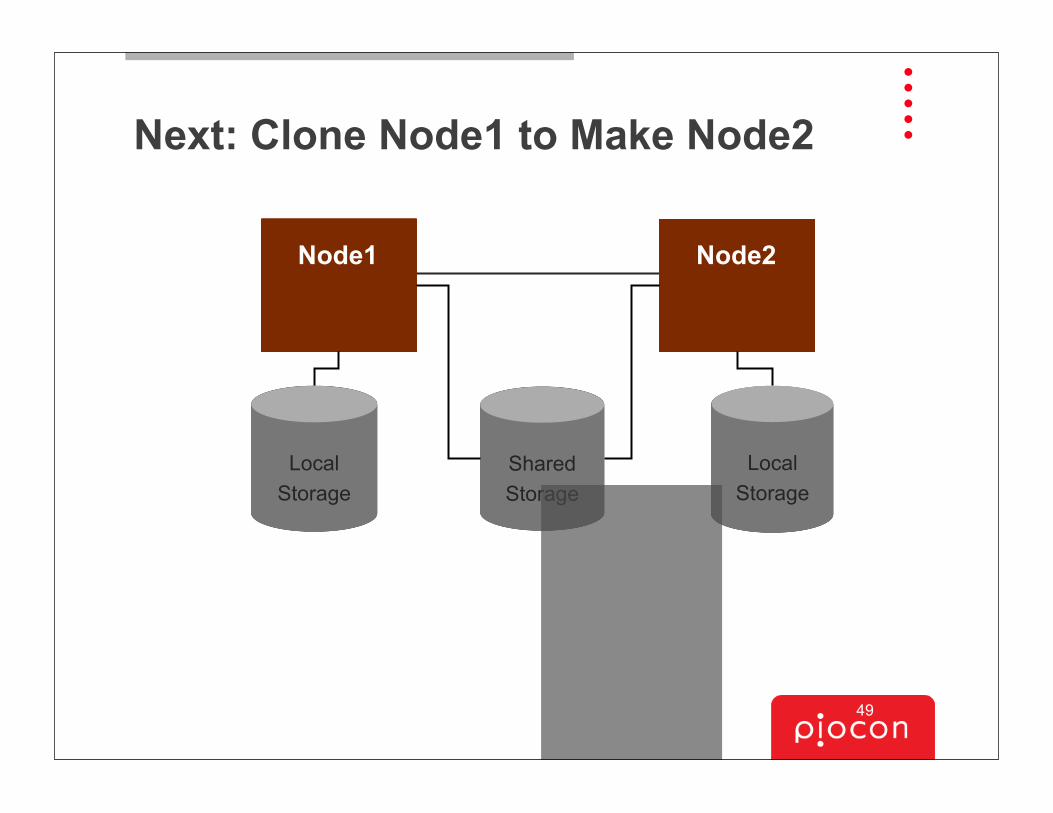
Next: Clone Node1 to Make Node2
Shared Storage
Local Storage
Local Storage
Node1 Node2
49
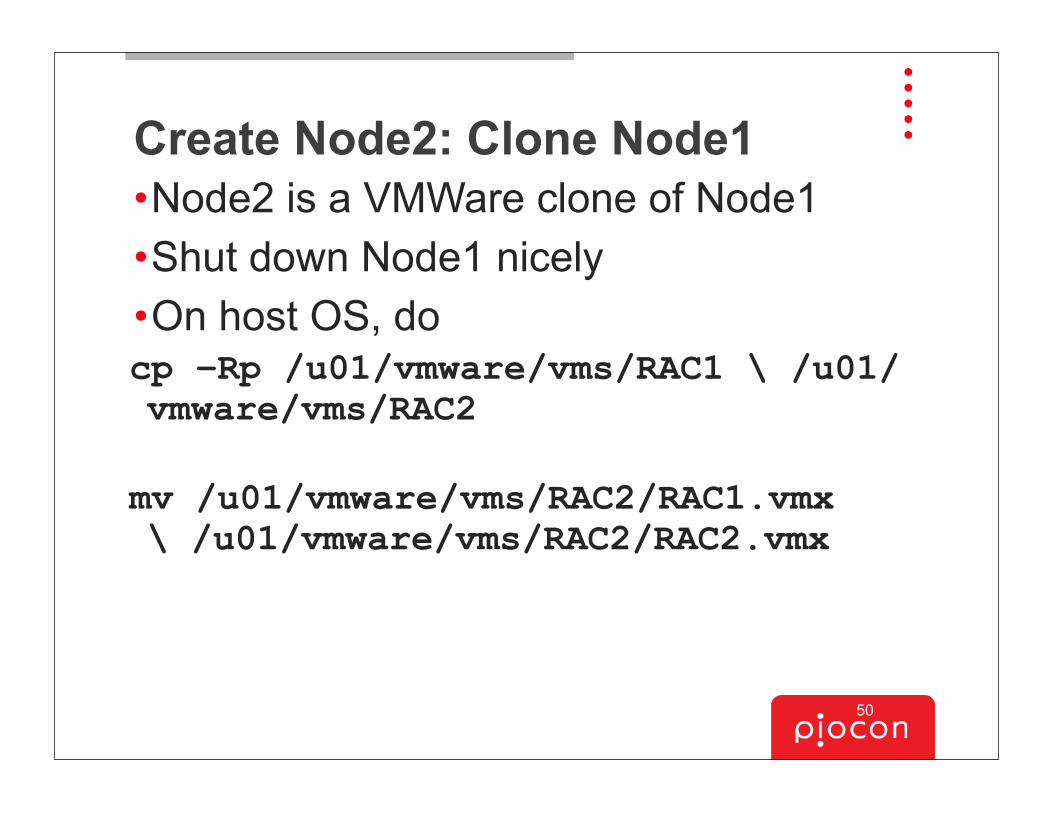
Create Node2: Clone Node1•Node2 is a VMWare clone of Node1•Shut down Node1 nicely•On host OS, do cp –Rp /u01/vmware/vms/RAC1 \ /u01/vmware/vms/RAC2
mv /u01/vmware/vms/RAC2/RAC1.vmx \ /u01/vmware/vms/RAC2/RAC2.vmx
50
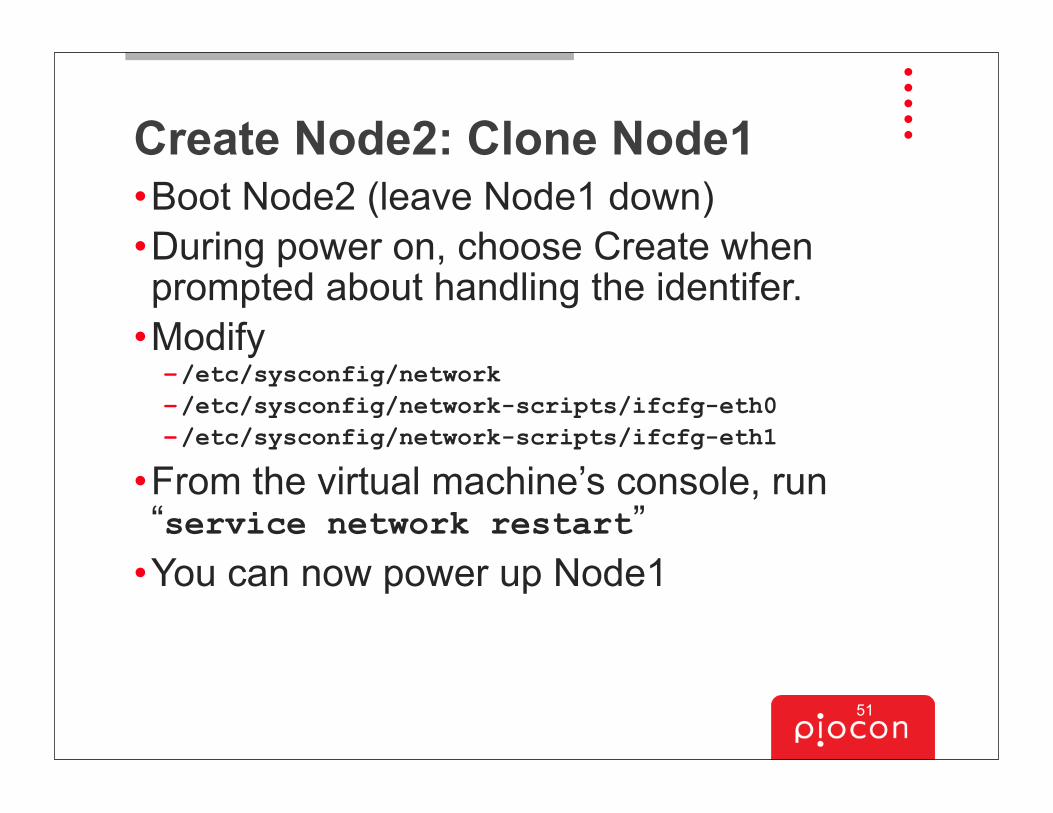
Create Node2: Clone Node1•Boot Node2 (leave Node1 down)•During power on, choose Create when prompted about handling the identifer.
•Modify –/etc/sysconfig/network–/etc/sysconfig/network-scripts/ifcfg-eth0–/etc/sysconfig/network-scripts/ifcfg-eth1
•From the virtual machine’s console, run “service network restart”
•You can now power up Node1
51
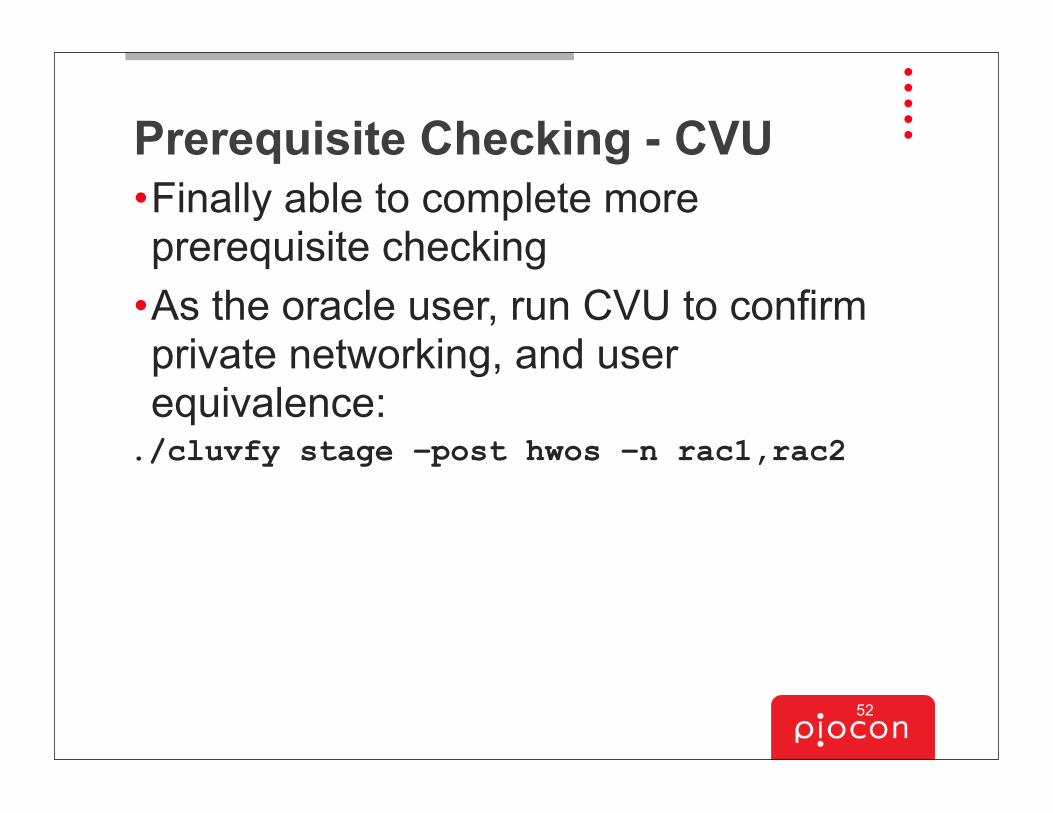
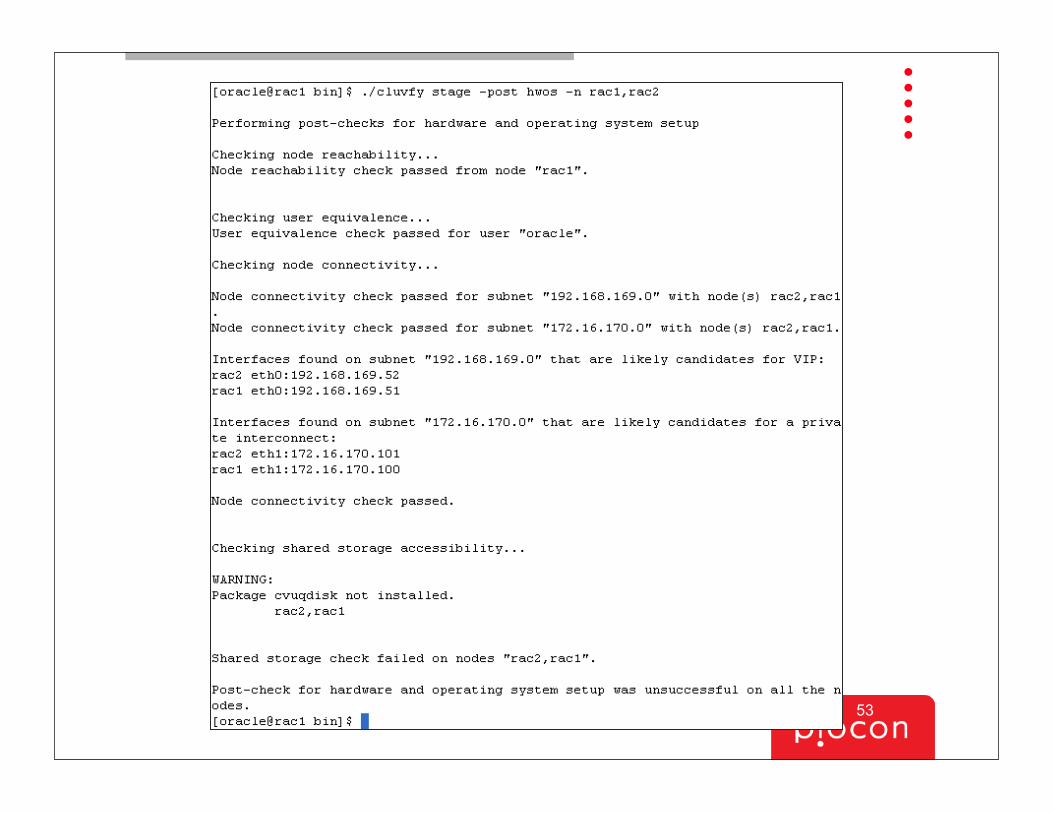
Prerequisite Checking - CVU•Finally able to complete more prerequisite checking
•As the oracle user, run CVU to confirm private networking, and user equivalence:
./cluvfy stage –post hwos –n rac1,rac2
52
53
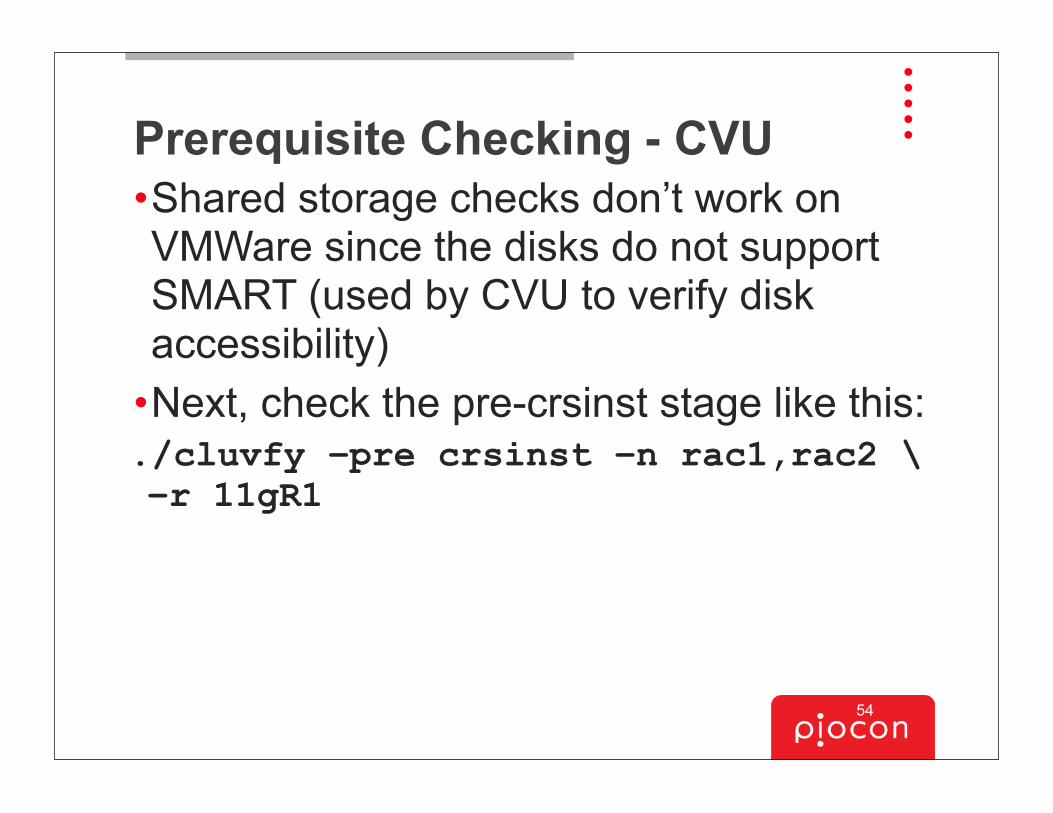
Prerequisite Checking - CVU•Shared storage checks don’t work on VMWare since the disks do not support SMART (used by CVU to verify disk accessibility)
•Next, check the pre-crsinst stage like this:./cluvfy –pre crsinst –n rac1,rac2 \ –r 11gR1
54
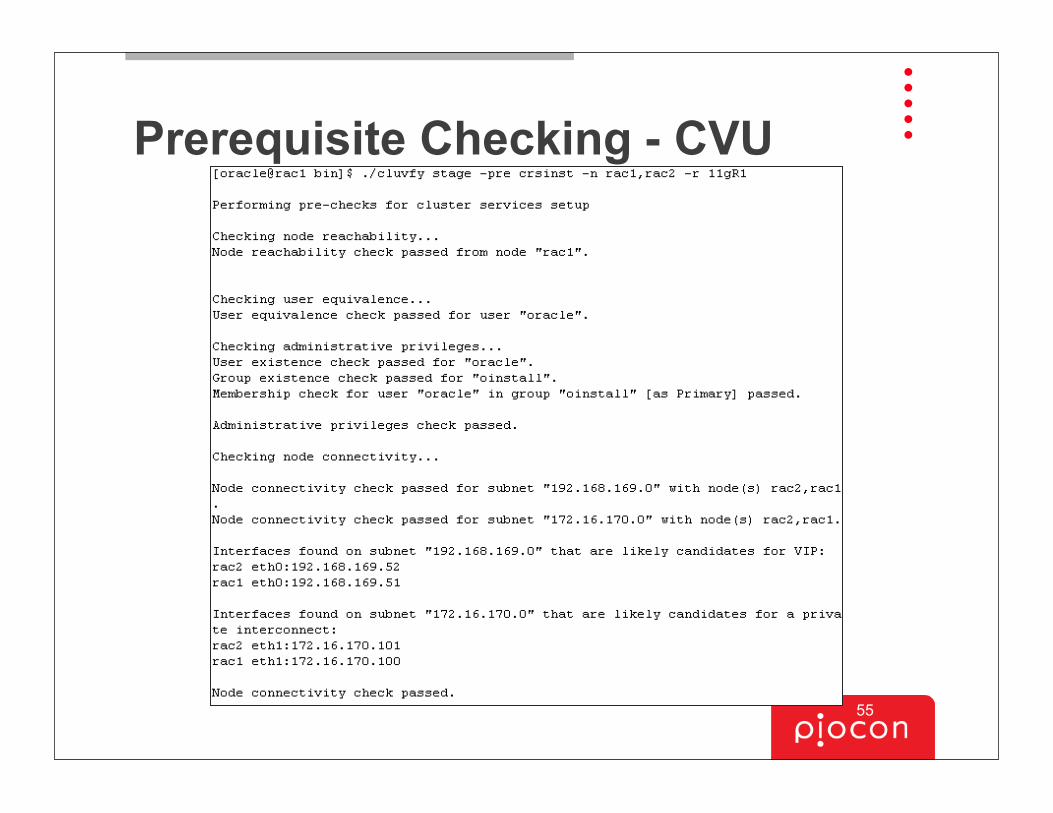
Prerequisite Checking - CVU
55
Prerequisite Checking - CVU
56

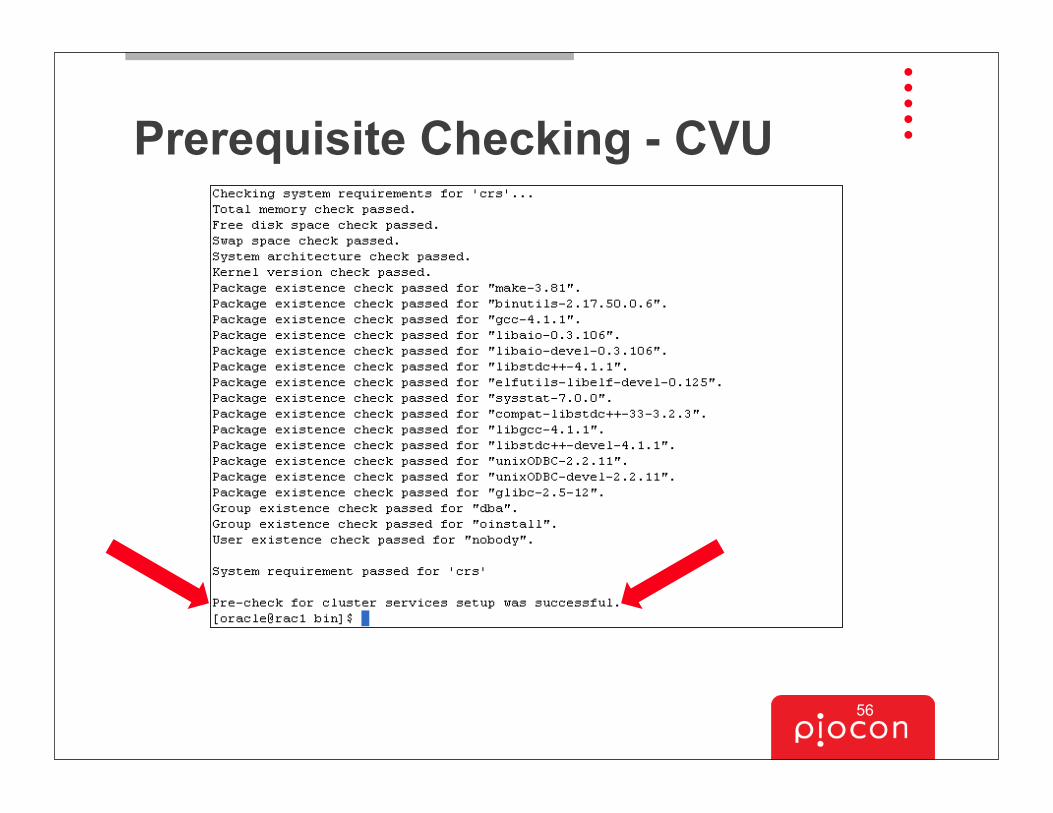
Prerequisite Checking - CVU•With all CVU checks complete and successful, we can move ahead to installing clusterware!
57
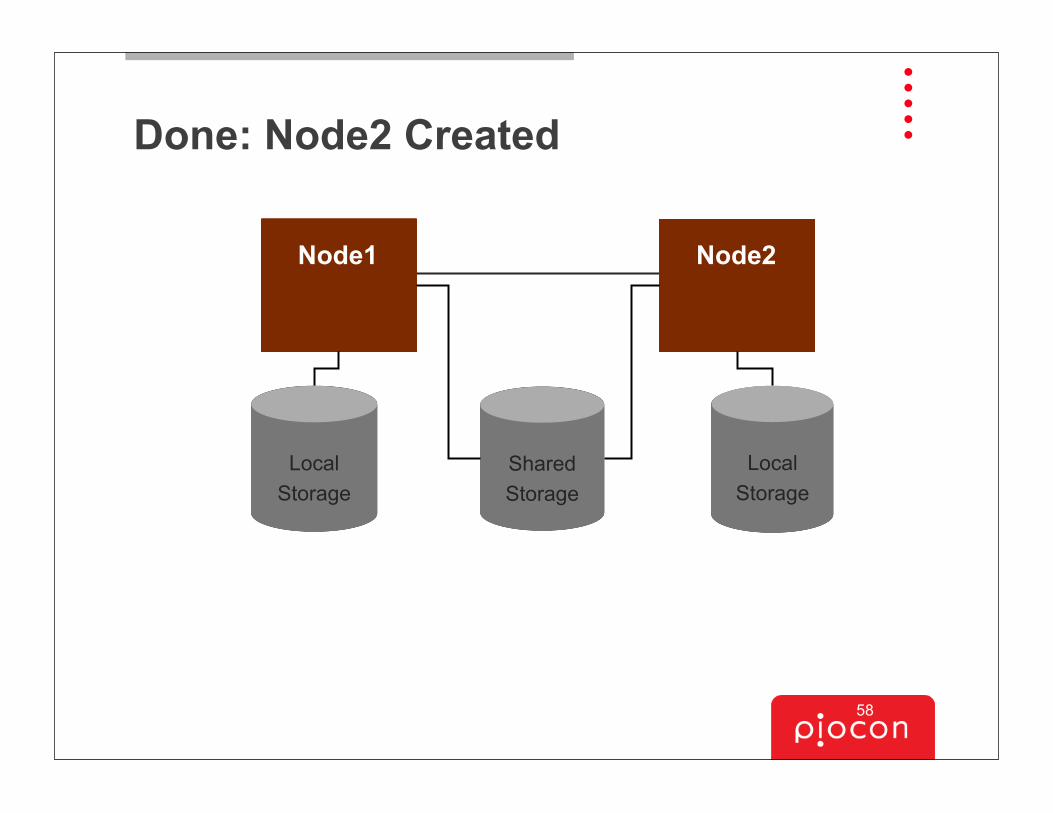
Done: Node2 Created
Shared Storage
Local Storage
Local Storage
Node1 Node2
58
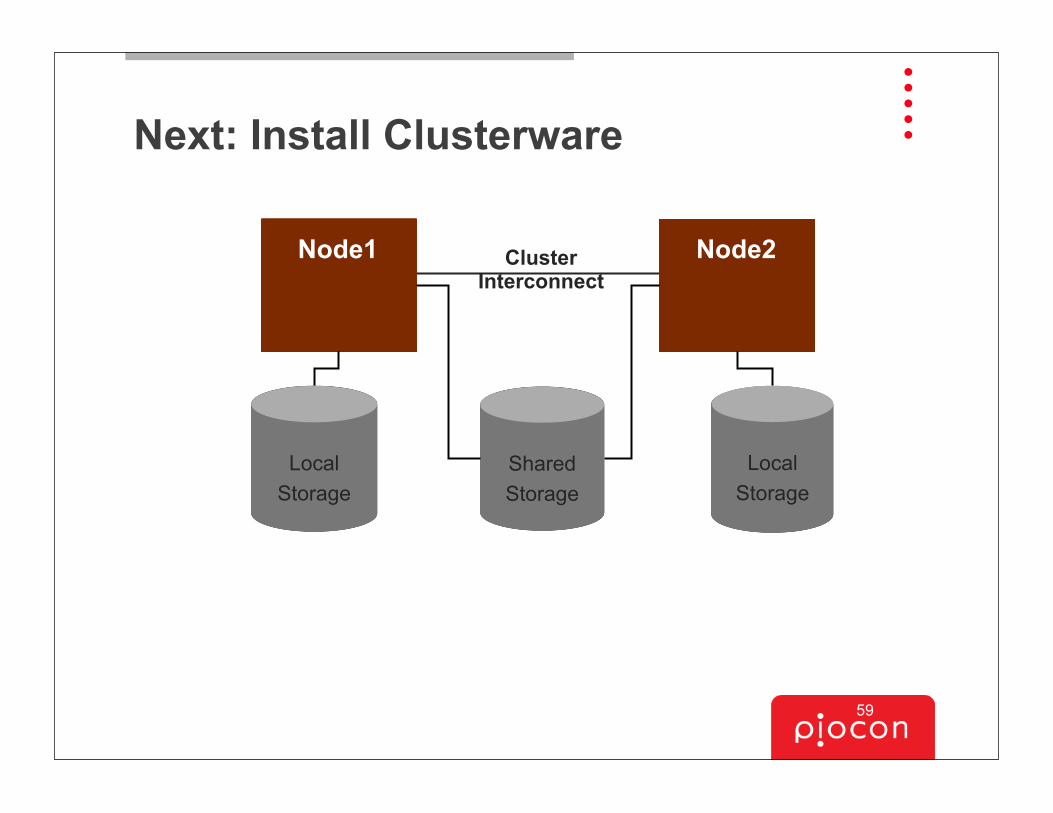
Next: Install Clusterware
Shared Storage
Local Storage
Local Storage
Node1 Node2ClusterInterconnect
59
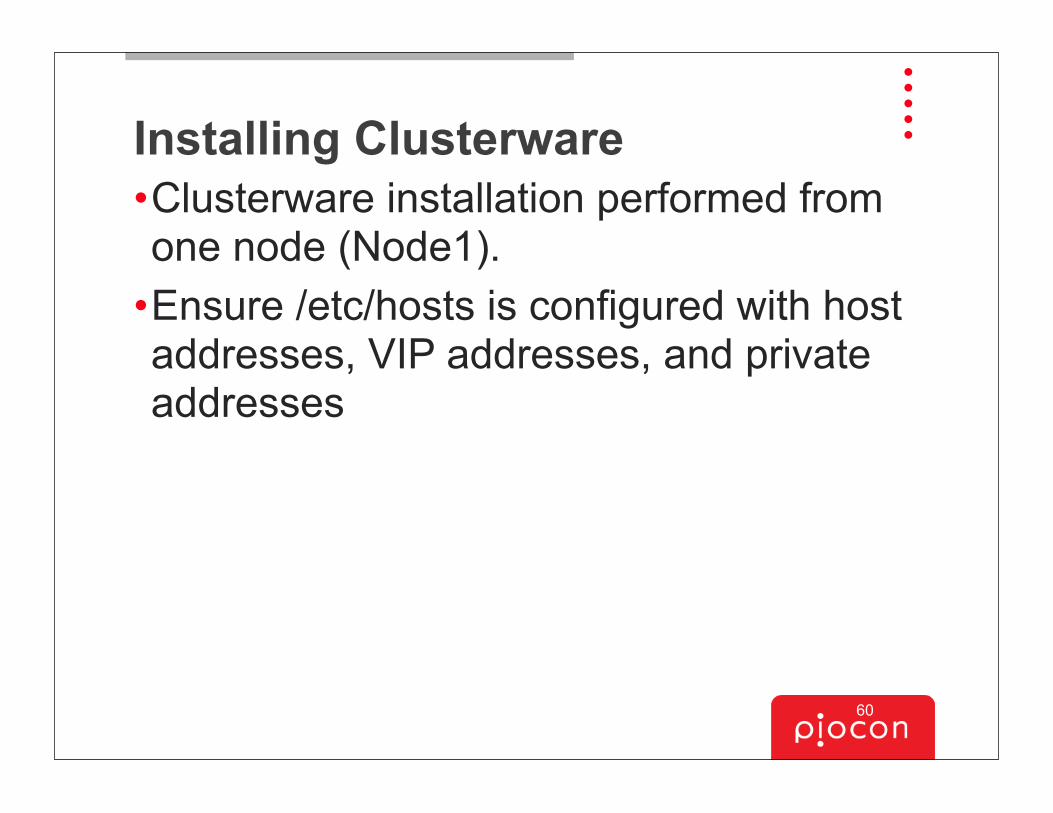
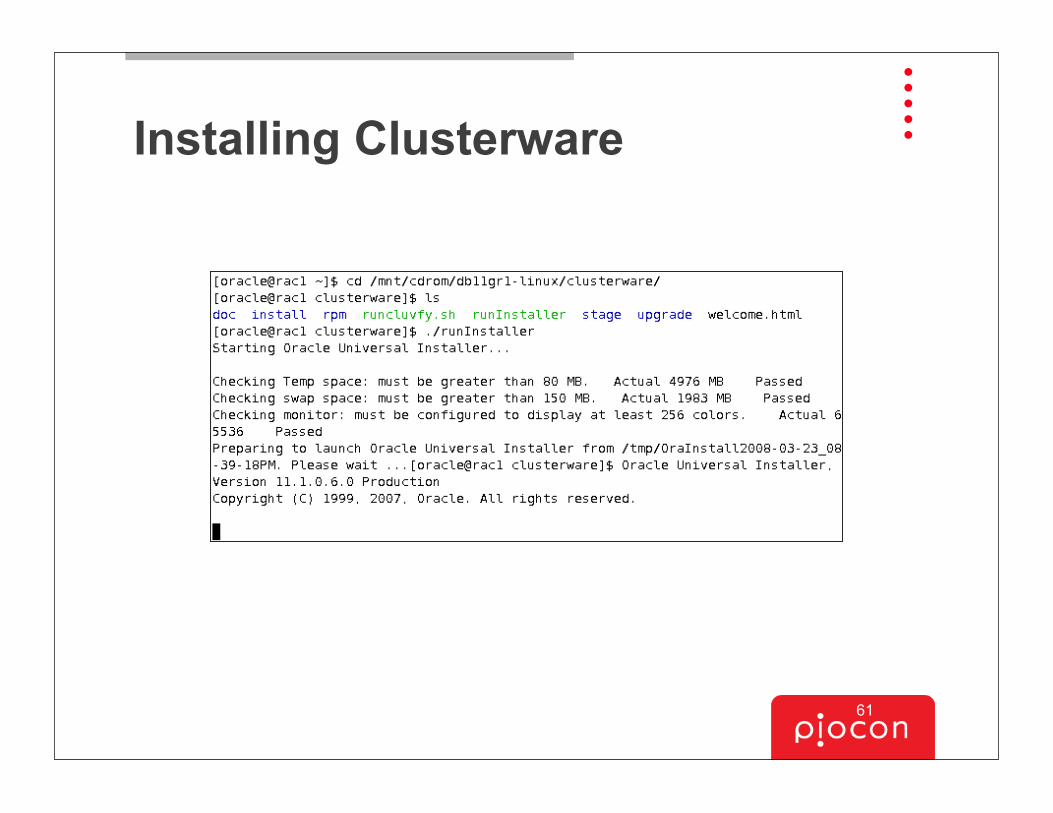
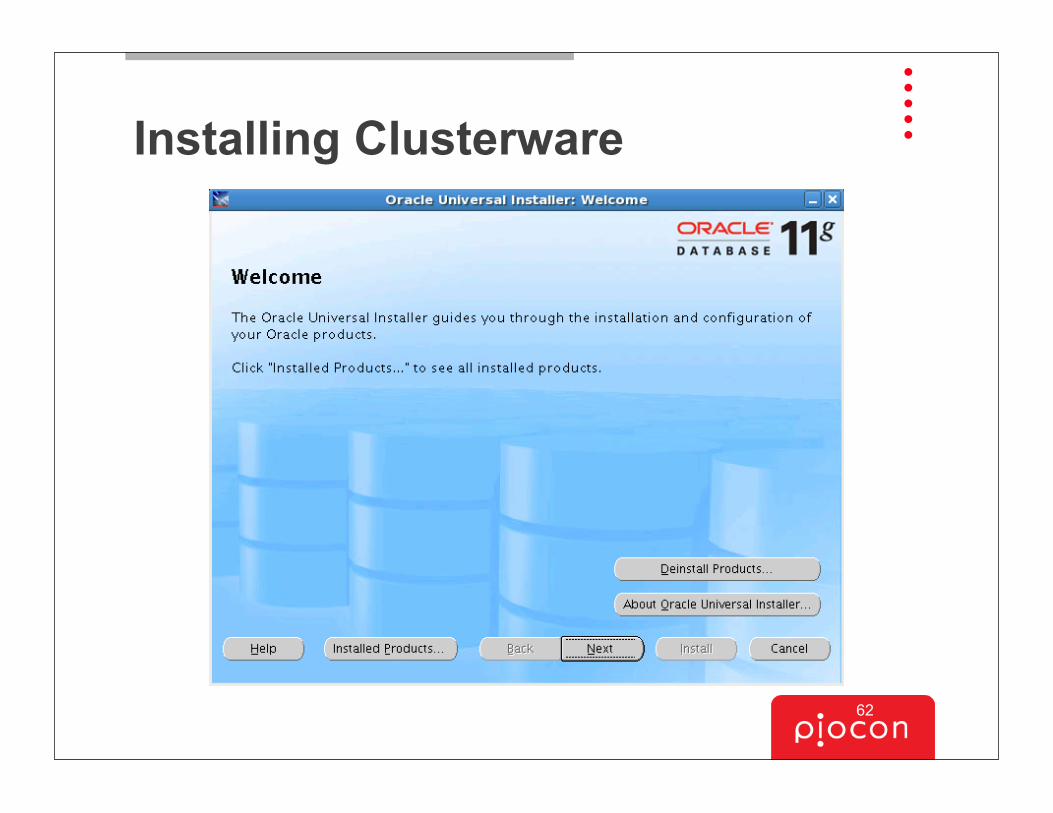
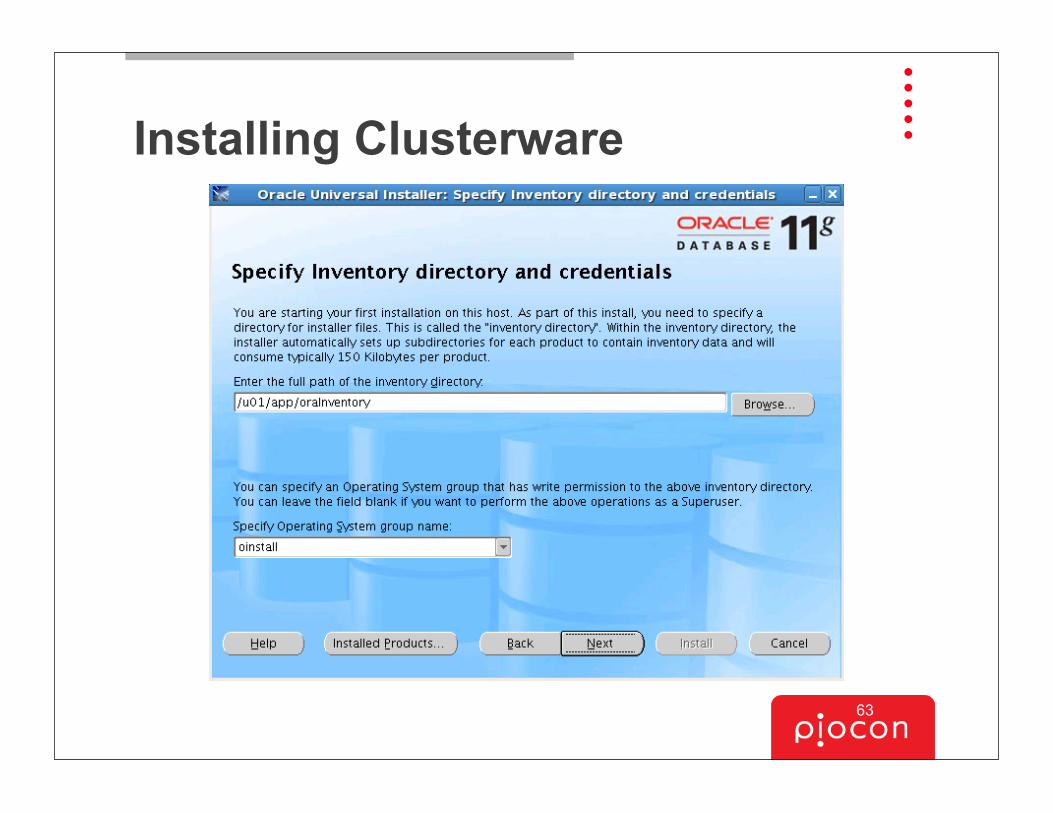
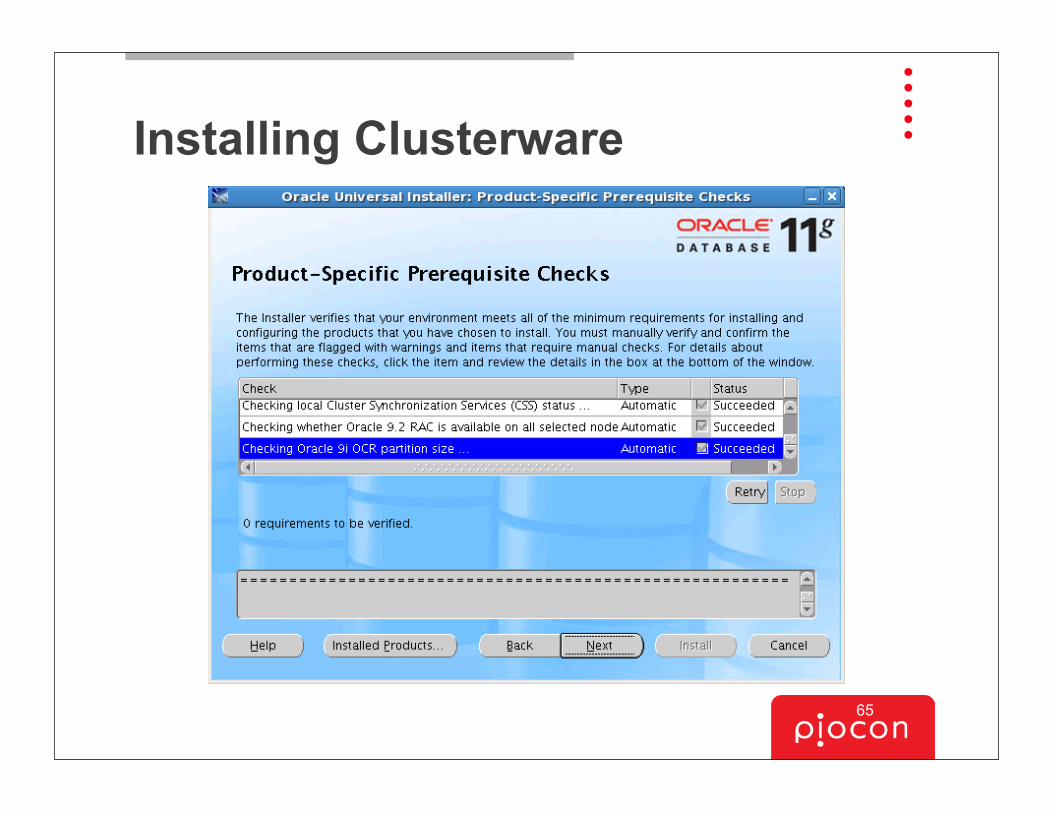
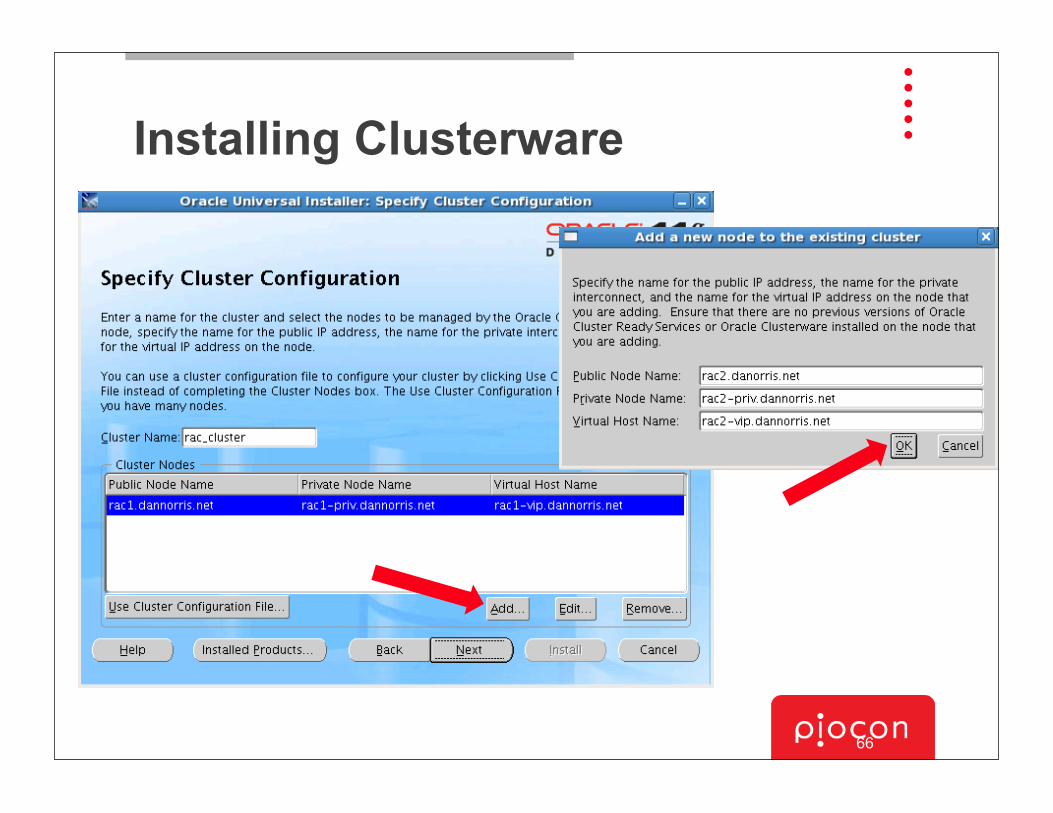
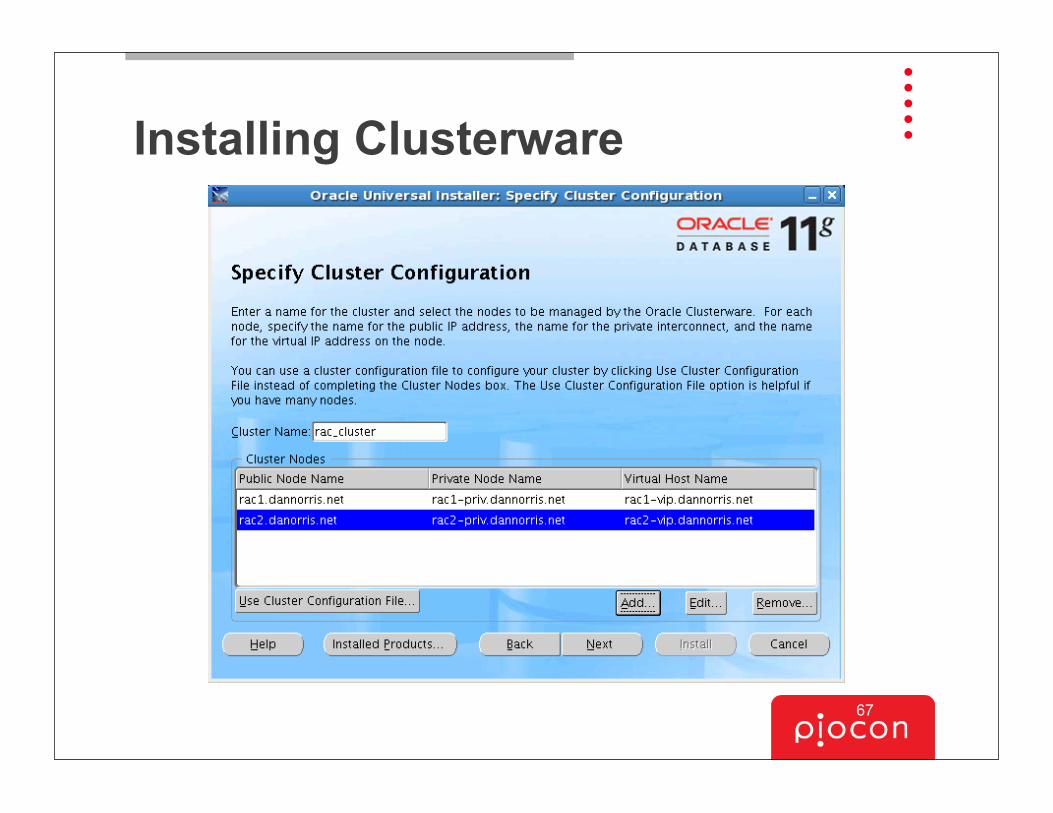
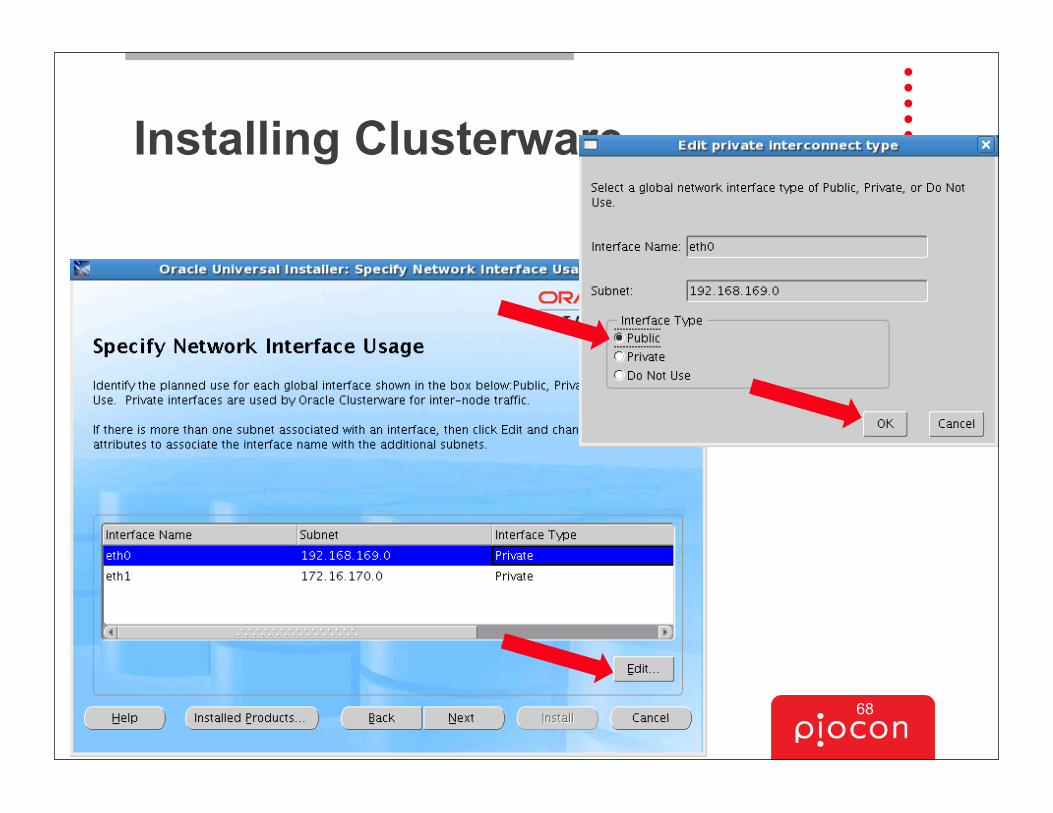
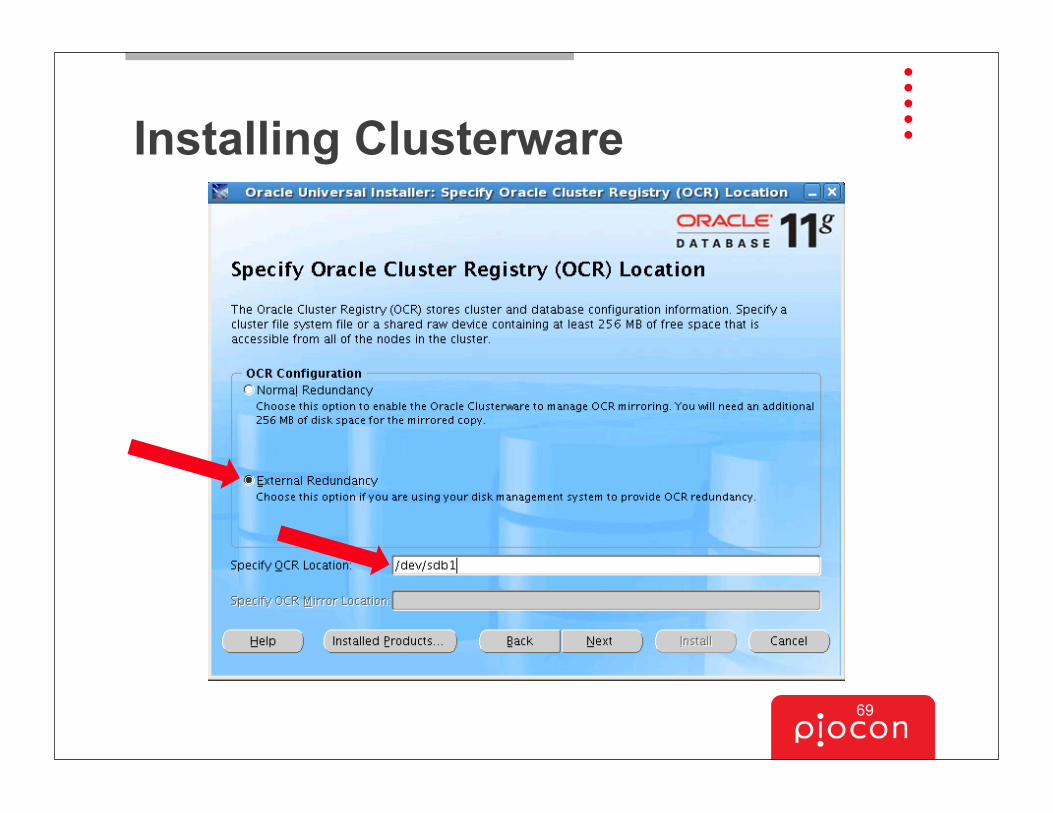
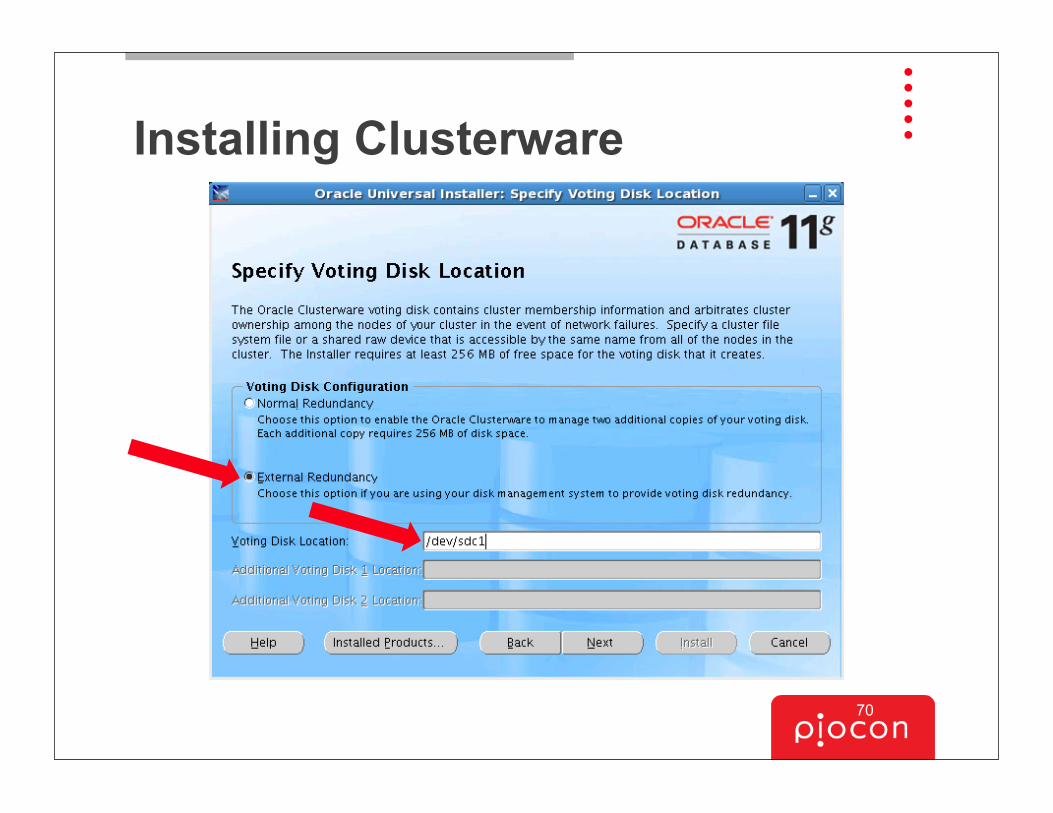
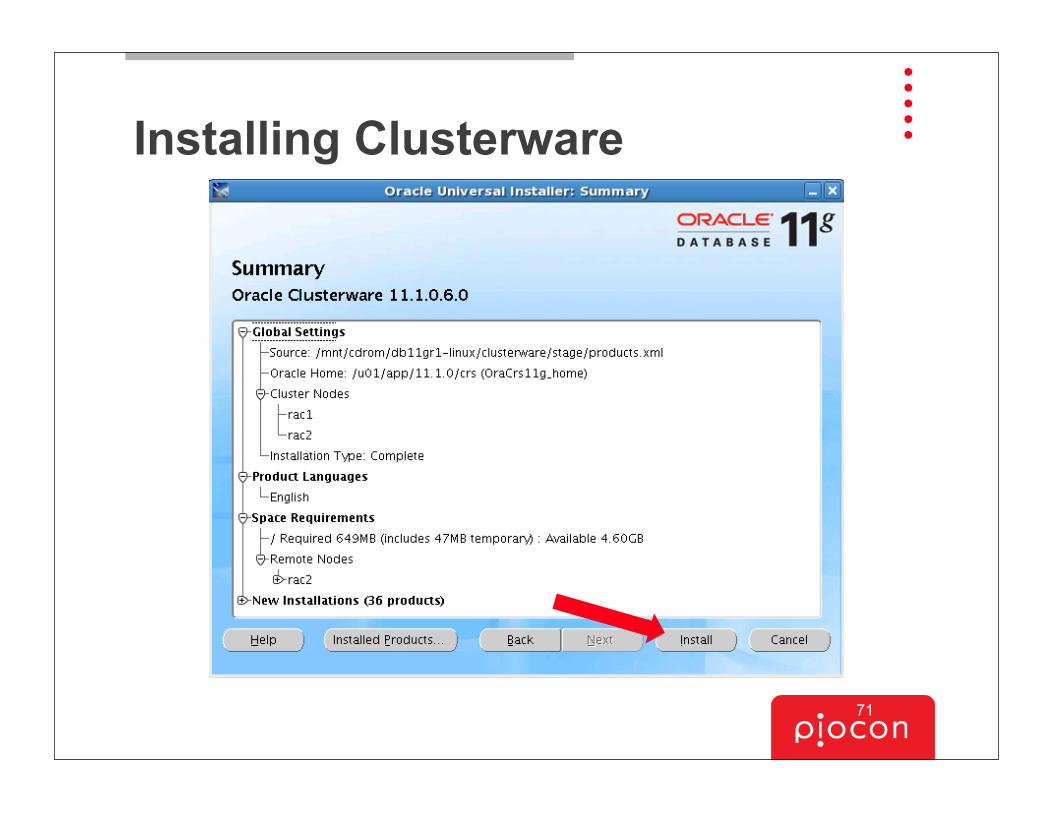
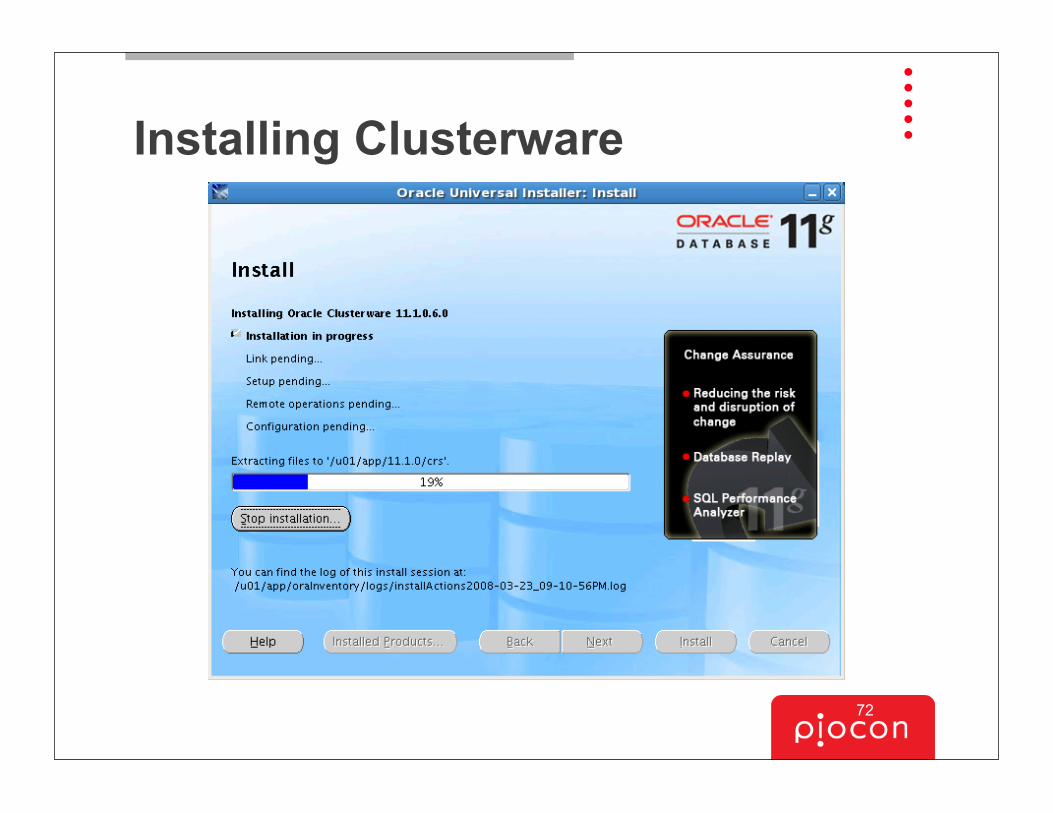
Installing Clusterware•Clusterware installation performed from one node (Node1).
•Ensure /etc/hosts is configured with host addresses, VIP addresses, and private addresses
60
Installing Clusterware
61
Installing Clusterware
62
Installing Clusterware
63

Installing Clusterware
64
Installing Clusterware
65
Installing Clusterware
66
Installing Clusterware
67
Installing Clusterware
68
Installing Clusterware
69
Installing Clusterware
70
Installing Clusterware
71
Installing Clusterware
72
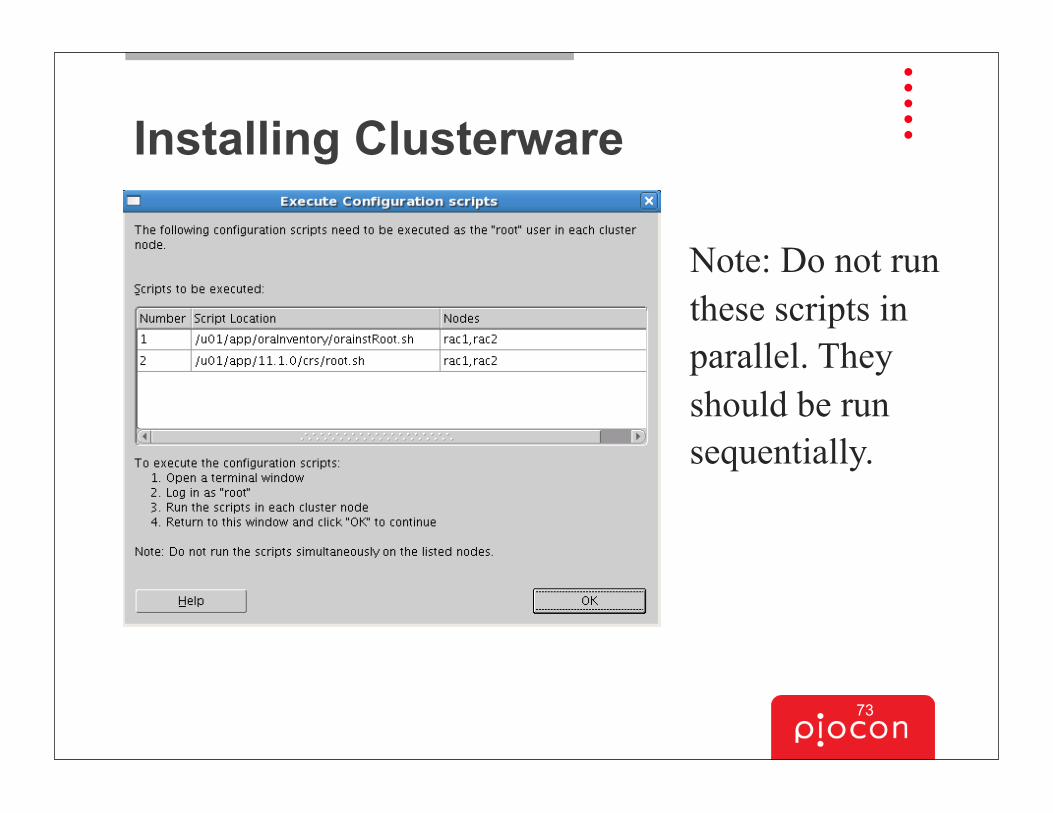
Installing Clusterware
Note: Do not run these scripts in parallel. They should be run sequentially.
73
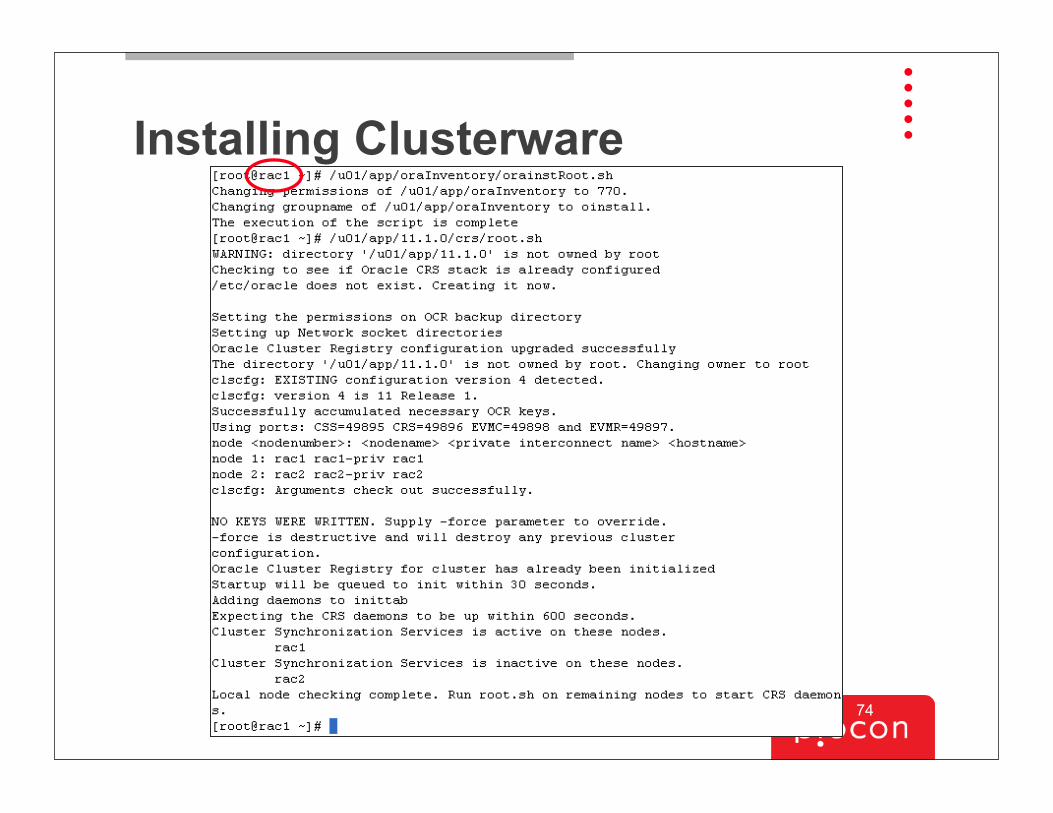
Installing Clusterware
74
Installing Clusterware
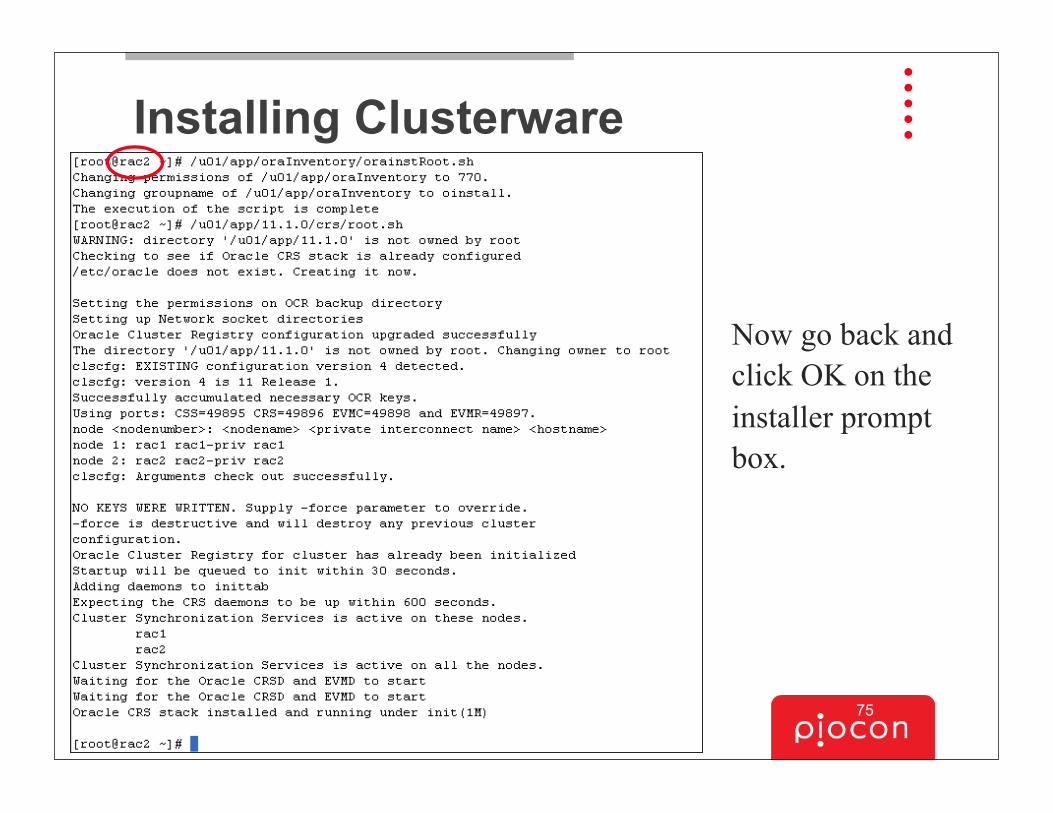
Now go back and click OK on the installer prompt box.
75
Installing Clusterware
76
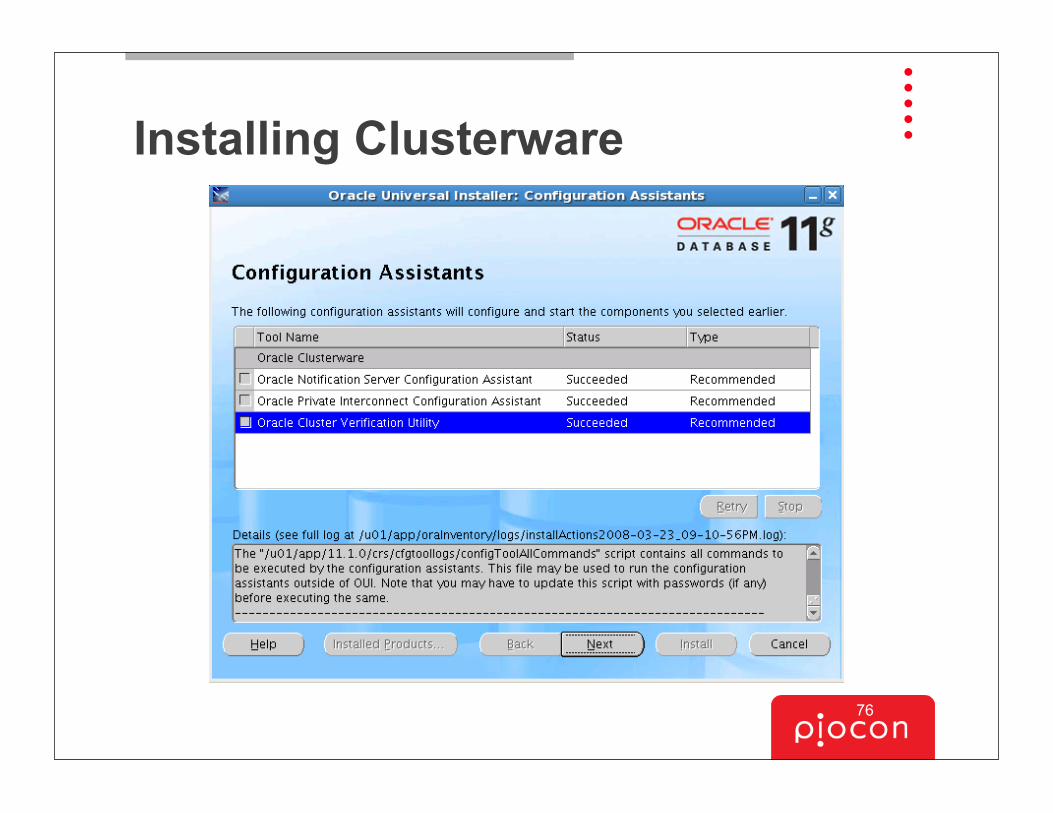
Installing Clusterware
77
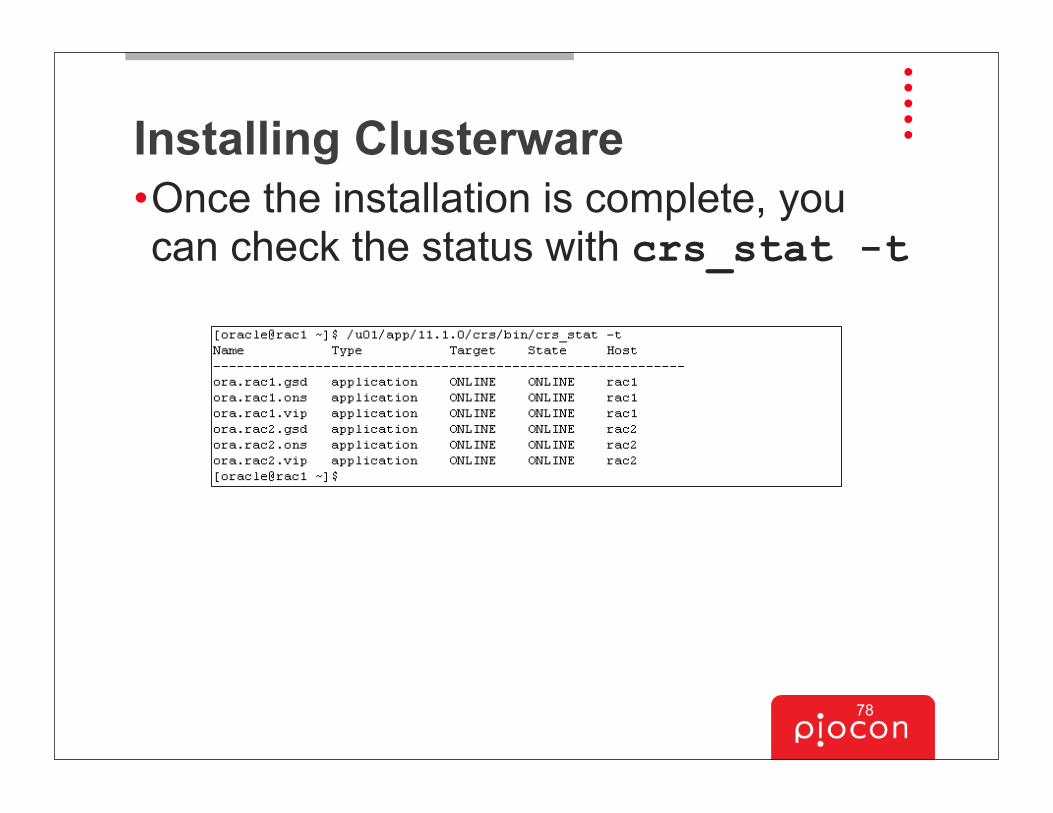
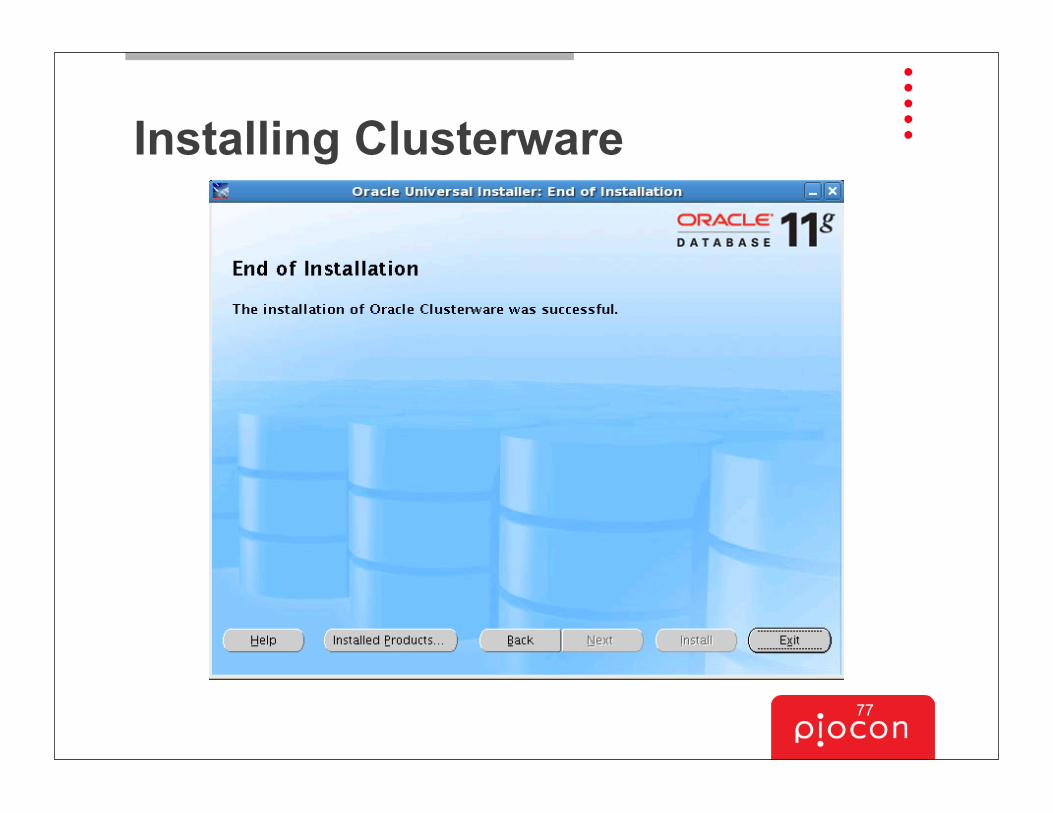
Installing Clusterware•Once the installation is complete, you can check the status with crs_stat -t
78

Finished: Install Clusterware
Shared Storage
Local Storage
Local Storage
Node1 Node2ClusterInterconnect
79
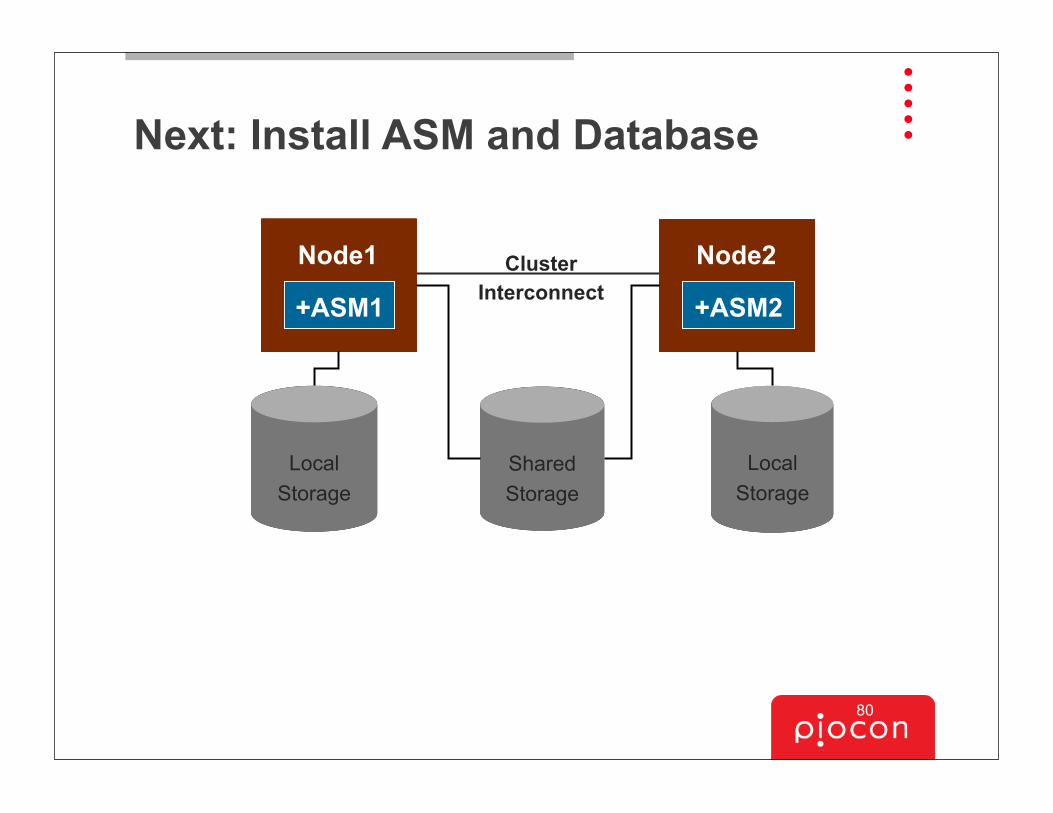
Next: Install ASM and Database
Shared Storage
Local Storage
Local Storage
+ASM2+ASM1
ClusterInterconnect
Node1 Node2
80
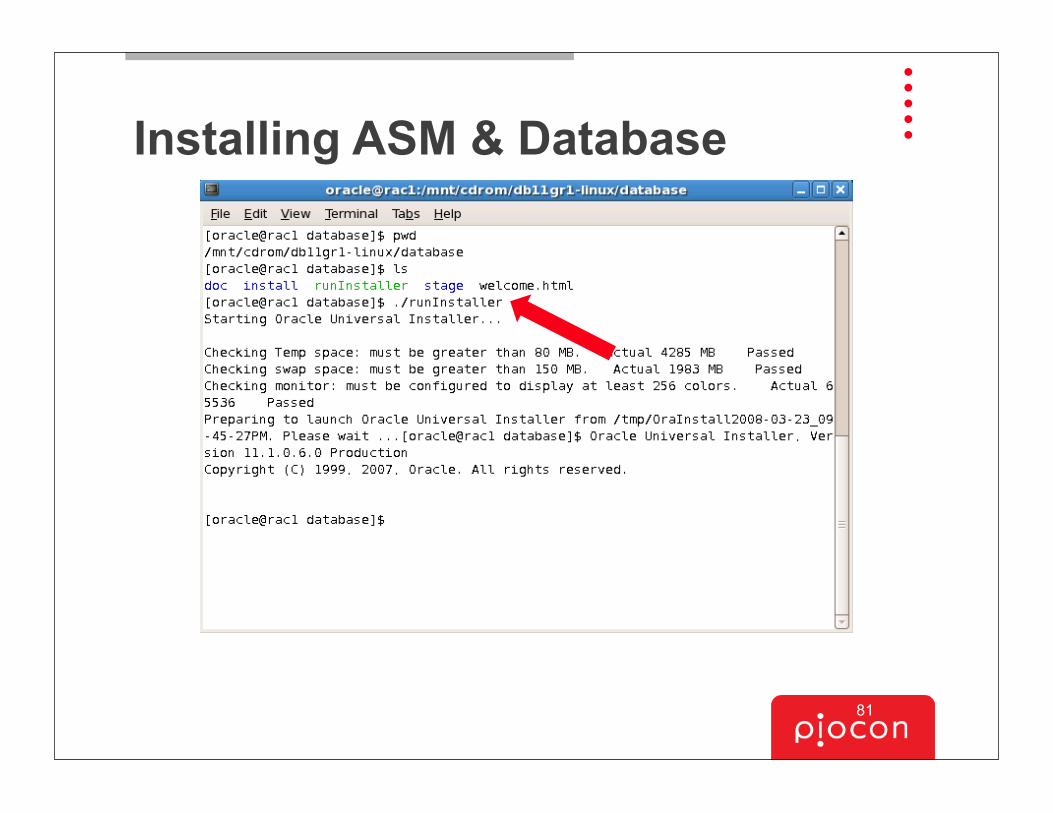
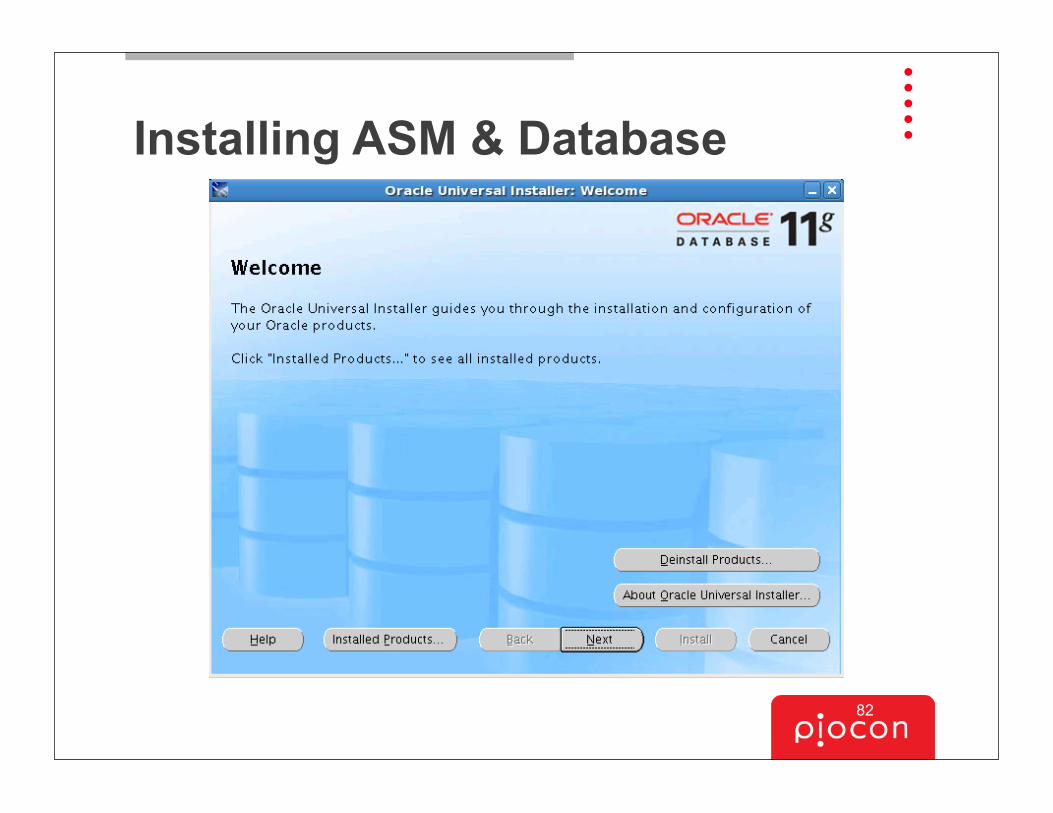
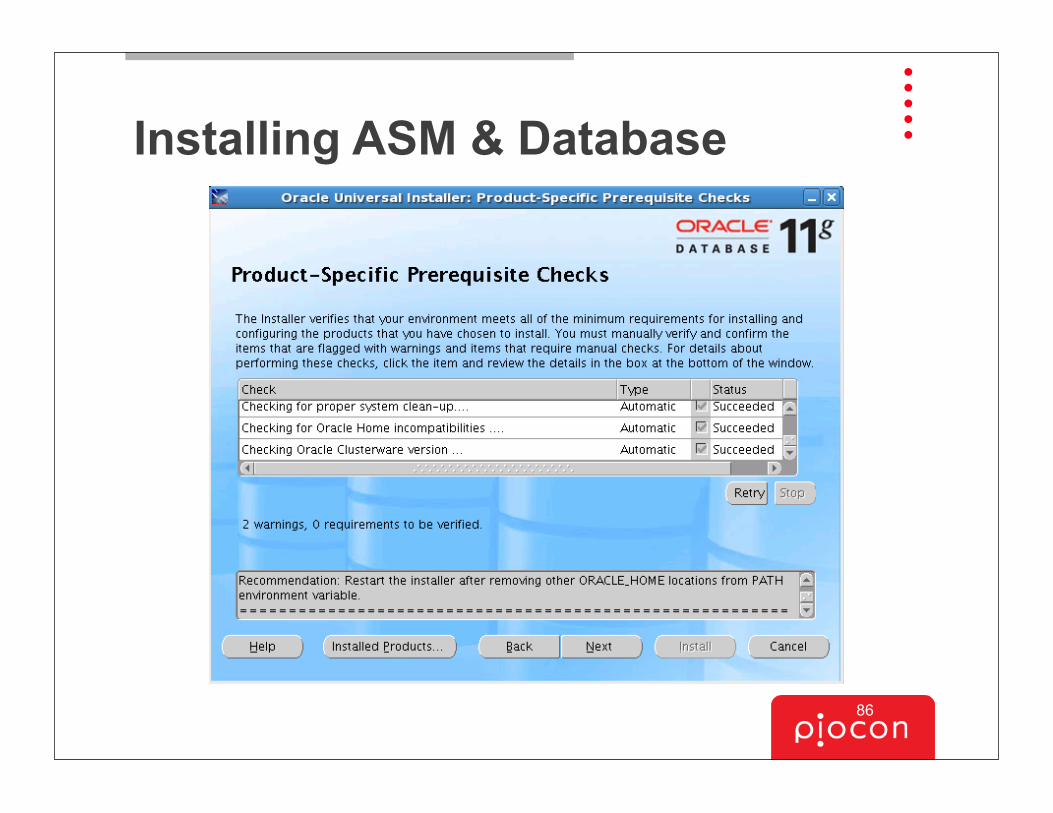
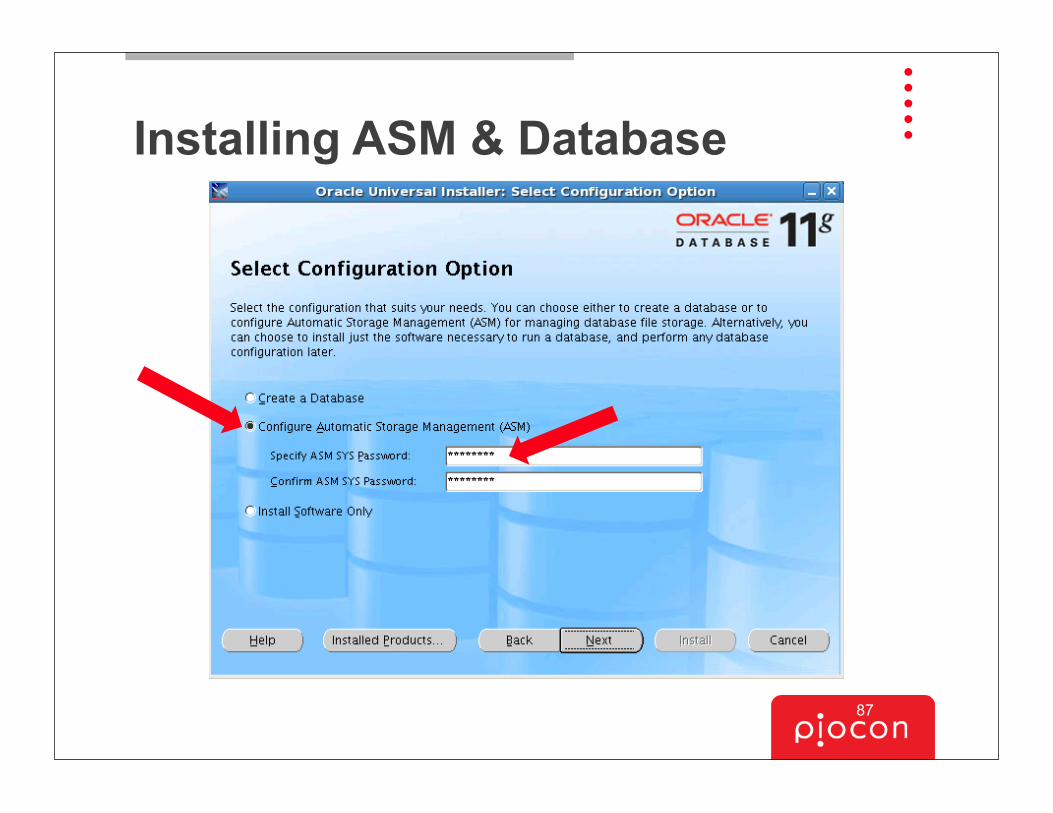
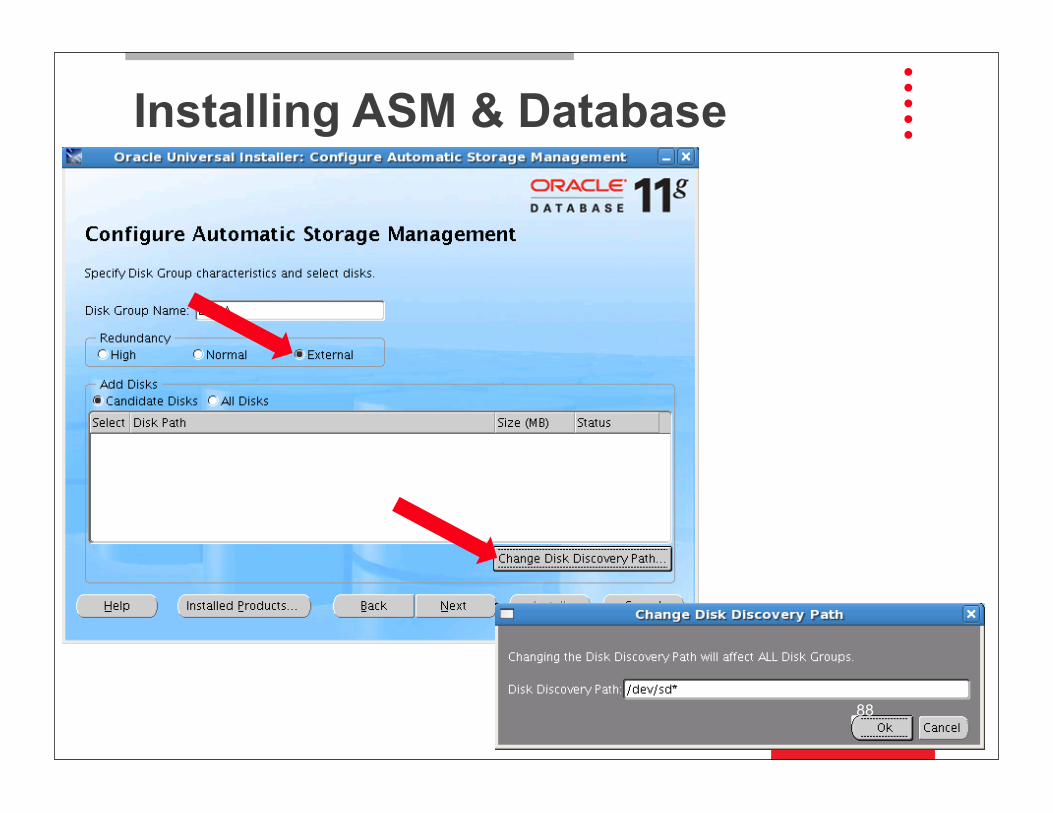
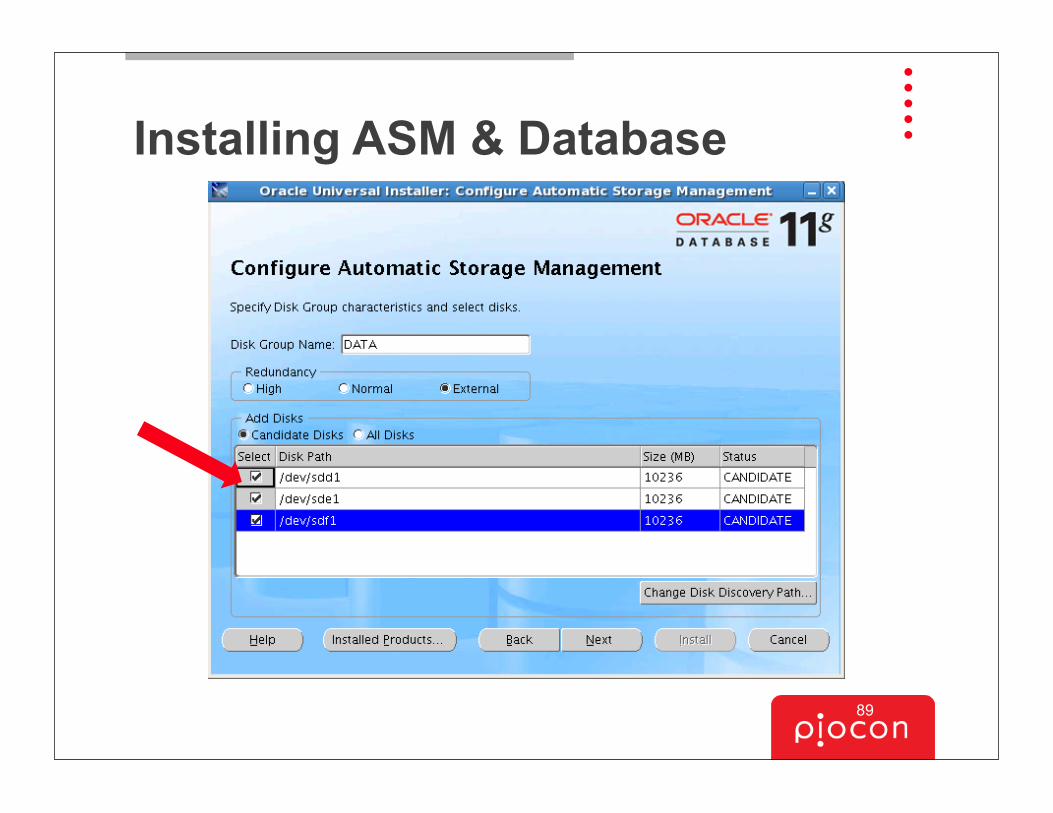
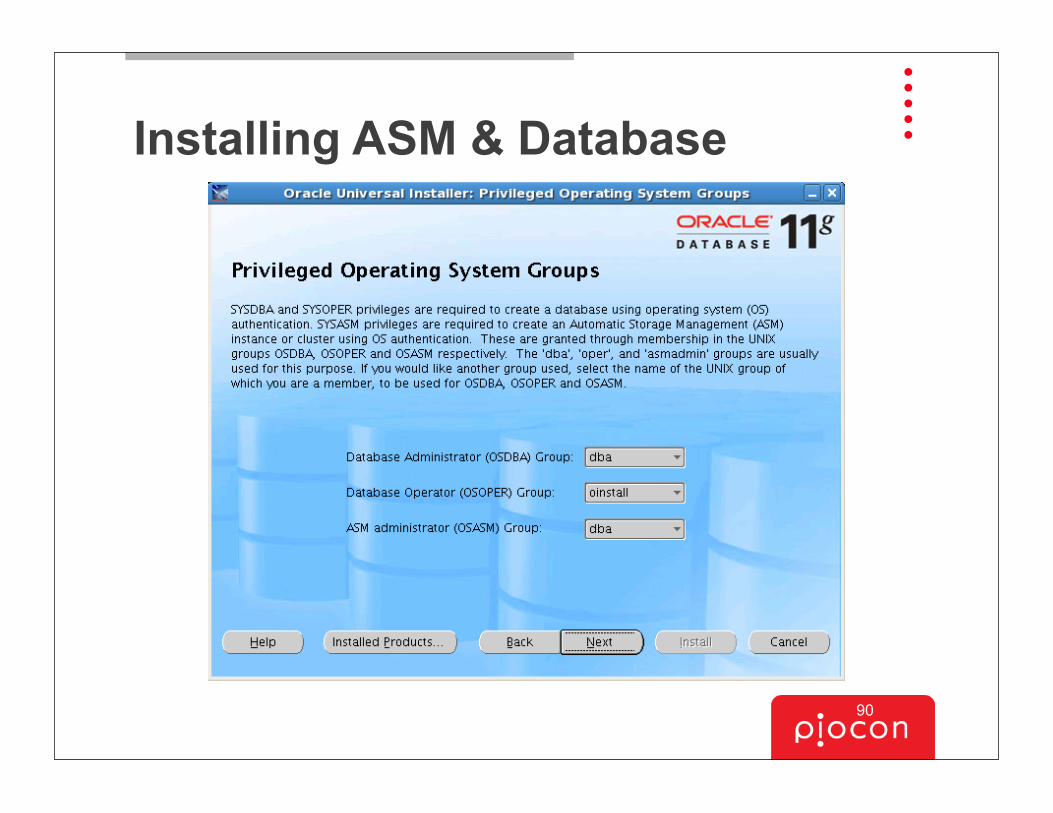
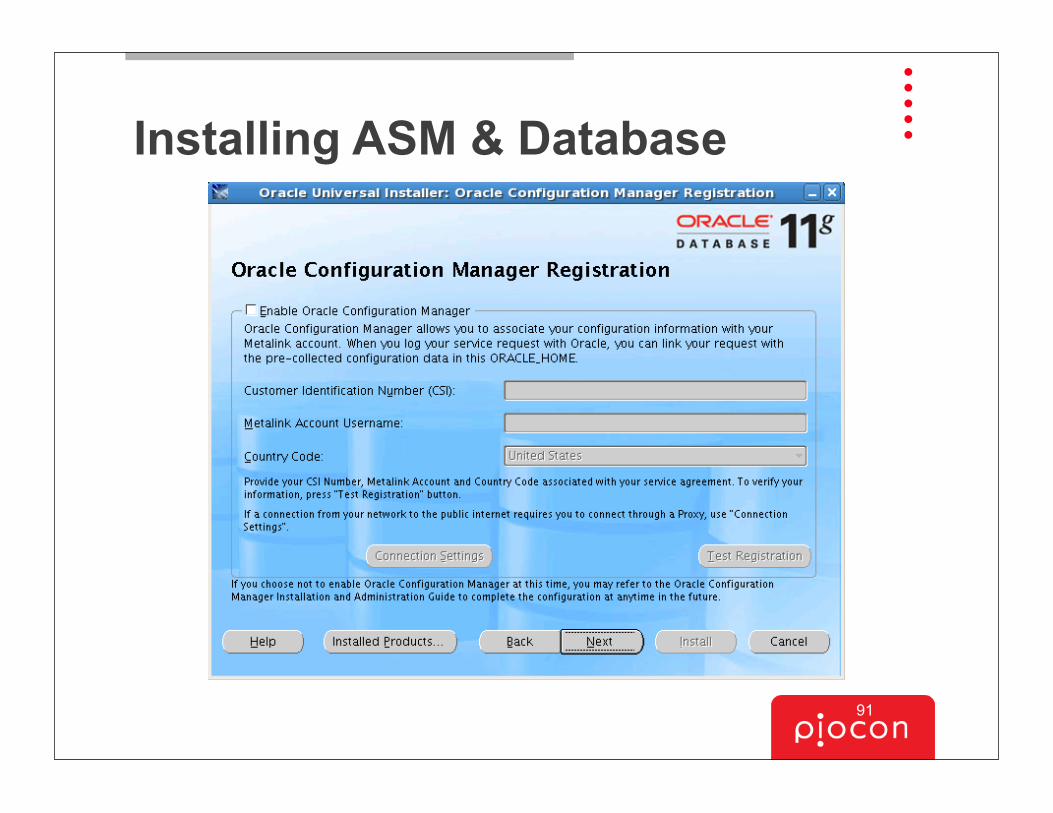
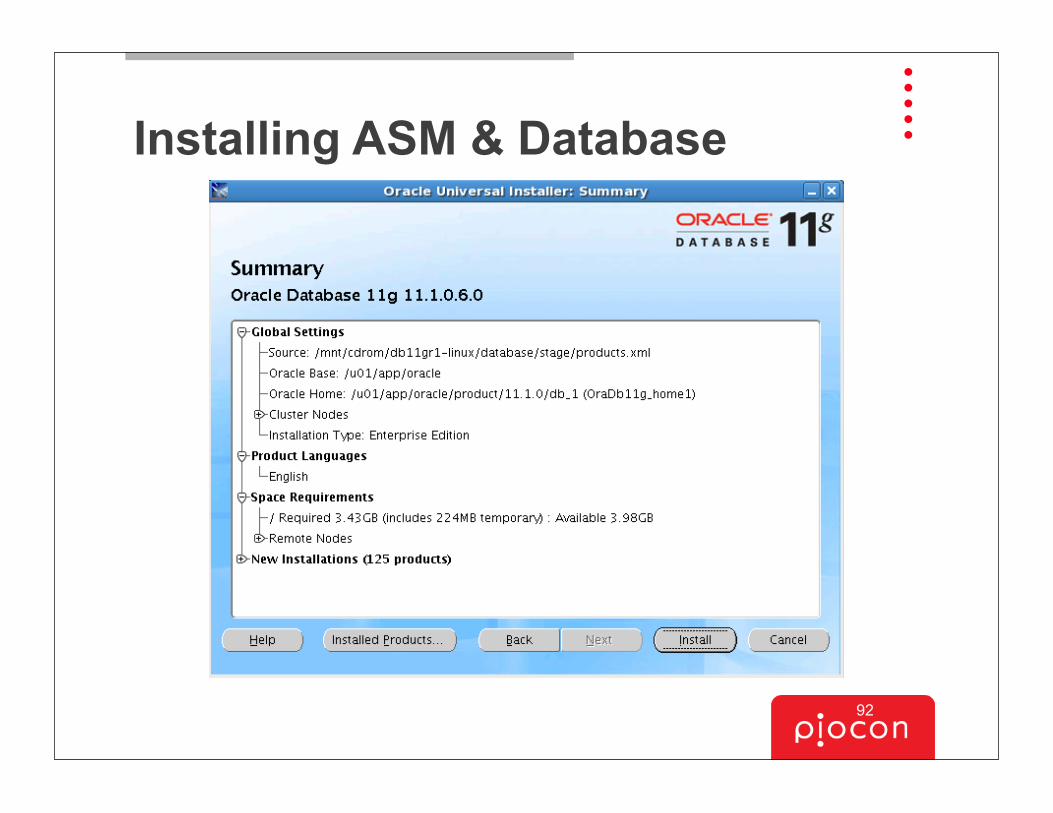
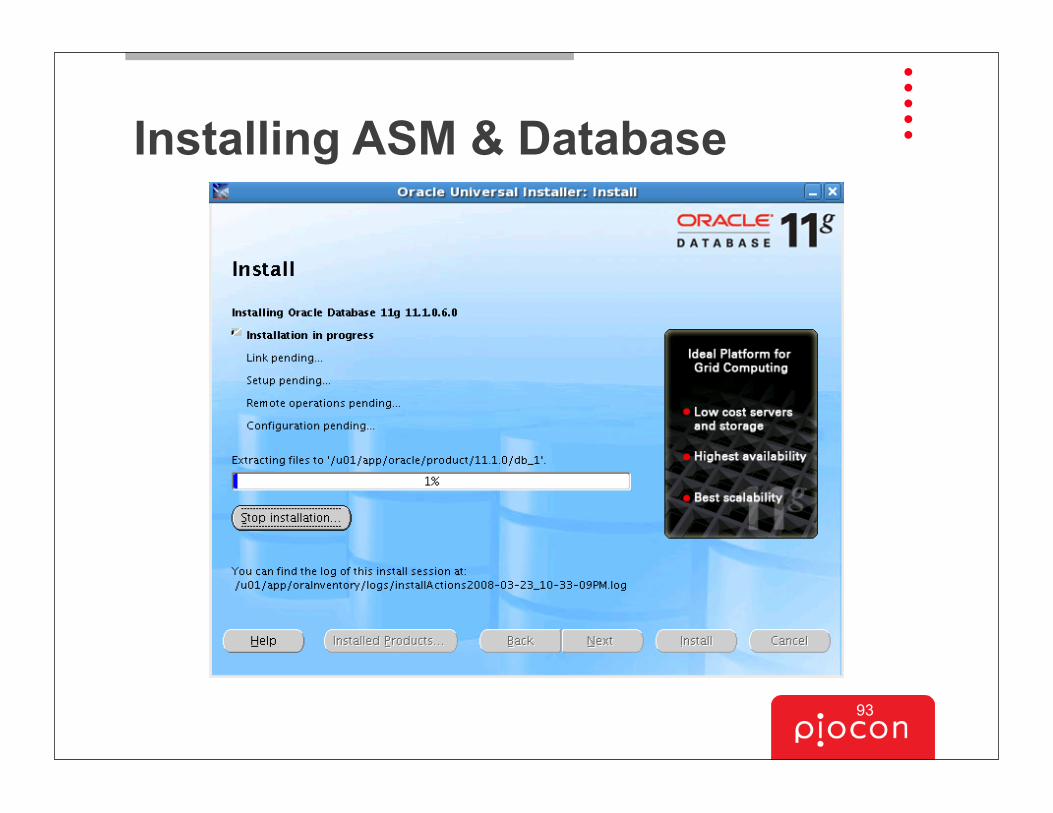
Installing ASM & Database
81
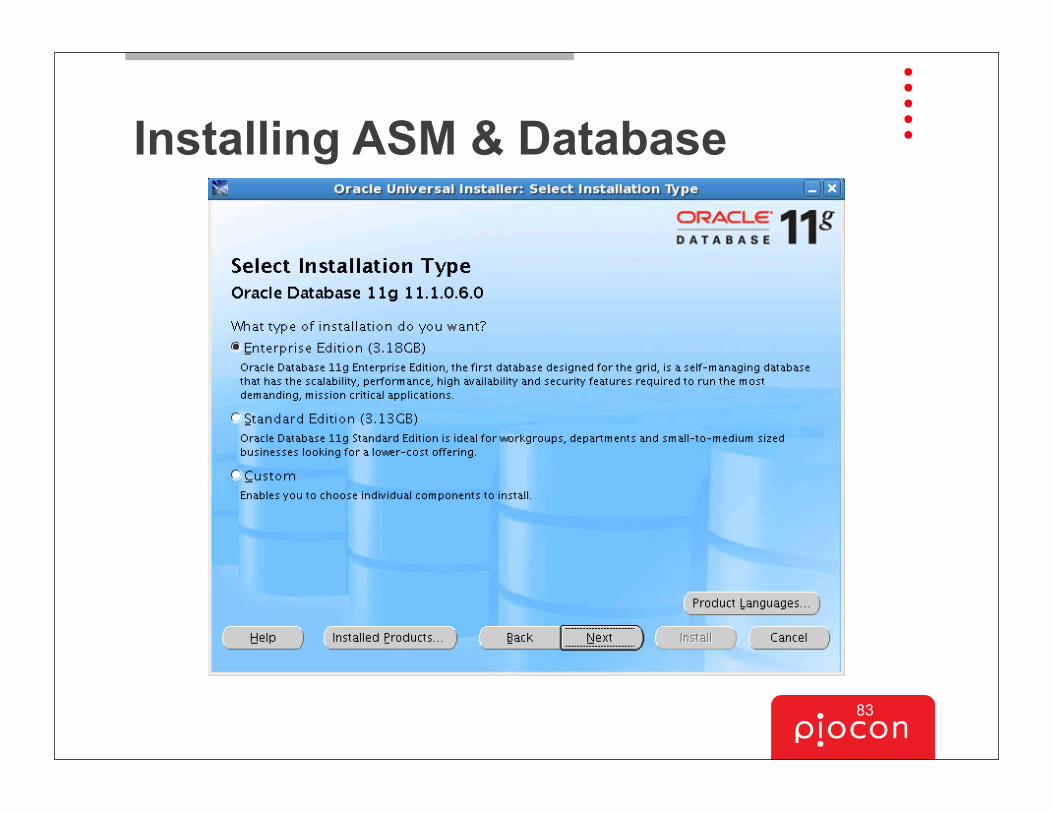
Installing ASM & Database
82
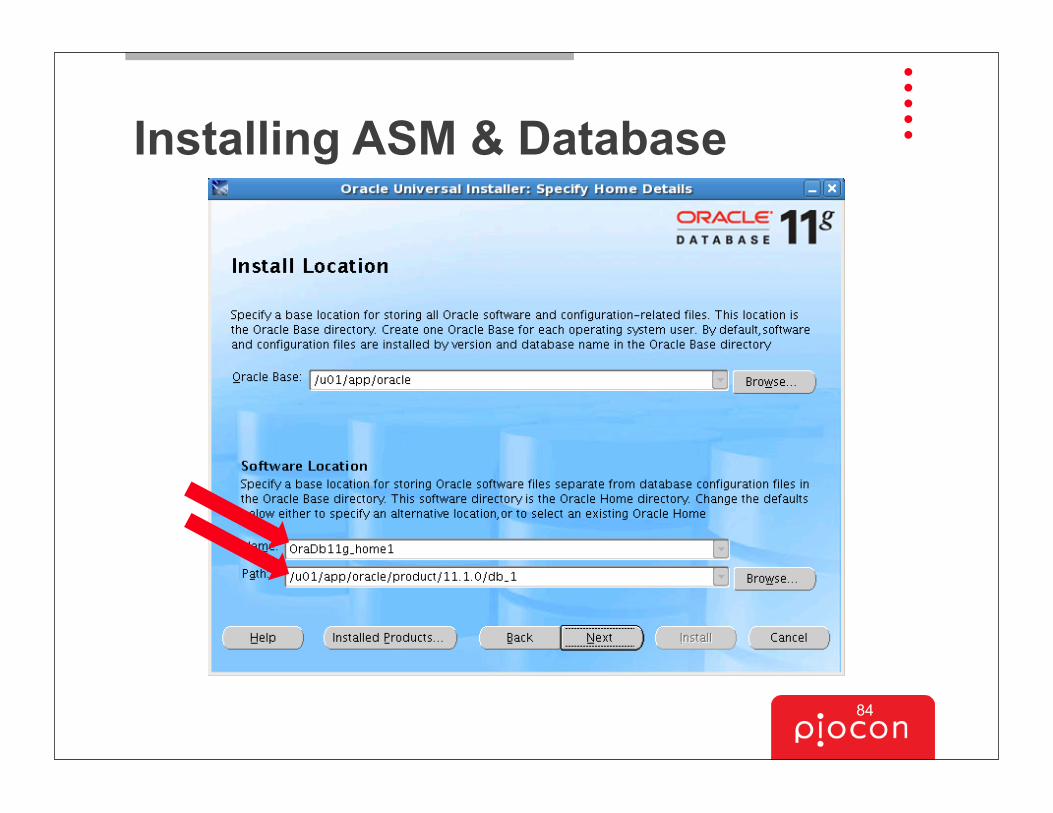
Installing ASM & Database
83
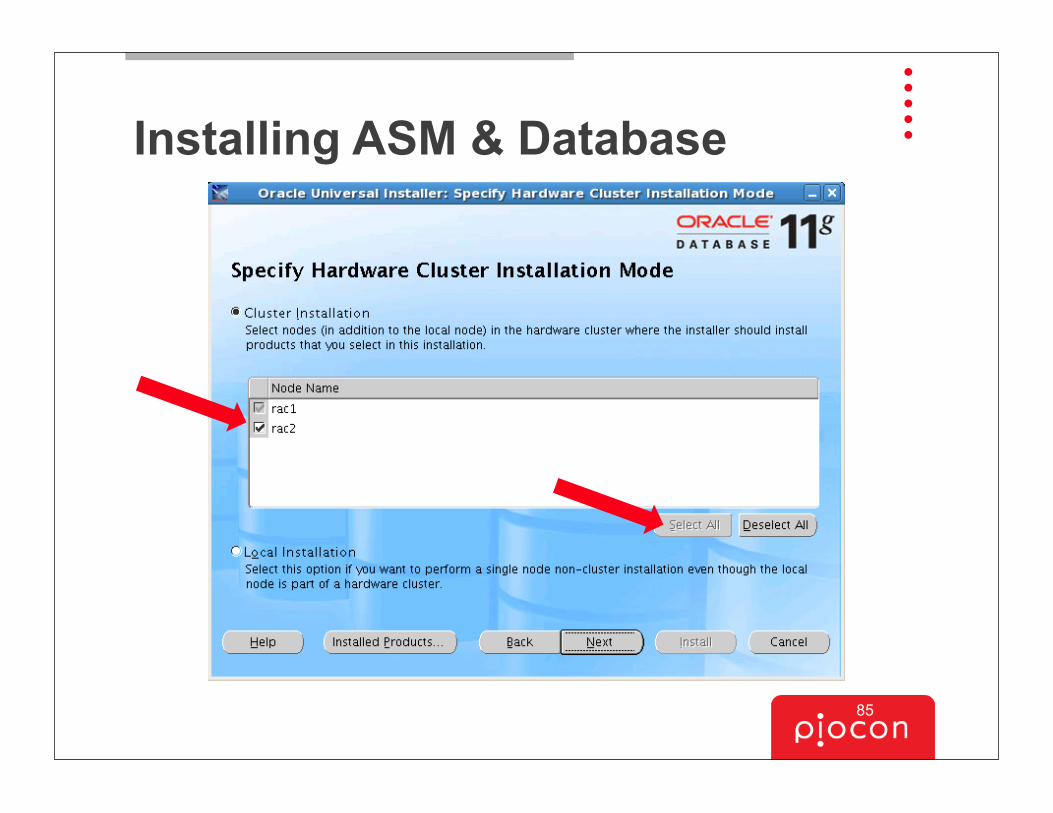
Installing ASM & Database
84
Installing ASM & Database
85
Installing ASM & Database
86
Installing ASM & Database
87
Installing ASM & Database
88
Installing ASM & Database
89
Installing ASM & Database
90
Installing ASM & Database
91
Installing ASM & Database
92
Installing ASM & Database
93
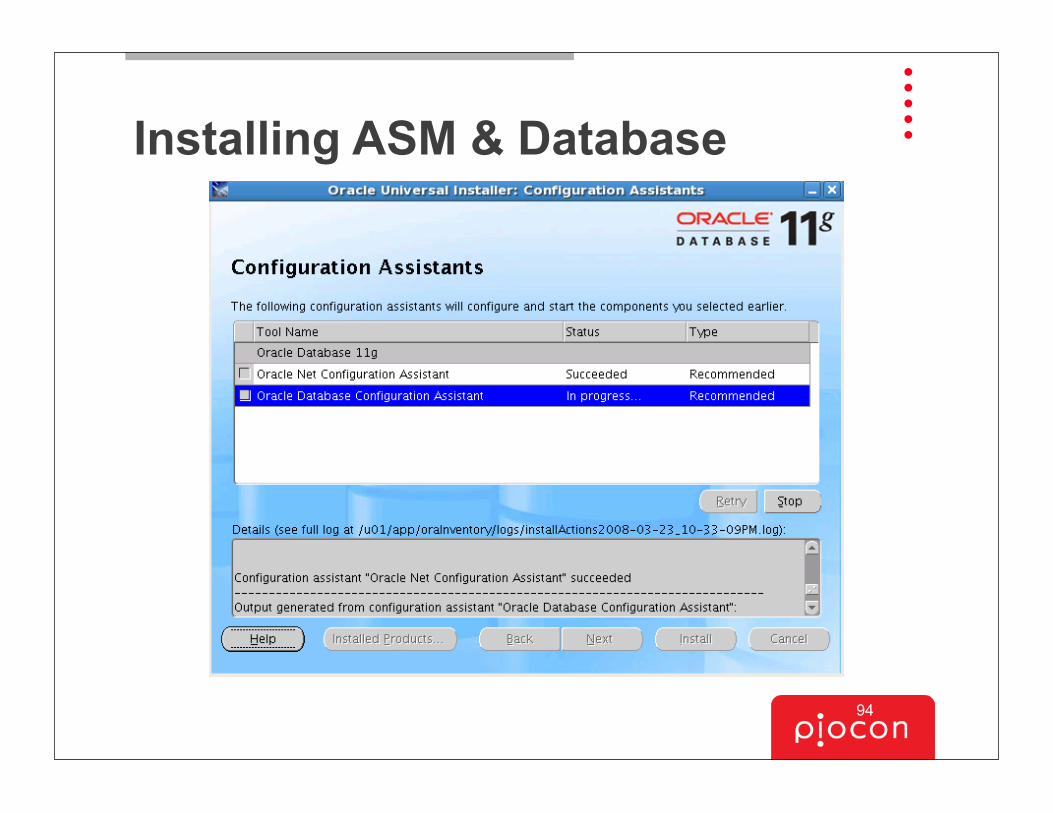
Installing ASM & Database
94
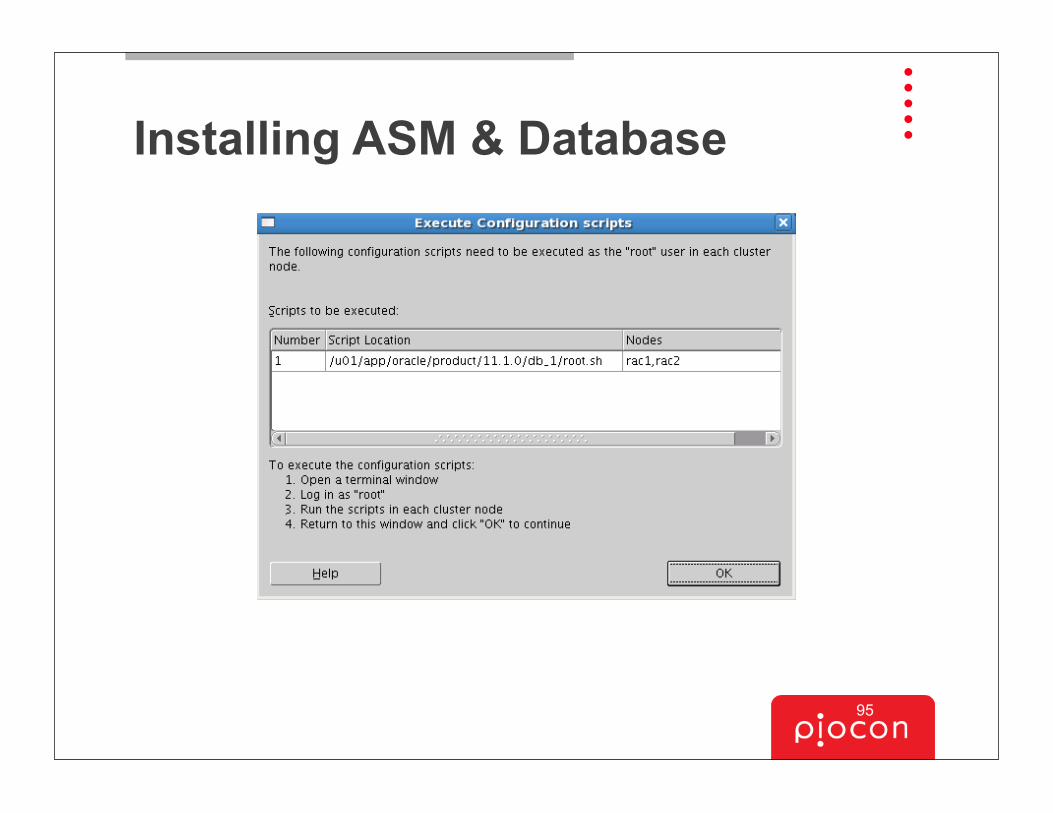
Installing ASM & Database
95
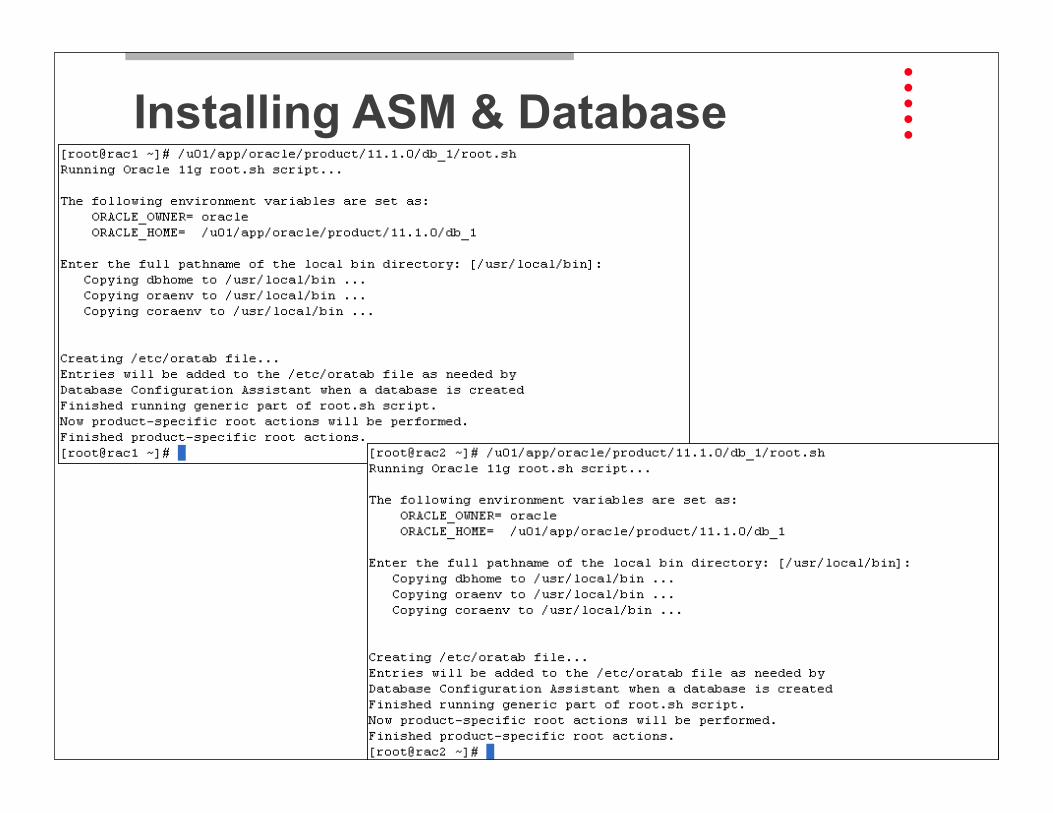
Installing ASM & Database
96
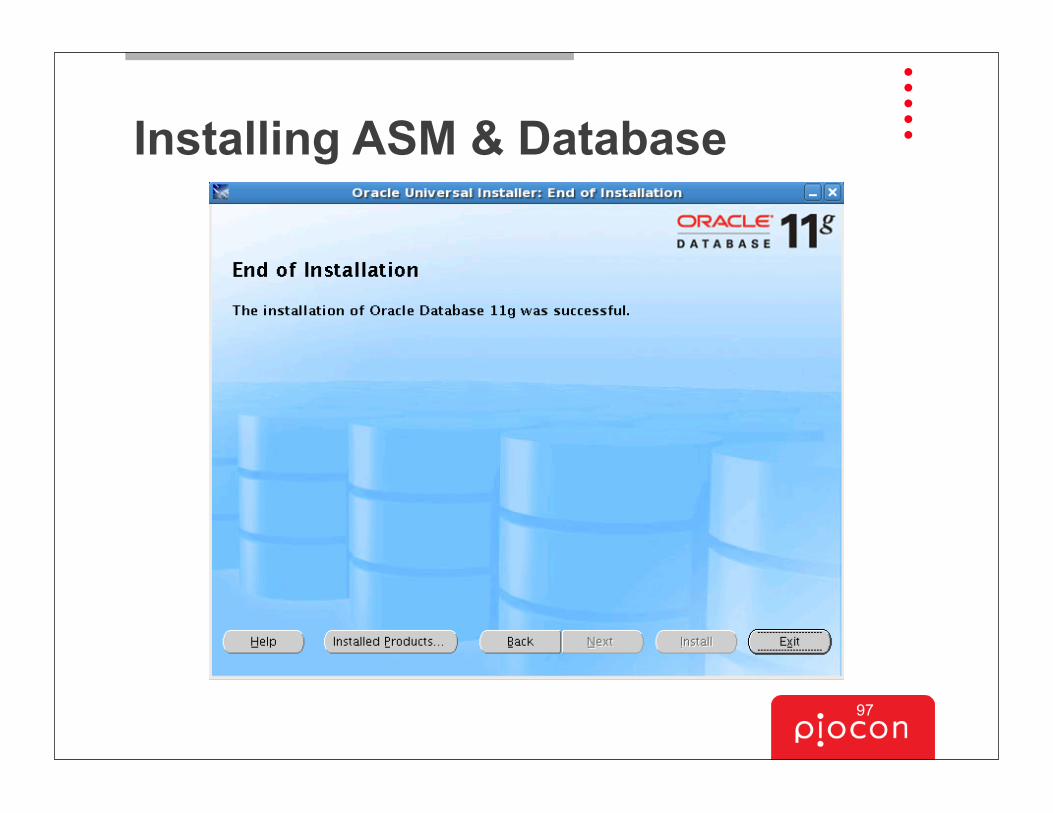
Installing ASM & Database
97
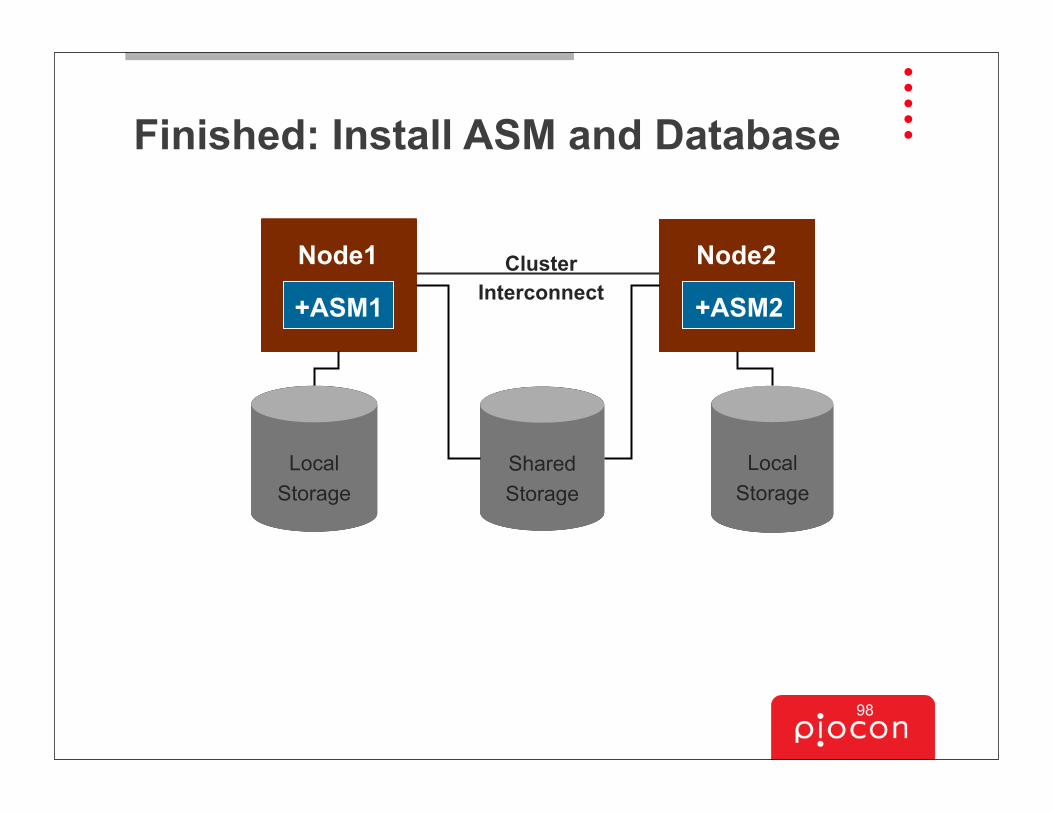
Finished: Install ASM and Database
Shared Storage
Local Storage
Local Storage
+ASM2+ASM1
ClusterInterconnect
Node1 Node2
98

Next: Create Database
Shared Storage
Local Storage
Local Storage
+ASM2+ASM1
ClusterInterconnectNode1 Node2
rac1 rac2
99
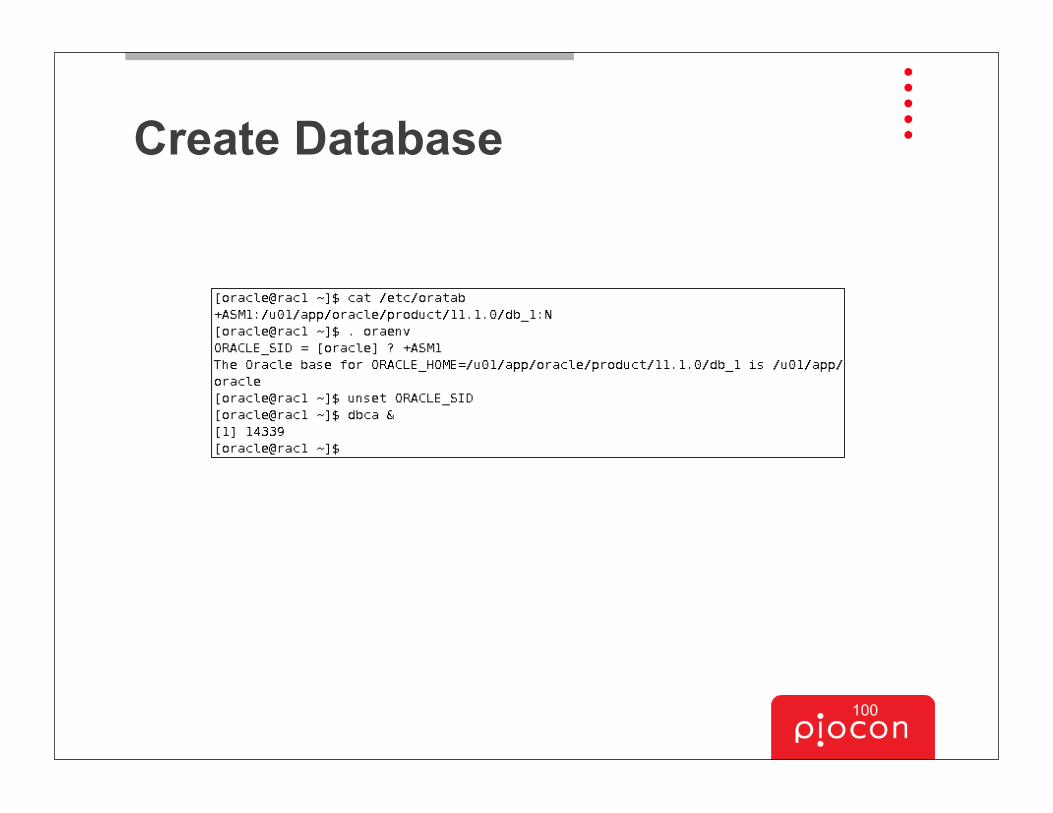
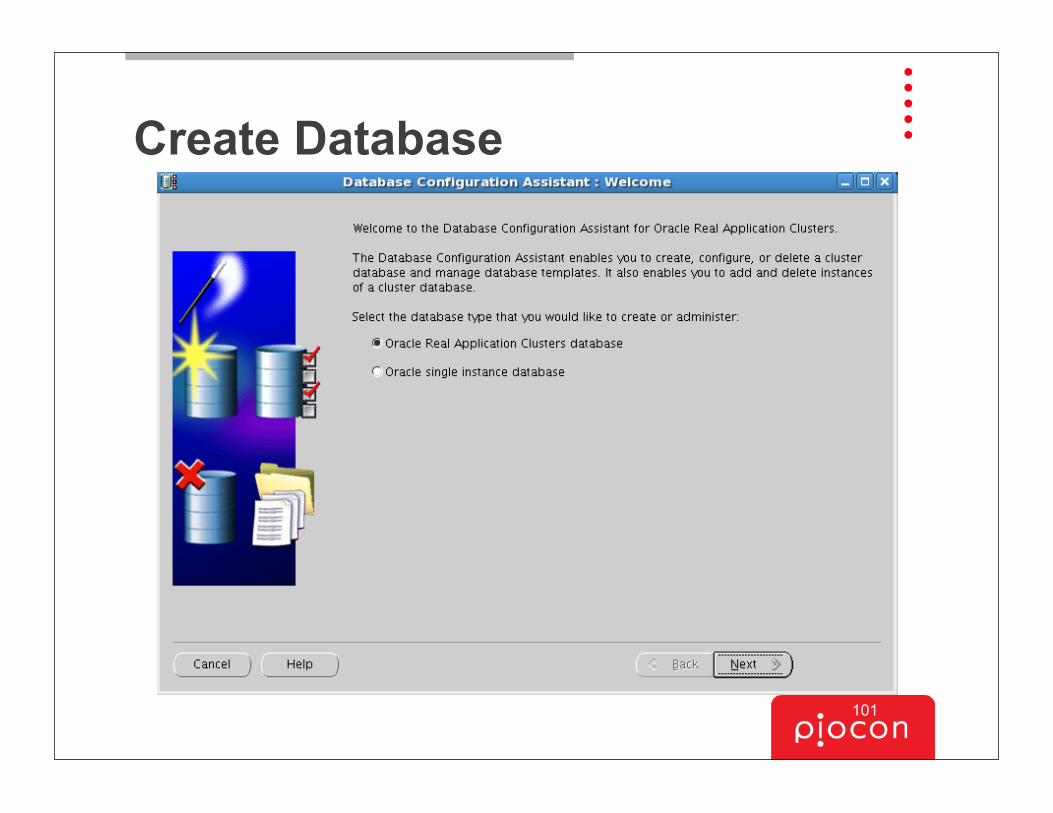
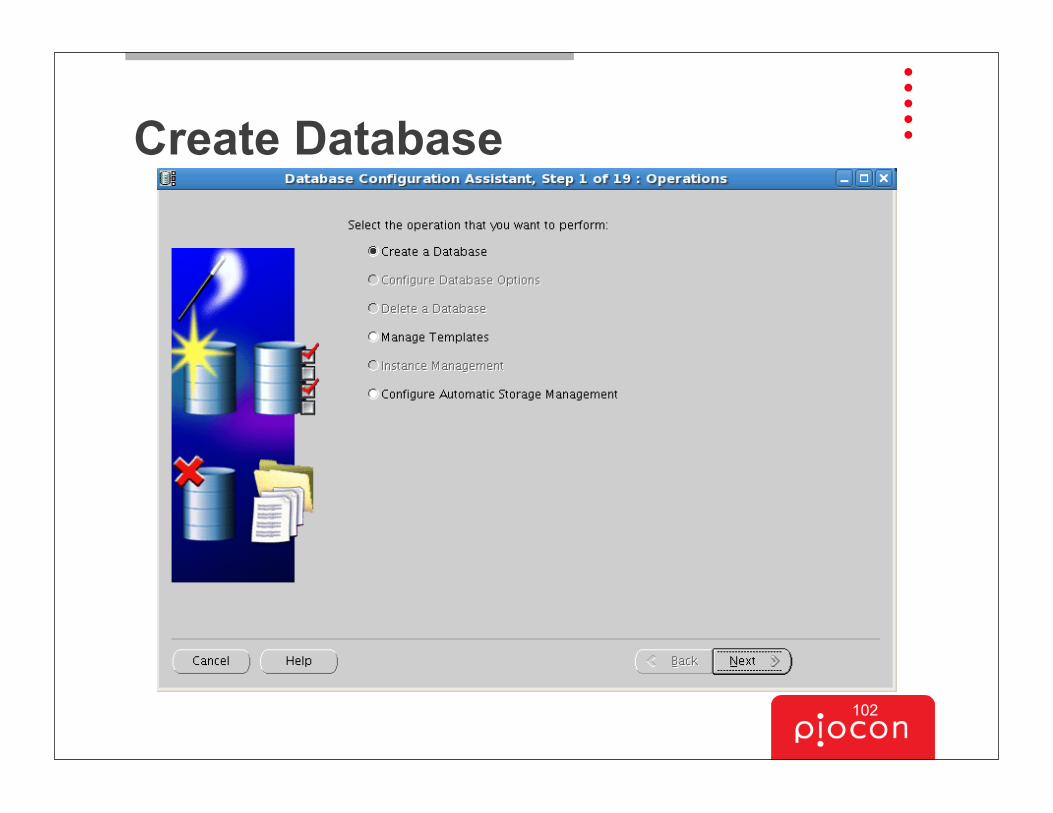
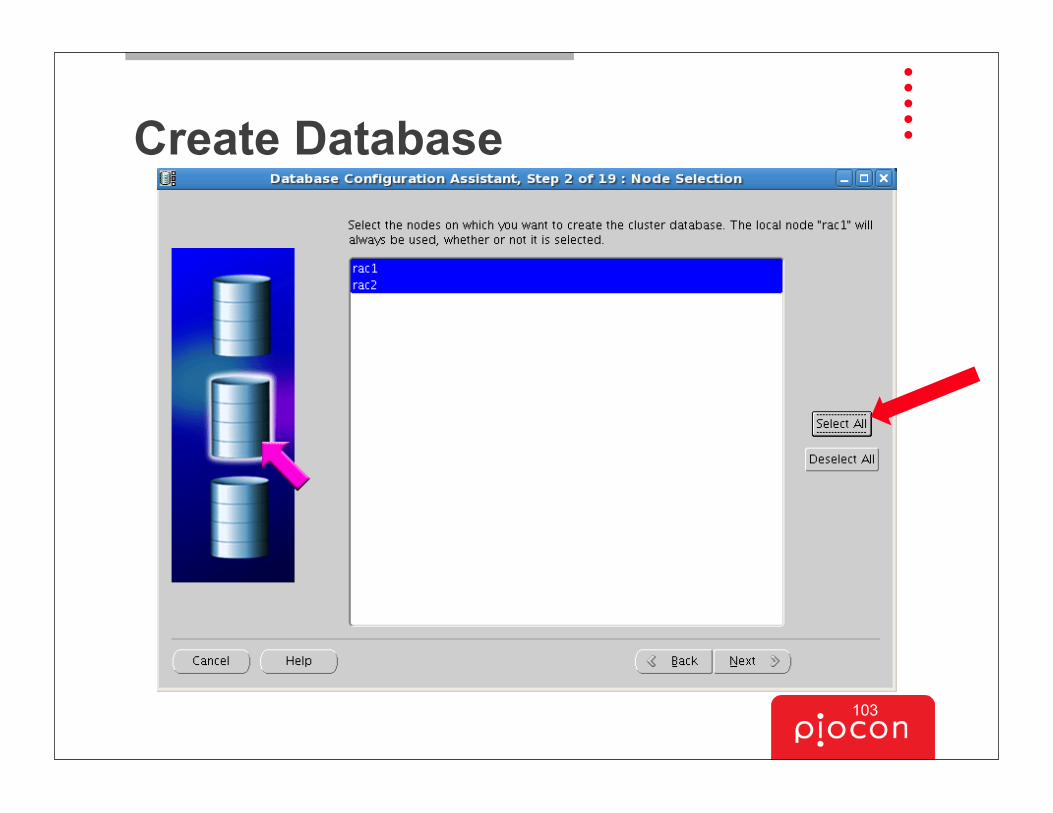
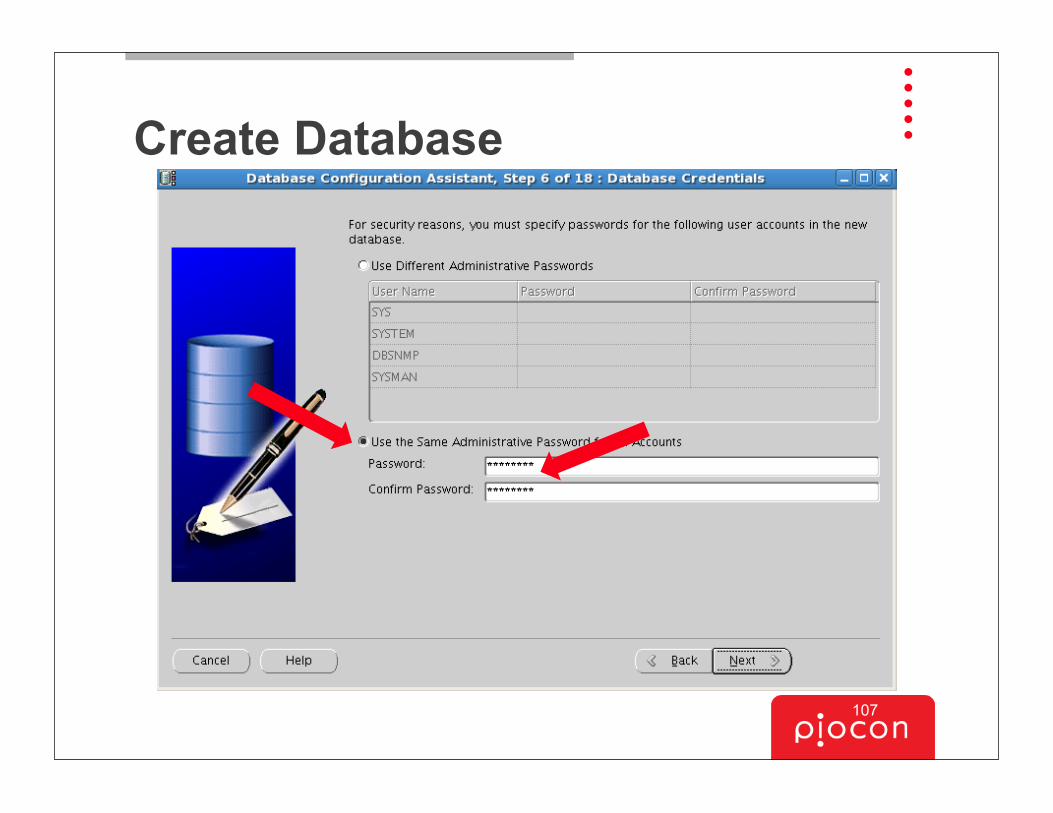
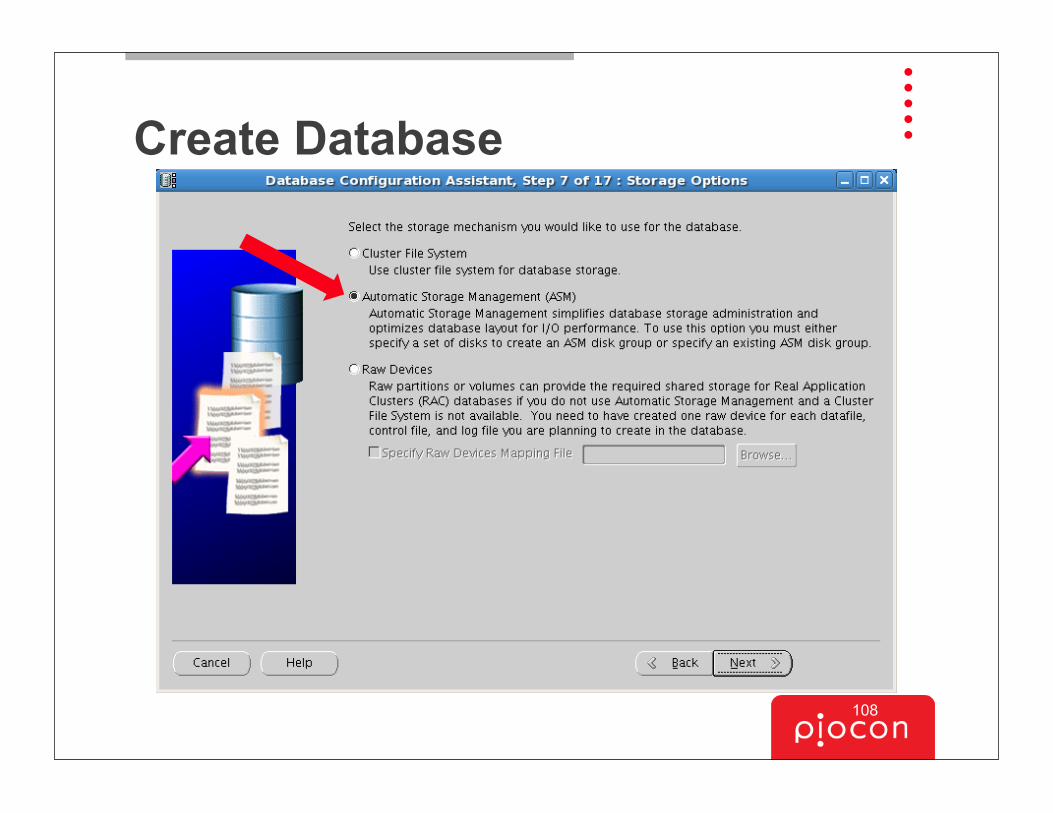
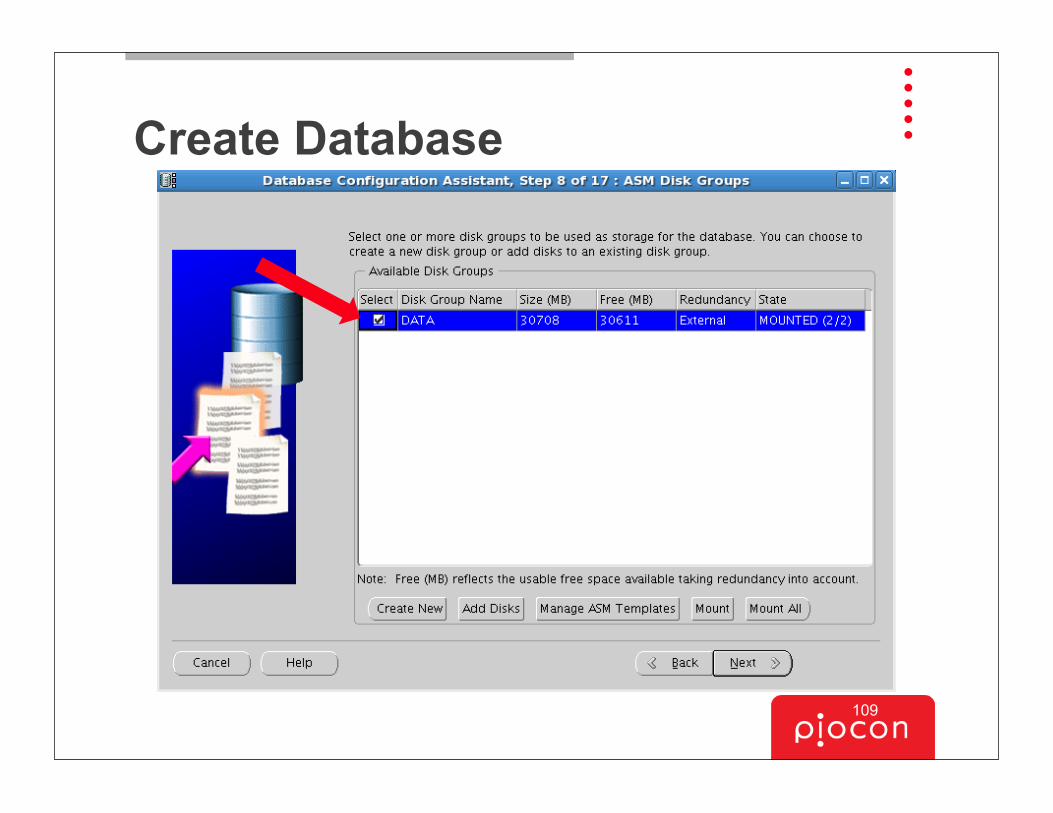
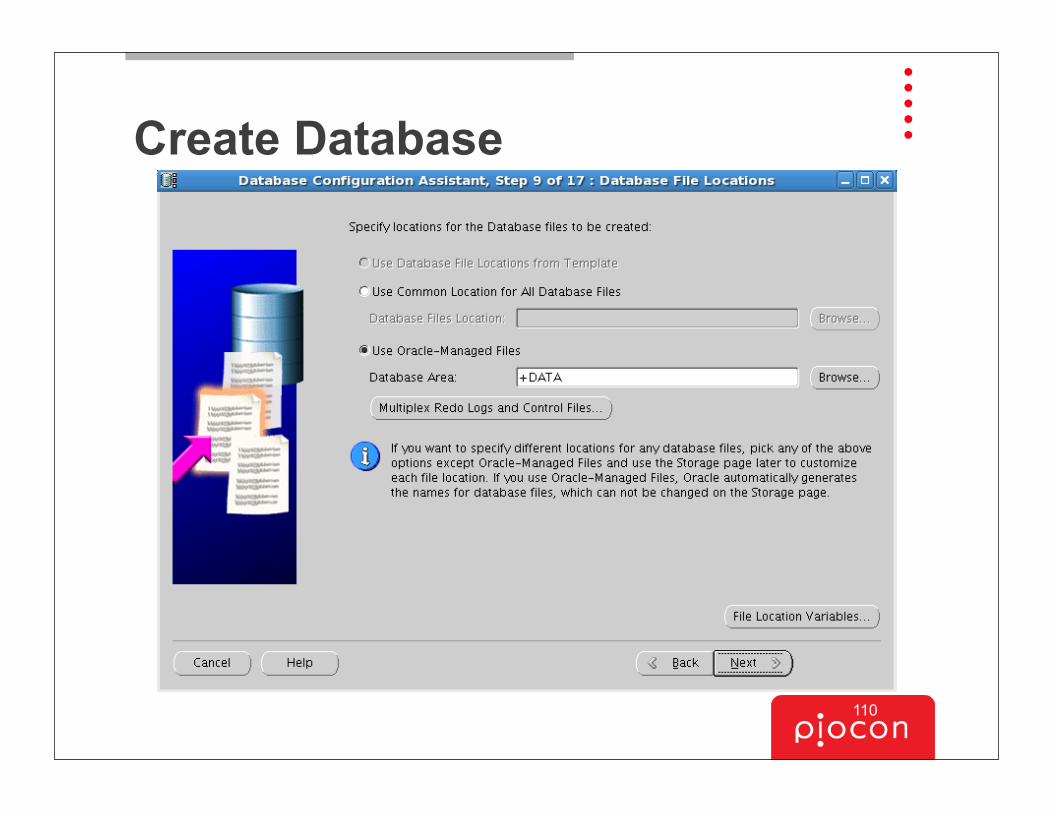
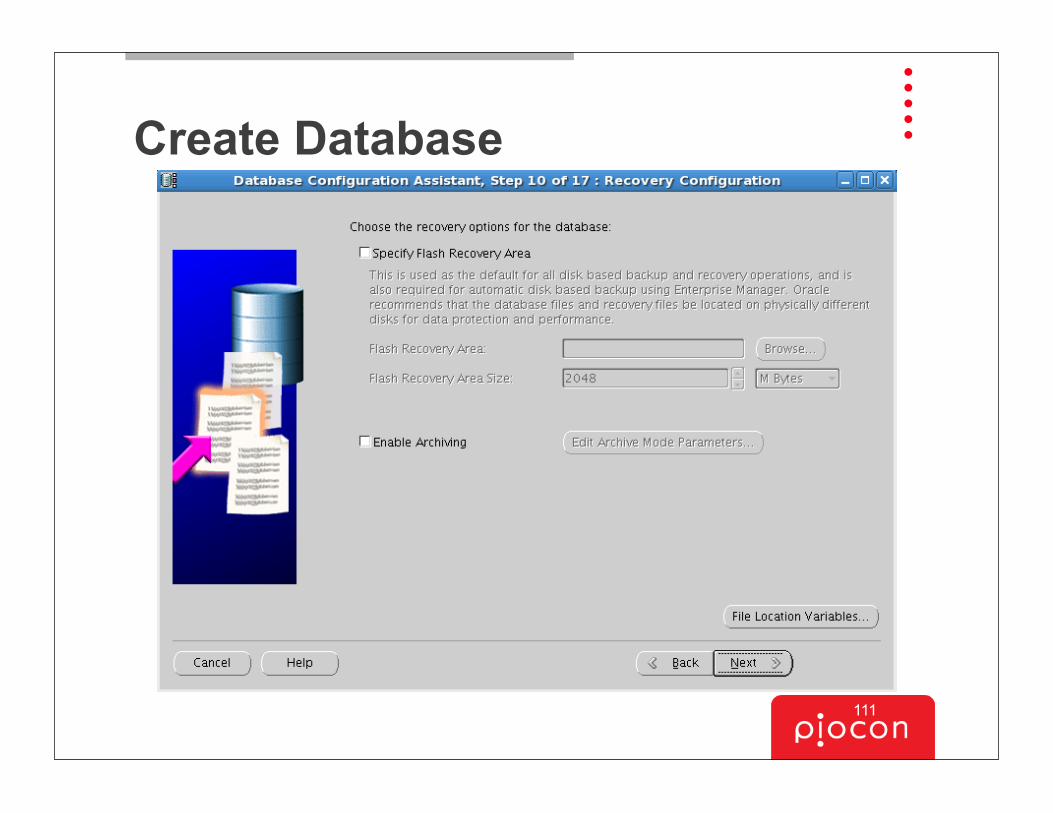
Create Database
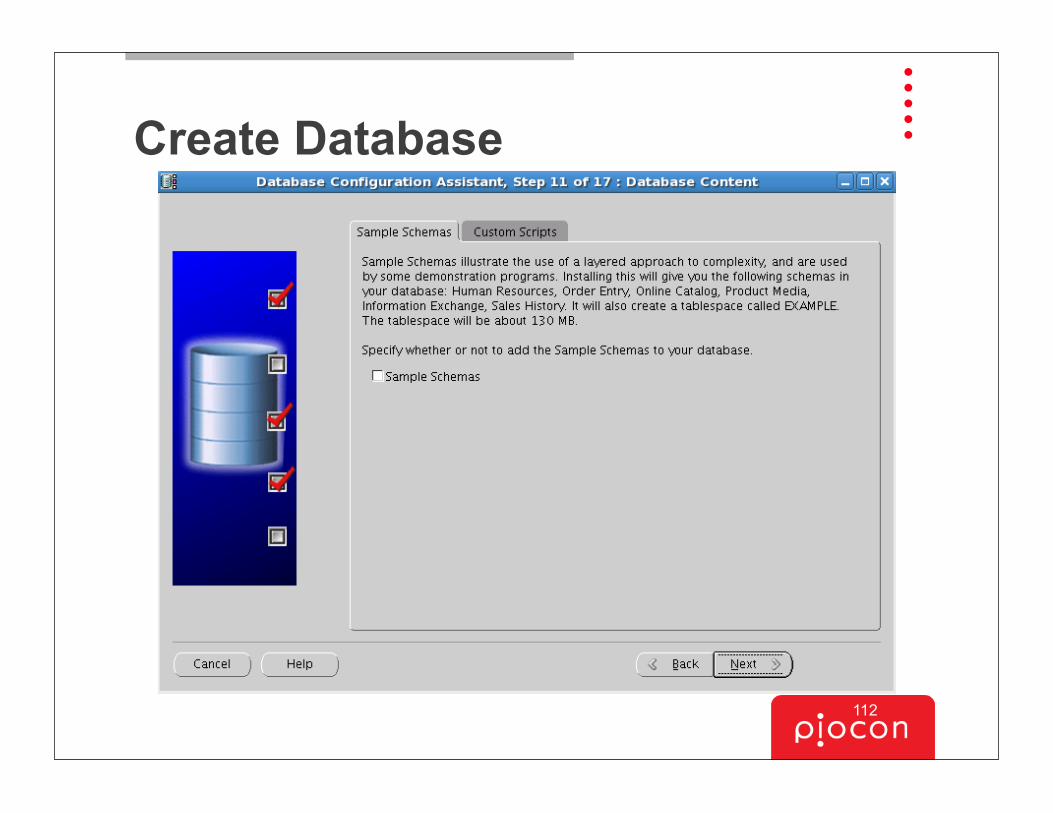
100
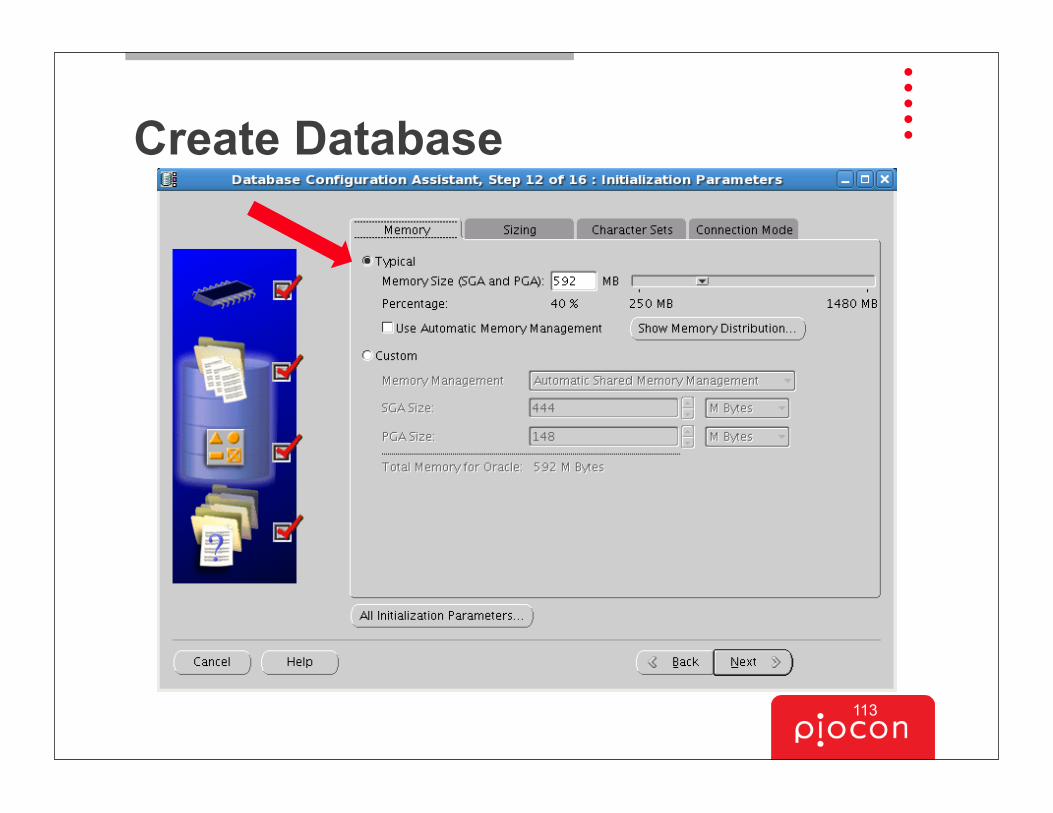
Create Database
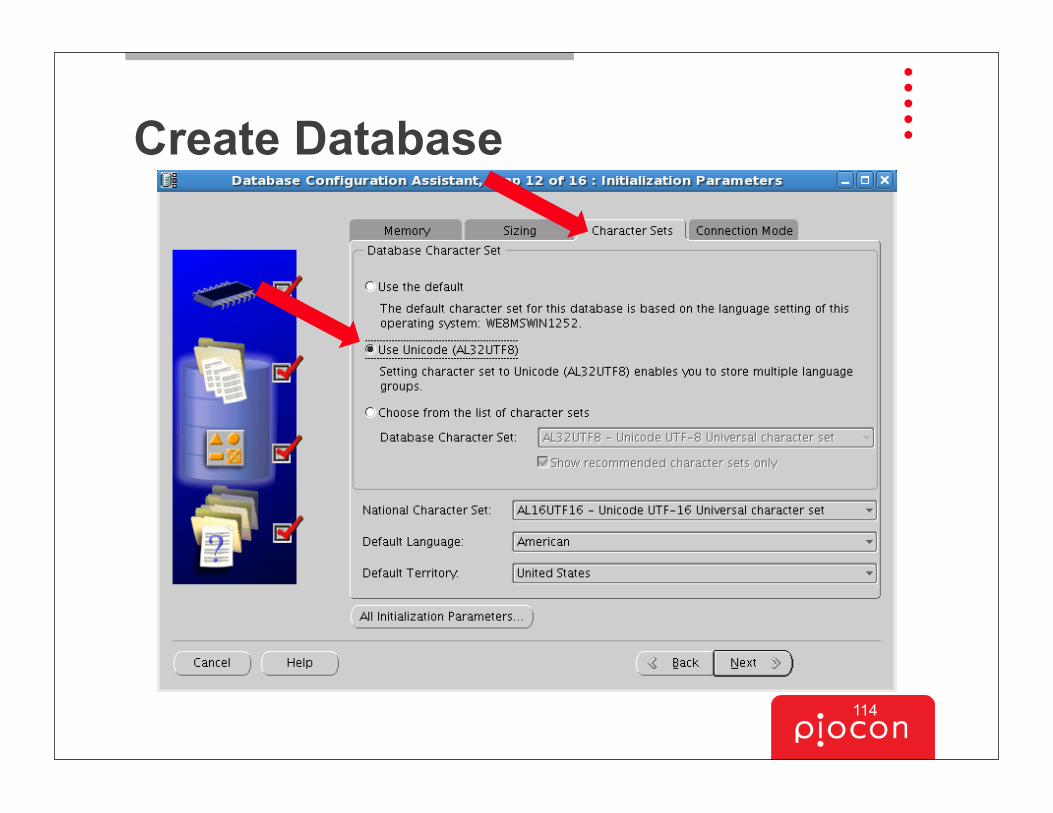
101
Create Database
102
Create Database
103
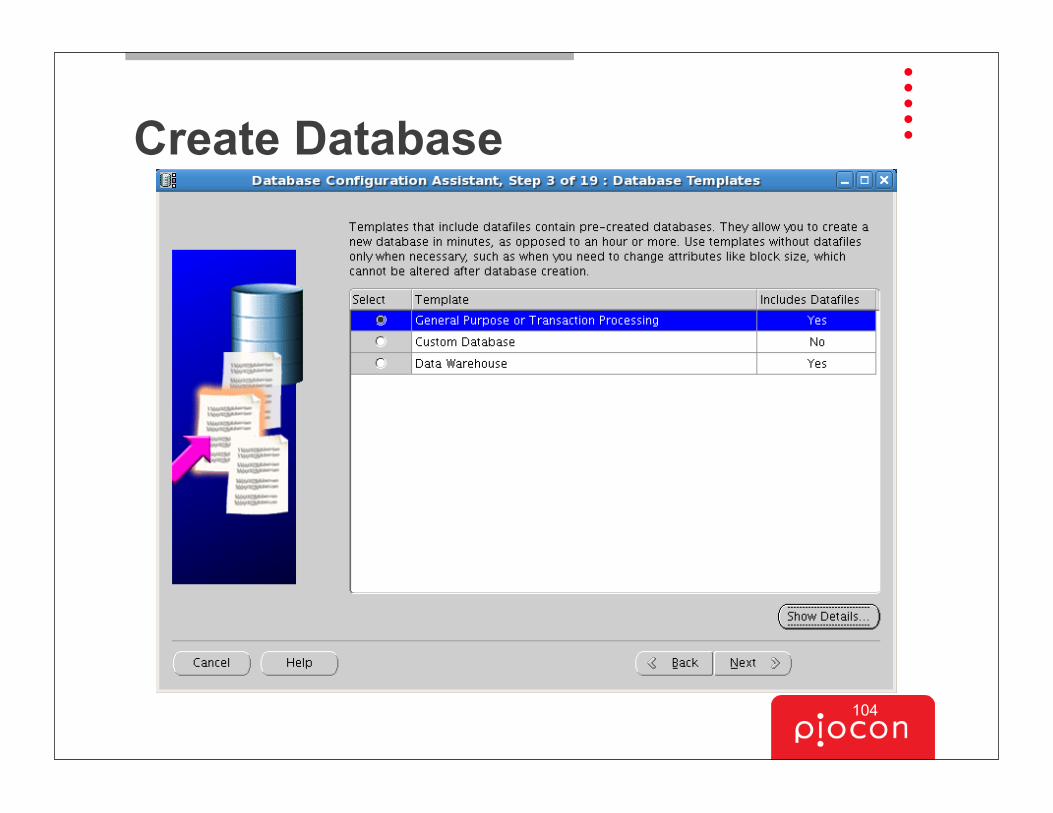
Create Database
104
Create Database
105
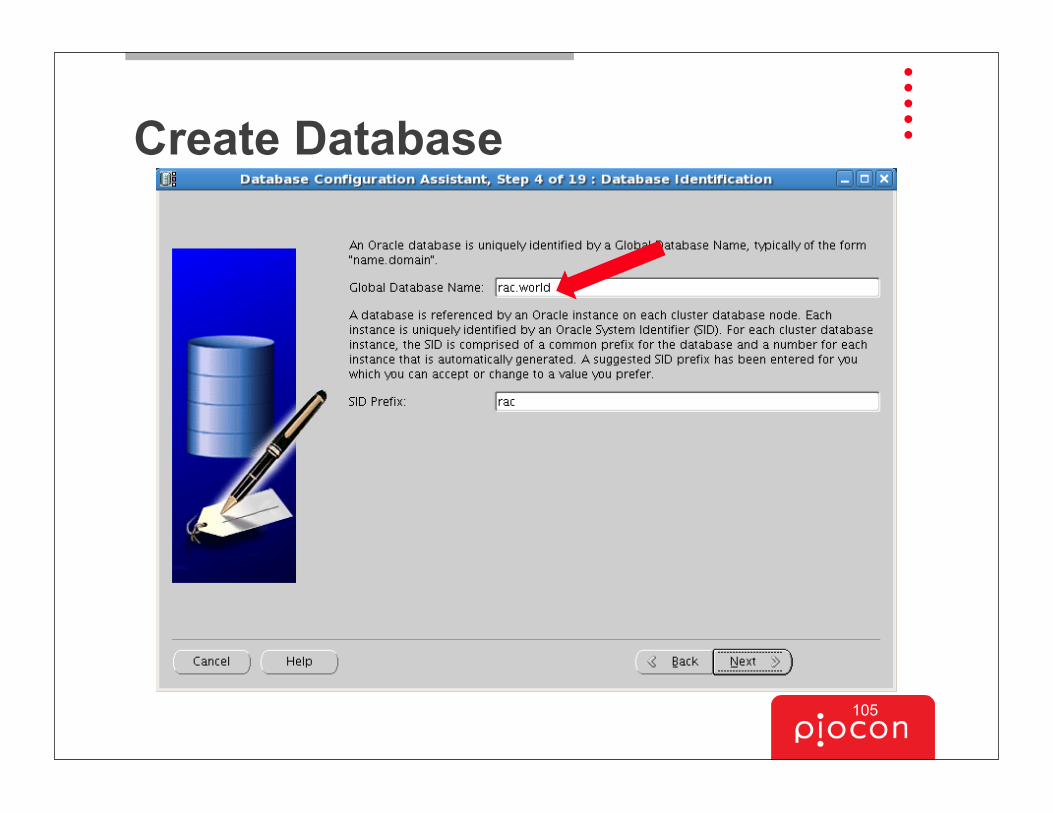
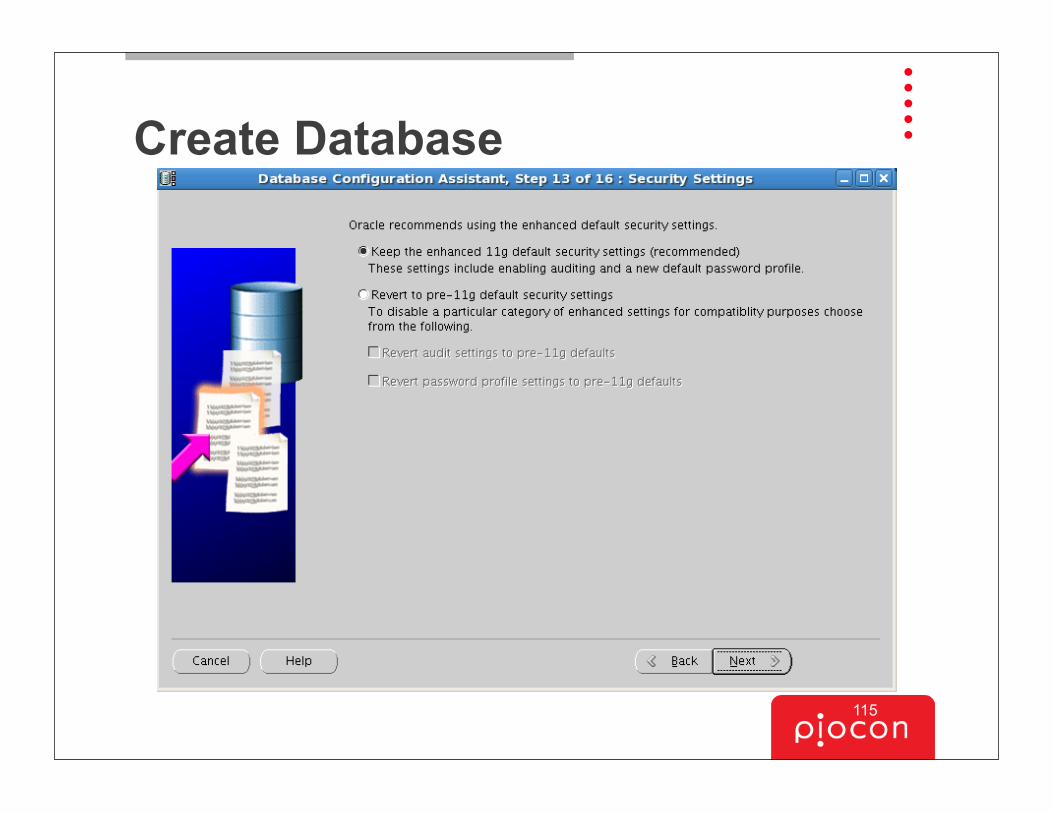
Create Database
106
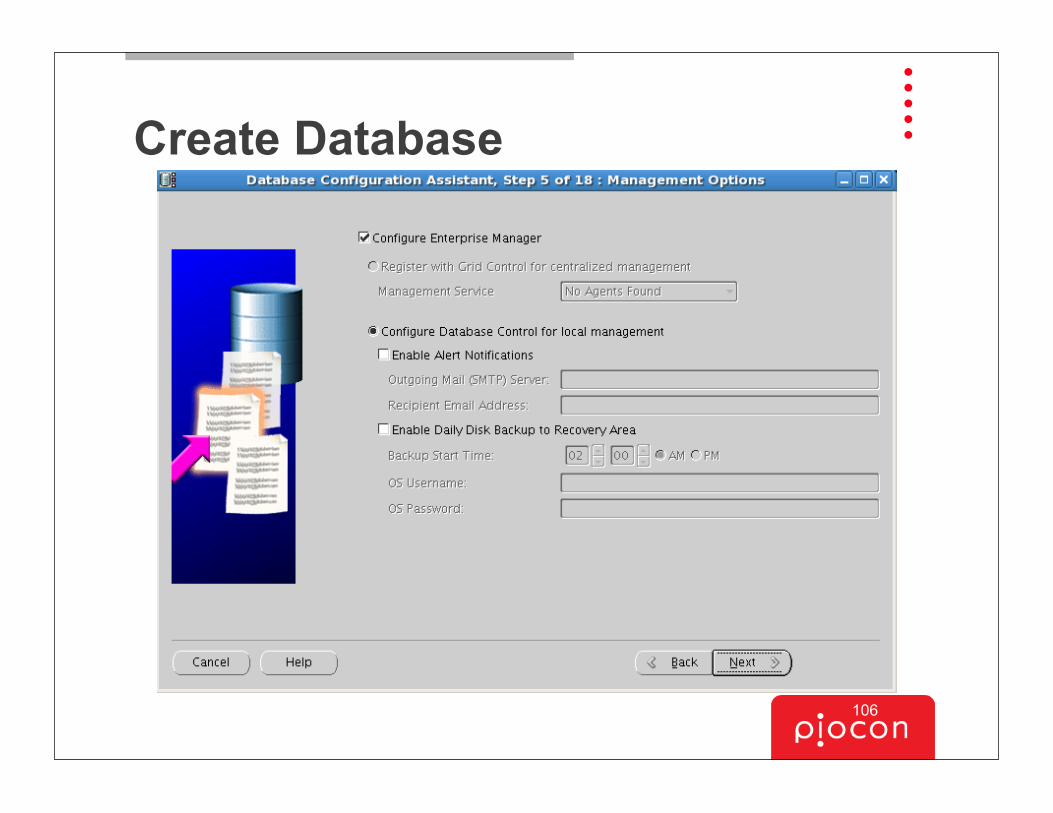
Create Database
107
Create Database
108
Create Database
109
Create Database
110
Create Database
111
Create Database
112
Create Database
113
Create Database
114
Create Database
115
Create Database
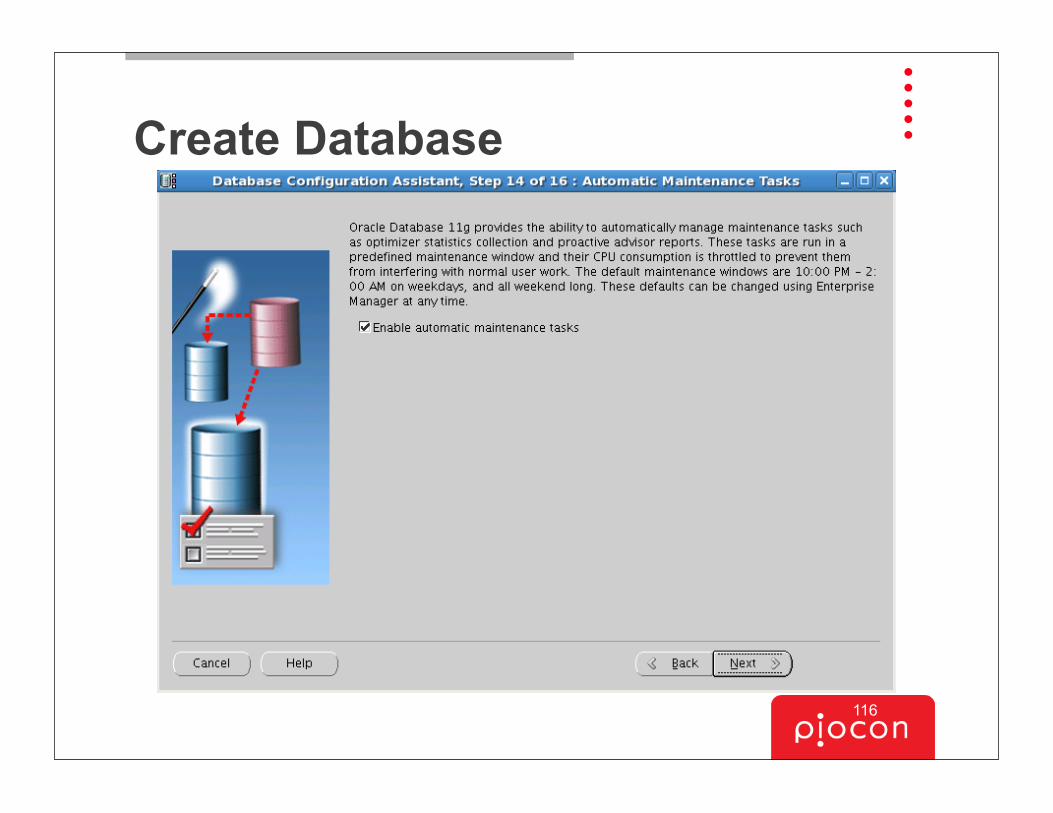
116
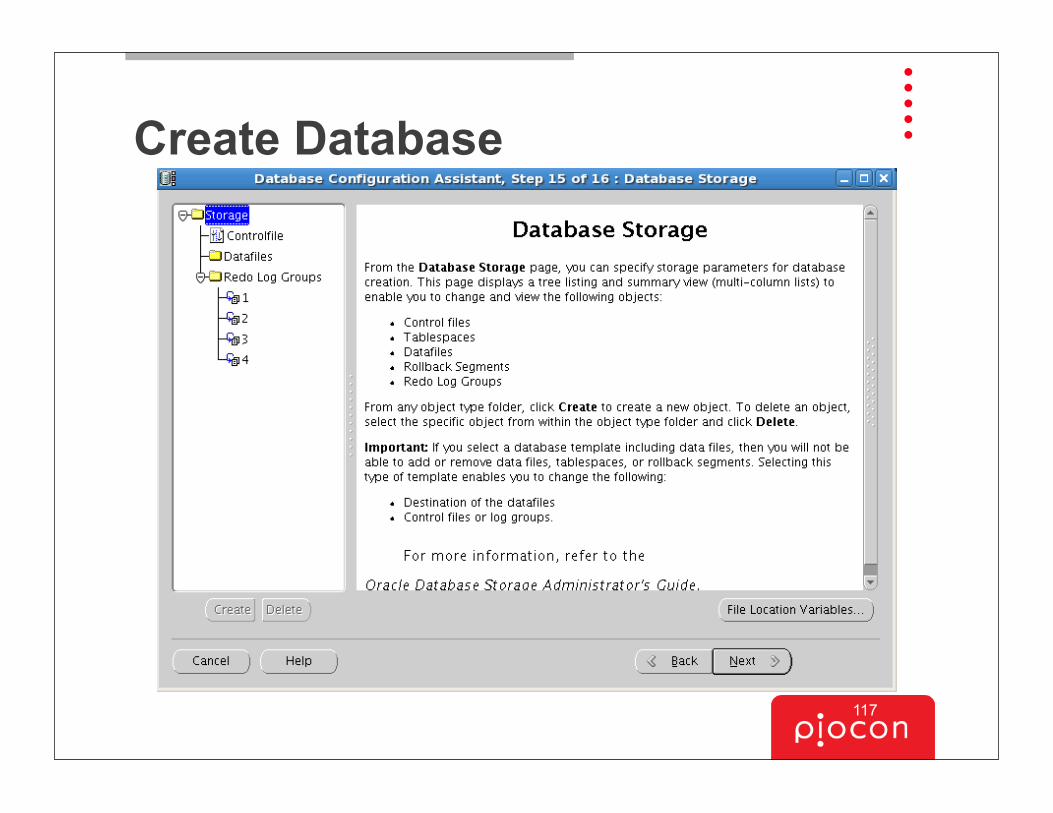
Create Database
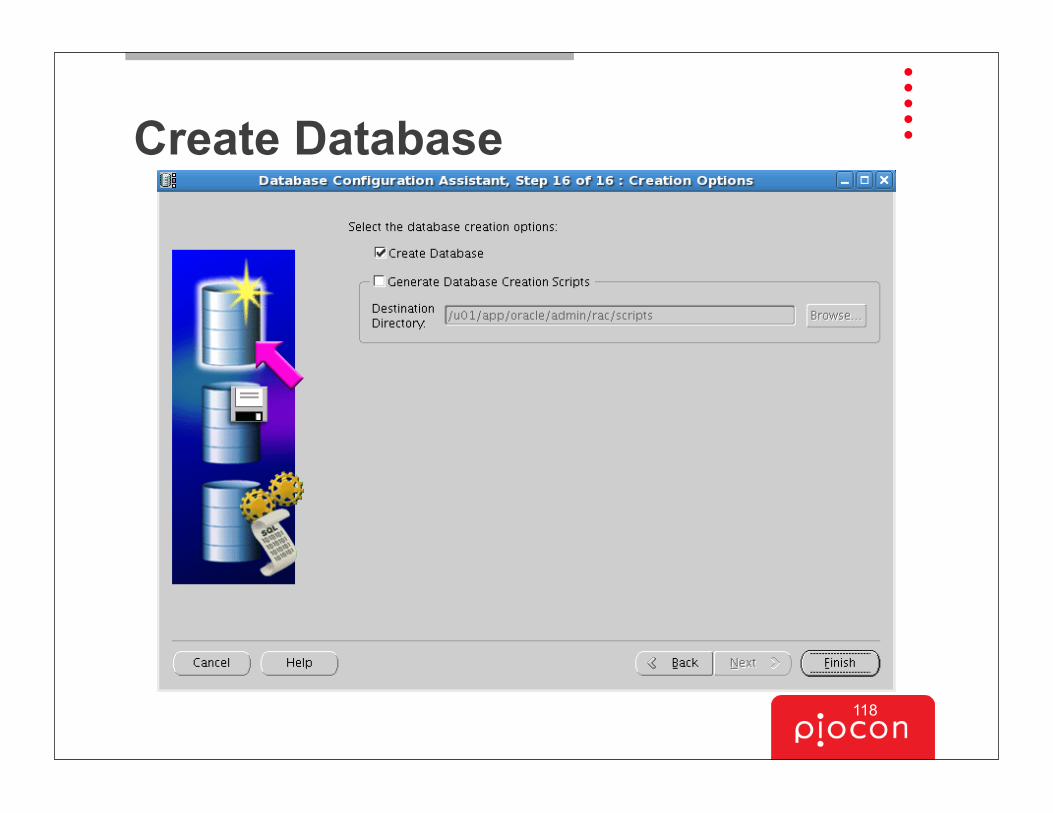
117
Create Database
118
Create Database
119
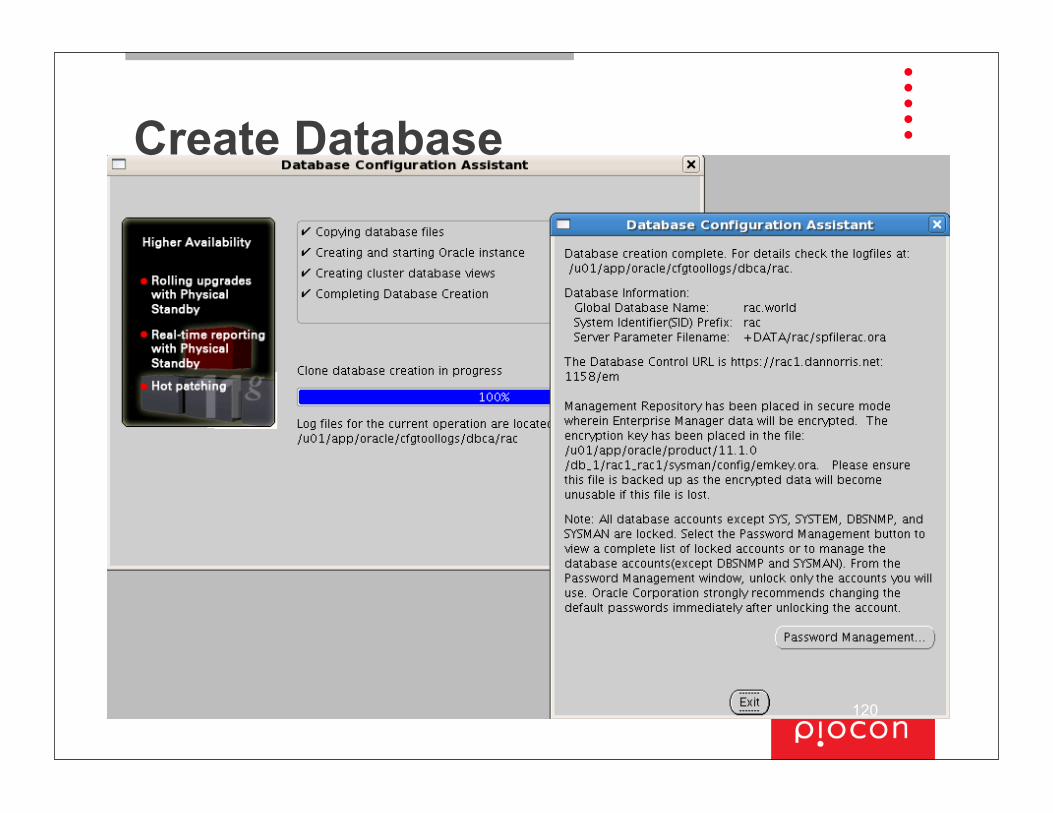
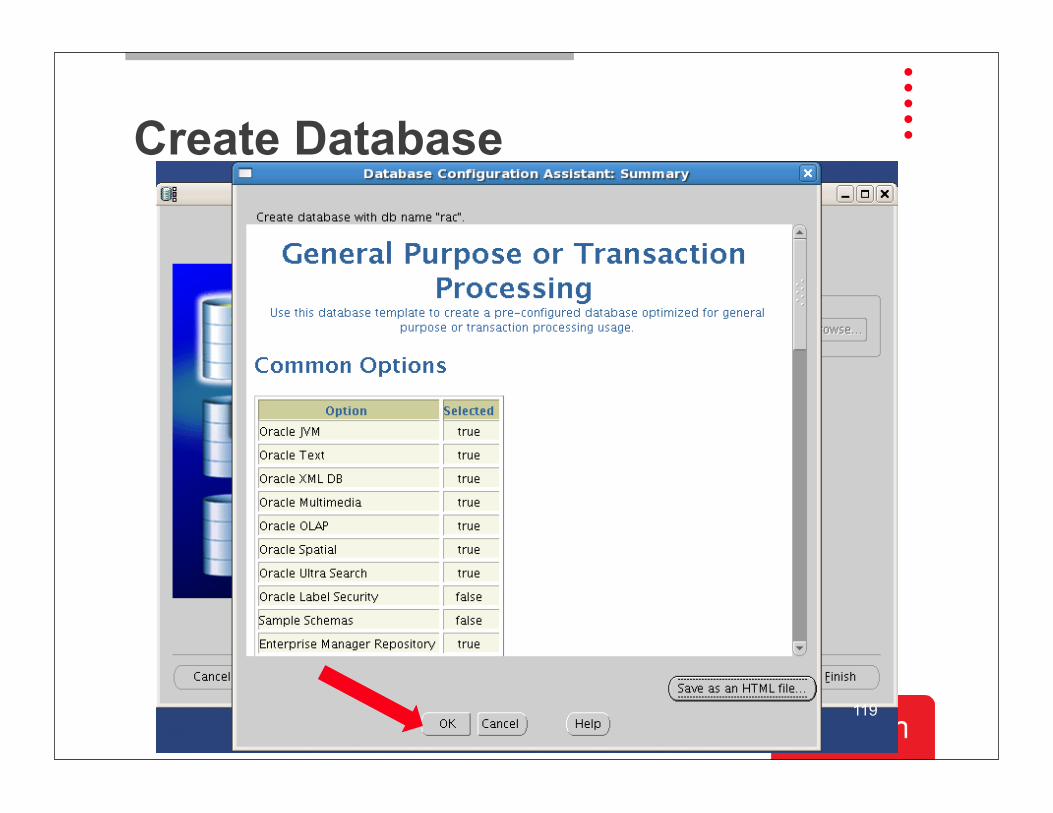
Create Database
120
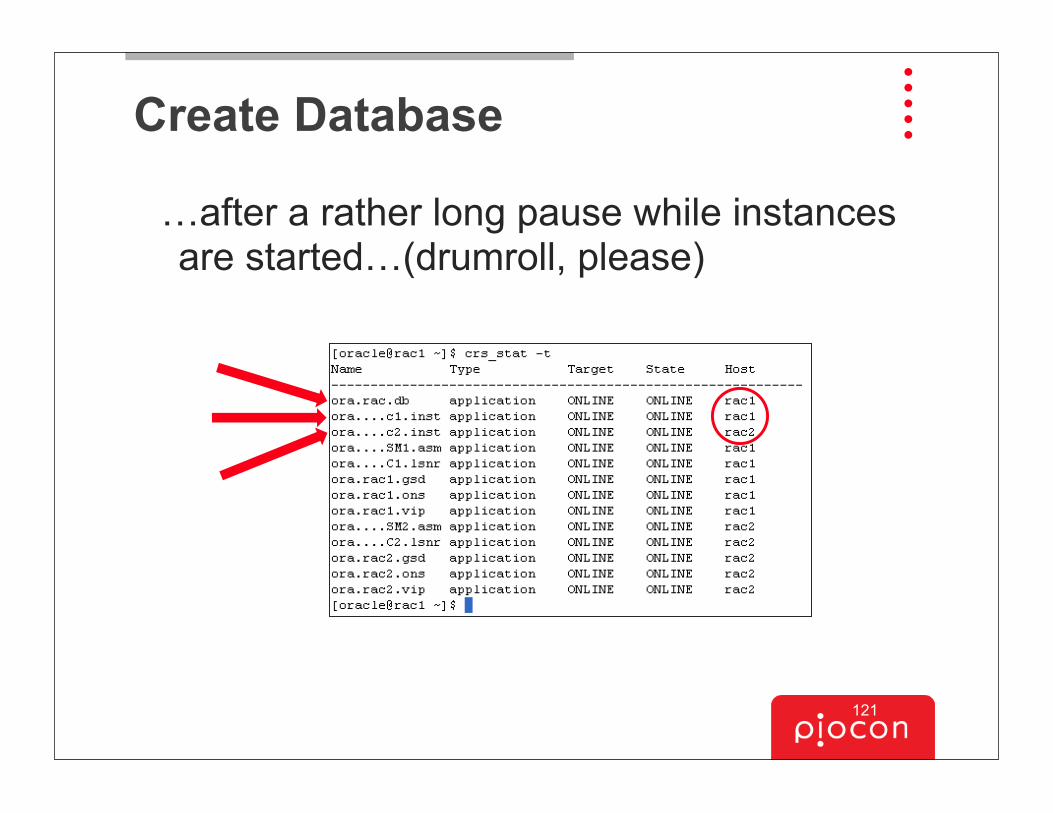
…after a rather long pause while instances are started…(drumroll, please)
Create Database
121
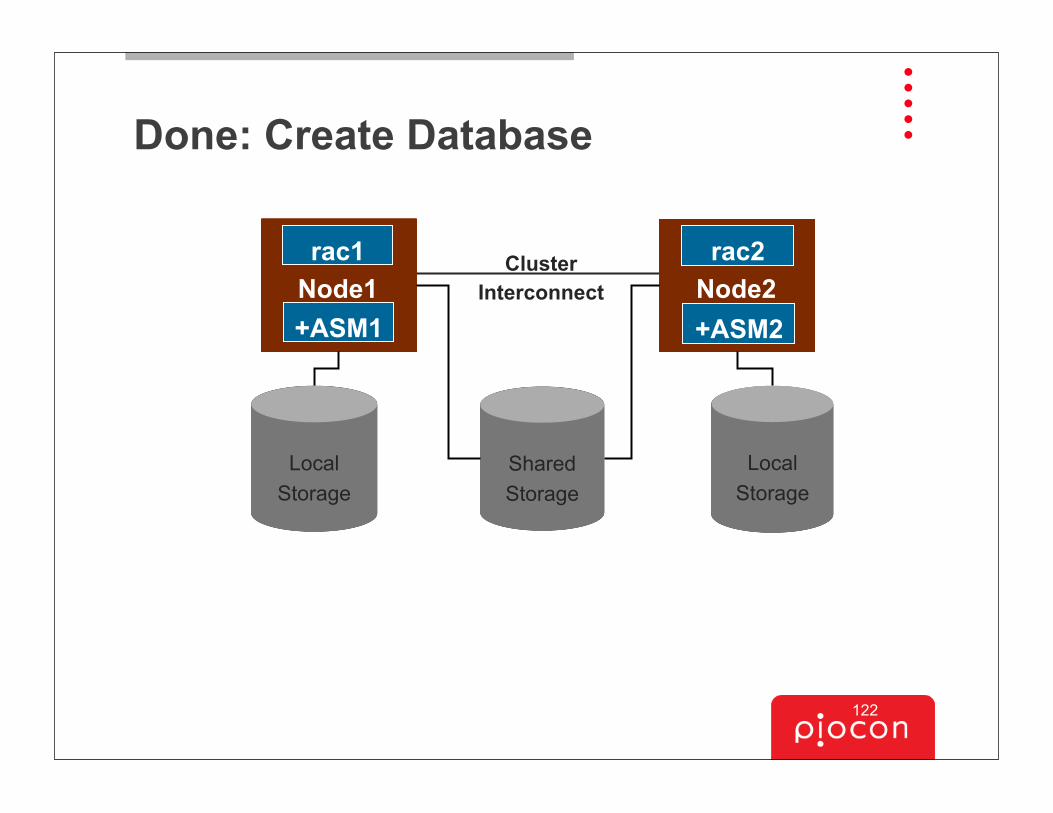
Done: Create Database
Shared Storage
Local Storage
Local Storage
+ASM2+ASM1
ClusterInterconnectNode1 Node2
rac1 rac2
122
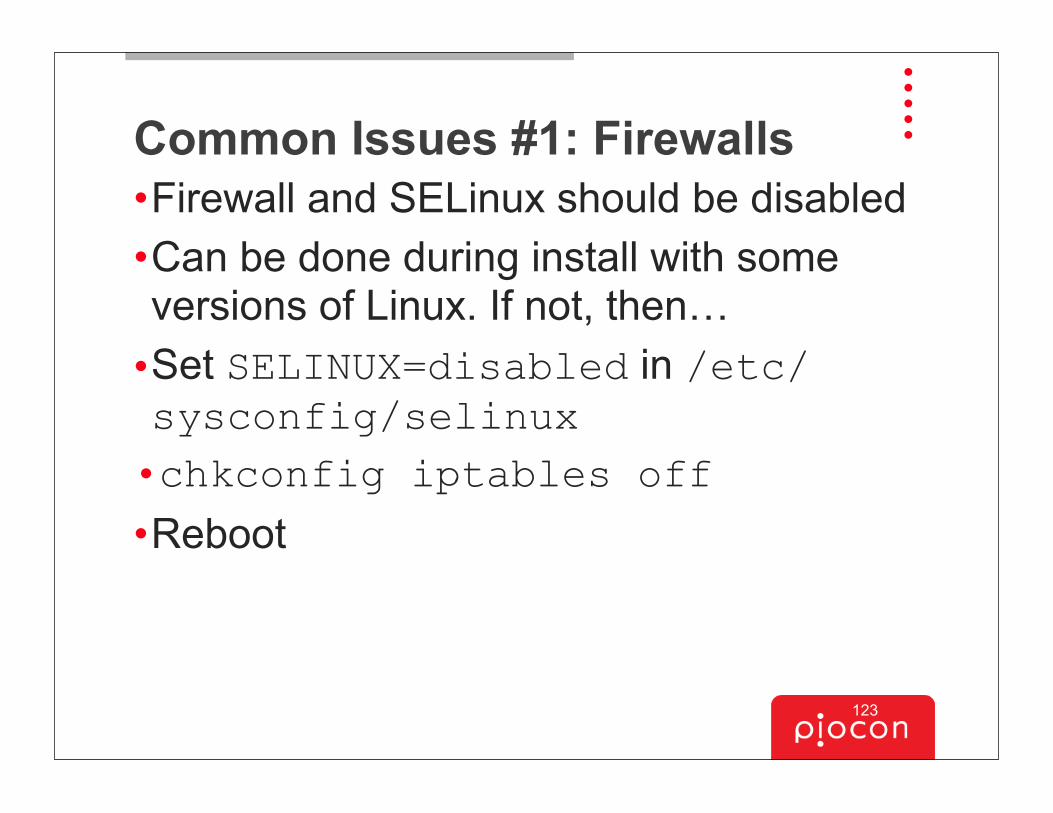
Common Issues #1: Firewalls•Firewall and SELinux should be disabled•Can be done during install with some versions of Linux. If not, then…
•Set SELINUX=disabled in /etc/sysconfig/selinux•chkconfig iptables off
•Reboot
123
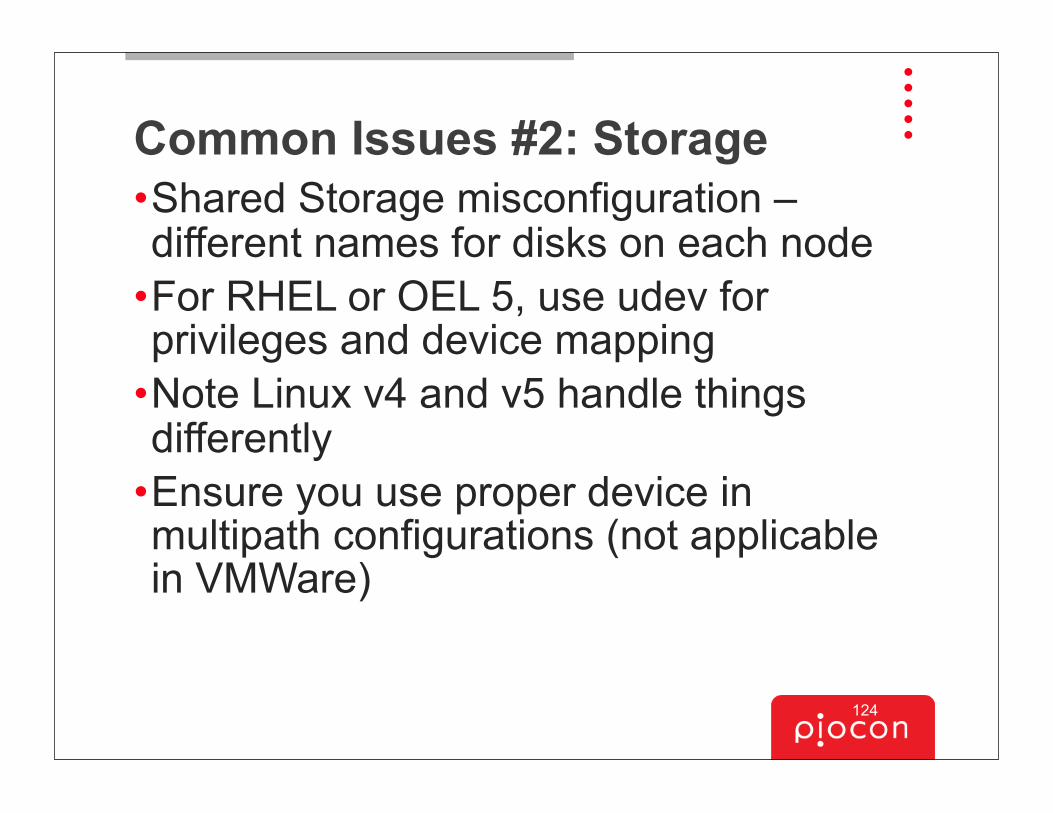
Common Issues #2: Storage•Shared Storage misconfiguration – different names for disks on each node
•For RHEL or OEL 5, use udev for privileges and device mapping
•Note Linux v4 and v5 handle things differently
•Ensure you use proper device in multipath configurations (not applicable in VMWare)
124
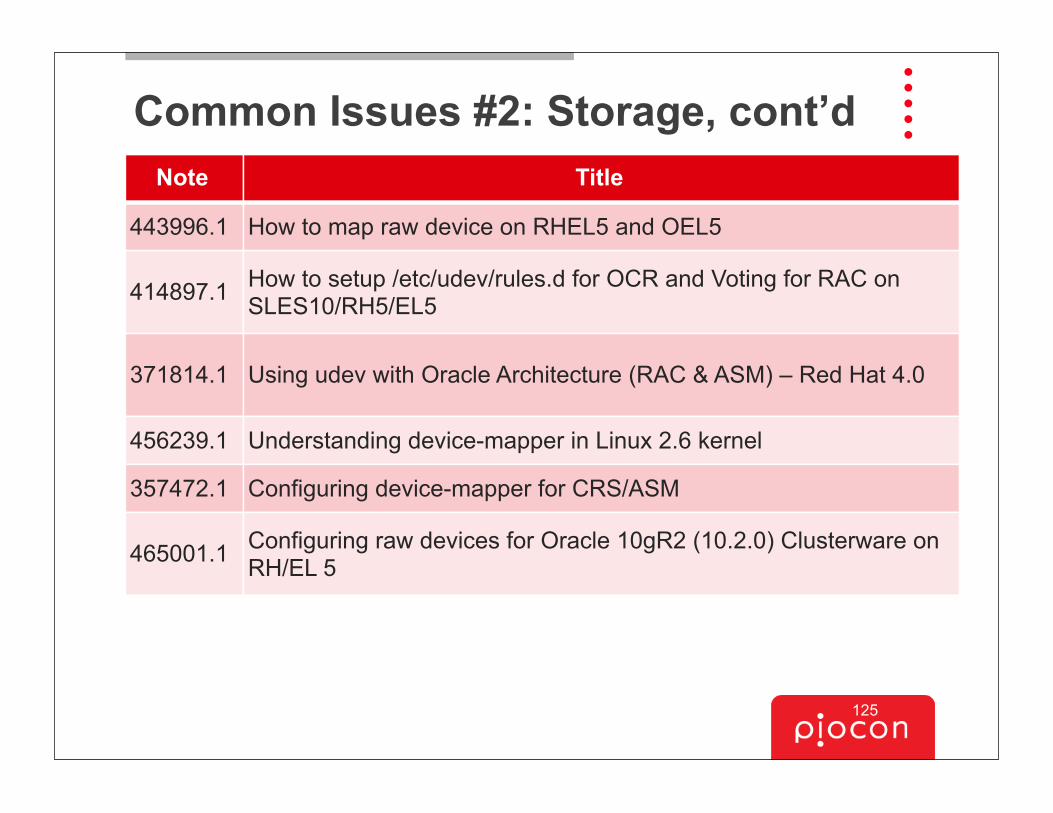
Common Issues #2: Storage, cont’dNote Title
443996.1 How to map raw device on RHEL5 and OEL5
414897.1 How to setup /etc/udev/rules.d for OCR and Voting for RAC on SLES10/RH5/EL5
371814.1 Using udev with Oracle Architecture (RAC & ASM) – Red Hat 4.0
456239.1 Understanding device-mapper in Linux 2.6 kernel
357472.1 Configuring device-mapper for CRS/ASM
465001.1 Configuring raw devices for Oracle 10gR2 (10.2.0) Clusterware on RH/EL 5
125
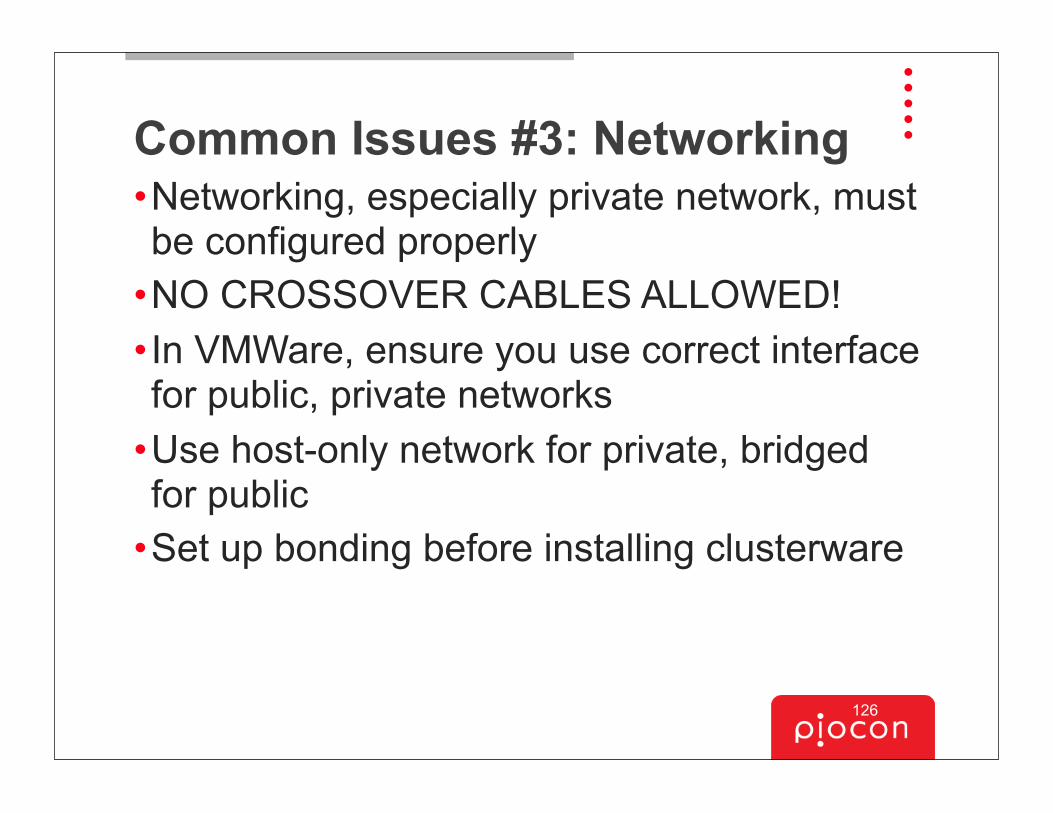
Common Issues #3: Networking•Networking, especially private network, must be configured properly
•NO CROSSOVER CABLES ALLOWED!•In VMWare, ensure you use correct interface for public, private networks
•Use host-only network for private, bridged for public
•Set up bonding before installing clusterware
126
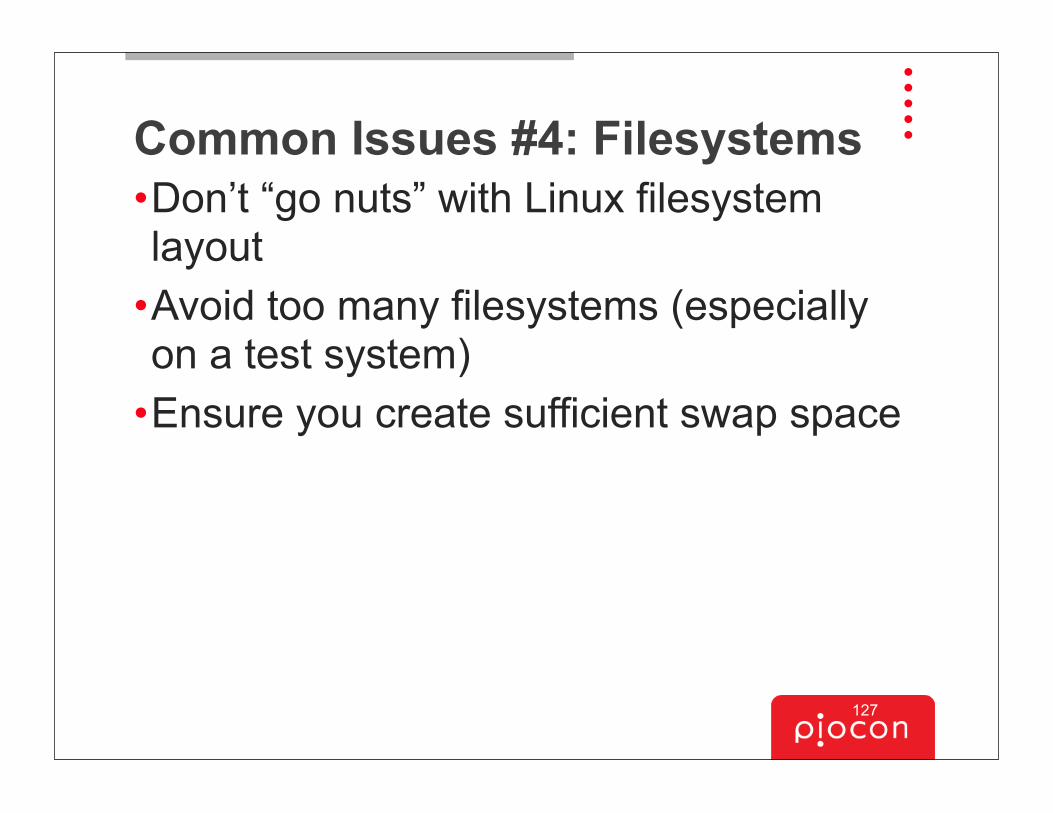
Common Issues #4: Filesystems•Don’t “go nuts” with Linux filesystem layout
•Avoid too many filesystems (especially on a test system)
•Ensure you create sufficient swap space
127
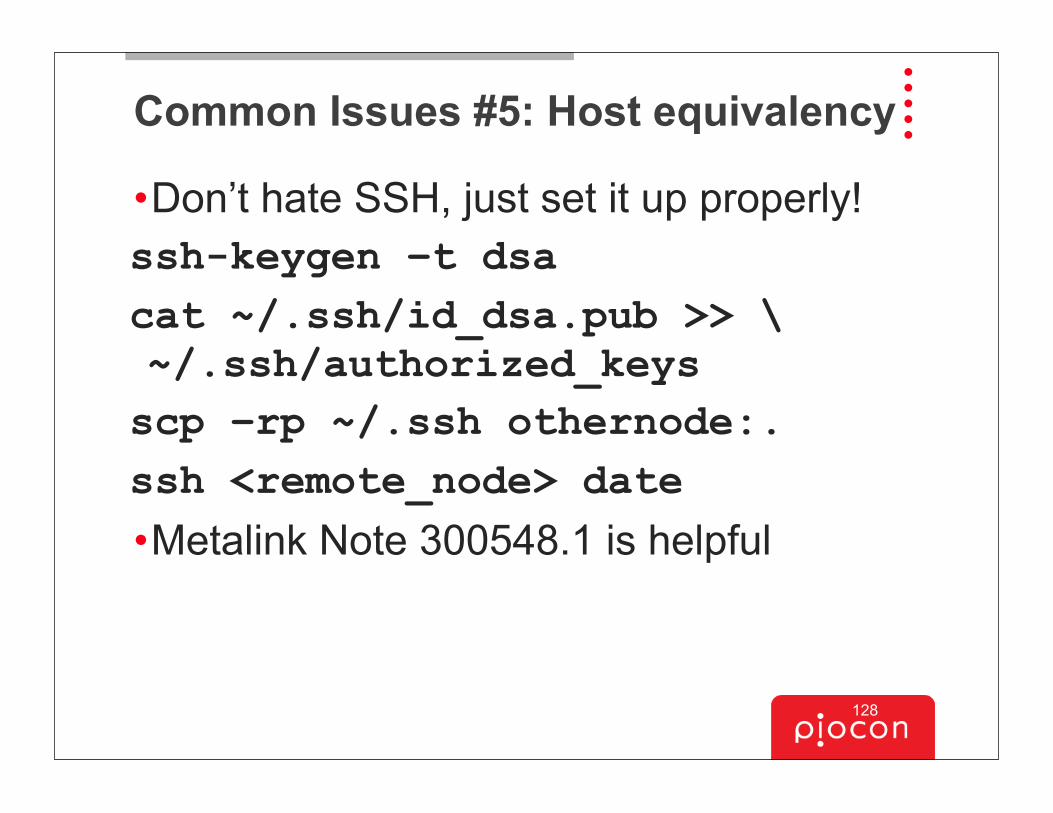
Common Issues #5: Host equivalency
•Don’t hate SSH, just set it up properly!ssh-keygen –t dsacat ~/.ssh/id_dsa.pub >> \ ~/.ssh/authorized_keysscp –rp ~/.ssh othernode:.ssh <remote_node> date•Metalink Note 300548.1 is helpful
128
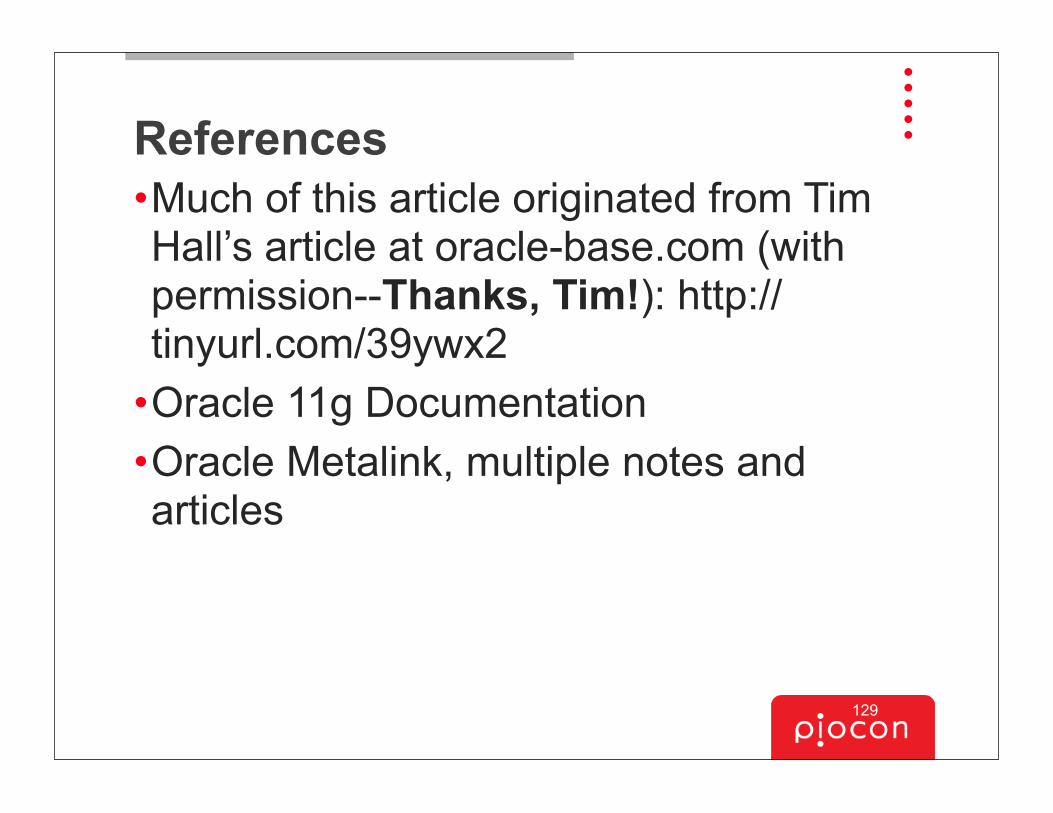
References•Much of this article originated from Tim Hall’s article at oracle-base.com (with permission--Thanks, Tim!): http://tinyurl.com/39ywx2
•Oracle 11g Documentation•Oracle Metalink, multiple notes and articles
129
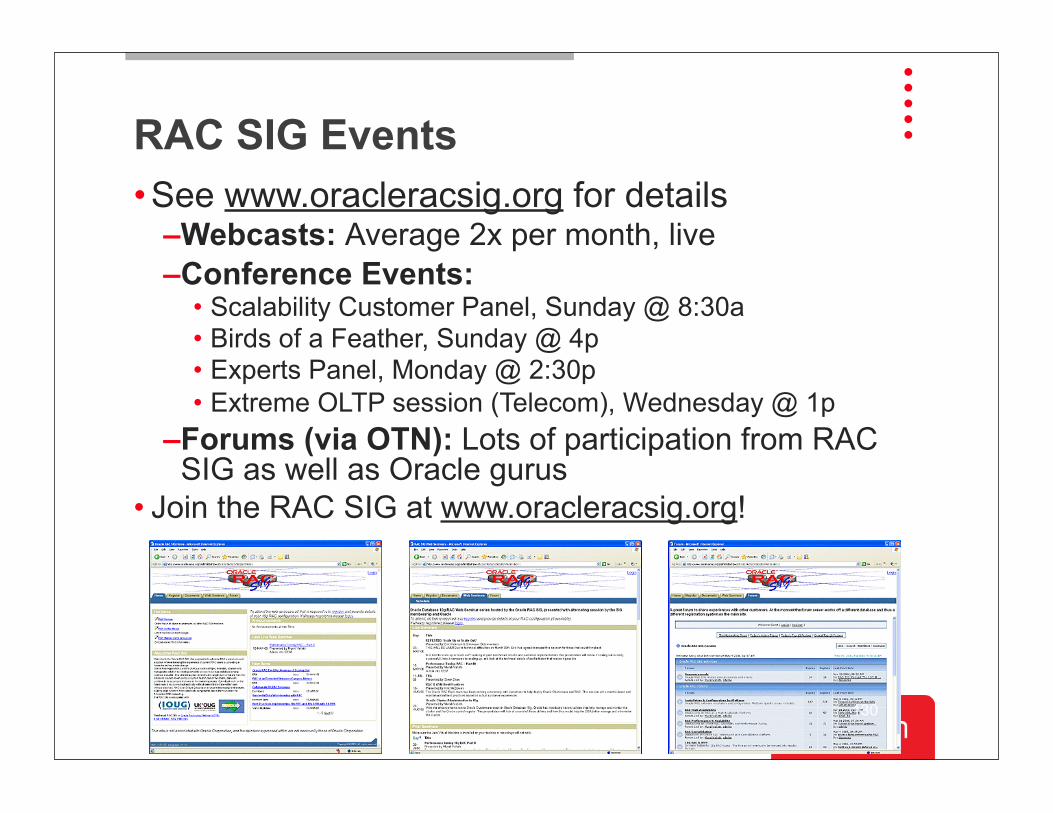
RAC SIG Events• See www.oracleracsig.org for details
–Webcasts: Average 2x per month, live–Conference Events:
• Scalability Customer Panel, Sunday @ 8:30a• Birds of a Feather, Sunday @ 4p • Experts Panel, Monday @ 2:30p• Extreme OLTP session (Telecom), Wednesday @ 1p
–Forums (via OTN): Lots of participation from RAC SIG as well as Oracle gurus
• Join the RAC SIG at www.oracleracsig.org!
130
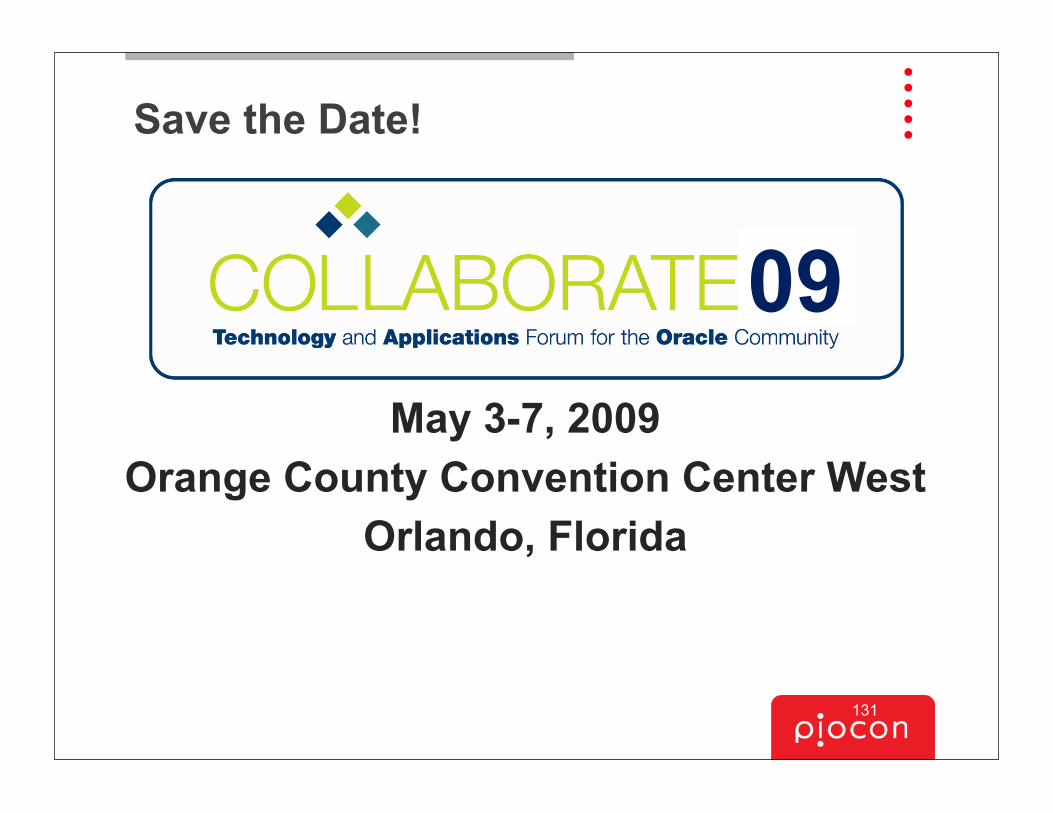
Save the Date!
May 3-7, 2009Orange County Convention Center West
Orlando, Florida
09
131

Wrap-up•Questions & Answers•Evaluations – Please Complete
Presenter: Dan Norris
•Contact Info: Email: [email protected]: 630-607-7422Web: www.piocon.com
•Stop by and ask more questions of our experts in BI, FMW, DBA, and more…
Visit Booth
2738
Building a RAC Test Environment on VMWare For Free
Dan Norris, Twitter: [email protected]://www.dannorris.com/
LegalThe information contained herein should be deemed reliable but not guaranteed. The author has made every attempt to provide current and accurate information. If you have any comments or suggestions, please contact the author at:
You may request redistribution permission from [email protected].
Copyright © 2008, Piocon Technologies
134