Embed Size (px)
Citation preview

Linux Server Admin
Linux Name Services
Chatchai J2012-11-21

Name Sevices
● การให้บรกิาร “ชือ่” บน Linux
● คอมพิวเตอรใ์ช้ “ตวัเลข” ในการติดตอ่สือ่สาร● แตค่นจะสามารถ “ชือ่” จดจำาได้ง่ายกว่า● ระบบปฏิบตัิการ จึงต้องมี ทัง้ library และ application
สำาหรับใชใ้นการเปลีย่น ระหว่าง ชือ่และตัวเลข

Name Services on Linux
● อย่างไร– http://www.google.com สำาหรับคน– 173.94.38.{176-180}:80 สำาหรับคอมพิวเตอร์

Name Services (ต่อ)
● Linux resolve address (แปลงจากชือ่เป็น address)
อย่างไร?
● อย่่ใน C library function
● ซึง่สามารถ config ได้ – Name Service Configuration – /etc/nsswitch.conf
● เริม่จาก /etc/nsswitch.conf
Name Services (ต่อ)
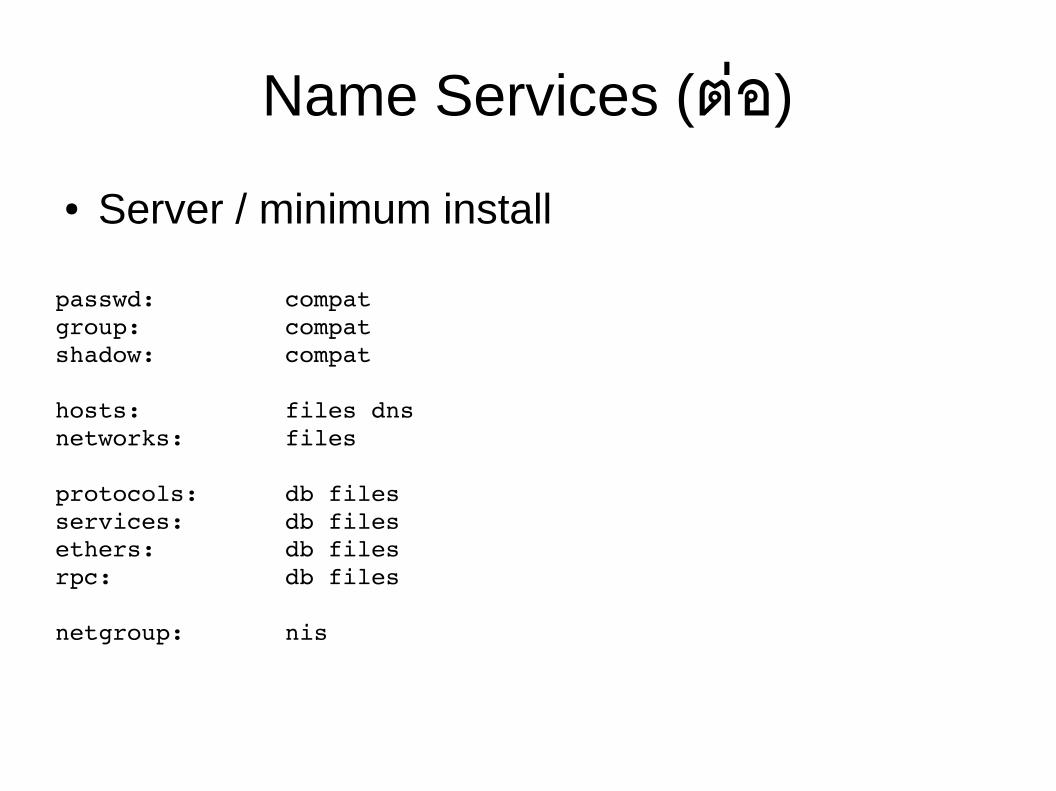
passwd: compatgroup: compatshadow: compat
hosts: files dnsnetworks: files
protocols: db filesservices: db filesethers: db filesrpc: db files
netgroup: nis
● Server / minimum install

Name Services (ต่อ)
passwd: compatgroup: compatshadow: compat
hosts: files mdns_minimal [NOTFOUND=return] dns mdnsnetworks: files
protocols: db filesservices: db filesethers: db filesrpc: db files
netgroup: nis
– กรณีของ desktop ทีติ่ดตัง้ Multicast DNS (avahi)

Name Services (ต่อ)
passwd: compatgroup: compatshadow: compat
● Name Service Switch ระบุ database สำาหรบั name เป็น number
● สำาหรบั password, group, shadow ใช ้compat mode

Name Services (ต่อ)
● คือ/etc/passwd
/etc/group
/etc/shadow
● สำาหรับเก็บข้อม่ลของ account บนระบบ

Name Services (ต่อ)
● กรณีของ hostname → address จะใช้hosts: files dns
● files ในทีน่ีค้ือ /etc/hosts
ดจ่ากของจริงบนเครือ่ง● ทดลองเพิม่ ใน /etc/hosts
127.0.0.1 www.google.com
● แล้วใช้คำาสัง่ $ ping www.google.com

Name Services (ต่อ)
● dns ในทีน่ีค้ือ domain name system
● ซึง่จะใช้ config ทีร่ะบไุว้ใน /etc/resolv.conf
– domain ระบุ local domain name
– search ระบุ domain part ในกรณีทีใ่ช้ชือ่ host แบบสัน้– nameserver ระบุ DNS server

resolv.conf
● เปลีย่น /etc/resolv.conf บนเครือ่งdomain coe.psu.ac.th
search coe.psu.ac.th psu.ac.th
nameserver 172.30.0.5
nameserver 172.30.0.9
● Domain มี 1, seach ได้หลาย แบง่ด้วย space
● Name server มีไดถ้ึง 3 (โดยทัว่ไป) เขยีนบรรทัดละ 1

Name Query Tools
● เครือ่งมือสำาหรับ query name และ address
– บน Windows มี nslookup
– บน Linux ใช้ host หรอื dig
● เช่น$ host www.google.com
$ host www.facebook.com 172.30.0.5

Name Query Tools (ต่อ)
$ host -a www.coe.psu.ac.th 172.30.0.9
$ host -t a www.coe.psu.ac.th 192.100.77.2
$ host -t aaaa www.coe.psu.ac.th 192.100.77.5
option -a ใช้แสดงข้อม่ลทัง้หมดoption -t X ใช้เลือกชนดิของข้อมล่ใน DNS ทีต่อ้งการถา้ม ีชือ่/address ตามหลงัจะเป็นการระบุ server ทีจ่ะให้ query

Name Query Tools (ต่อ)
● dig – ขุด$ dig @172.30.0.5 fivedots.coe.psu.ac.th a
$ dig @192.100.77.3 www.coe.psu.ac.th soa
● dig จะให้ข้อม่ลมากกว่า host
แต่ก็อาจจะชวนสับสนกว่า

Name Server
● ตัว Server ทีใ่ห้บริการในการแปลงจาก name
เป็น address และ กลับกัน● แปลงจาก address เป็น ชือ่ เรียกกระบวนการนี ้ว่า reverse lookup
# Break 1 #
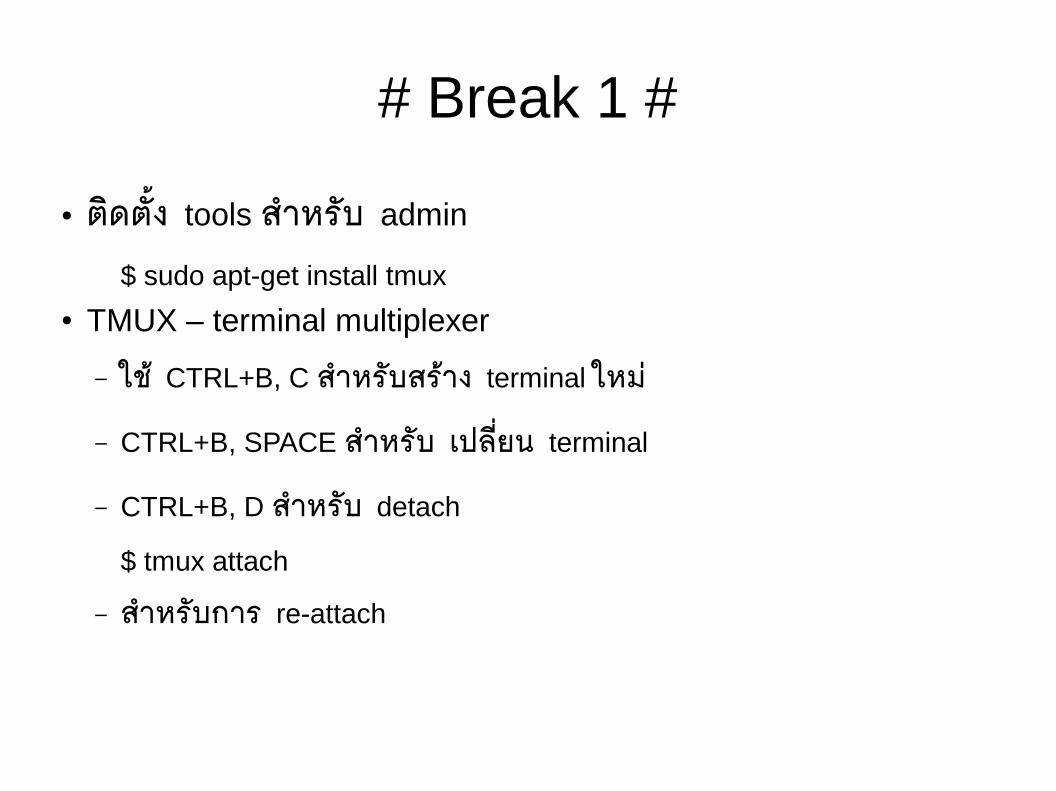
● ติดตัง้ tools สำาหรับ admin
$ sudo apt-get install tmux
● TMUX – terminal multiplexer
– ใช้ CTRL+B, C สำาหรับสร้าง terminal ใหม่– CTRL+B, SPACE สำาหรับ เปลีย่น terminal
– CTRL+B, D สำาหรับ detach
$ tmux attach
– สำาหรับการ re-attach

# Break 2 #
$ sudo apt-get install htop
● ใช้ F+no สำาหรับเลือก function
● ทดลองเรียกใช้ history ของ bash
$ !ls
$ !499
● ทดลองเรียกใช้ คำาสัง่ script

dnsmasq
● ทดลองใช้งานใน debug mode
● สร้างไฟล์ /tmp/hosts
172.30.0.19 www.google.com
172.30.0.7 www.facebook.com
$ sudo service dnsmasq stop
$ sudo dnsmasq -d -q -h -H /tmp/hosts

dnsmasq (ต่อ)
● Secure shell connect จาก host เข้าไปยัง server
แล้วเรียกใช้คำาสัง่ host หรือ dig
$ host www.google.com localhost
$ dig @localhost www.google.com a
● ขอ ip address ของเครือ่งทีน่ัง่ข้างๆ แลว้ทดลอง ใช้เครือ่งข้างๆเป็น server

dnsmasq (ต่อ)
● dnsmasq มีความสามารถในการให้บรกิาร ทัง้ DNS และ DHCP (อา่นจาก man page) และม ีfeature สำาหรับการใช้งานแบบ อยา่งรวดเรว็
แต่สำาหรับการให้บรกิารแบบ heavy weight จะนิยมใช้ ISC
bind9 สำาหรับ DNS และ isc-dhcp-server สำาหรับ DHCP

ISC BIND9
● เป็น DNS Server สำาหรับให้บริการ resolve
name
● ติดตัง้โดยการใช้คำาสัง่$ sudo apt-get install bind9

BIND9
● อ่านบทที ่6 ใน รายงาน Sabbatical Report
ของผมก่อน● แล้วมาคุยต่อคาบต่อไป