Embed Size (px)
Citation preview

Install & Configure CentOS 6.5
64bit for Hadoop Install
Debadyuti RoyChowdhury

1
Install and configure CentOS 64 Bit on a virtual machine
Start by installing your favorite virtualization software:
Windows users you could choose between VMWare Player or Oracle VirtualBox
Mac users you could chooses between VMWare Fusion, Oracle VirtualBox or KVM
Linux users you could choose between Oracle VirtualBox and KVM
For the purpose of this document we are using Oracle VirtualBox 4.2.20 on a Windows 7 64 Bit machine.
First off, create a new Virtual Machine; this can be done by selecting the new option in the VirtualBox console
2
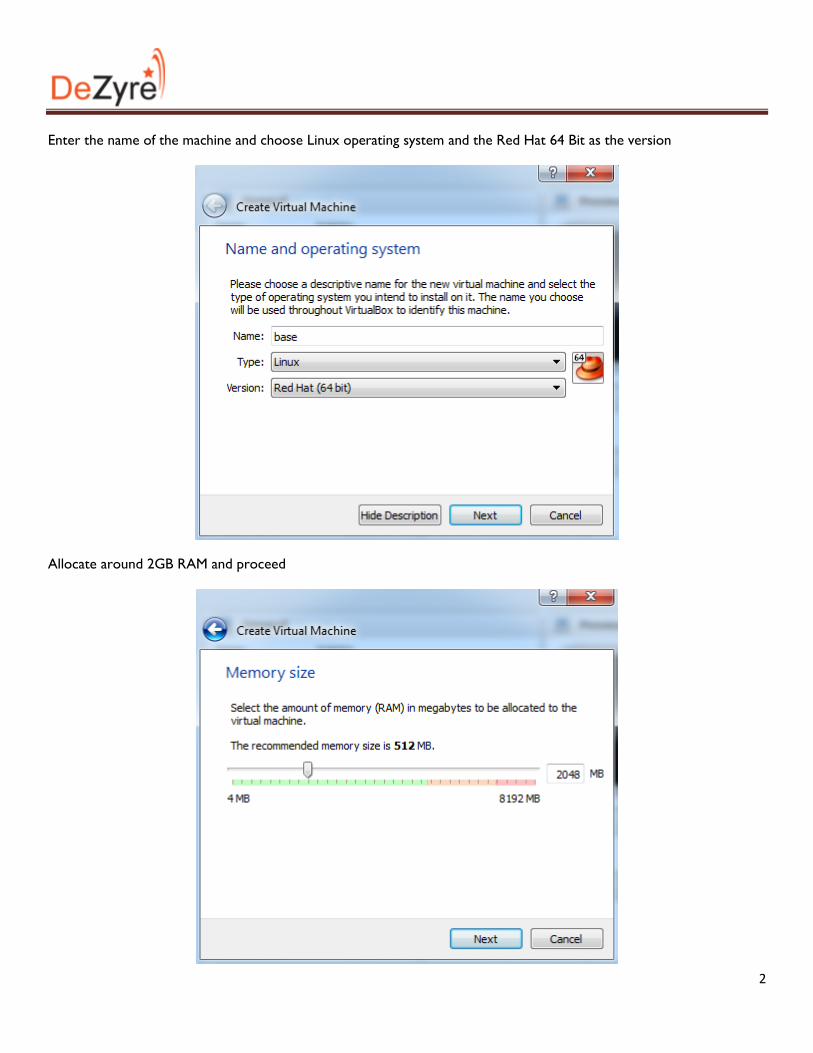
Enter the name of the machine and choose Linux operating system and the Red Hat 64 Bit as the version
Allocate around 2GB RAM and proceed

3
Create a Virtual Hard Drive now
Keep the default version unchanged for the hard drive file type

4
Choose Dynamic disk space allocation or fixed size. Fixed size yields better performance
Keep the defaults and proceed to create the virtual disk of size 20GB
5
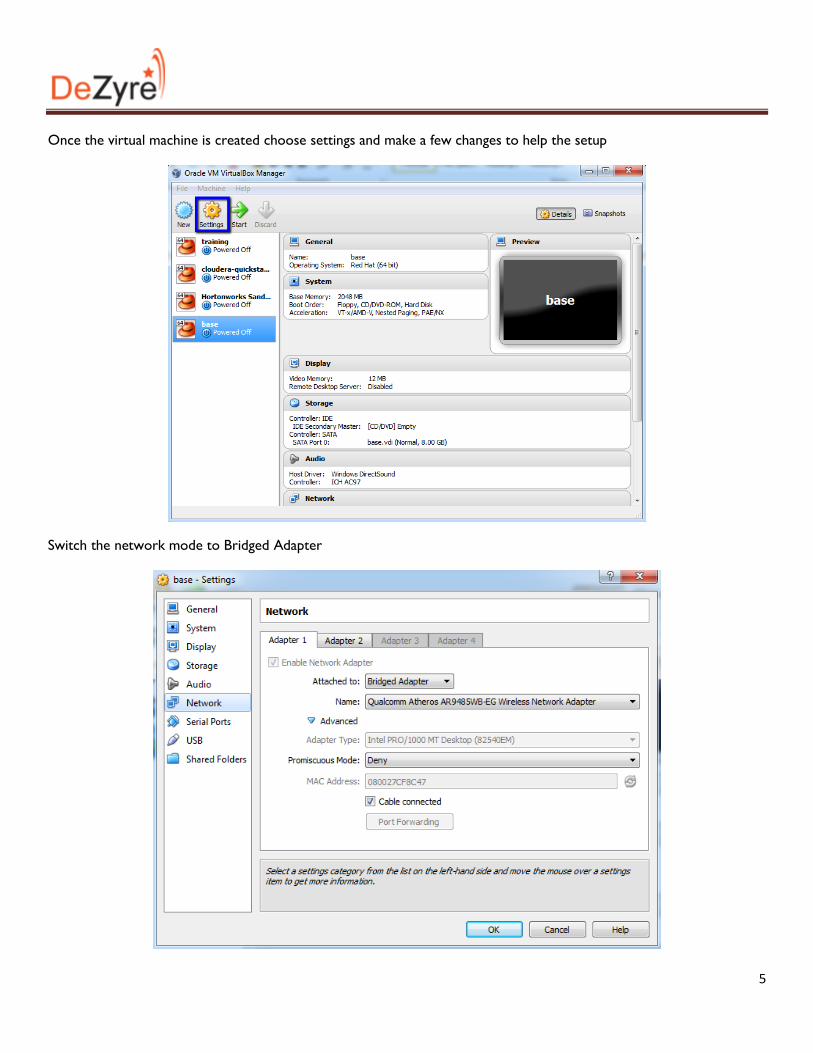
Once the virtual machine is created choose settings and make a few changes to help the setup
Switch the network mode to Bridged Adapter

6
In the settings enable absolute pointing device. Older versions of VirtualBox list this setting as pointing device. Select
Multi touch table for the option.
In the storage section point to the ISO image of the CentOS install disc. I am Using CentOS 6.5 64 Bit.

7
Start the virtual machine and prepare for install. Keep the first selection and hit Enter/Return
Skip the media test and proceed
8
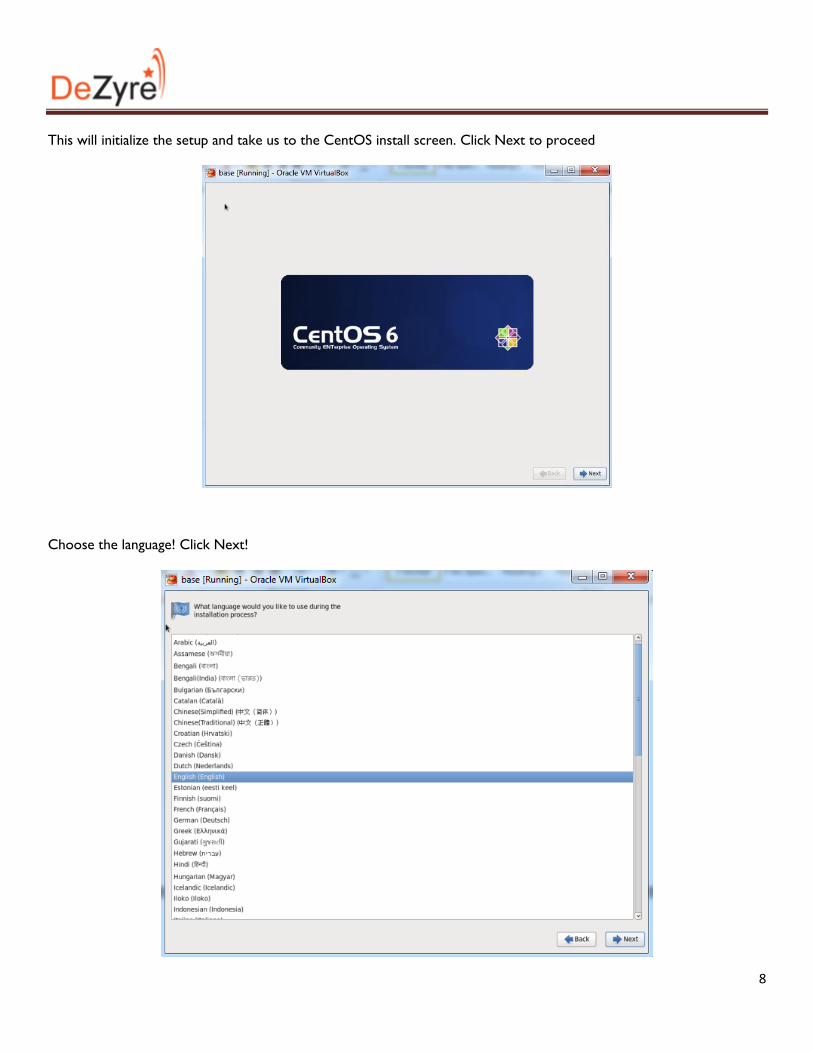
This will initialize the setup and take us to the CentOS install screen. Click Next to proceed
Choose the language! Click Next!

9
Choose the Keyboard Layout! Click Next!
Proceed with the basic storage device. Click Next!

10
Proceed with the option of “Yes, Discard any data” you need to choose this option.
Keep the name of the computer unchanged. Click Next!

11
Choose the time zone and proceed. Click Next!
Choose a root password and proceed

12
Select the default option “Replace existing Linux Systems” and select “Write changes to disk” in the prompt to start the
install and choose desktop installation and click next!
PS: In the real world the “Minimal” install is what is preferred however the minimal install only works using the CLI and
there is no GUI. Additionally, ssh needs to be installed separately.

13
Now it will install CentOS. Get a serving of your preferred beverage (Non-Alcoholic) and wait for the install
Once the installation is complete the virtual machine needs to be restarted

14
Proceed from the welcome screen. Click Forward!
Agree to the License Agreement and move forward!

15
Skip the create user part do not enter any info as we will do it from the command line. Forward!
Set the date and time and move ahead
16
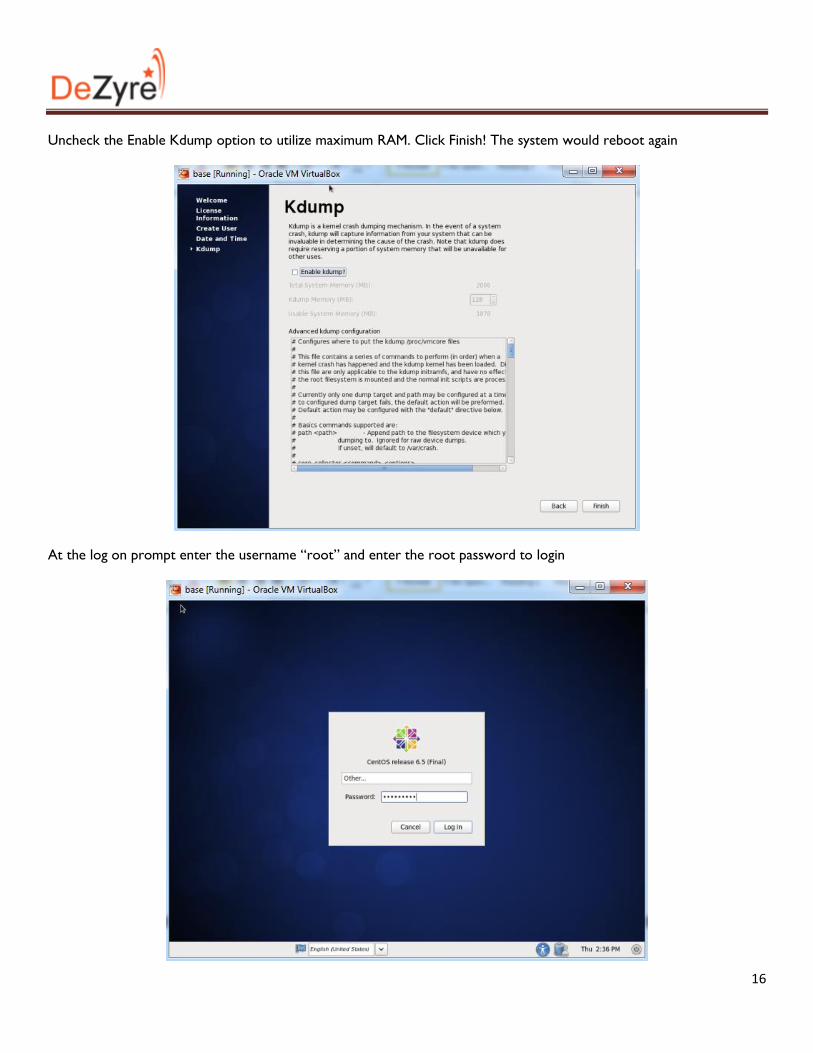
Uncheck the Enable Kdump option to utilize maximum RAM. Click Finish! The system would reboot again
At the log on prompt enter the username “root” and enter the root password to login

17
Start a terminal session and follow along…
Update the network adapter configuration to the following:
# vi /etc/sysconfig/network-scripts/ifcfg-eth0
DEVICE=eth0
ONBOOT=yes
NM_CONTROLLED=yes
BOOTPROTO=static
IPADDR=192.168.1.100
GATEWAY=192.168.1.1
NETMASK=255.255.255.0
DNS1=192.168.1.1
18
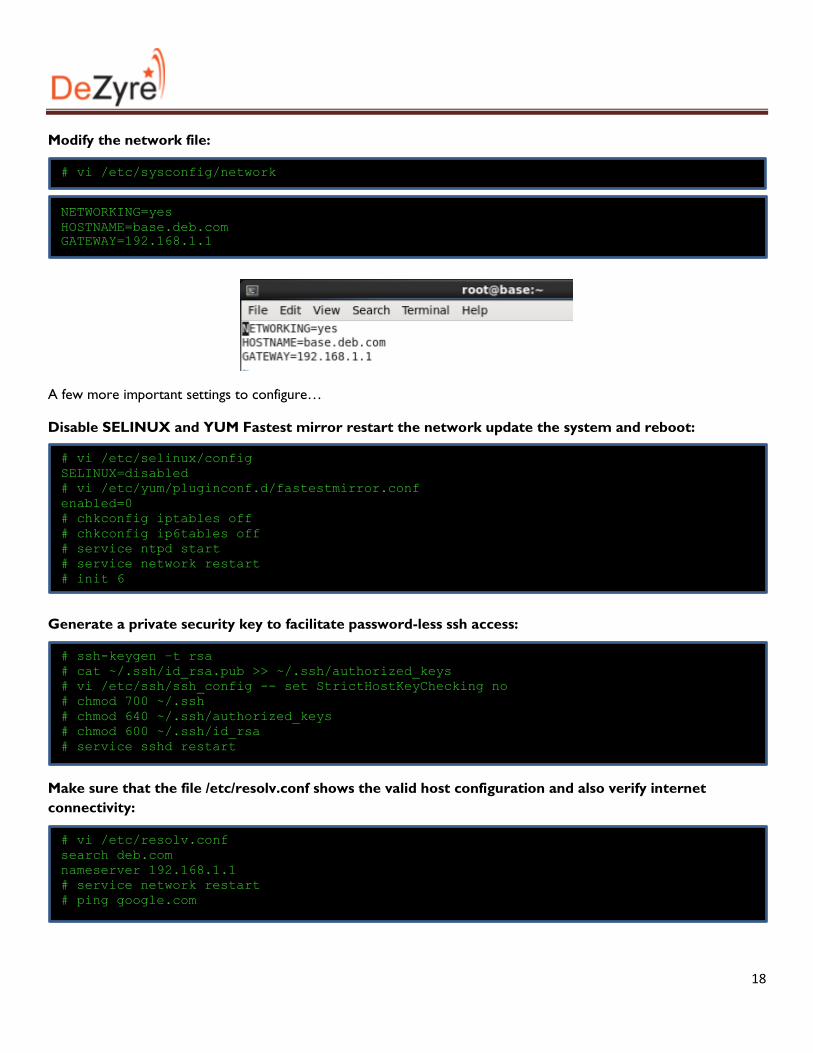
Modify the network file:
A few more important settings to configure…
Disable SELINUX and YUM Fastest mirror restart the network update the system and reboot:
Generate a private security key to facilitate password-less ssh access:
Make sure that the file /etc/resolv.conf shows the valid host configuration and also verify internet
connectivity:
# vi /etc/sysconfig/network
NETWORKING=yes
HOSTNAME=base.deb.com
GATEWAY=192.168.1.1
# vi /etc/selinux/config
SELINUX=disabled
# vi /etc/yum/pluginconf.d/fastestmirror.conf
enabled=0
# chkconfig iptables off
# chkconfig ip6tables off
# service ntpd start
# service network restart
# init 6
# ssh-keygen –t rsa
# cat ~/.ssh/id_rsa.pub >> ~/.ssh/authorized_keys
# vi /etc/ssh/ssh_config -- set StrictHostKeyChecking no
# chmod 700 ~/.ssh
# chmod 640 ~/.ssh/authorized_keys
# chmod 600 ~/.ssh/id_rsa
# service sshd restart
# vi /etc/resolv.conf
search deb.com
nameserver 192.168.1.1
# service network restart
# ping google.com

19
Add a Hadoop user and group, I am calling my user hduser and put the user in a group called hadoop:
Allow the Hadoop group to perform all root actions by adding the following line in the sudoers file:
Distribute the files from /root/.ssh to the .ssh directory of the hadoop user:
Now we have taken care of the network configuration it is time to configure Java. By default in the Desktop CentOS
install Open JDK is installed and it is preferred to uninstall the open JDK and install oracle java. Preferred version is
Oracle Java 1.6.0_31 and Oracle Java 1.7.0_21. Open JDK 1.7.0_09-icedtea is certified with Hadoop 2.2.0 by
Hortonworks. Removing the installed OpenJDK and installing oracle java.
# groupadd hadoop
# useradd –g hadoop hduser
# passwd hduser
# visudo
*hadoop ALL(ALL) NOPASSWD: ALL
$ su
# cp /root/.ssh/id_rsa /home/hduser/.ssh/
# cp /root/.ssh/id_rsa.pub /home/hduser/.ssh/
# cp /root/.ssh/authorized_keys /home/hduser/.ssh/
# sudo chown hduser /home/hduser/.ssh
# exit
$ sudo chmod 700 ~/.ssh
$ sudo chmod 640 ~/.ssh/authorized_keys
$ sudo chmod 600 ~/.ssh/id_rsa
$ sudo service sshd restart
$ su
# yum remove java-1.6.0-openjdk
# yum remove java-1.7.0-openjdk
20
Install and configure java 6 update 31 or 7 update 2. Download oracle java1.6.0_31/1.7.0_21 tarball from
the oracle website. I am using 1.7.0_21 download the tar.gz file and extract it:
Edit the bash profile i.e the .bashrc file with the following and save it:
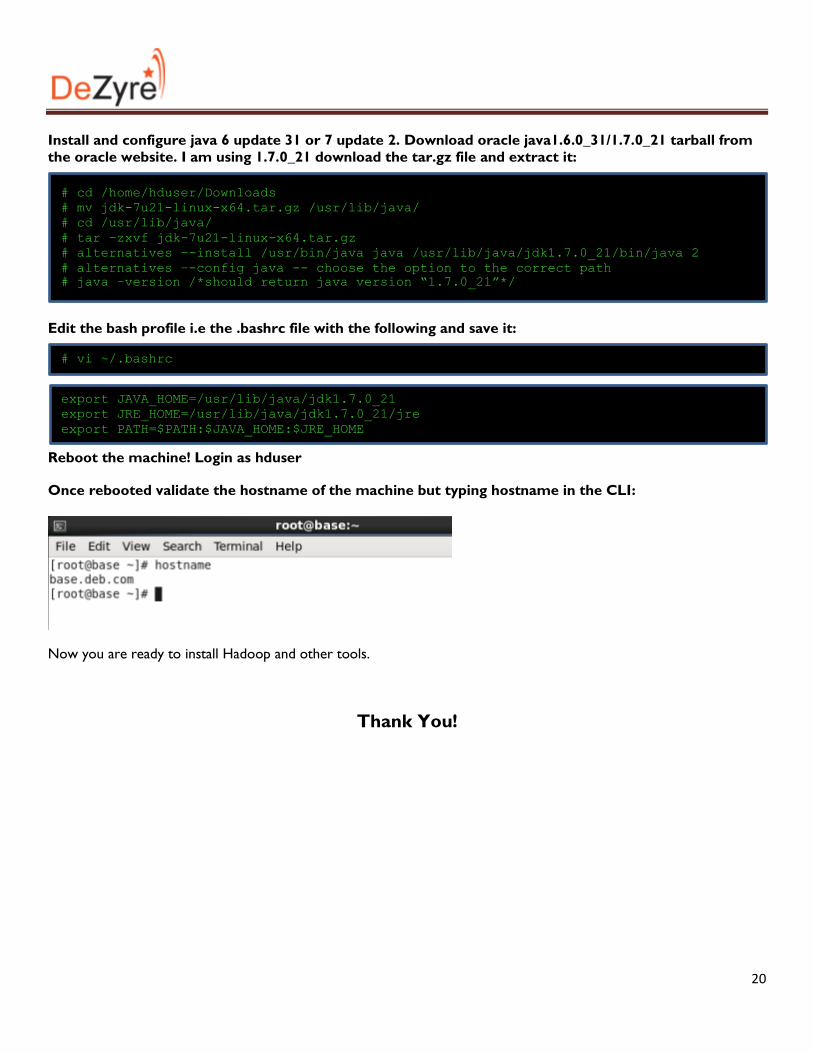
Reboot the machine! Login as hduser
Once rebooted validate the hostname of the machine but typing hostname in the CLI:
Now you are ready to install Hadoop and other tools.
Thank You!
# cd /home/hduser/Downloads
# mv jdk-7u21-linux-x64.tar.gz /usr/lib/java/
# cd /usr/lib/java/
# tar –zxvf jdk-7u21-linux-x64.tar.gz
# alternatives –-install /usr/bin/java java /usr/lib/java/jdk1.7.0_21/bin/java 2
# alternatives –-config java -- choose the option to the correct path
# java –version /*should return java version “1.7.0_21”*/
# vi ~/.bashrc
export JAVA_HOME=/usr/lib/java/jdk1.7.0_21
export JRE_HOME=/usr/lib/java/jdk1.7.0_21/jre
export PATH=$PATH:$JAVA_HOME:$JRE_HOME


![!! VCP6/6.5-DCV 日本語版 vSphere: Install, Configure ......VCP6/6.5-DCV 日本語版 vSphere: Install, Configure, Manage [V6.5] On-Demand. 販売株式会社GKI. 〒060-0005問い合わせ先](https://img.pdfslide.tips/doc/110x75/612846eaf60e976a977b1674/-vcp665-dcv-oeec-vsphere-install-configure-vcp665-dcv-oeec.jpg)