Embed Size (px)
DESCRIPTION
Making Coverslips. by Steve Smith, Cheng- Zhong Zhang and Amy Xu. Inspect coverslip for flatness. Interference fringes most visible in fluorescent light through a magnifying glass. Interference fringes. - PowerPoint PPT Presentation
Citation preview
Making Coverslips
by Steve Smith, Cheng-Zhong Zhang and Amy Xu
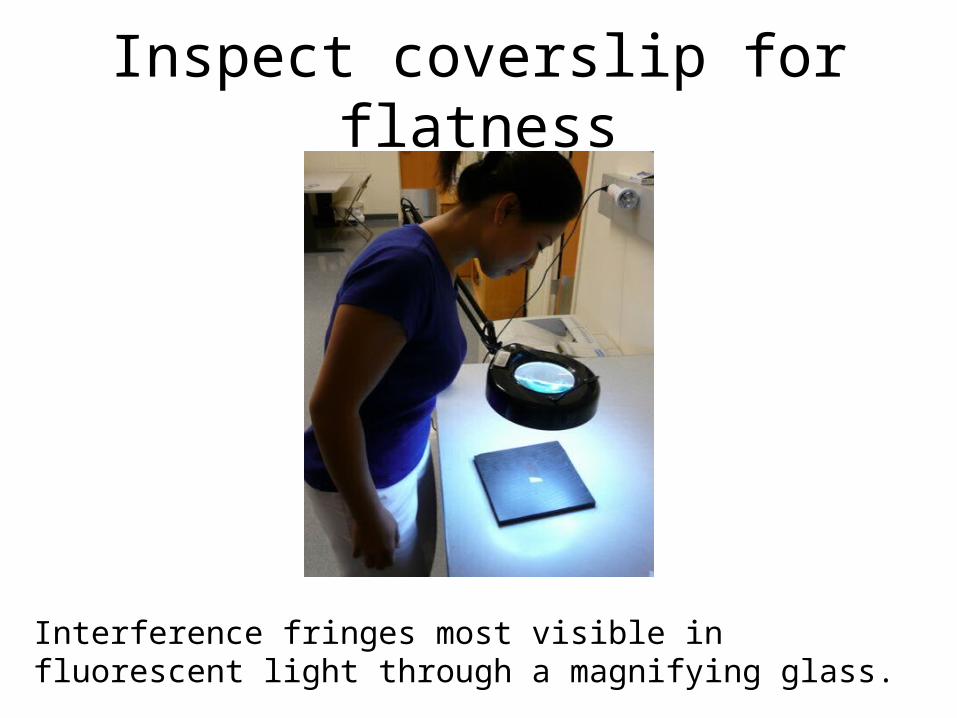
Inspect coverslip for flatness
Interference fringes most visible in fluorescent light through a magnifying glass.
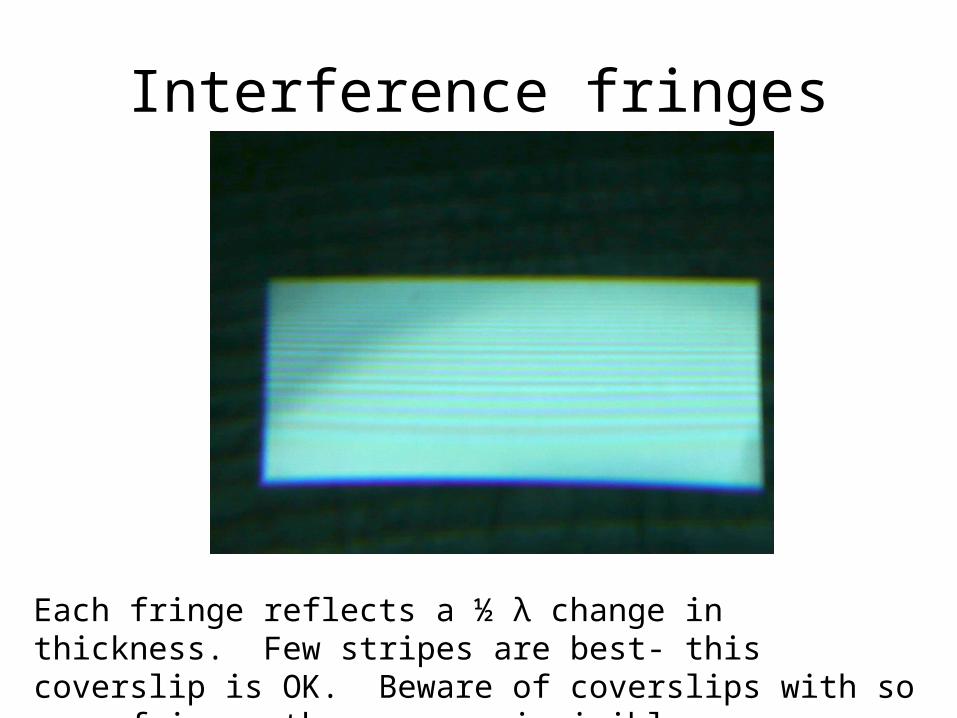
Interference fringes
Each fringe reflects a ½ λ change in thickness. Few stripes are best- this coverslip is OK. Beware of coverslips with so many fringes they appear invisible.
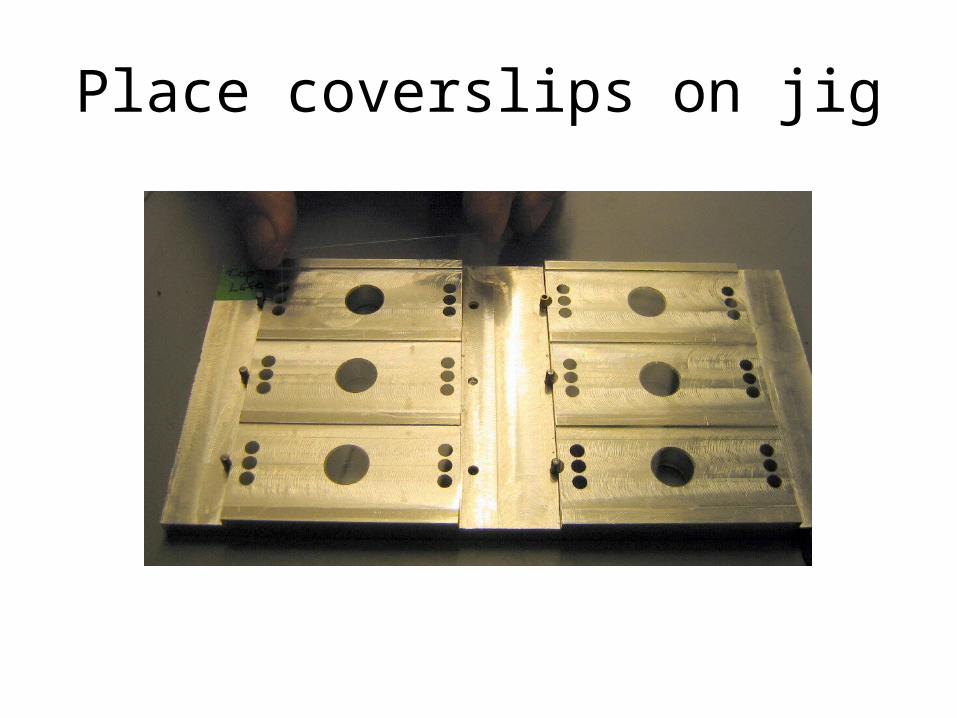
Place coverslips on jig

Place jig in laser engraver
Index position to upper left corner

Focus Laser Beam
Position laser lens proper distance from coverslips by raising and lowering the table.
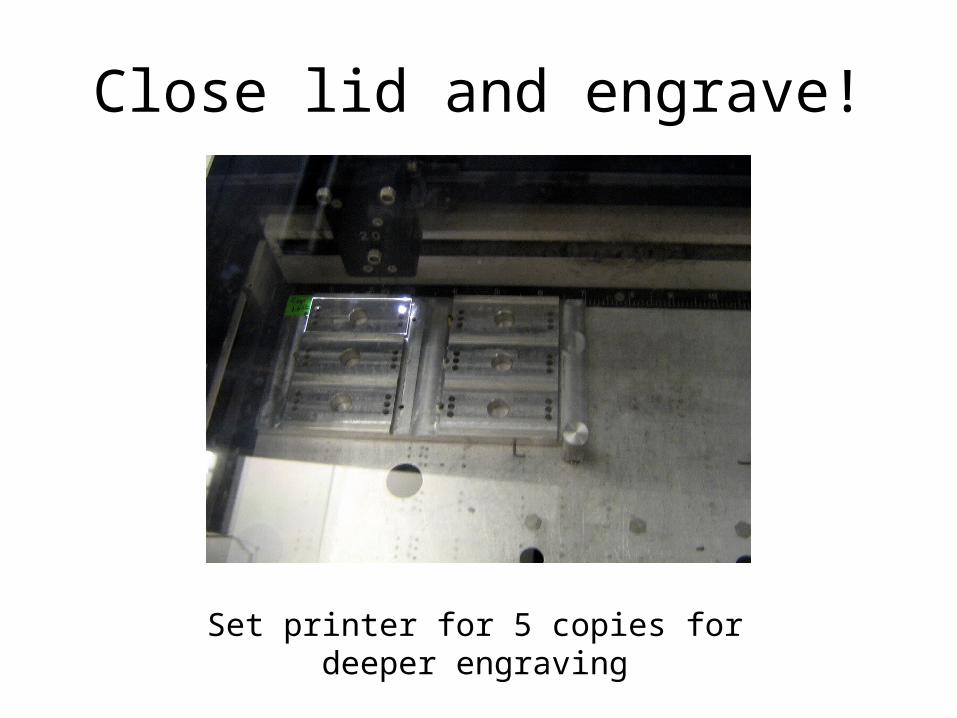
Close lid and engrave!
Set printer for 5 copies for deeper engraving
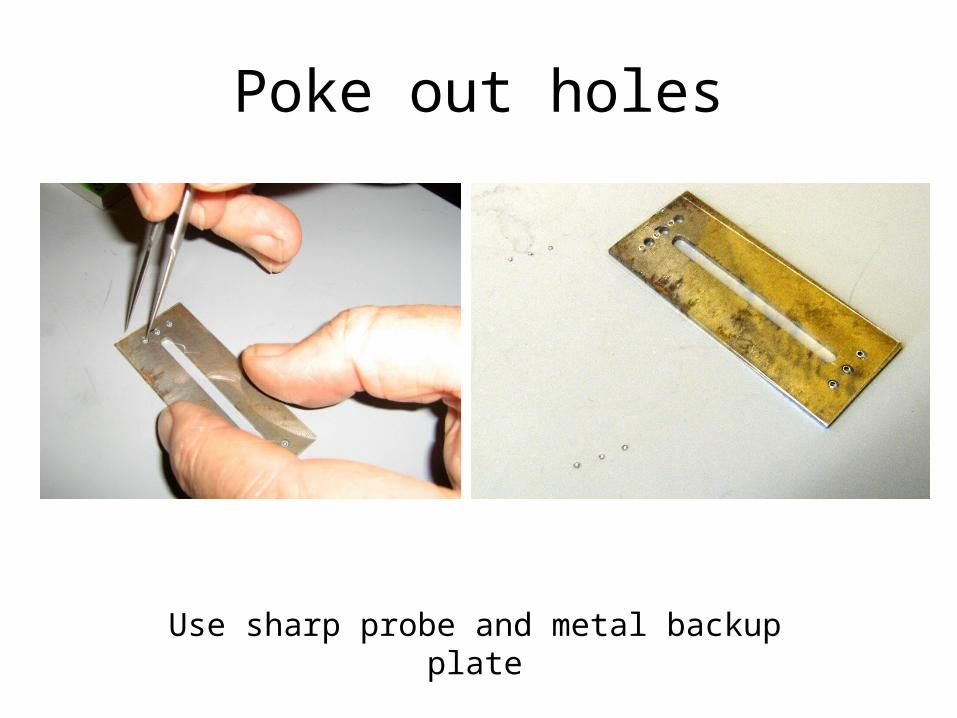
Poke out holes
Use sharp probe and metal backup plate
Making a Gasket
by Steve Smith, Cheng-Zhong Zhang and Amy Xu
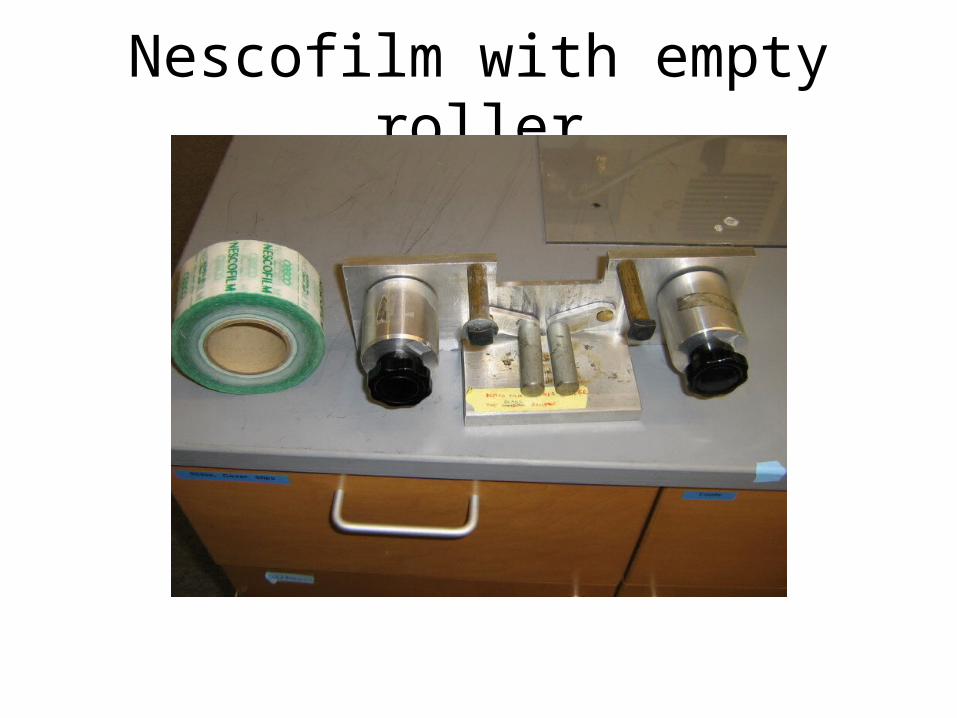
Nescofilm with empty roller
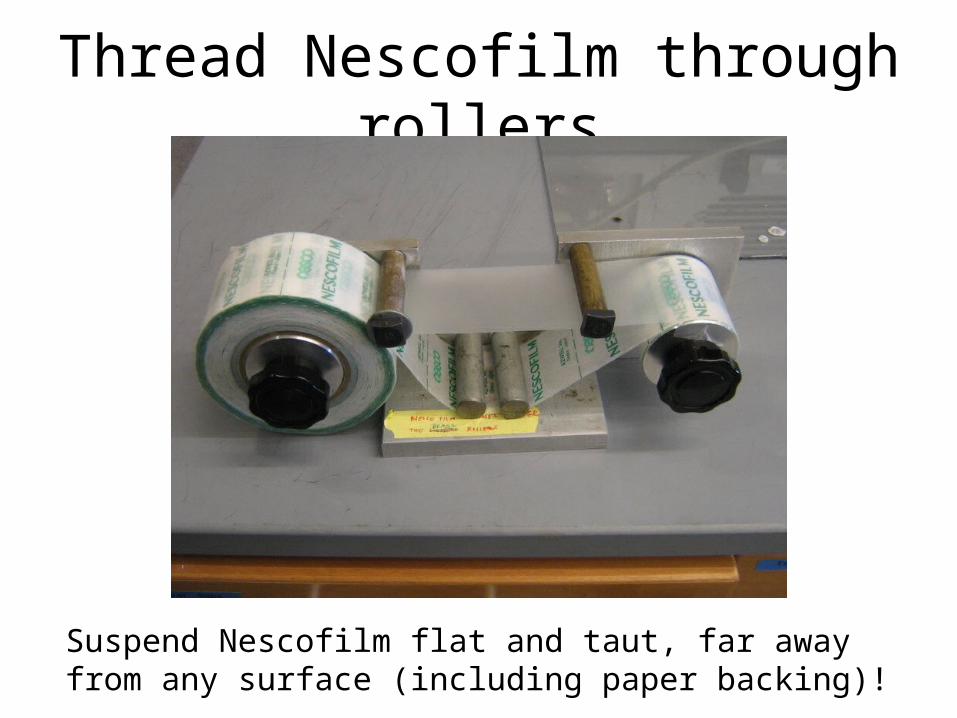
Thread Nescofilm through rollers
Suspend Nescofilm flat and taut, far away from any surface (including paper backing)!
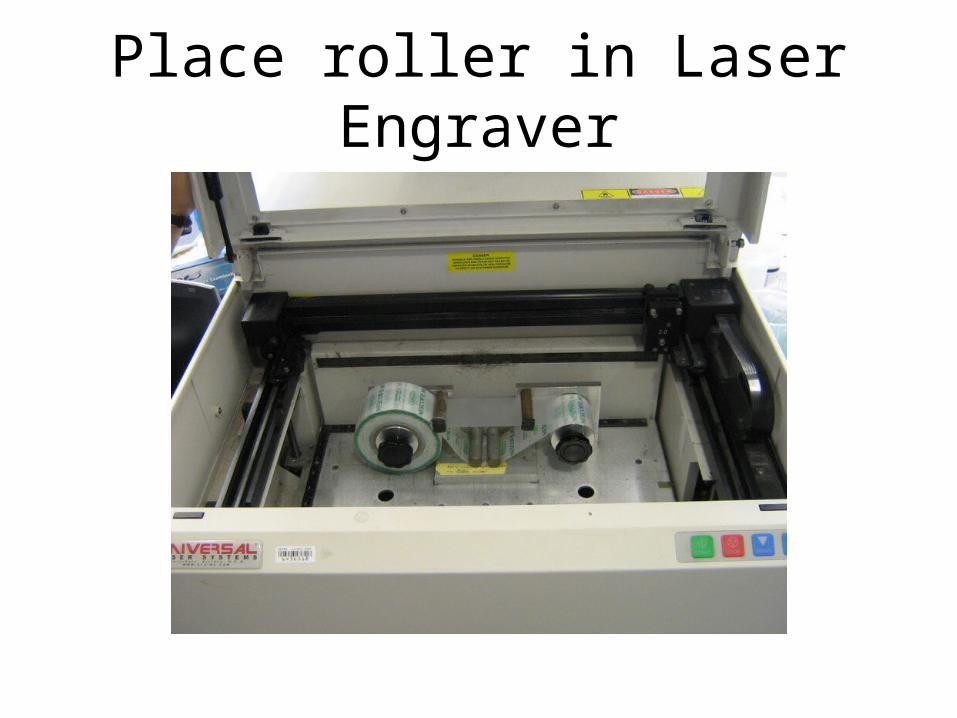
Place roller in Laser Engraver
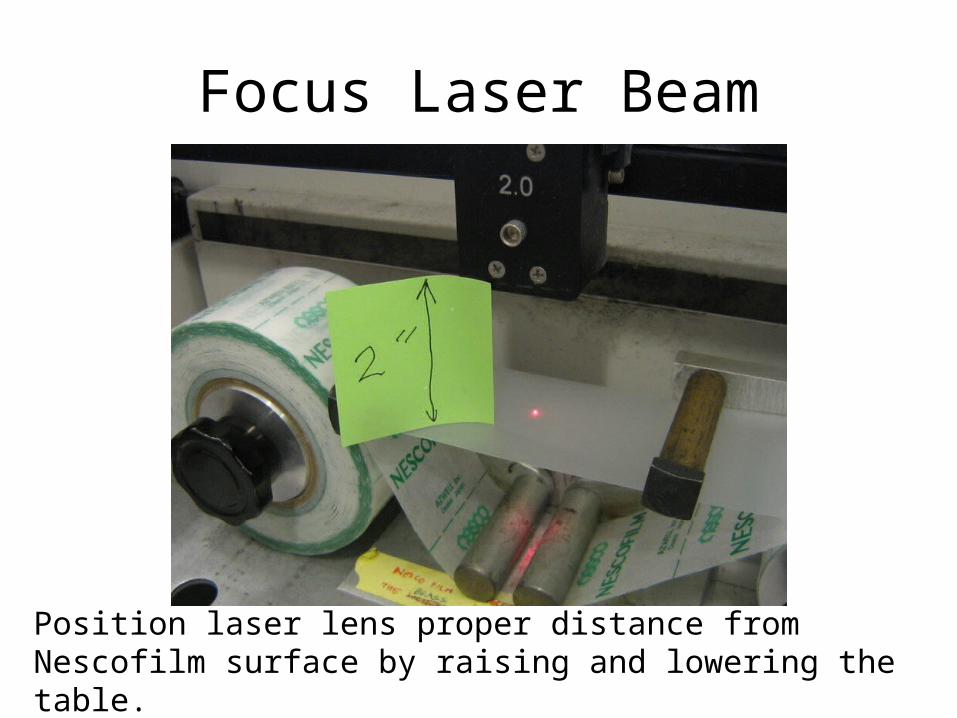
Focus Laser Beam
Position laser lens proper distance from Nescofilm surface by raising and lowering the table.
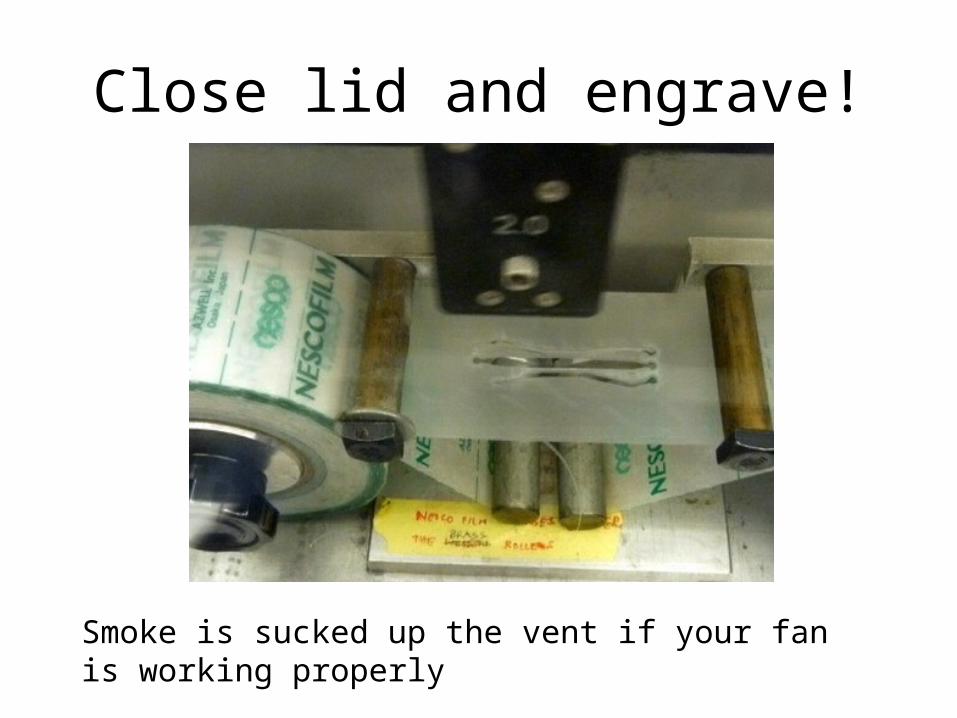
Close lid and engrave!
Smoke is sucked up the vent if your fan is working properly
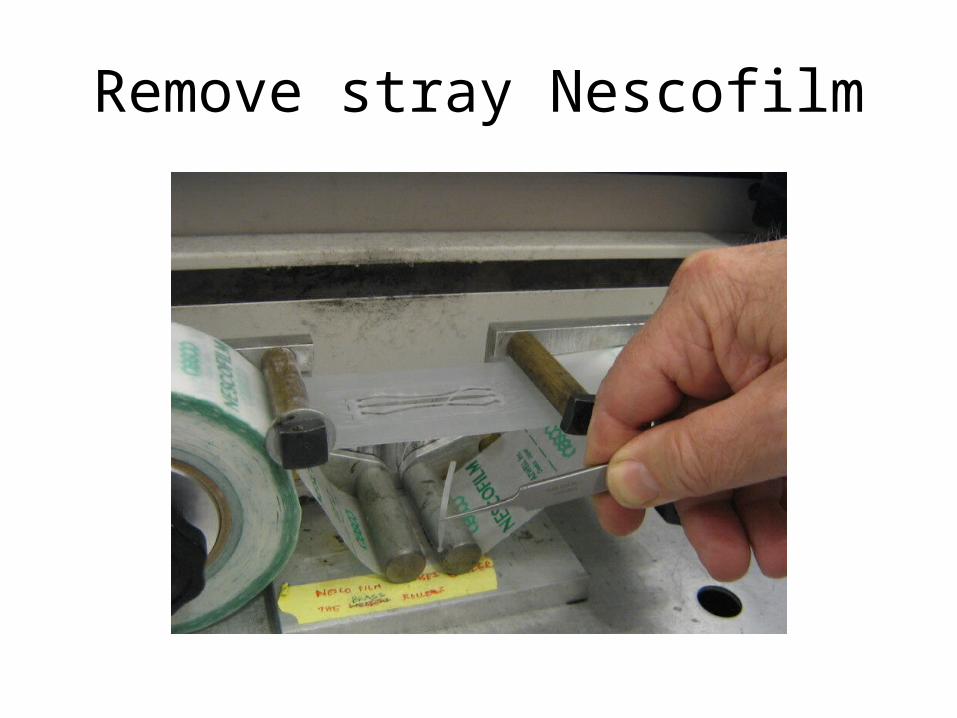
Remove stray Nescofilm

Advance Nescofilm roller
Pulling a Pipette
by Steve Smith, Cheng-Zhong Zhang and Amy Xu
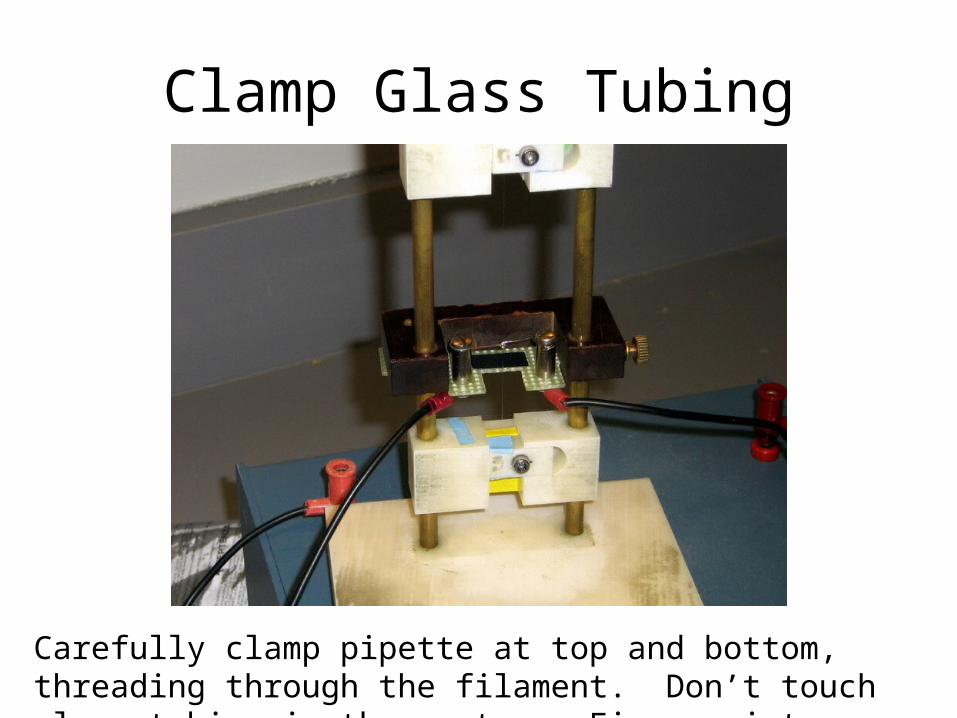
Clamp Glass Tubing
Carefully clamp pipette at top and bottom, threading through the filament. Don’t touch glass tubing in the center. Fingerprints = bad.
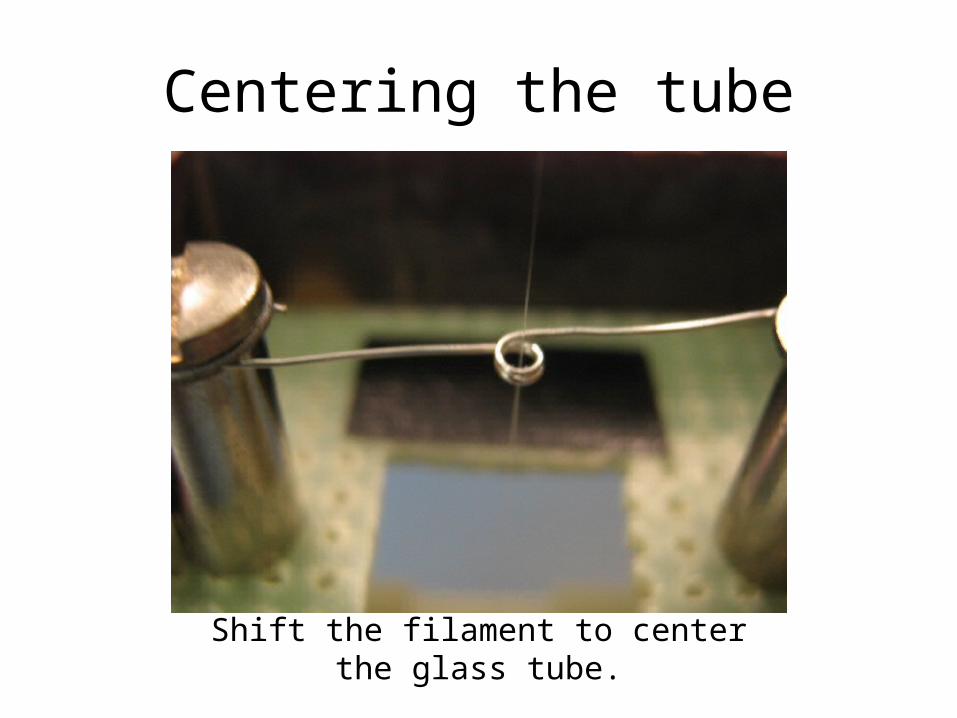
Centering the tube
Shift the filament to center the glass tube.
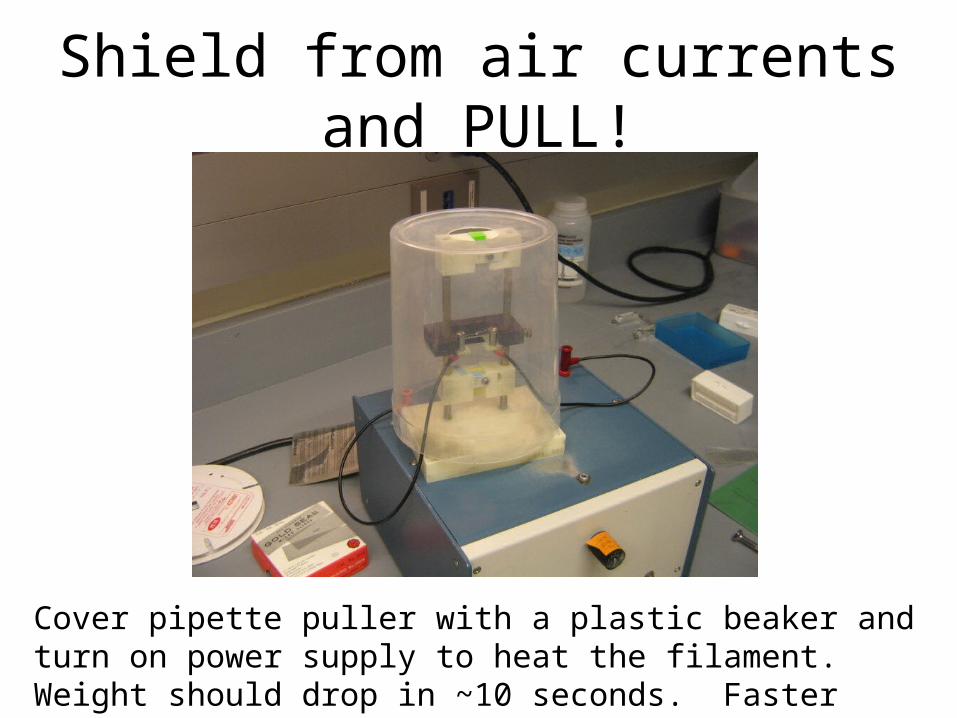
Shield from air currents and PULL!
Cover pipette puller with a plastic beaker and turn on power supply to heat the filament. Weight should drop in ~10 seconds. Faster heating = smaller tips.
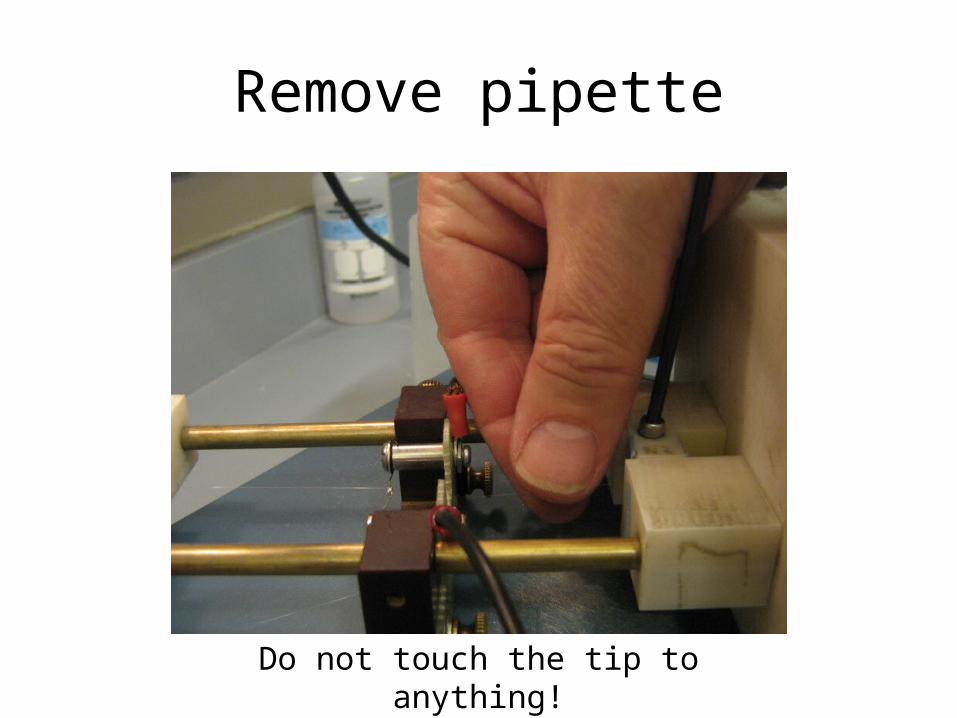
Remove pipette
Do not touch the tip to anything!
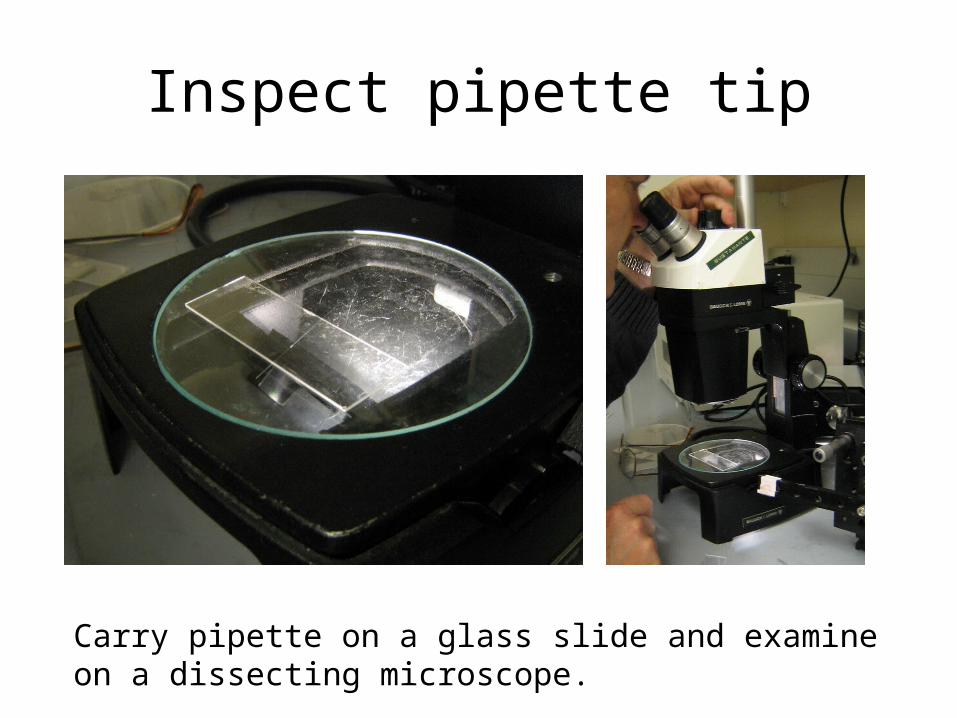
Inspect pipette tip
Carry pipette on a glass slide and examine on a dissecting microscope.
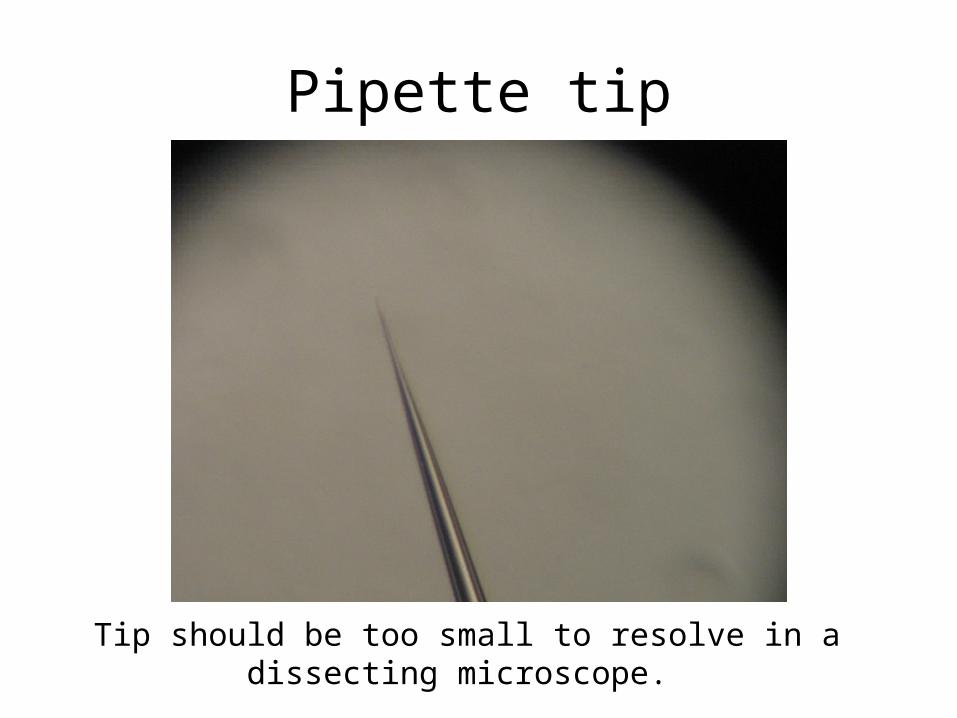
Pipette tip
Tip should be too small to resolve in a dissecting microscope.
Assembling a Microchamber
by Steve Smith, Cheng-Zhong Zhang and Amy Xu
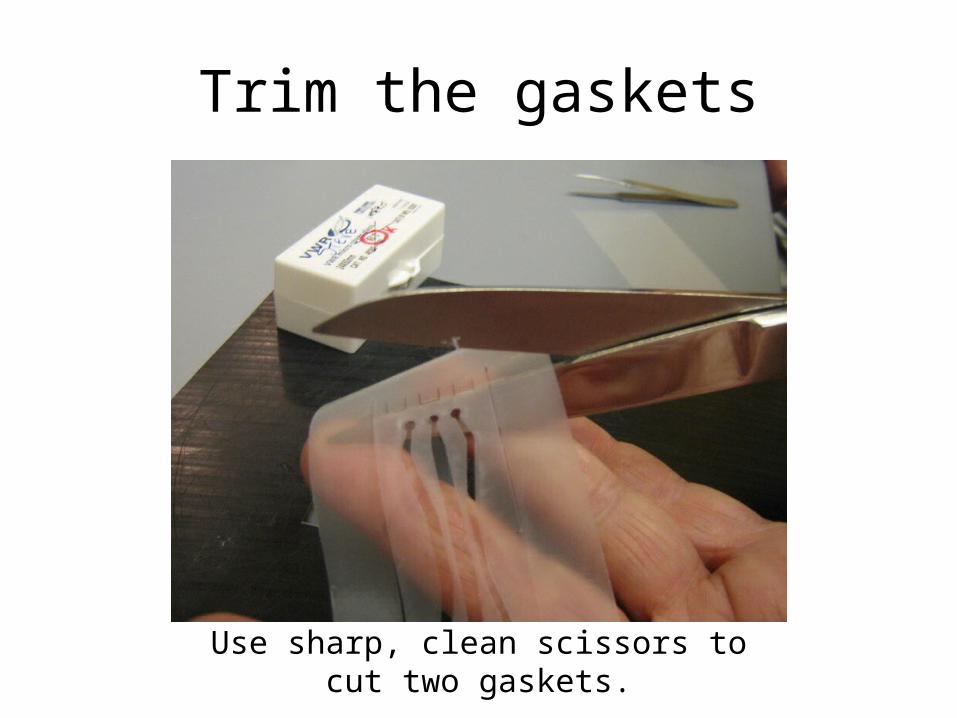
Trim the gaskets
Use sharp, clean scissors to cut two gaskets.
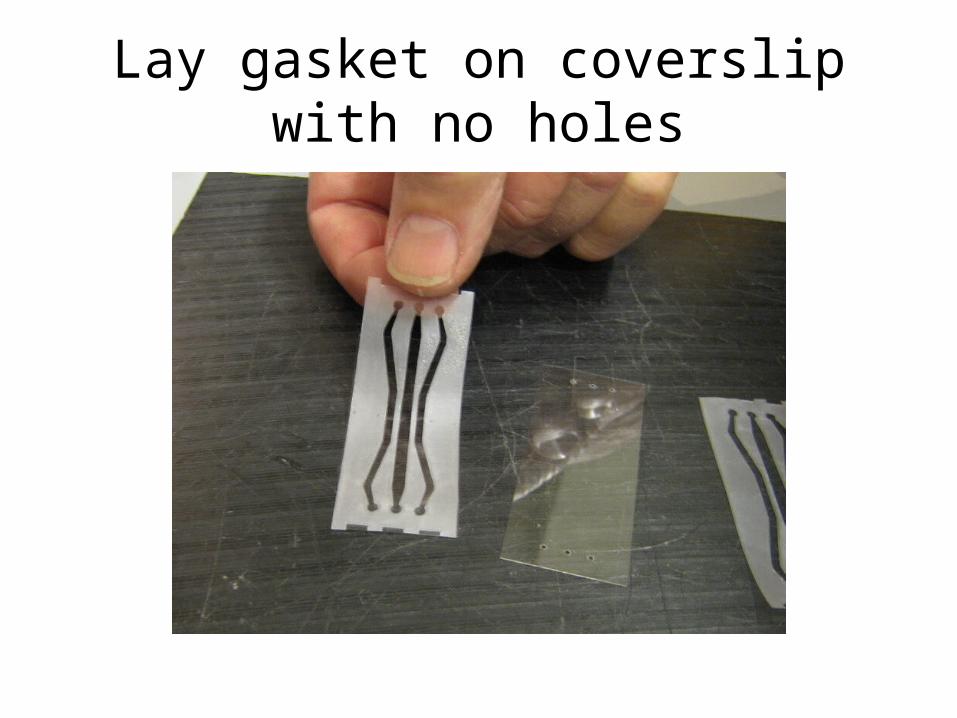
Lay gasket on coverslip with no holes
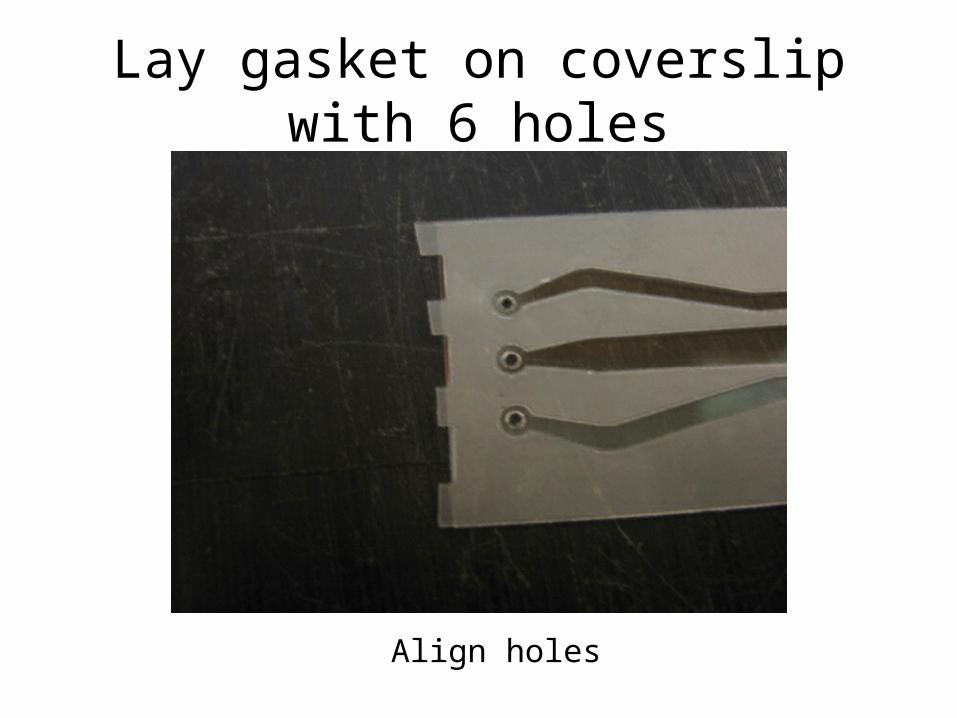
Lay gasket on coverslip with 6 holes
Align holes
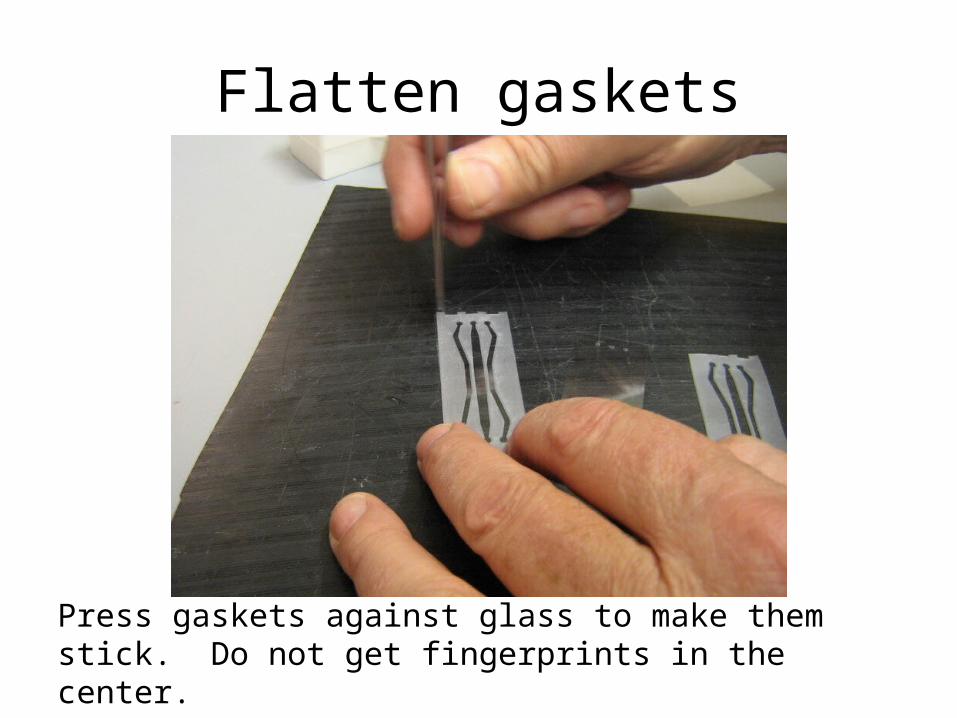
Flatten gaskets
Press gaskets against glass to make them stick. Do not get fingerprints in the center.
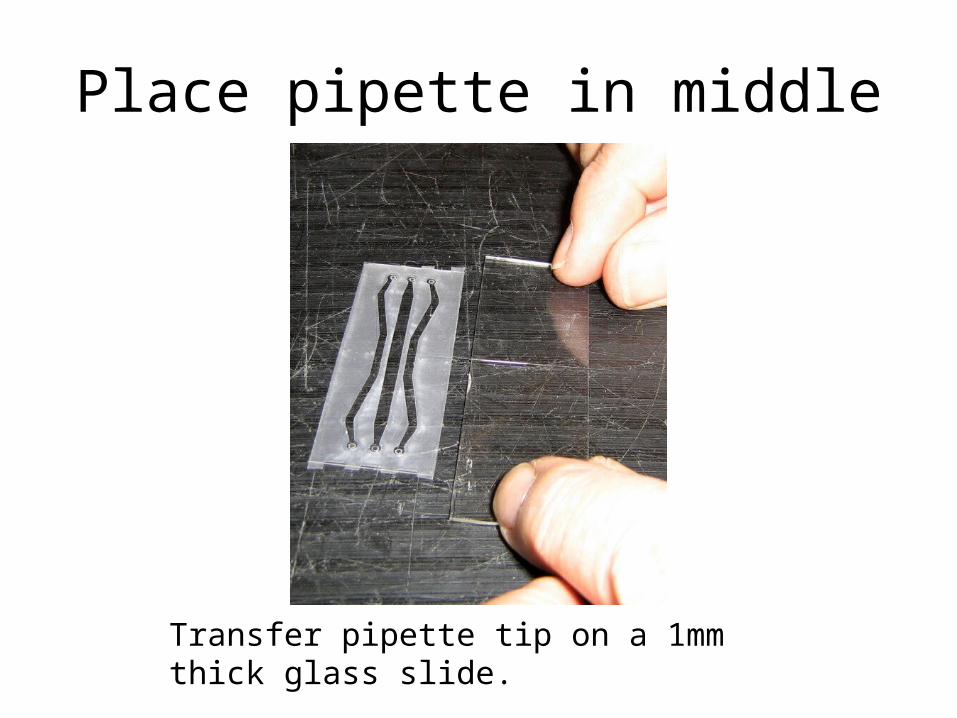
Place pipette in middle
Transfer pipette tip on a 1mm thick glass slide.
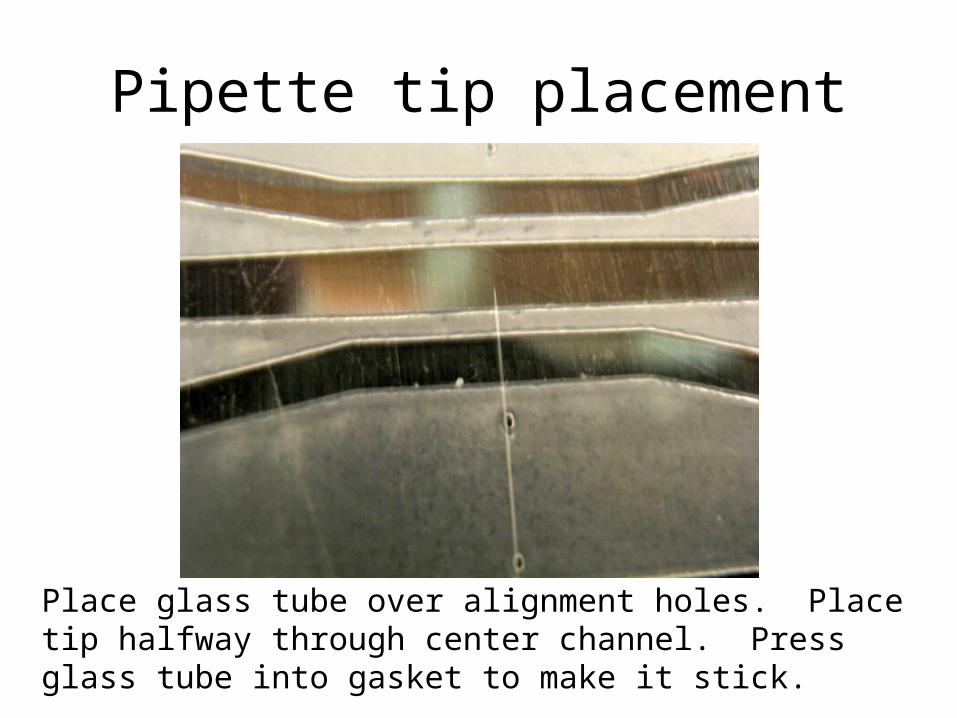
Pipette tip placement
Place glass tube over alignment holes. Place tip halfway through center channel. Press glass tube into gasket to make it stick.
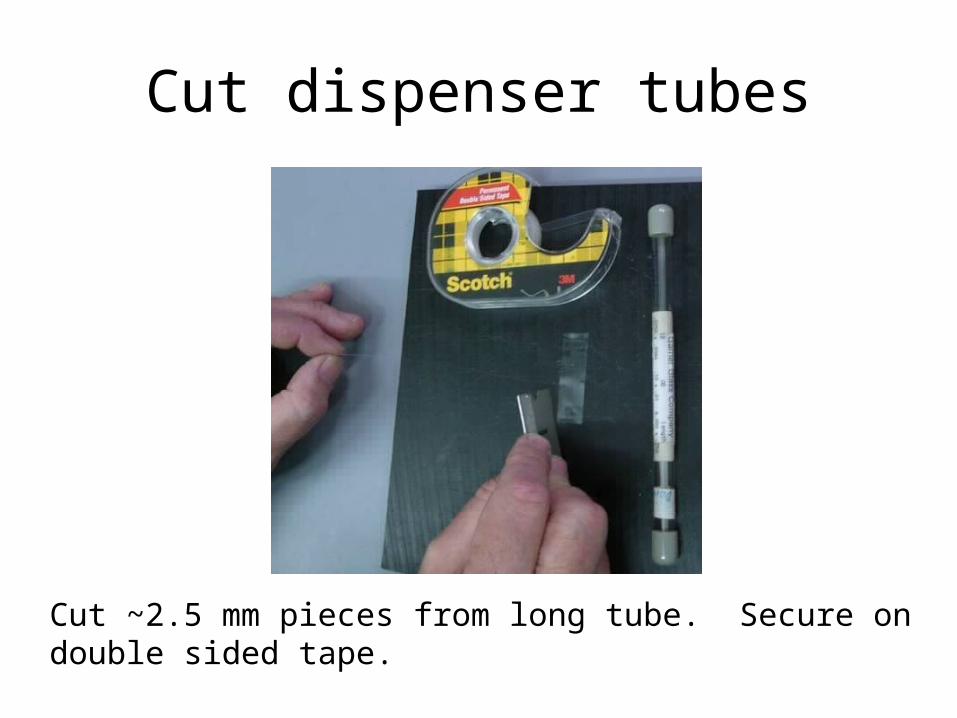
Cut dispenser tubes
Cut ~2.5 mm pieces from long tube. Secure on double sided tape.
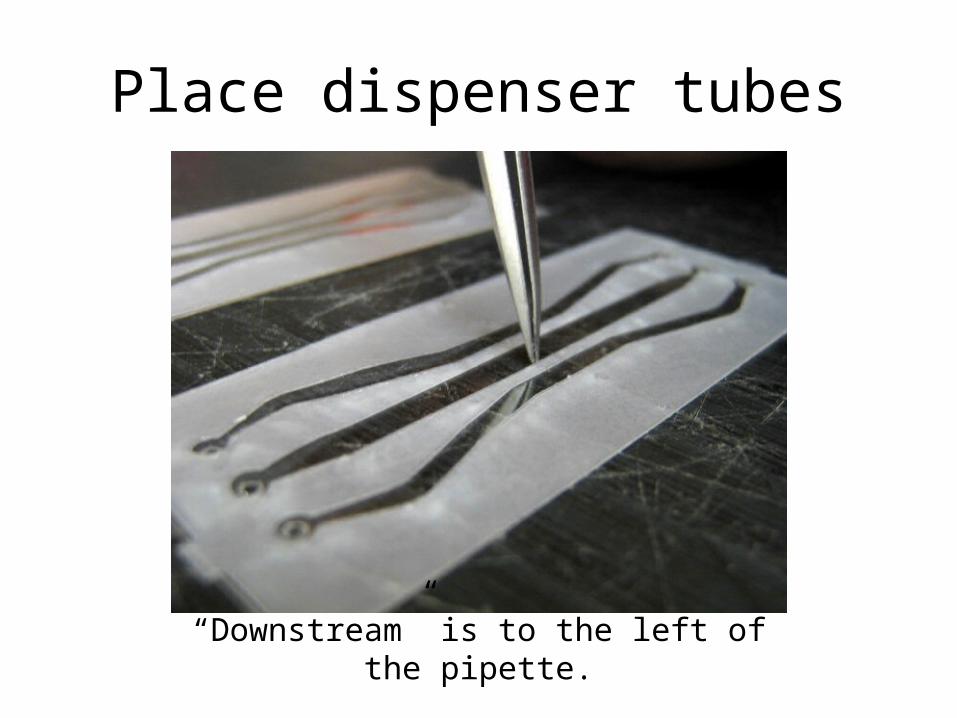
Place dispenser tubes
“Downstream” is to the left of the pipette.
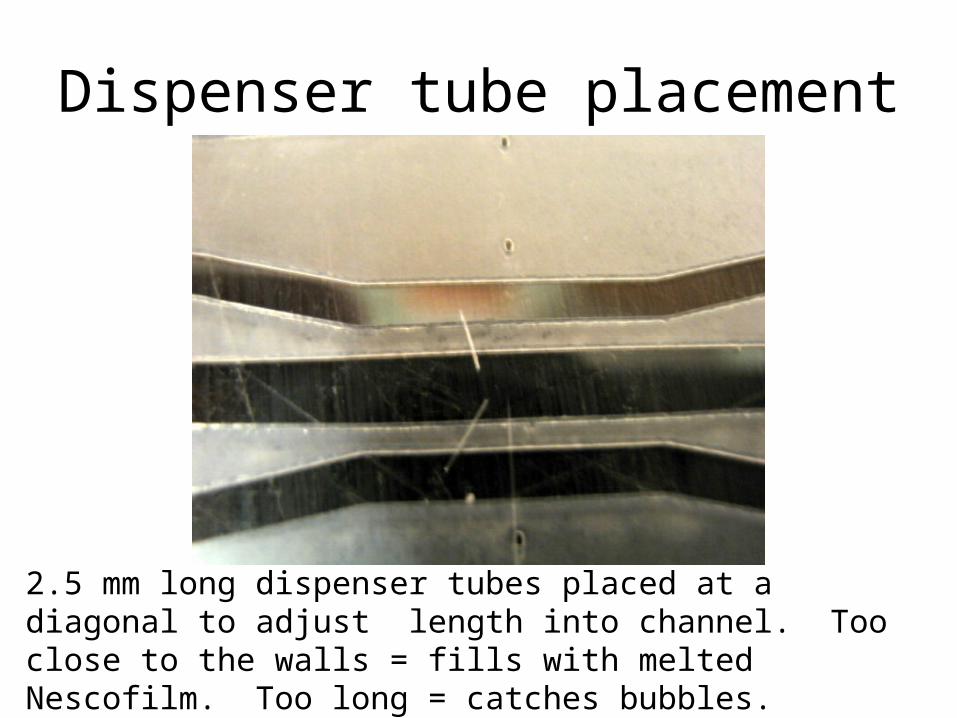
Dispenser tube placement
2.5 mm long dispenser tubes placed at a diagonal to adjust length into channel. Too close to the walls = fills with melted Nescofilm. Too long = catches bubbles.
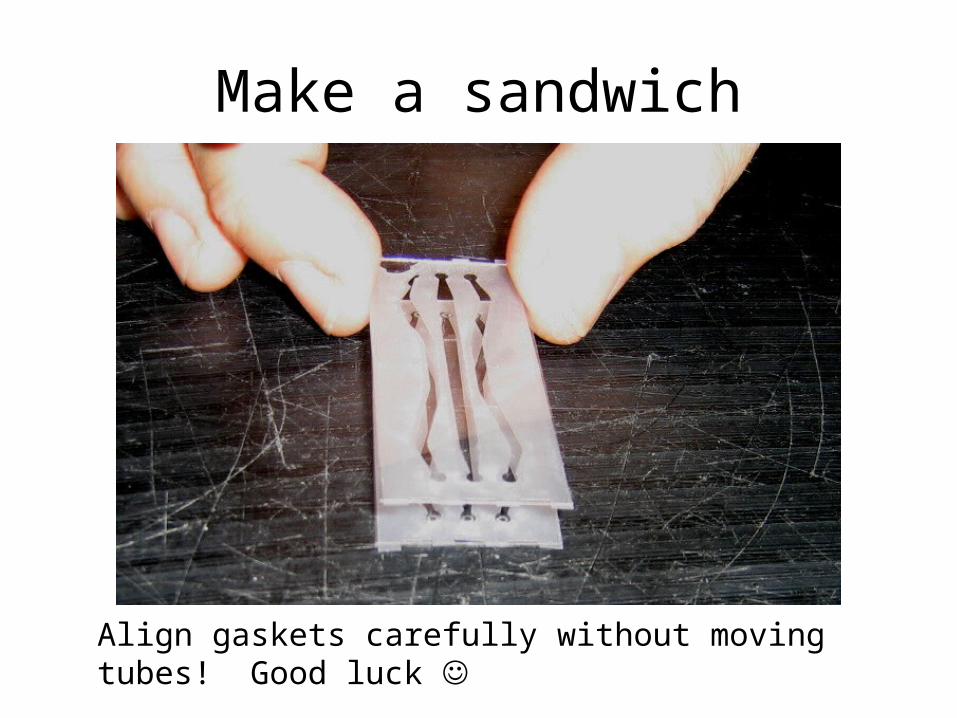
Make a sandwich
Align gaskets carefully without moving tubes! Good luck
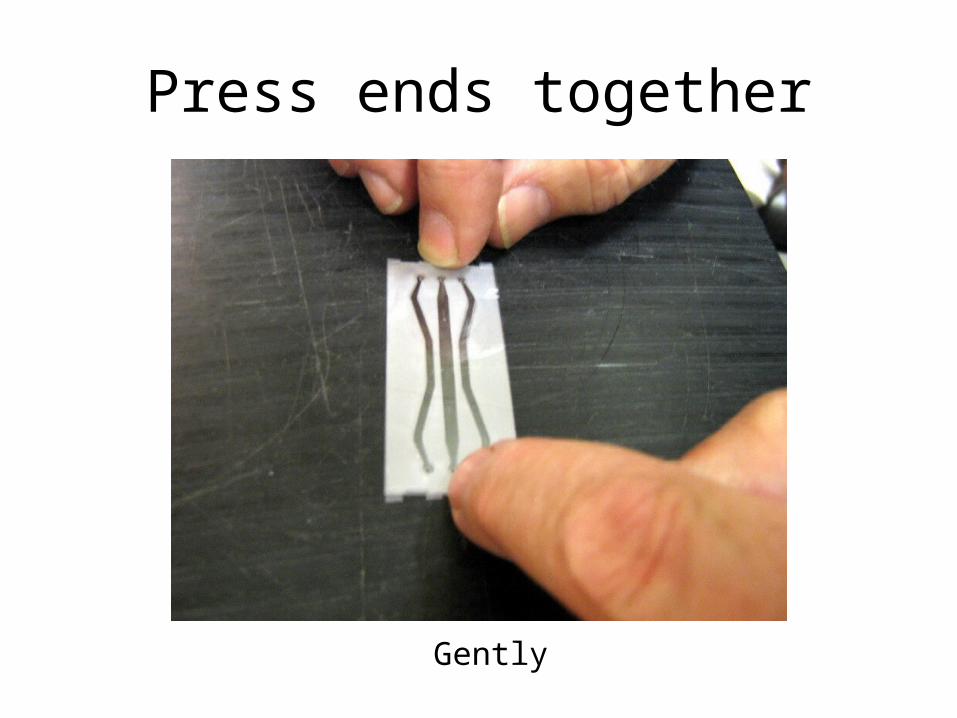
Press ends together
Gently
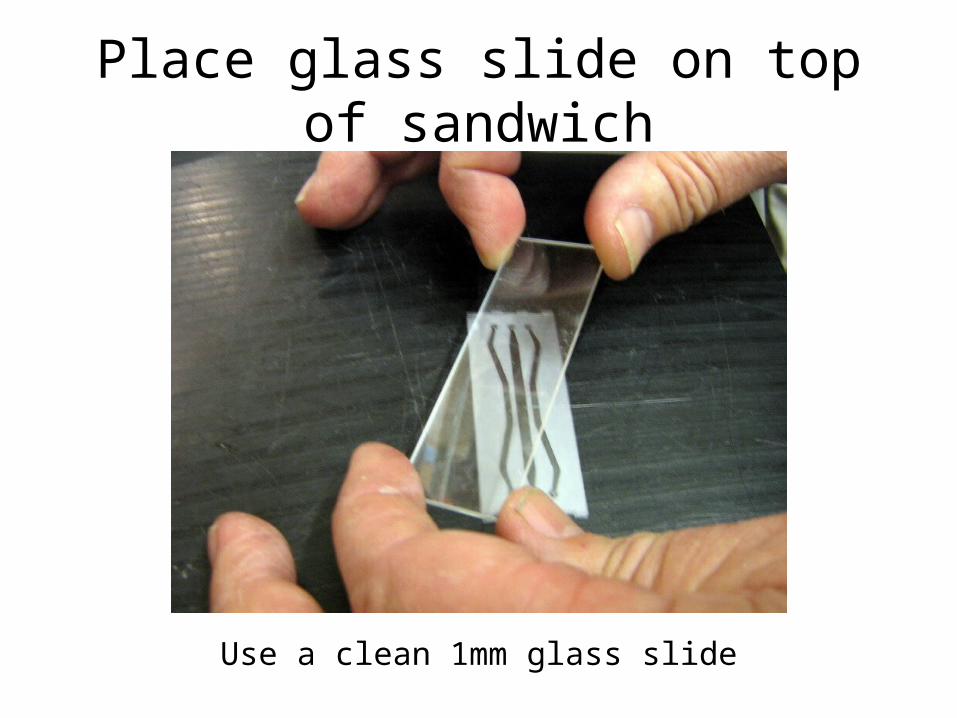
Place glass slide on top of sandwich
Use a clean 1mm glass slide
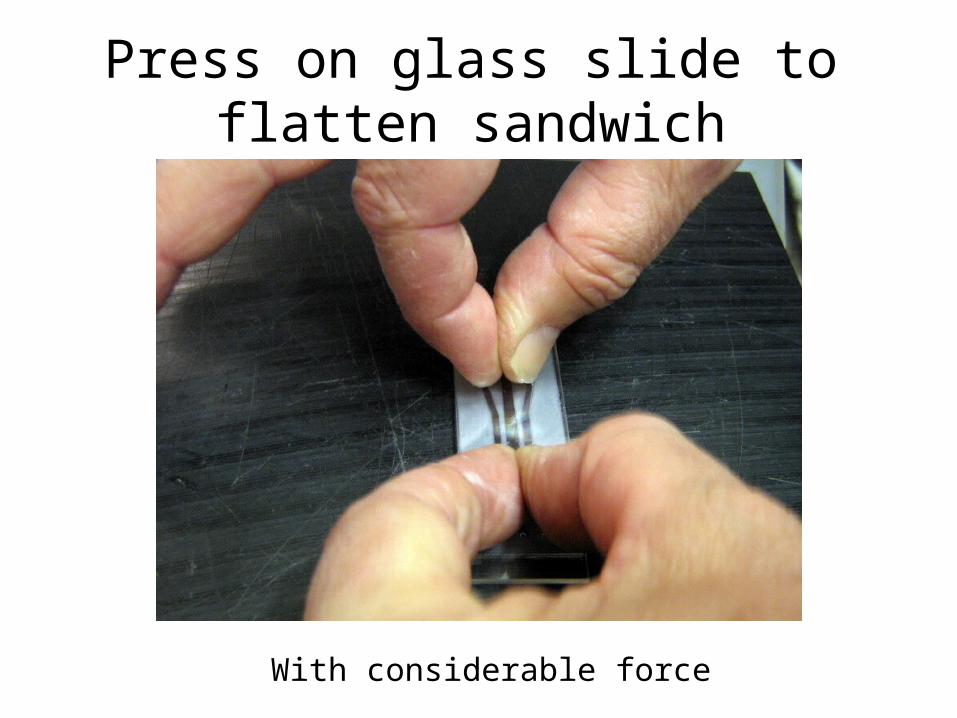
Press on glass slide to flatten sandwich
With considerable force
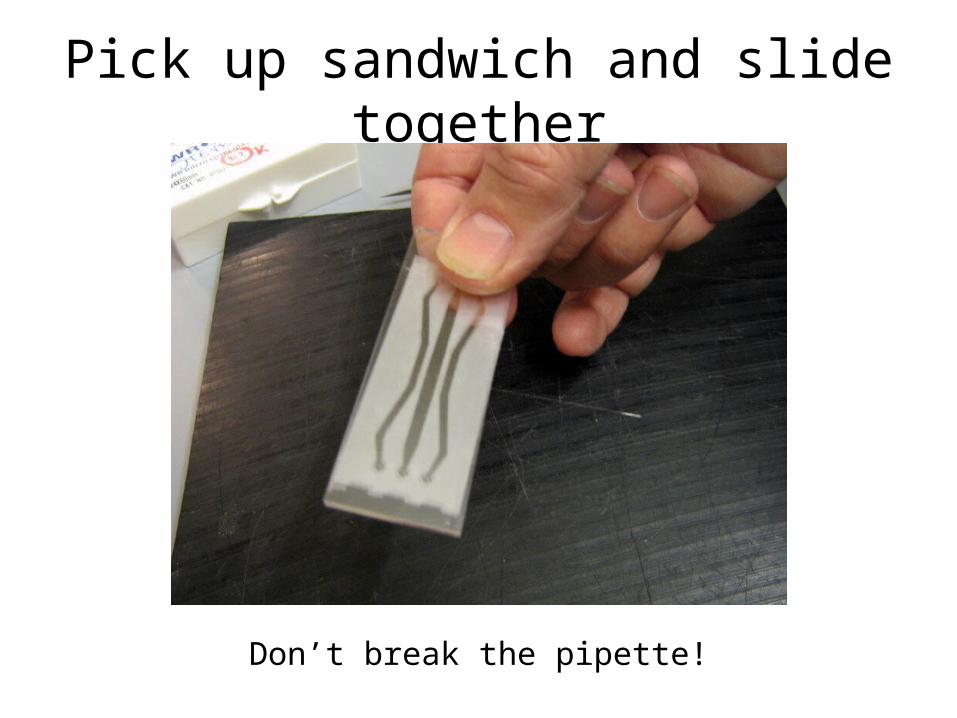
Pick up sandwich and slide together
Don’t break the pipette!

Place on heated plate
Cover the hotplate with clean aluminum foil. T = 120o C
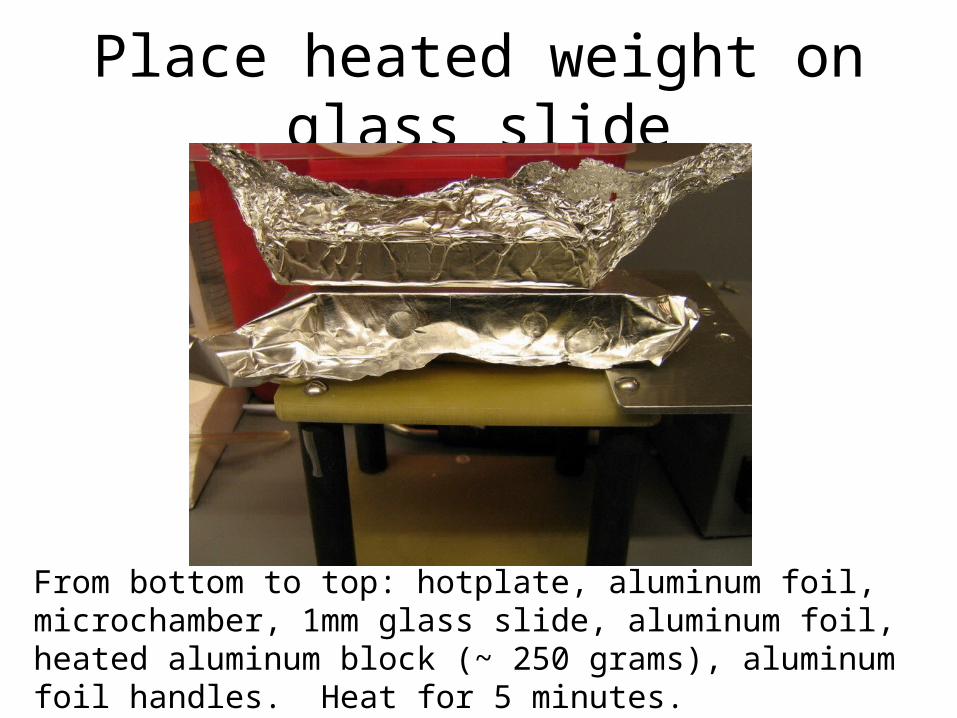
Place heated weight on glass slide
From bottom to top: hotplate, aluminum foil, microchamber, 1mm glass slide, aluminum foil, heated aluminum block (~ 250 grams), aluminum foil handles. Heat for 5 minutes.
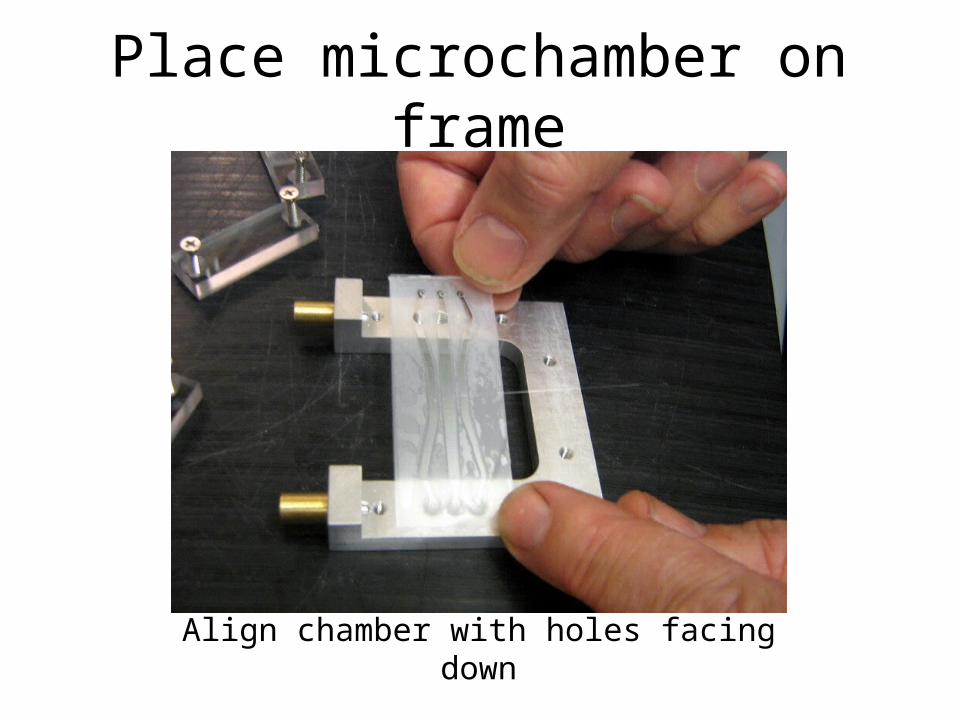
Place microchamber on frame
Align chamber with holes facing down
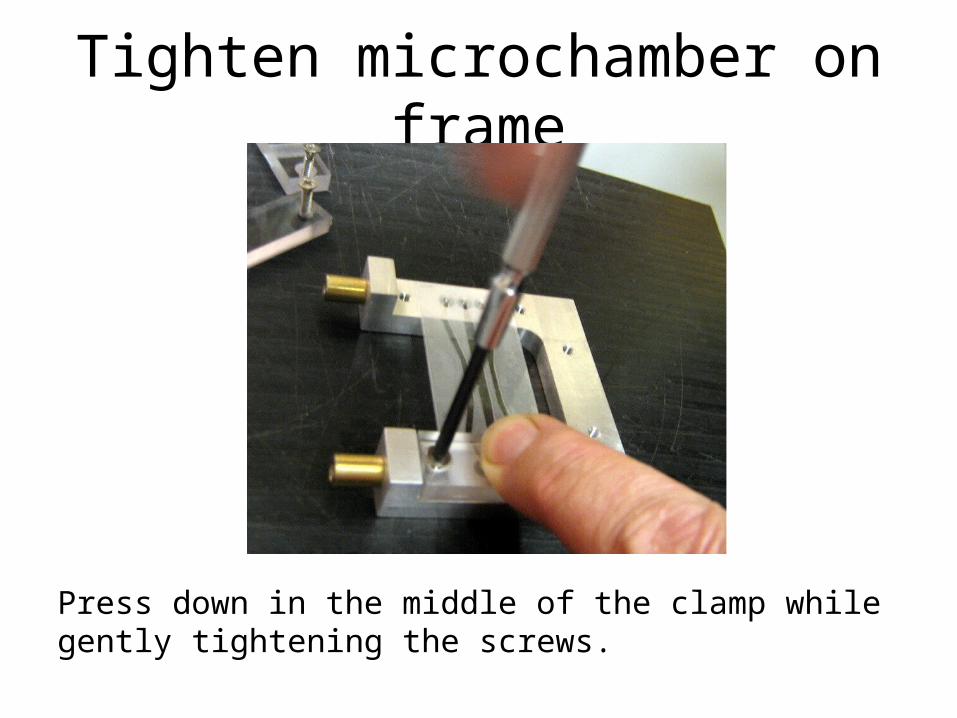
Tighten microchamber on frame
Press down in the middle of the clamp while gently tightening the screws.
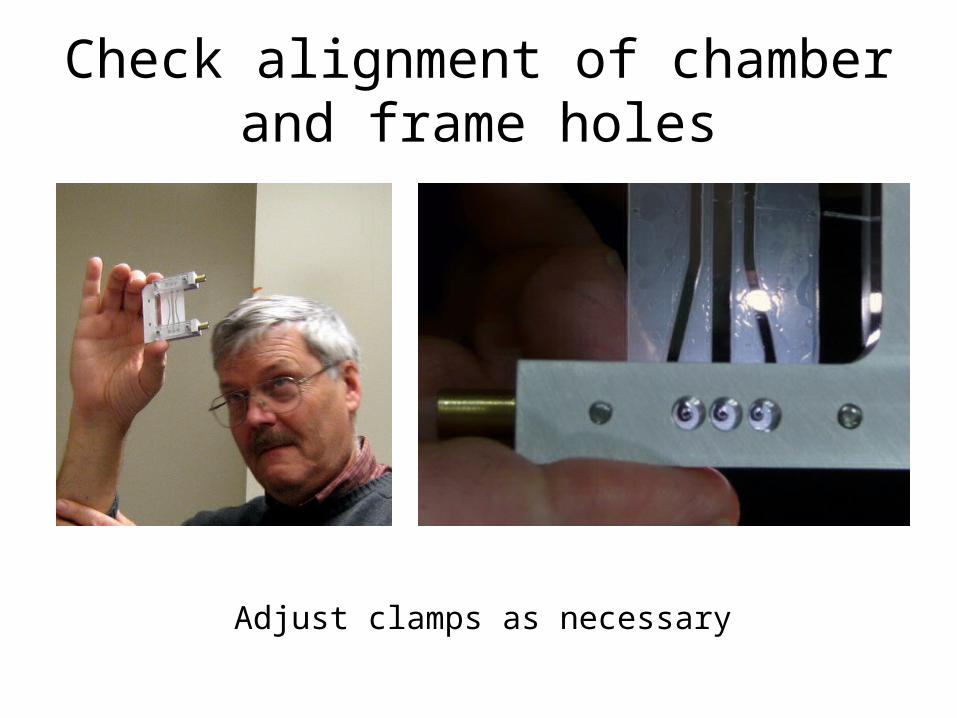
Check alignment of chamber and frame holes
Adjust clamps as necessary
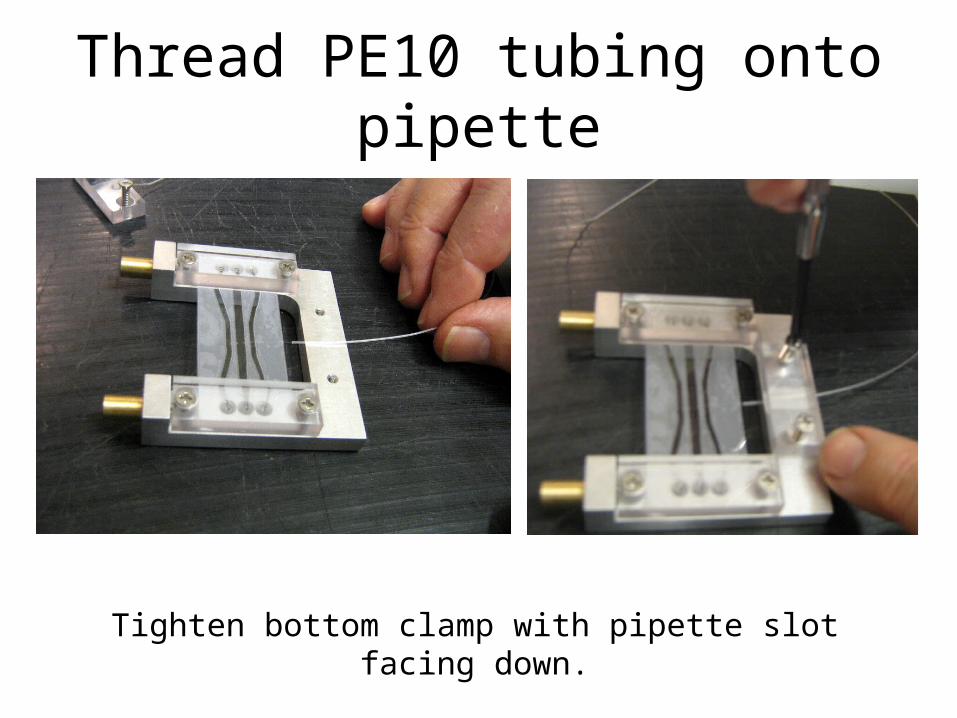
Thread PE10 tubing onto pipette
Tighten bottom clamp with pipette slot facing down.
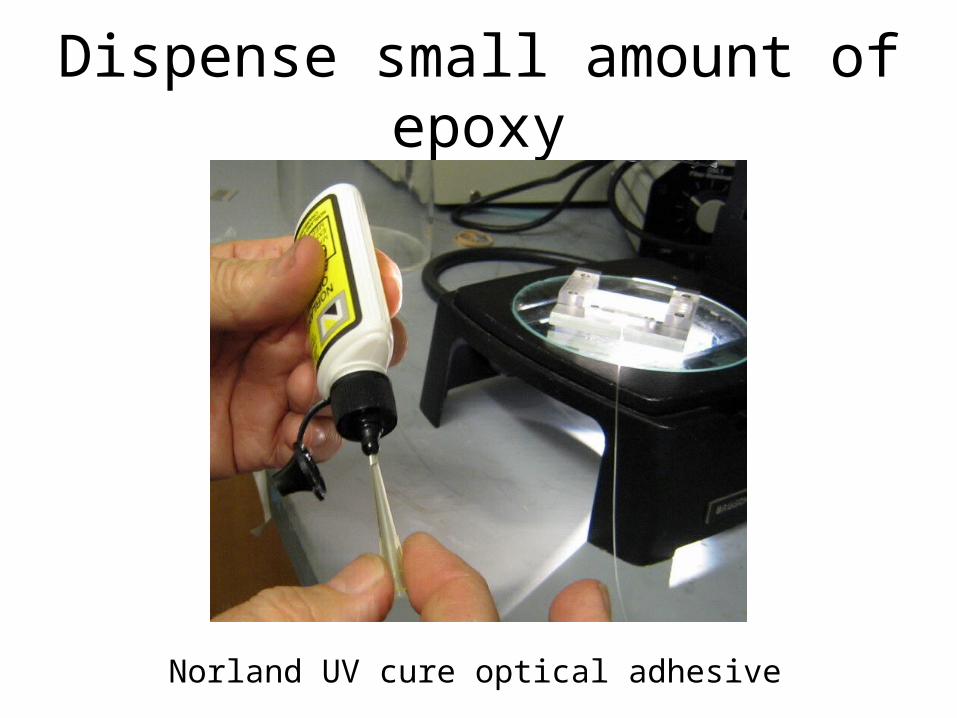
Dispense small amount of epoxy
Norland UV cure optical adhesive
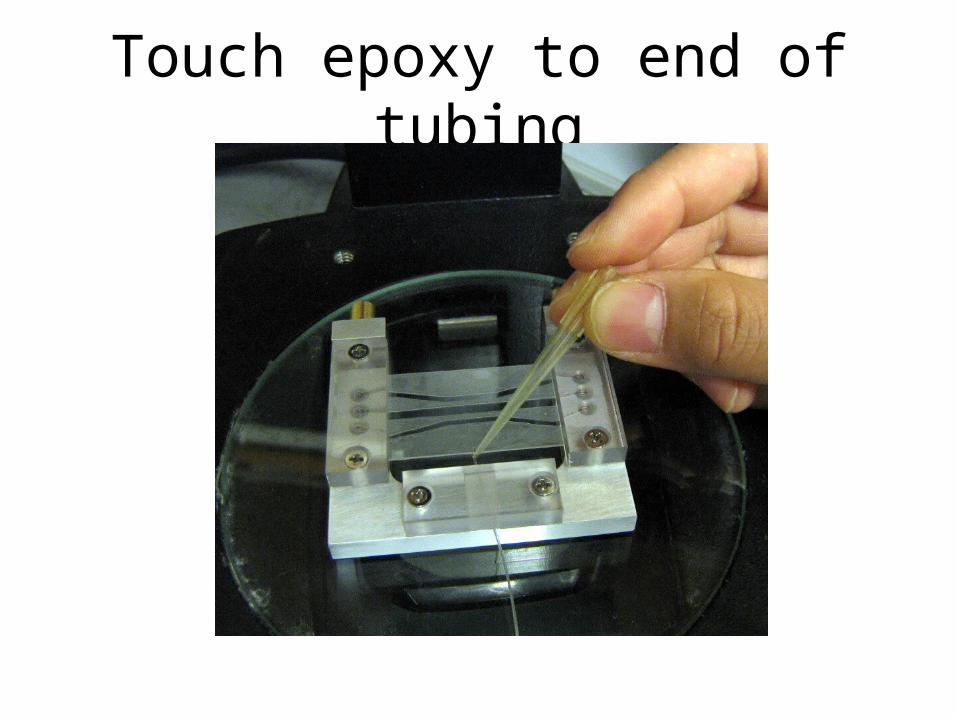
Touch epoxy to end of tubing

Epoxy enters tube by capillary action
Be careful epoxy does not run too far and clog back end of pipette!
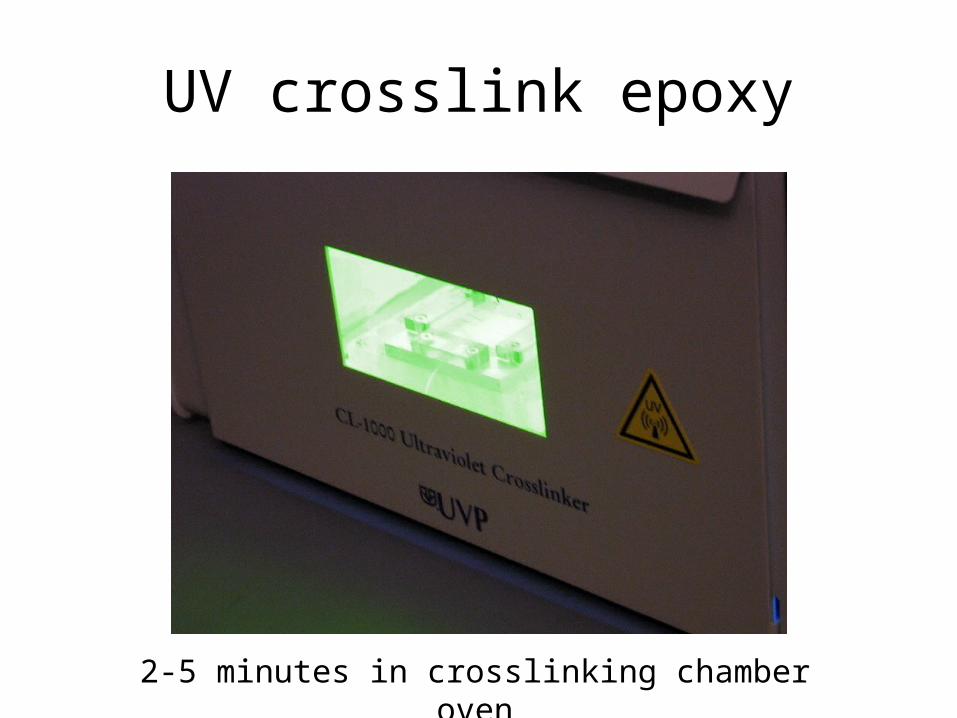
UV crosslink epoxy
2-5 minutes in crosslinking chamber oven
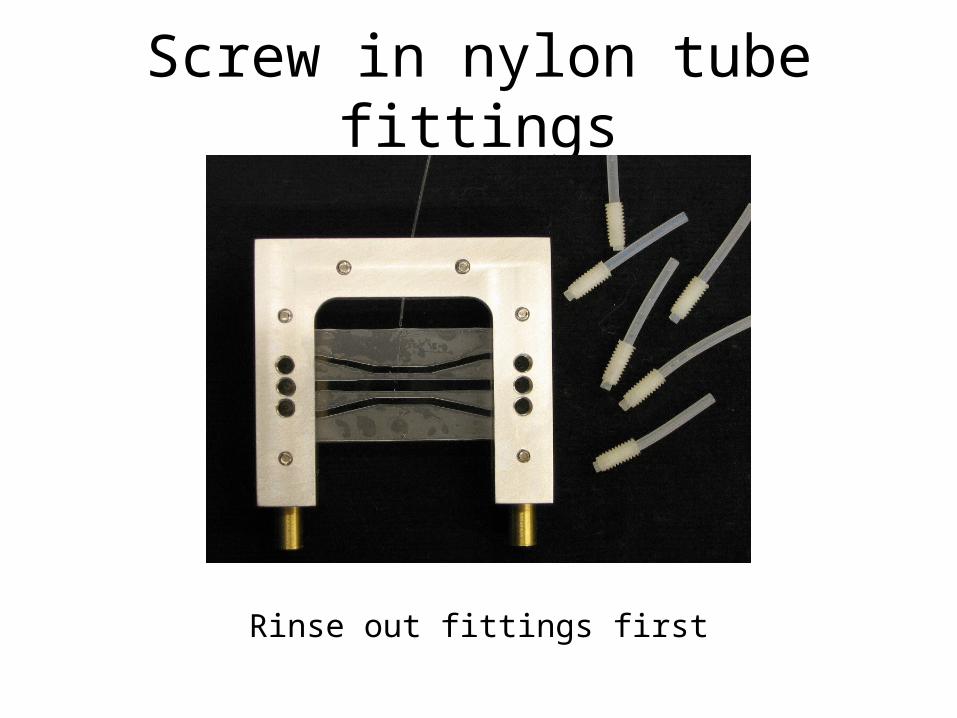
Screw in nylon tube fittings
Rinse out fittings first
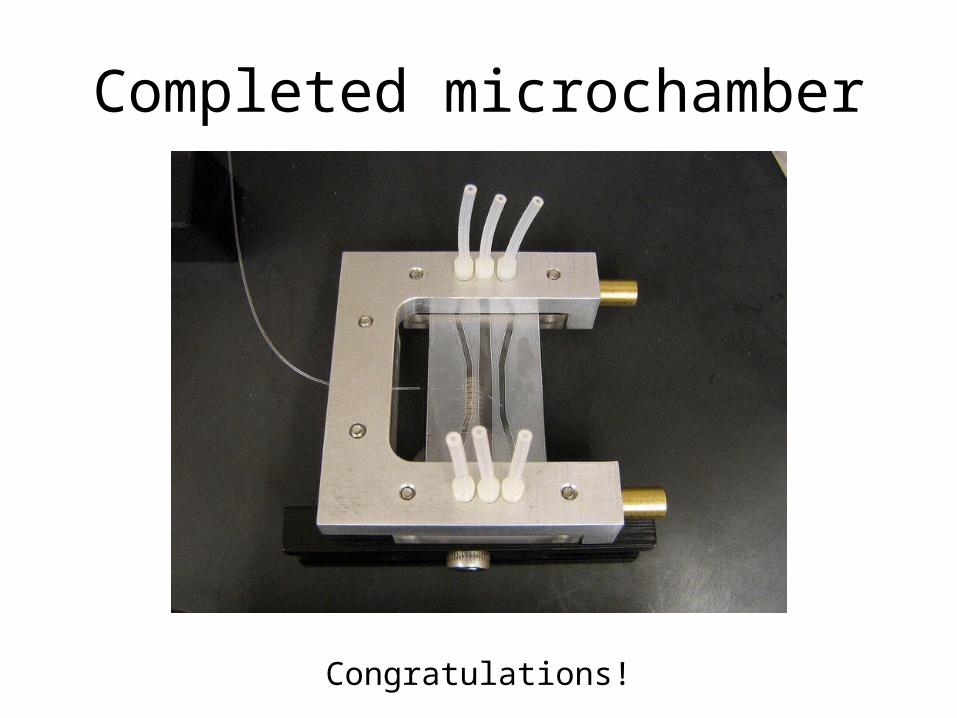
Completed microchamber
Congratulations!