Embed Size (px)
Citation preview
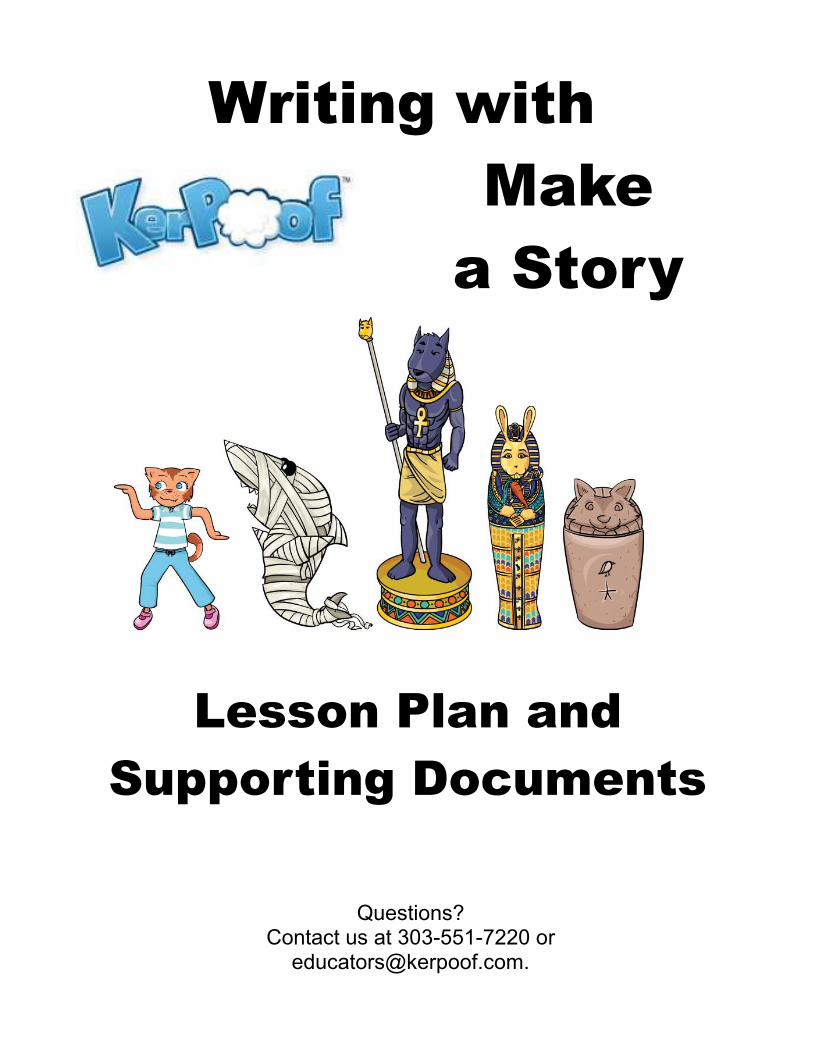
Writing with
Make
a Story
Lesson Plan and
Supporting Documents
Questions? Contact us at 303-551-7220 or
2
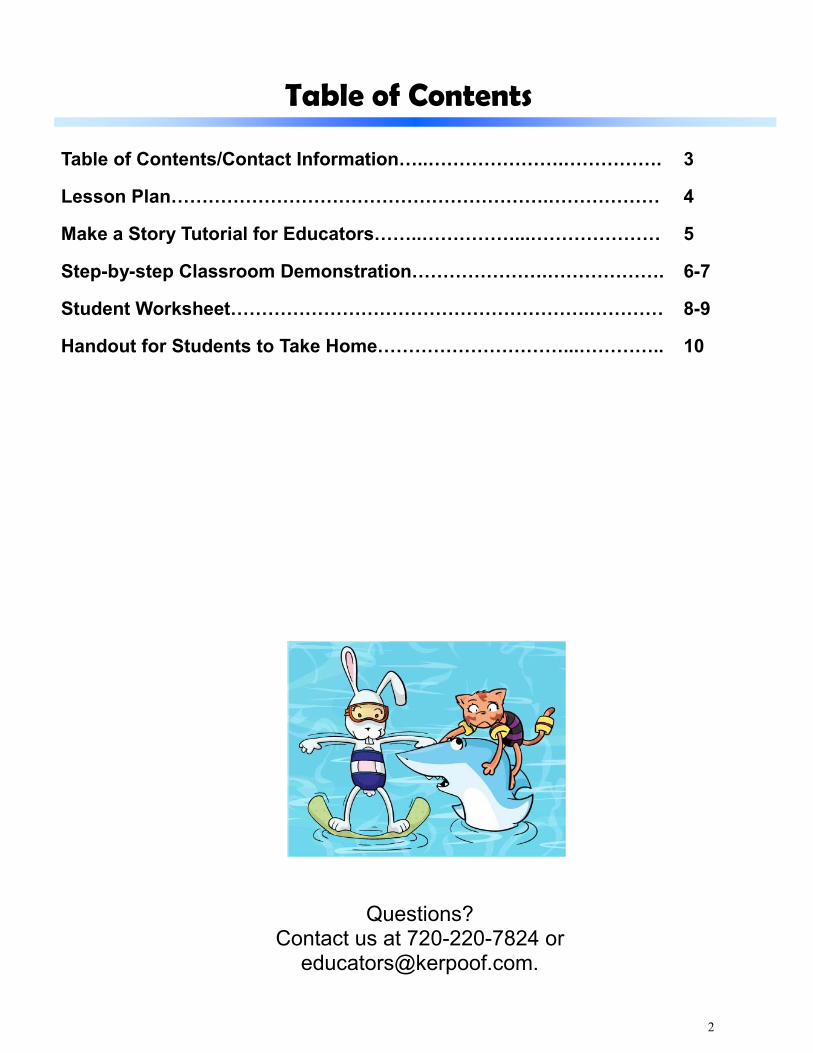
Table of Contents
Table of Contents/Contact Information…..………………….……………. 3
Lesson Plan…………………………………………………….……………… 4
Make a Story Tutorial for Educators……..……………...………………… 5
Step-by-step Classroom Demonstration………………….………………. 6-7
Student Worksheet………………………………………………….………… 8-9
Handout for Students to Take Home…………………………...………….. 10
Questions? Contact us at 720-220-7824 or
3
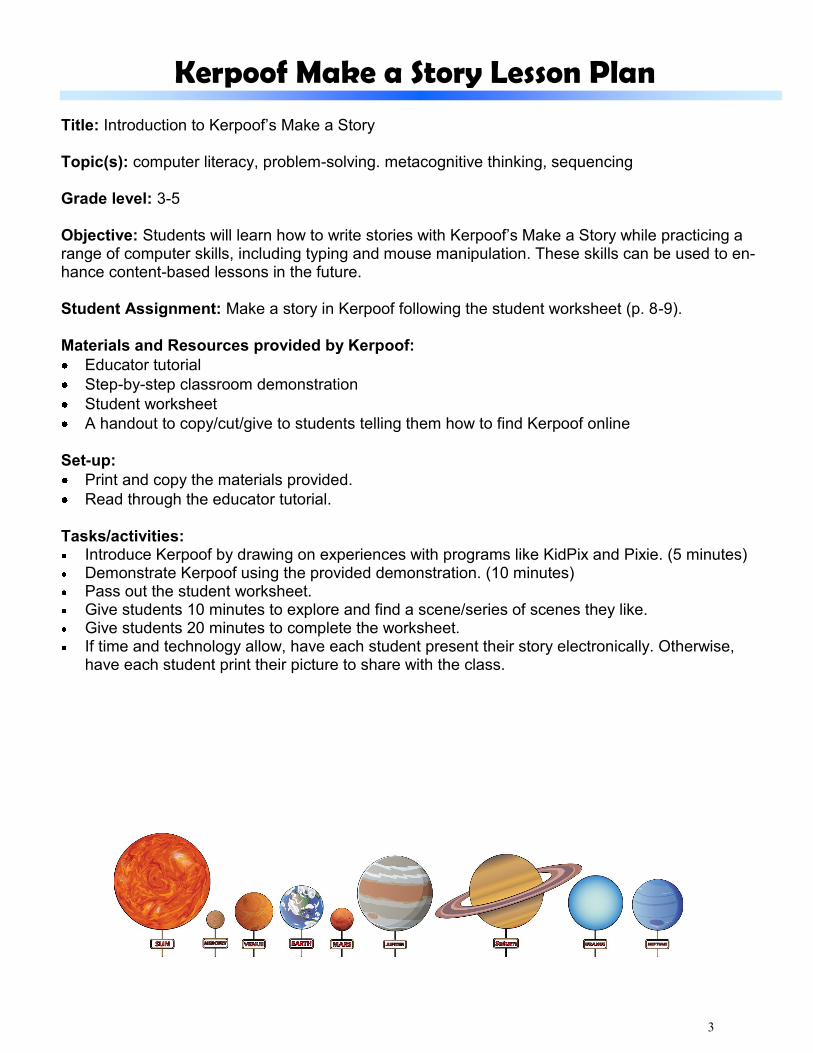
Title: Introduction to Kerpoof’s Make a Story Topic(s): computer literacy, problem-solving. metacognitive thinking, sequencing Grade level: 3-5 Objective: Students will learn how to write stories with Kerpoof’s Make a Story while practicing a range of computer skills, including typing and mouse manipulation. These skills can be used to en-hance content-based lessons in the future. Student Assignment: Make a story in Kerpoof following the student worksheet (p. 8-9). Materials and Resources provided by Kerpoof:
Educator tutorial
Step-by-step classroom demonstration
Student worksheet
A handout to copy/cut/give to students telling them how to find Kerpoof online
Set-up:
Print and copy the materials provided.
Read through the educator tutorial. Tasks/activities:
Introduce Kerpoof by drawing on experiences with programs like KidPix and Pixie. (5 minutes) Demonstrate Kerpoof using the provided demonstration. (10 minutes) Pass out the student worksheet. Give students 10 minutes to explore and find a scene/series of scenes they like. Give students 20 minutes to complete the worksheet. If time and technology allow, have each student present their story electronically. Otherwise, have each student print their picture to share with the class.
Kerpoof Make a Story Lesson Plan
4
How to Use the Kerpoof’s Make a Picture — Educator Tutorial
Waypoint
Characters
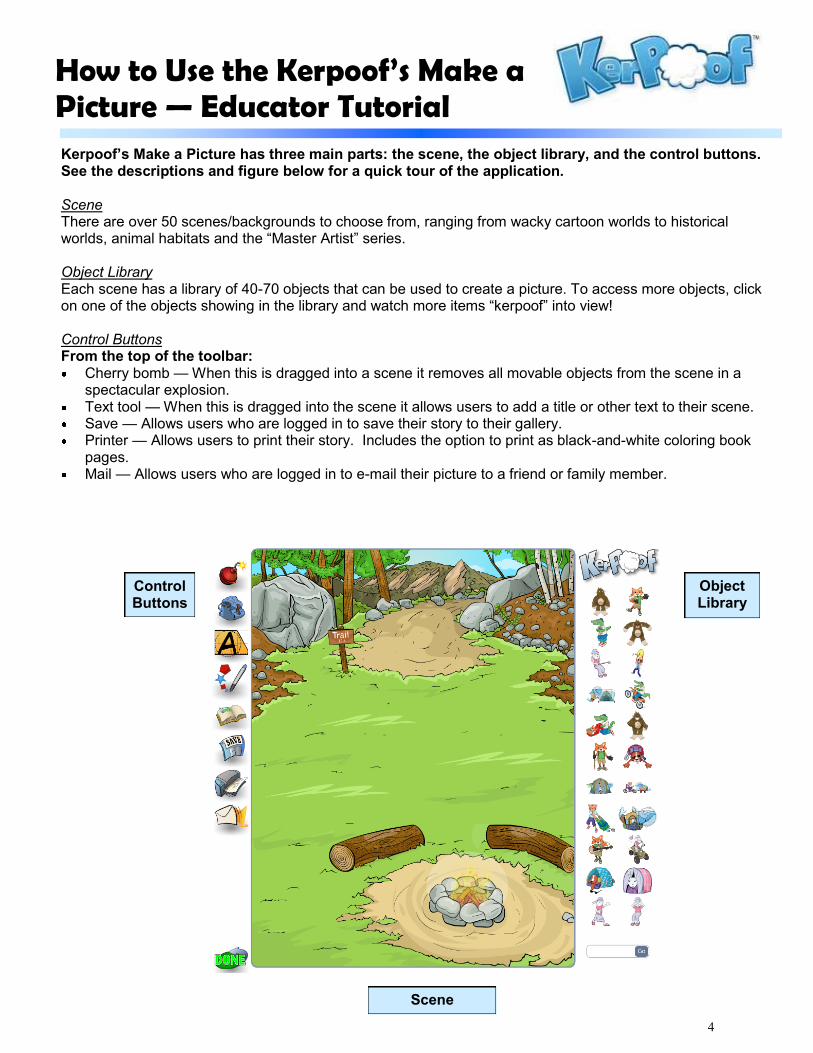
Kerpoof’s Make a Picture has three main parts: the scene, the object library, and the control buttons. See the descriptions and figure below for a quick tour of the application. Scene There are over 50 scenes/backgrounds to choose from, ranging from wacky cartoon worlds to historical worlds, animal habitats and the “Master Artist” series. Object Library Each scene has a library of 40-70 objects that can be used to create a picture. To access more objects, click on one of the objects showing in the library and watch more items “kerpoof” into view! Control Buttons From the top of the toolbar:
Cherry bomb — When this is dragged into a scene it removes all movable objects from the scene in a spectacular explosion. Text tool — When this is dragged into the scene it allows users to add a title or other text to their scene. Save — Allows users who are logged in to save their story to their gallery. Printer — Allows users to print their story. Includes the option to print as black-and-white coloring book pages. Mail — Allows users who are logged in to e-mail their picture to a friend or family member.
Object Library
Scene
Control Buttons
5
How to Use the Kerpoof’s Make a Picture — Educator Tutorial
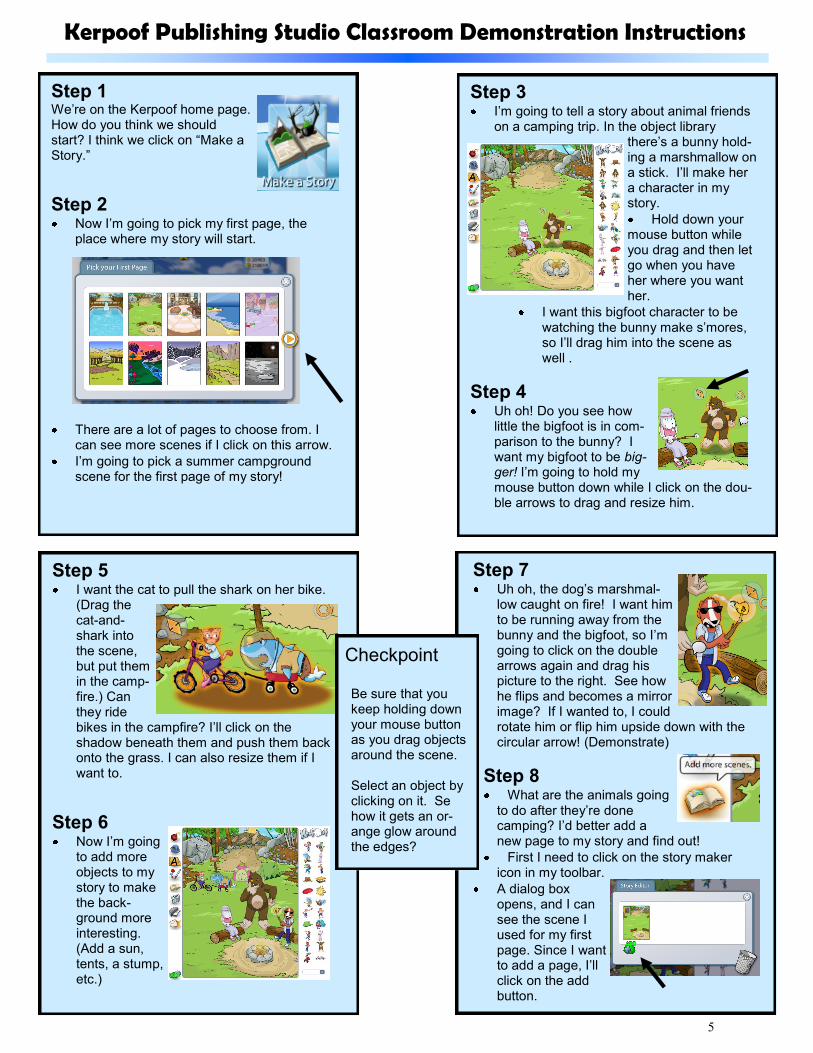
Kerpoof Publishing Studio Classroom Demonstration Instructions
Step 1 We’re on the Kerpoof home page. How do you think we should start? I think we click on “Make a Story.”
Step 2 Now I’m going to pick my first page, the place where my story will start.
There are a lot of pages to choose from. I can see more scenes if I click on this arrow.
I’m going to pick a summer campground scene for the first page of my story!
Step 3 I’m going to tell a story about animal friends on a camping trip. In the object library
there’s a bunny hold-ing a marshmallow on a stick. I’ll make her a character in my story.
Hold down your mouse button while you drag and then let go when you have her where you want her.
I want this bigfoot character to be watching the bunny make s’mores, so I’ll drag him into the scene as well .
Step 4 Uh oh! Do you see how little the bigfoot is in com-parison to the bunny? I want my bigfoot to be big-ger! I’m going to hold my mouse button down while I click on the dou-ble arrows to drag and resize him.
Step 5 I want the cat to pull the shark on her bike. (Drag the cat-and-shark into the scene, but put them in the camp-fire.) Can they ride bikes in the campfire? I’ll click on the shadow beneath them and push them back onto the grass. I can also resize them if I want to.
Step 6 Now I’m going to add more objects to my story to make the back-ground more interesting. (Add a sun, tents, a stump, etc.)
Step 7 Uh oh, the dog’s marshmal-low caught on fire! I want him to be running away from the bunny and the bigfoot, so I’m going to click on the double arrows again and drag his picture to the right. See how he flips and becomes a mirror image? If I wanted to, I could rotate him or flip him upside down with the circular arrow! (Demonstrate)
Step 8 What are the animals going
to do after they’re done camping? I’d better add a new page to my story and find out!
First I need to click on the story maker icon in my toolbar.
A dialog box opens, and I can see the scene I used for my first page. Since I want to add a page, I’ll click on the add button.
Be sure that you keep holding down your mouse button as you drag objects around the scene. Select an object by clicking on it. Se how it gets an or-ange glow around the edges?
Checkpoint
6
Kerpoof Publishing Studio Classroom Demonstration Instructions
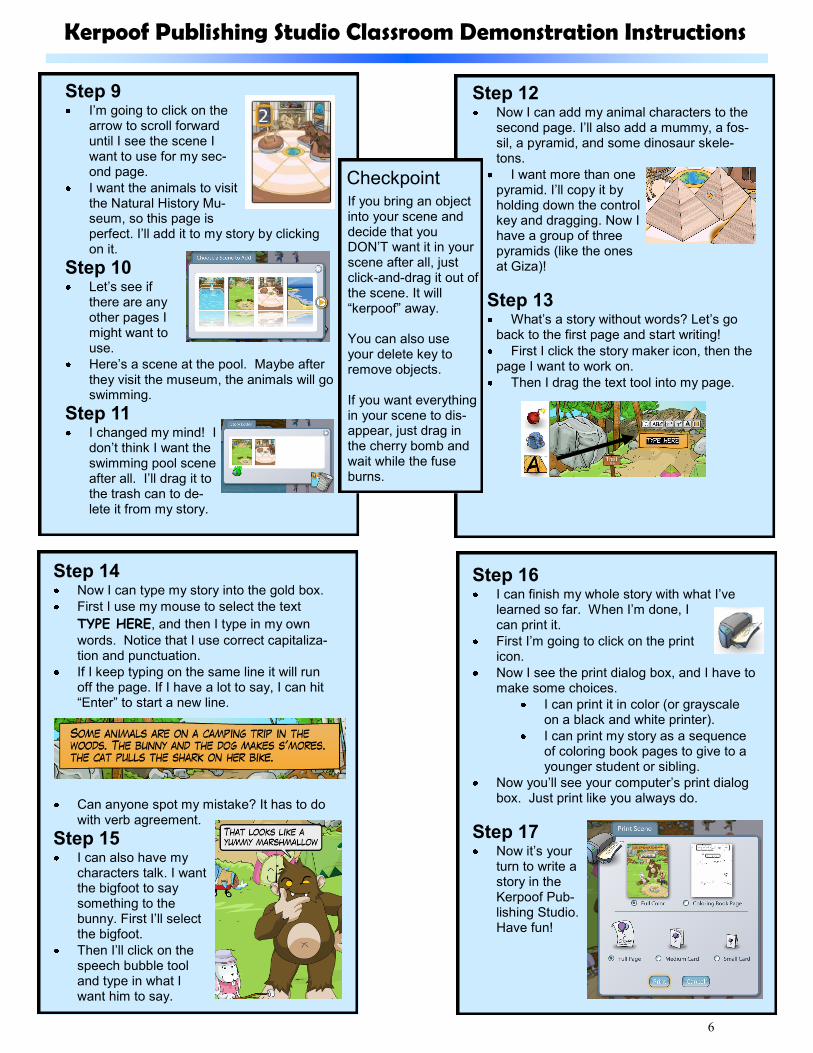
Step 12 Now I can add my animal characters to the second page. I’ll also add a mummy, a fos-sil, a pyramid, and some dinosaur skele-tons.
I want more than one pyramid. I’ll copy it by holding down the control key and dragging. Now I have a group of three pyramids (like the ones at Giza)!
Step 13 What’s a story without words? Let’s go
back to the first page and start writing!
First I click the story maker icon, then the page I want to work on.
Then I drag the text tool into my page.
Step 9 I’m going to click on the arrow to scroll forward until I see the scene I want to use for my sec-ond page.
I want the animals to visit the Natural History Mu-seum, so this page is perfect. I’ll add it to my story by clicking on it.
Step 10 Let’s see if there are any other pages I might want to use.
Here’s a scene at the pool. Maybe after they visit the museum, the animals will go swimming.
Step 11 I changed my mind! I don’t think I want the swimming pool scene after all. I’ll drag it to the trash can to de-lete it from my story.
If you bring an object into your scene and decide that you DON’T want it in your scene after all, just click-and-drag it out of the scene. It will “kerpoof” away. You can also use your delete key to remove objects. If you want everything in your scene to dis-appear, just drag in the cherry bomb and wait while the fuse burns.
Checkpoint
Step 14 Now I can type my story into the gold box.
First I use my mouse to select the text
TYPE HERE, and then I type in my own
words. Notice that I use correct capitaliza-tion and punctuation.
If I keep typing on the same line it will run off the page. If I have a lot to say, I can hit “Enter” to start a new line.
Can anyone spot my mistake? It has to do with verb agreement.
Step 15 I can also have my characters talk. I want the bigfoot to say something to the bunny. First I’ll select the bigfoot.
Then I’ll click on the speech bubble tool and type in what I want him to say.
Step 16 I can finish my whole story with what I’ve learned so far. When I’m done, I can print it.
First I’m going to click on the print icon.
Now I see the print dialog box, and I have to make some choices.
I can print it in color (or grayscale on a black and white printer).
I can print my story as a sequence of coloring book pages to give to a younger student or sibling.
Now you’ll see your computer’s print dialog box. Just print like you always do.
Step 17 Now it’s your turn to write a story in the Kerpoof Pub-lishing Studio. Have fun!
7
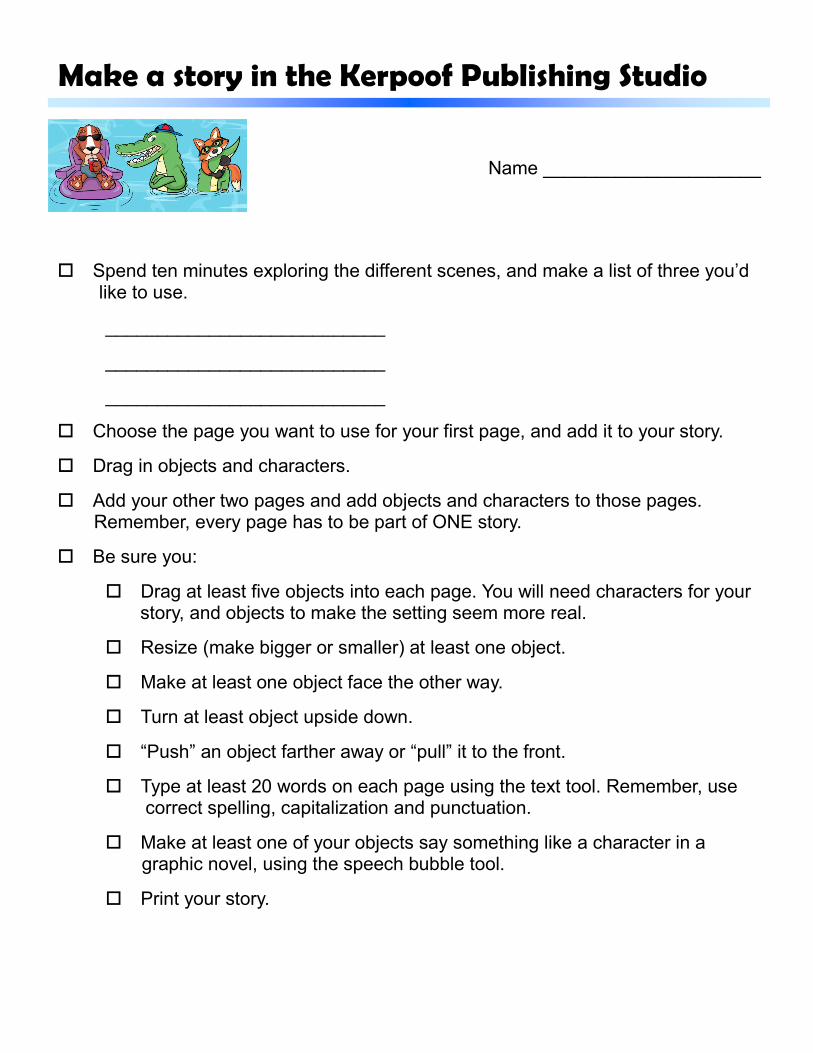
Name _____________________
Spend ten minutes exploring the different scenes, and make a list of three you’d like to use.
___________________________
___________________________
___________________________
Choose the page you want to use for your first page, and add it to your story.
Drag in objects and characters.
Add your other two pages and add objects and characters to those pages. Remember, every page has to be part of ONE story.
Be sure you:
Drag at least five objects into each page. You will need characters for your story, and objects to make the setting seem more real.
Resize (make bigger or smaller) at least one object.
Make at least one object face the other way.
Turn at least object upside down.
“Push” an object farther away or “pull” it to the front.
Type at least 20 words on each page using the text tool. Remember, use correct spelling, capitalization and punctuation.
Make at least one of your objects say something like a character in a graphic novel, using the speech bubble tool.
Print your story.
Make a story in the Kerpoof Publishing Studio
8
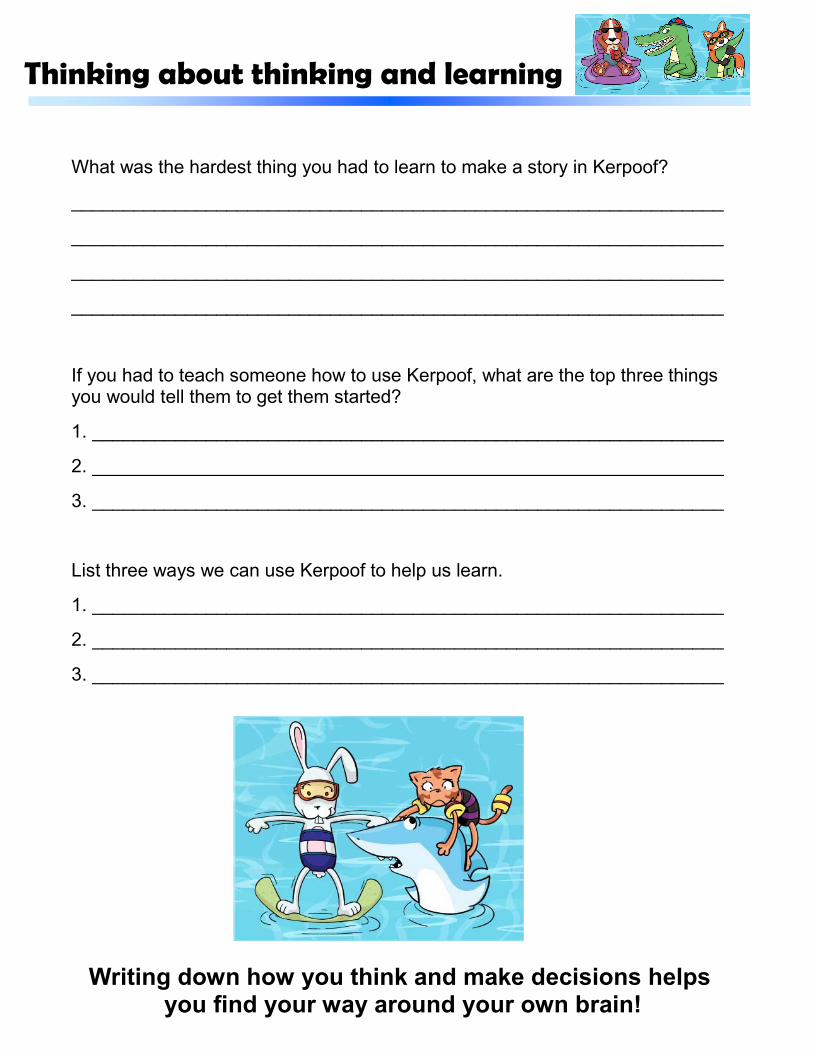
What was the hardest thing you had to learn to make a story in Kerpoof?
_______________________________________________________________
_______________________________________________________________
_______________________________________________________________
_______________________________________________________________
If you had to teach someone how to use Kerpoof, what are the top three things you would tell them to get them started?
1. _____________________________________________________________
2. _____________________________________________________________
3. _____________________________________________________________
List three ways we can use Kerpoof to help us learn.
1. _____________________________________________________________
2. _____________________________________________________________
3. _____________________________________________________________
Thinking about thinking and learning
Writing down how you think and make decisions helps you find your way around your own brain!
9
DID YOU LIKE MAKING
A STORY IN KERPOOF?
You can find your way to fun anytime at:
www.kerpoof.com
DID YOU LIKE MAKING
A STORY IN KERPOOF?
You can find your way to fun anytime at:
www.kerpoof.com
DID YOU LIKE MAKING
A STORY IN KERPOOF?
You can find your way to fun anytime at:
www.kerpoof.com
DID YOU LIKE MAKING
A STORY IN KERPOOF?
You can find your way to fun anytime at:
www.kerpoof.com
DID YOU LIKE MAKING
A STORY IN KERPOOF?
You can find your way to fun anytime at:
www.kerpoof.com
DID YOU LIKE MAKING
A STORY IN KERPOOF?
You can find your way to fun anytime at:
www.kerpoof.com