Embed Size (px)
Citation preview

DjangoOpen Source - Alexandria
Day 1

Agenda ● What is a framework (Django MVT) ● Installing Django and start our first project ● Application● Model● Admin [Superuser] Panel● Customize Admin Panel● URL and View Configuration ● Intro to Templates Language

Django Framework● A framework is a sets of libraries those provides most of the functionality
needed for application development.● Django Framework applies the MVT (Model View Template) Design
pattern.● Model classes are the Database representation, Views contains the Logic
and calculations, and the Template are the user’s viewed pages where the logic is separated.
● Django Framework ORM (Object Relational Model) Provides a lot of method and properties for dealing with the database model classes.

Install Django and MySql client sudo apt-get update
sudo apt-get install python-pip
sudo pip install --upgrade pip
sudo pip install django
pip install mysqlclient

create a Django project
django-admin startproject project_name

project content➔ manage.py: this is the file we use to deal with the project.➔ project inner folder/setting.py: it contains the constant settings. ➔ project inner folder/url.py: the main url configuration.➔ project inner folder/WSGI: for testing and deployment.

See the application on the serverpython manage.py runserver
Note: make sure that mysql server is running first check mysql server status: sudo service mysql status
sudo /etc/init.d/mysql start
sudo /etc/init.d/mysql stop
sudo /etc/init.d/mysql restart
navigate to the localhost:8000 and Bingo ! you will find the standard welcoming message

Running server common problems !!if you faced a failed starting job for mysql server there are two possible solutions: 1- set the owner of mysqlserver sock to mysql sudo touch /var/run/mysql/mysql.sock
sudo chown mysql /var/run/mysql/mysql.sock
2- purge and install the mysql sudo apt-get --purge remove mysql-server
sudo apt-get --purge remove mysql-client
sudo apt-get --purge remove mysql-common
sudo apt-get autoremove
sudo apt-get autoclean
sudo rm -rf /etc/mysql
sudo apt-get install mysql-server mysql-client
sudo service mysql status

Configure the Database in setting.py #in database section: DATABASES = { 'default': { 'ENGINE': 'django.db.backends.mysql', 'NAME': 'mydatab', #databse name
'USER': 'root','PASSWORD': 'admin','HOST': 'localhost', #default host 'PORT': '3306' #default port}
}

Migrate with the Database
python manage.py migrate
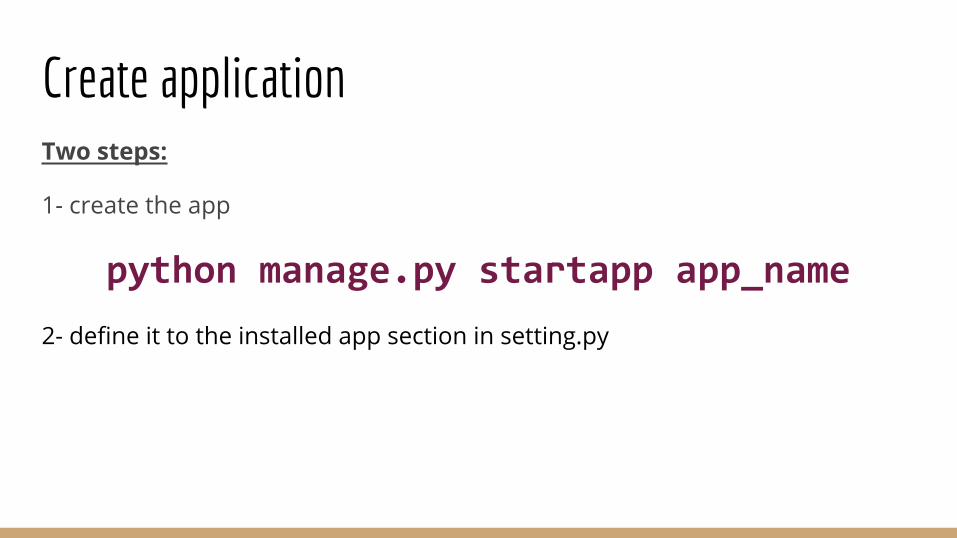
Create applicationTwo steps:
1- create the app
python manage.py startapp app_name
2- define it to the installed app section in setting.py

Application content➔ admin.py: to configure and customize tha adminstration panel➔ migration: for database migration➔ test.py: to create a unit test cases for the project for example full the
database with dummy data. ➔ views.py: contain the logic for example it take http request do the
needed and return the response to be rendered on the browser ➔ models.py: the model classes (Database Tables)

Models A model class is a representation for the tables.
The class is created within models.py
after creating the model classes we do two steps:
1- make migrations: python manage.py makemigrations
2- migrate: python manage.py migrate
Now we have a tables represent our classes

Model class example class Track(models.Model):
track_name = models.CharField(max_length = 200)
class Student(models.Model):student_name = models.CharField(max_length = 200)student_age = models.IntegerField( )track = models.ForeignKey(Track)

Model object handling 1- import your model classes from your application from app_name.models import Model_name1, Model_name2
Model_name1.objects.all( ) #select allModel_name1.objects.all( )[2:5] #select all from:to rangeModel_name1.objects.create(field=value, field=value) #insert another two-steps way to create object: obj = Model_name1(field=value , field=value)obj.save( )Model_name1.objects.get(field=value) # select where field = valueModel_name1.objects.filter(field=value)#select all where field=valueNote to use the timezone: from django.utils import timezoneTo run and use the shell: python manage.py shell

Model Object handling filter with criteria:
ModelName.objects.filter(fieldname__creteria = value)
examples:
Model_name1.objects.filter(field__startswith = ’M’)Model_name1.objects.filter(field__endswith = ’M’)Model_name1.objects.filter(field__exact = ’Mohamed’)Model_name1.objects.filter(field__contains = ’M’)

Model Object handling
Model_name1.objects.filter(field__gt = timezone.now())Model_name1.objects.filter(field__gte = timezone.now()) Model_name1.objects.filter(field__lt = timezone.now())Model_name1.objects.filter(field__lte = timezone.now())Model_name1.objects.order_by(‘field_name’)
#the - before field means reverse
Model_name1.objects.order_by(‘-field_name’)

Model object handling To control the printed object override method __str__(self) in the model class.
class Model_name1:# fields definition def __str__(self):
return self.first_field
Remember: when creating an object (inserting) in a class that has a foreign key field we need an object from the model of the PK to use it in the child model object creation.

Admin (Super) UserTo get use default python admin panel we need a super user
creating a super user:
python manage.py createsuperuser
name:
passwd:
passwd(again):
run the server and navigate to localhost:8000/admin
you will find by Django default two models users and groups.

Customizing Admin panel To include our models into the admin panel we define (register) them into admin.py file that is in the application dircetory.
from .models import Student, Track
# register the modelsadmin.site.register(Student)admin.site.register(Track)
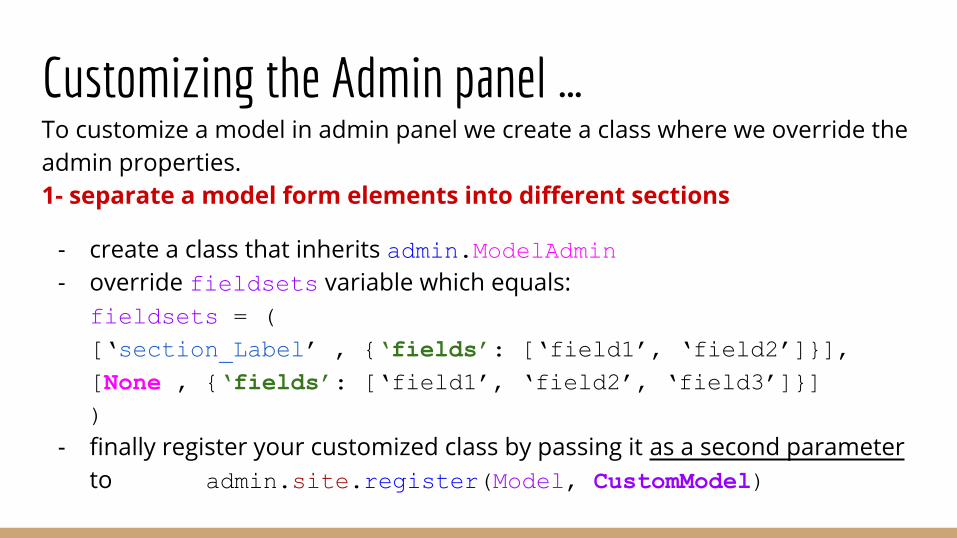
Customizing the Admin panel … To customize a model in admin panel we create a class where we override the admin properties. 1- separate a model form elements into different sections
- create a class that inherits admin.ModelAdmin- override fieldsets variable which equals:
fieldsets = ([‘section_Label’ , {‘fields’: [‘field1’, ‘field2’]}],[None , {‘fields’: [‘field1’, ‘field2’, ‘field3’]}])
- finally register your customized class by passing it as a second parameter to admin.site.register(Model, CustomModel)
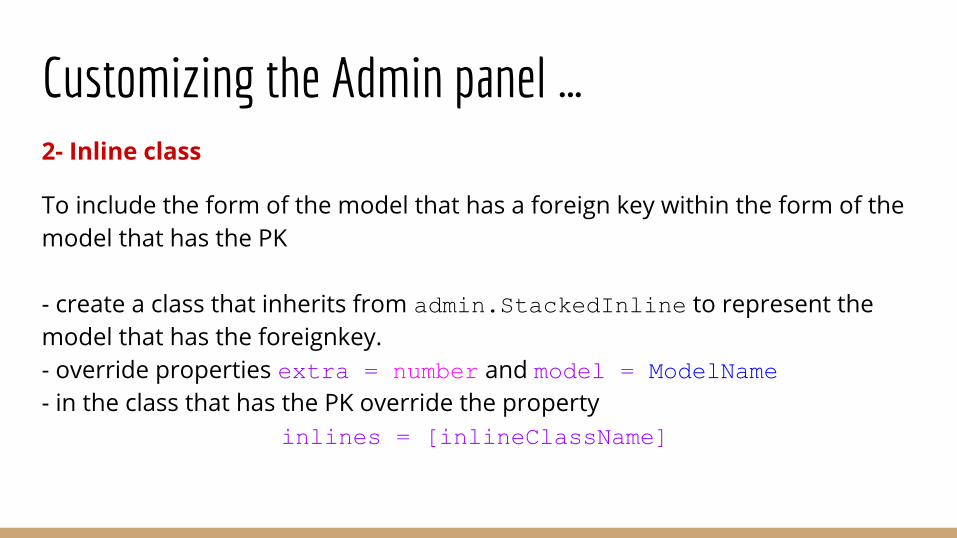
Customizing the Admin panel … 2- Inline class
To include the form of the model that has a foreign key within the form of the model that has the PK
- create a class that inherits from admin.StackedInline to represent the model that has the foreignkey.- override properties extra = number and model = ModelName - in the class that has the PK override the property
inlines = [inlineClassName]

Customizing the Admin panel … 3- Customize List Display
in the Custom model class We override variable list_display = (‘field1’, ‘field2’)
add Another field to show an info:
- create a method with _ separated name in the model class- add the method name into the Tuple of list_display
Some properties for the method: - method_name.boolean = True - method_name.short_description = ‘header’

Customizing the Admin panel … 4- Search and Filter
in the Custom model class we override the two variables
list_filter = [‘field’,’field’]search_fields = [‘field’, ‘field’]

Customizing the Admin panel … 5- Admin TemplateSince the admin app is created by Django and to customize it we need to see its structure so let's find the django source files: - on terminal type python to open python shell - import django - print(django.__path__) - cd to the path and type nautilus to open it - Navigate to and copy contrib/admin/templates/admin and find app_index.html, base_site.html - paste the files under project/templates/admin to apply for the entire apps OR project/app/templates/admin to apply template for specific app

Customizing the Admin panel … Since the Django looks at the framework templates we want to tell Django to look at our project Templates.in setting.py at TEMPLATES we modify the DIRS as follow:
‘DIRS’ =[os.path.join(BASE_DIR, ‘templates’)]
and an important thing is Since we override the framework admin app So our app must defined before the admin app in settings.py to overlay our changes over Django base.

URL Configuration and ViewsView in Django are the Controllers, They can: - Access the database - Perform tasks and make calculations - Take http request and return http response URL.py maps the url patterns to certian views the URLs are maintained through regular expressions We use the main url.py config file to include the in-apps urls files So, in the project/project/url.py urlpatterns = [url(r‘^AppName/’), include(‘AppName.urls’)]
and then create a urls.py file inside our app and override urlspatterns as follow for example: urlpatterns = [url(r’^$’, views.index, name=’index’)]
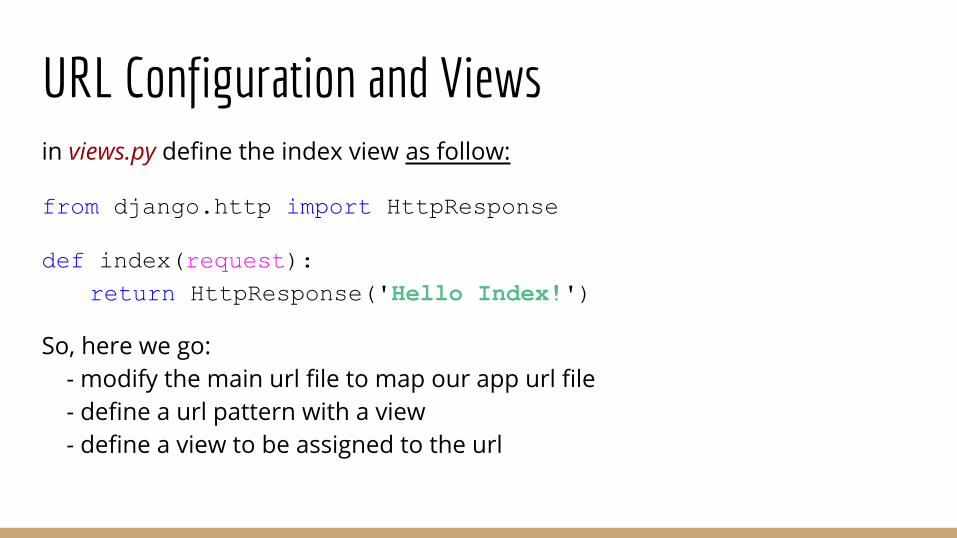
URL Configuration and Views in views.py define the index view as follow:
from django.http import HttpResponse
def index(request):return HttpResponse('Hello Index!')
So, here we go: - modify the main url file to map our app url file - define a url pattern with a view - define a view to be assigned to the url

Advanced URL and ViewsCreating view that get passed parameter
in App urls.py :
url(r'^(?P<student_id>[0-9]+)/$', views.name, name='name'),url(r'^(?P<student_id>[0-9]+)/age$', views.age, name='age')
in views.py
def name(request, student_id):return HttpResponse('This is the name view of student %s' %student_id)
def age(request, student_id):return HttpResponse('Age View of Student %s' %student_id)

Template A Django Template is for separating the logic from our web page design Template has its unique syntax:
{% if condition %} # if statementdo something
{% else %}do something else
{% endif %}
{% for x in list %} # for loop do something{% endfor %}
{{variable_name}} # using a variable

Using the Template in the ViewIn views.py for example index action steps:1- Create template file: appname/template/inner/template.html2- Load the template: template = loader.get_template(‘innerDir/template.html’) 3- Customize requestcontext: context = RequestContext(request, {‘variable’: value}) 4- Render template context: HttpResponse(template.render(context)) 5- Needed imports: from django.template import loader, RequestContext
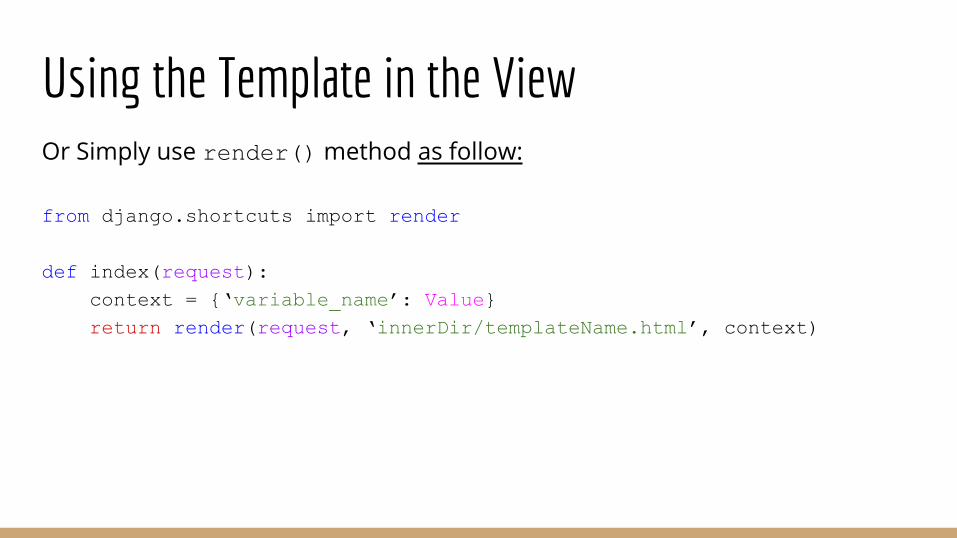
Using the Template in the ViewOr Simply use render() method as follow:
from django.shortcuts import render
def index(request):context = {‘variable_name’: Value}return render(request, ‘innerDir/templateName.html’, context)

Lab Time

DjangoOpen Source - Alexandria
Day 2

Agenda● 404 Not Found● Template Inheritance ● Form● CRUD● Static files● Bootstrap ● Git

404 Not Found Error Handling One of the basic and common error is (404 Not Found)example: in the view.py
from django.http import Http404from .models import Student
def details(request, student_name):try:
student = Student.objects.get(first_name = student_name)except Student.DoesNotExist:
raise Http404(“Student Not Exist! ”)else:
return render(request, ‘My_App/details.html ’, {‘student’: student})

404 Not Found continue Considering that get a model object or 404 in a common and basic used job Django introduced a convenience method to speed it up So the previous code can be replaced with single method
get_object_or_404( Model, Condtion)
from django.shortcuts import render, get_object_or_404from .models import Student
def details(request, student_id):student = get_object_or_404 (Student, id = student_id)return render(request, ‘App/detail.html’, {‘student’: student} )

Template Organization ● Include → get another template and put it inside the current template.
● extends →get another template defined blocks to be replaced in current.
● block → the template defined in a block tag can be extended.
Hello Re Usability , Hello Modularity
Note: include, and extends sees from templates directory So even if the template files are in the same dir you will need to write the inner folder under templates directory if exists when extends or include.

Template Organization example create file base.html
<html><head> </head><body>
{% block main_block %}{% endblock %}
</body></html>
in our templates.html we extends base.html for example in details.html
{% extends “innr/base.html” %}{% block main_block %}<h1>{{student.student_name}}</h1><ul>
<li>{{student.age}}</li><li>{{student.email}}</li>
</ul>{% endblock %}

Template Organization example Continue create file base.html
<html><head> </head><body>
{% include “inr/header.html” %}{% block main_block %}{% include “innr/footer.html” %}{% endblock %}
</body></html>
in our templates.html we extends base.html for example in details.html
{% extends “innr/base.html” %}{% block main_block %}<h1>{{student.student_name}}</h1><ul>
<li>{{student.age}}</li><li>{{student.email}}</li>
</ul>{% endblock %}

Navigation We use links and buttons to navigate between our application templates. putting the URL regex into the href. example in index.html
{% for s in students %}<tr>
<td>{{s.student_name}}</td><td>{{s.track}}</td><td>{{s.age}}</td><td><a href="{{s.id}}/name">View Details</a></td>
</tr>and in details.html we can add <a href=”/opensource”>back</a>

URL Namespacea good practice to avoid the urls naming conflict is to give a namespace for each application and use the url tag like following:
in project/urls.py (The router)urls(r’^opensource/ ’, include(‘opensource.urls’, namespace=”opensource”))in index.html
instead of: <a href=”{{student.id}}/name ”> details </a>
href= “{% url “namespace:viewAction” parameter %}”
<a href=”{% url “opensource:name” student.id %}”>details </a>

Adding and Processing Forms Steps to use Django Model Form:
1. create file forms.py under your application2. from django import forms and from .models import Student
each form is a class that inherits from ModelFormin the form class we defined class Meta: to set the form model and the form fields
3. in urls.py we define the view action: url(r'^track/new$', views.track_new),
url(r'^student/new$', views.student_new),

Django form forms.py examplefrom django import formsfrom .models import Track, Student
class TrackForm(forms.ModelForm):class Meta:
model = Trackfields = ('track_name',) #note the final comma to tell its tuple.
class StudentForm(forms.ModelForm):class Meta:
model = Studentfields = ('student_name', 'age', 'track',)

Django Forms ViewsIn views.py create the views action to First check if the form had been submitted (posted) and of the form is valid then save it to the model else thats means the form hadn’t been submitted yet so display it.
we import the forms and model classes
from .models import Student, Track
from .forms import TrackForm, StudentForm
from django.http import HttpResponseRedirect

Django Form View.py exampledef student_new(request):
form = StudentForm()if request.method == "POST":
form = StudentForm(request.POST)if form.is_valid():
form.save()return HttpResponseRedirect('/opensource')
return render(request, 'student/new.html', {'form':form})

Django Form TemplateThe last step is to call the model form into a temlate. To do so:
- we create a form tag with method = post- we call the {% csrf_token %}- call the form as a parameter {{ form.as_p }}- create submit button- close the form tag

Django Form Template Example under/templates/student/new.html
<h1>New Student</h1>
<form method="POST">{% csrf_token %}
{{ form.as_p }}
<button type="submit" >Save</button>
</form>

Django Form Validation
Try to Save an empty Form
;)

Edit Django FormIn urls.py we define the views:
url(r'^student/(?P<student_id>[0-9]+)/edit/$', views.student_edit),

Edit Django FormIn views.py create edit actions:
def student_edit(request, student_id):student = get_object_or_404 (Student, id=student_id)if request.method == "POST":
form = StudentForm( request.POST, instance=student)if form.is_valid():form.save()return HttpResponseRedirect(' /opensource')
else:form = StudentForm( instance=student)
return render(request, 'student/new.html', {'form':form})

delete Action Django Formin urls.py
url(r'^student/(?P<student_id>[0-9]+)/del/$ ', views.student_delete),
in views.py
def student_delete(request, student_id):obj = Student.objects.get(id = student_id)obj.delete()return HttpResponseRedirect('/opensource')

The Full CRUD activityListing in views.py
def index(request):all_students = Student.objects.all()context = {'students':all_students}return render(request, 'student/index.html', context)
in url.pyurl(r'^$',views.index, name='index'),

Full CRUD Templatein index.html
<h1> Students </h1>
<table border="1" width="100%">
<tr><th>Name</th><th>Track</th><th>Age</th><th>Details</th><th colspan="2">Actions</th></tr>
{% for s in students %}
<tr>
<td>{{s.student_name}}</td>
<td>{{s.track}}</td>
<td>{{s.age}}</td>
<td><a href="{{s.id}}/name">View Details</a></td>
<td><a href="student/{{s.id}}/edit">Edit</a></td>
<td><a href="student/{{s.id}}/del">Delete</a></td>
</tr>
{% endfor %}
</table>

Static FilesTo add Static files we need to:
1- create sub folder in our application directory with name static 2- in our template file {% load staticfiles %} on the 1st line 3- <link rel=”stylesheet” type=”text/css” href=”{% static css/style.css %}” />
same as image src= “{% static image/1.jpeg %}”

&
Git Bootstrap
Give it a UI ... Make it a Responsive
Work Together … commit your effort

Thank You mohamed_ramadan@iti:~$ print “thank you”
>>>