Embed Size (px)
Citation preview

Web Components - The Future is
Here
Gil Fink
CEO and Senior Consultant, sparXys
The Pyramid of Doom

About Me • sparXys CEO and senior consultant
• ASP.NET/IIS Microsoft MVP in the last 7 years
• Pro Single Page Application Development (Apress)
co-author
• 4 Microsoft Official Courses (MOCs) co-author
• GDG Rashlatz and ng-conf Israel co-organizer
Agenda • The problems we face
• Web Components APIs o Templates
o Imports
o Shadow DOM
o Custom Elements
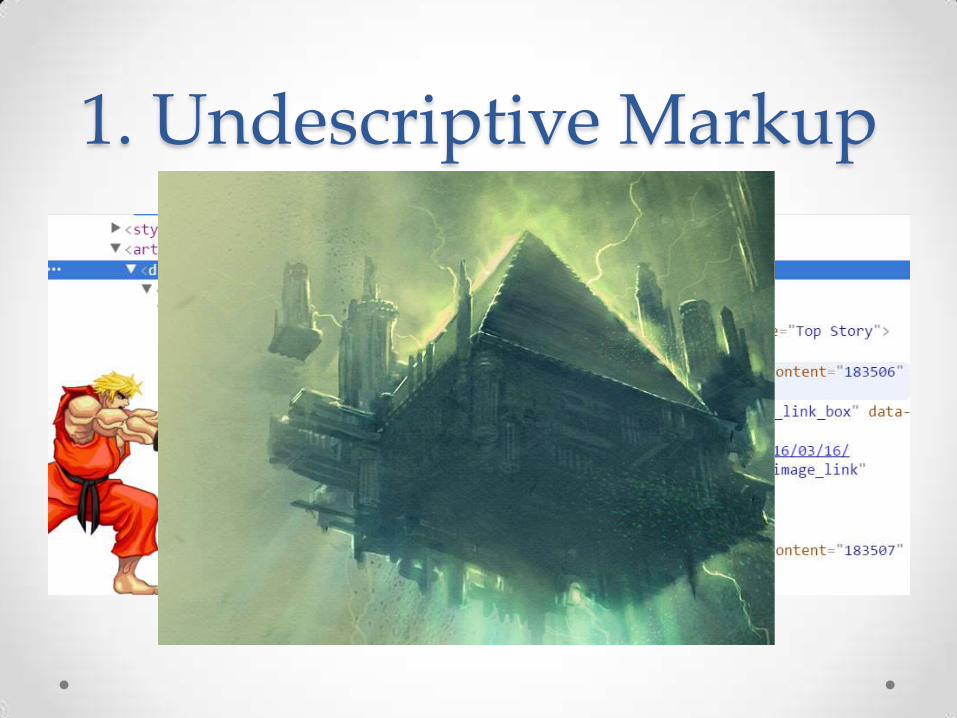
1. Undescriptive Markup
Markup Example
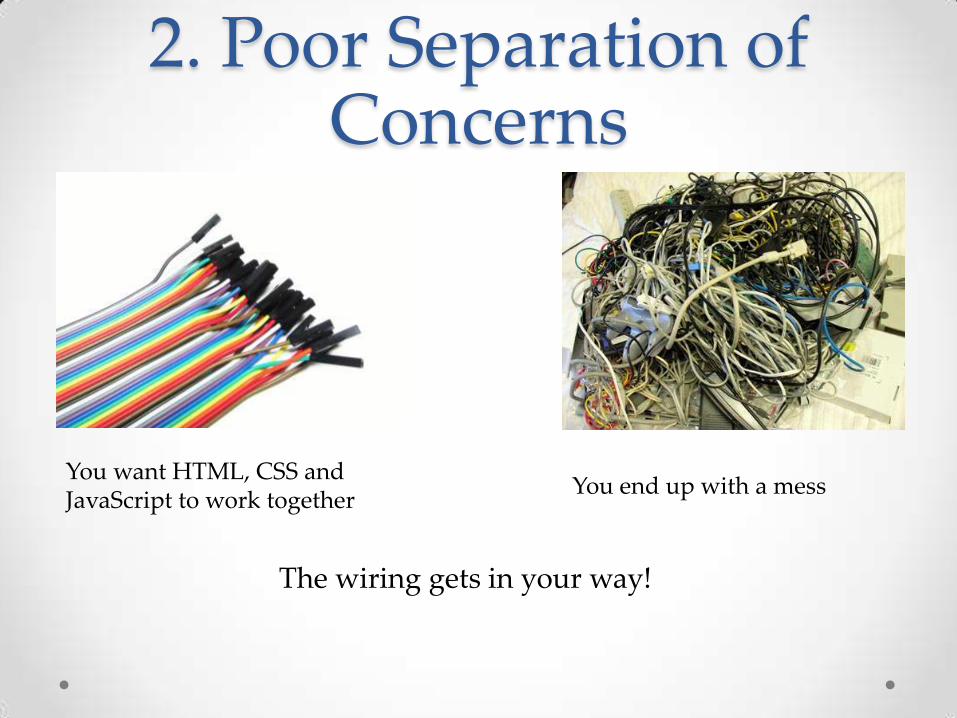
2. Poor Separation of Concerns
You want HTML, CSS and JavaScript to work together
You end up with a mess
The wiring gets in your way!
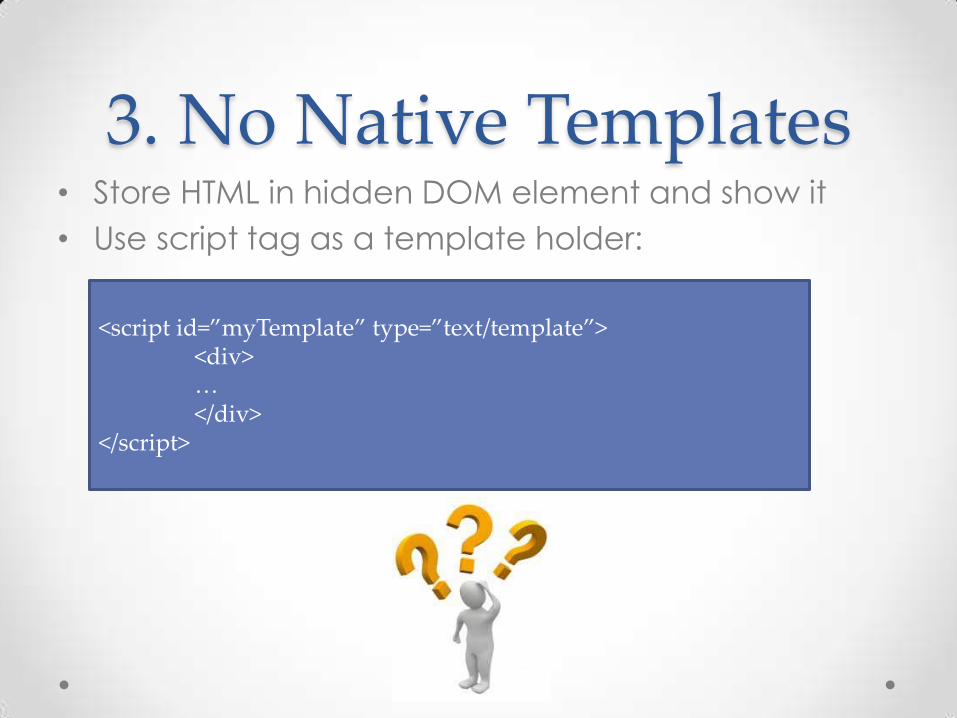
3. No Native Templates • Store HTML in hidden DOM element and show it
• Use script tag as a template holder:
<script id=”myTemplate” type=”text/template”> <div> … </div> </script>
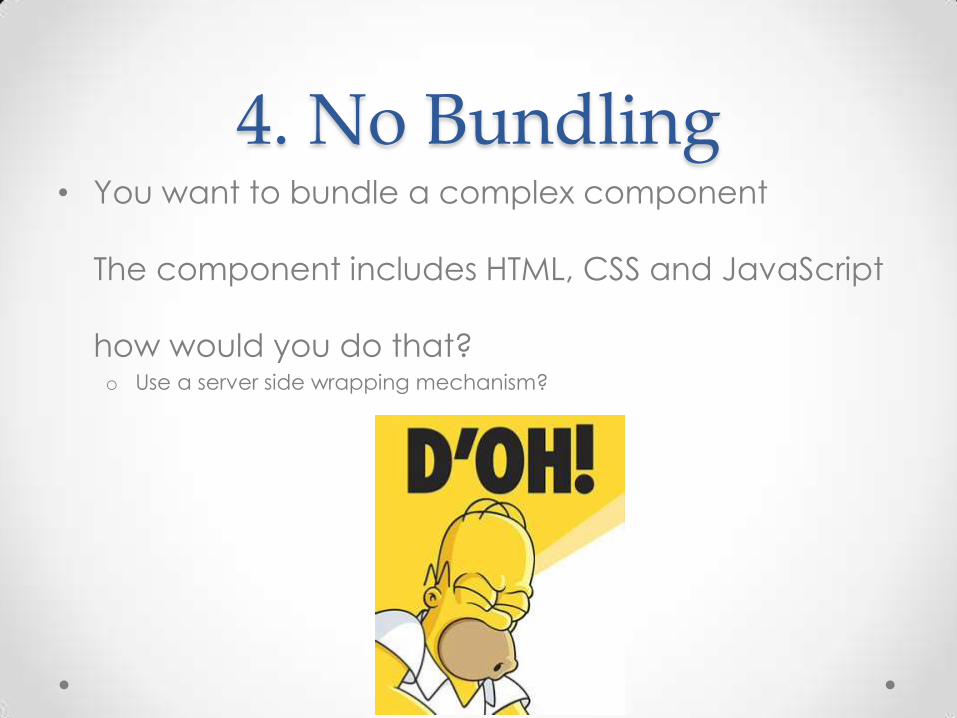
4. No Bundling • You want to bundle a complex component
The component includes HTML, CSS and JavaScript
how would you do that? o Use a server side wrapping mechanism?

Web Components to the Rescue
• A set of standards designed to componentize the
web
• Some general goals:
Code Reuse Encapsulation Separation of
Concerns Composition Theming Expressive Semantic
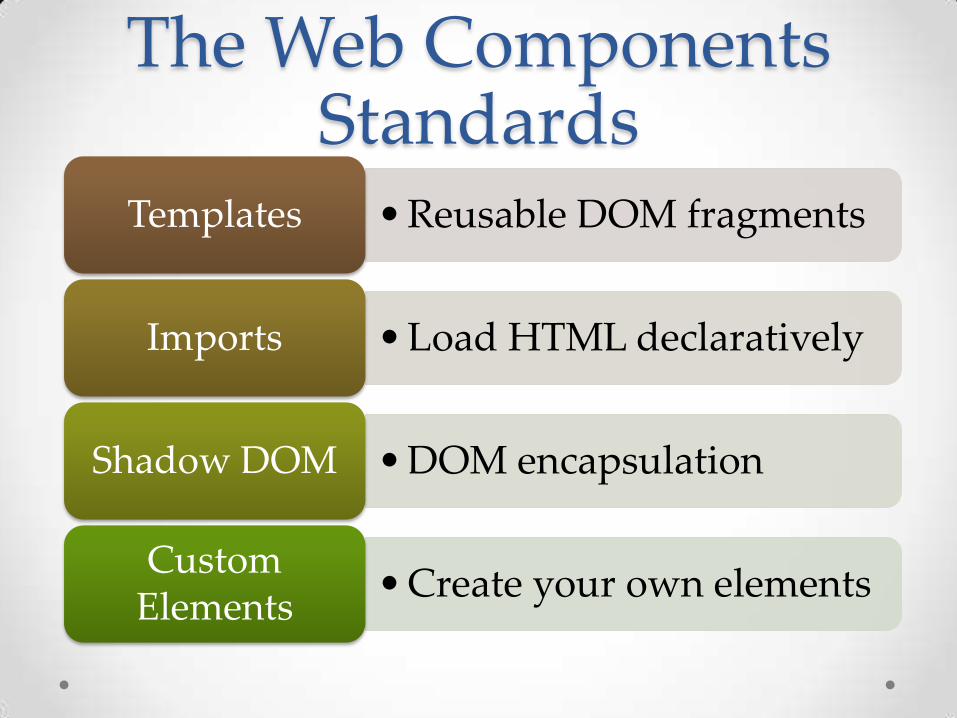
The Web Components Standards
• Reusable DOM fragments Templates
• Load HTML declaratively Imports
• DOM encapsulation Shadow DOM
• Create your own elements Custom
Elements
Setting The Environment • Browsers have only partial support for Web
Components o So we use the webcomponents.js Polyfill for Web Components
• Download: o https://github.com/webcomponents/webcomponentsjs/
o Or install using your favorite package manager (NPM, Bower, Nuget)
• Make sure the Polyfill script runs first
Demo Setting the environment

Let’s Drill Down
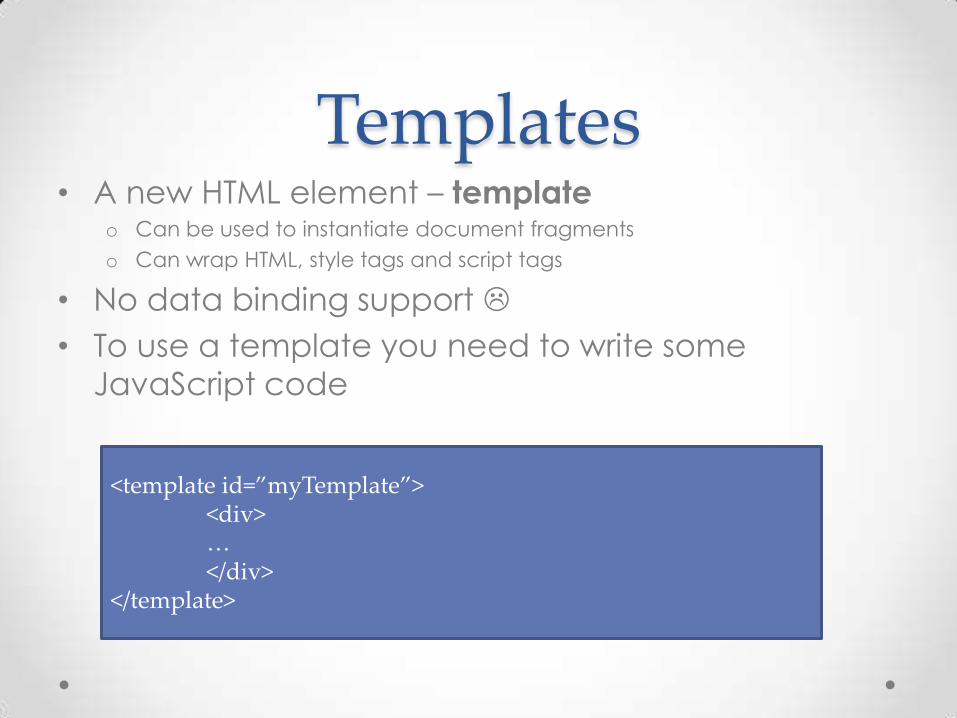
Templates • A new HTML element – template
o Can be used to instantiate document fragments
o Can wrap HTML, style tags and script tags
• No data binding support
• To use a template you need to write some
JavaScript code
<template id=”myTemplate”> <div> … </div> </template>
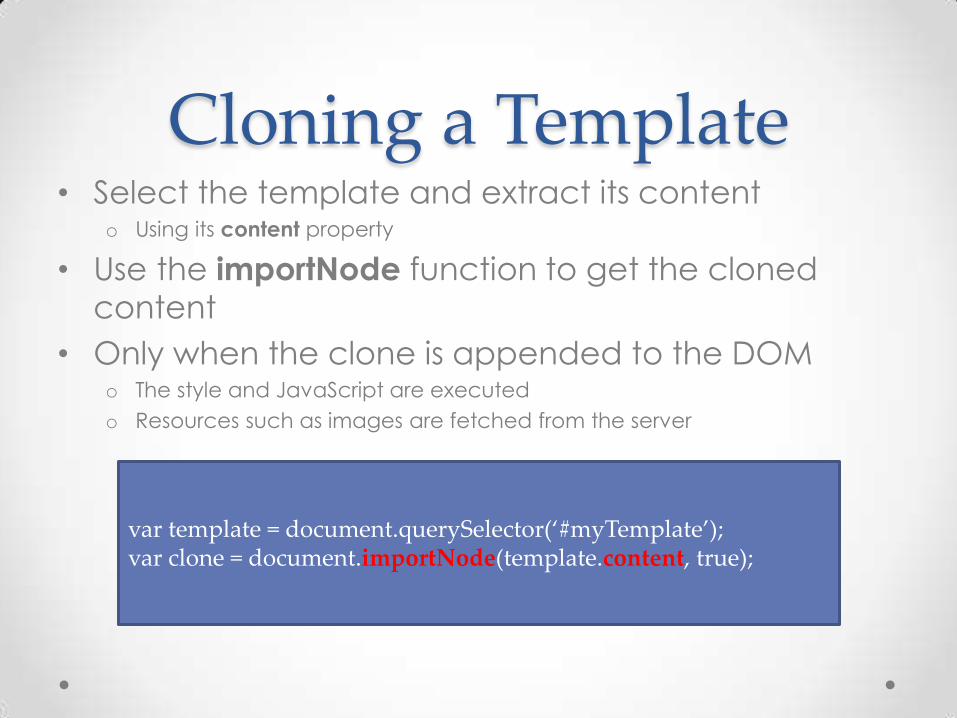
Cloning a Template • Select the template and extract its content
o Using its content property
• Use the importNode function to get the cloned
content
• Only when the clone is appended to the DOM o The style and JavaScript are executed
o Resources such as images are fetched from the server
var template = document.querySelector(‘#myTemplate’); var clone = document.importNode(template.content, true);

Templates Demo
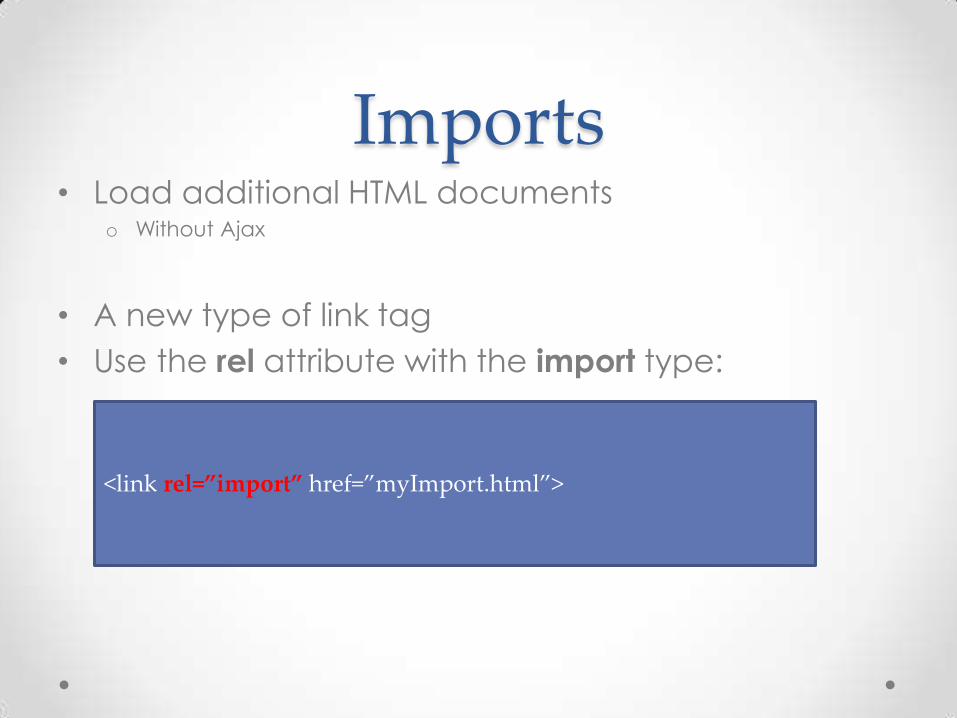
Imports • Load additional HTML documents
o Without Ajax
• A new type of link tag
• Use the rel attribute with the import type:
<link rel=”import” href=”myImport.html”>
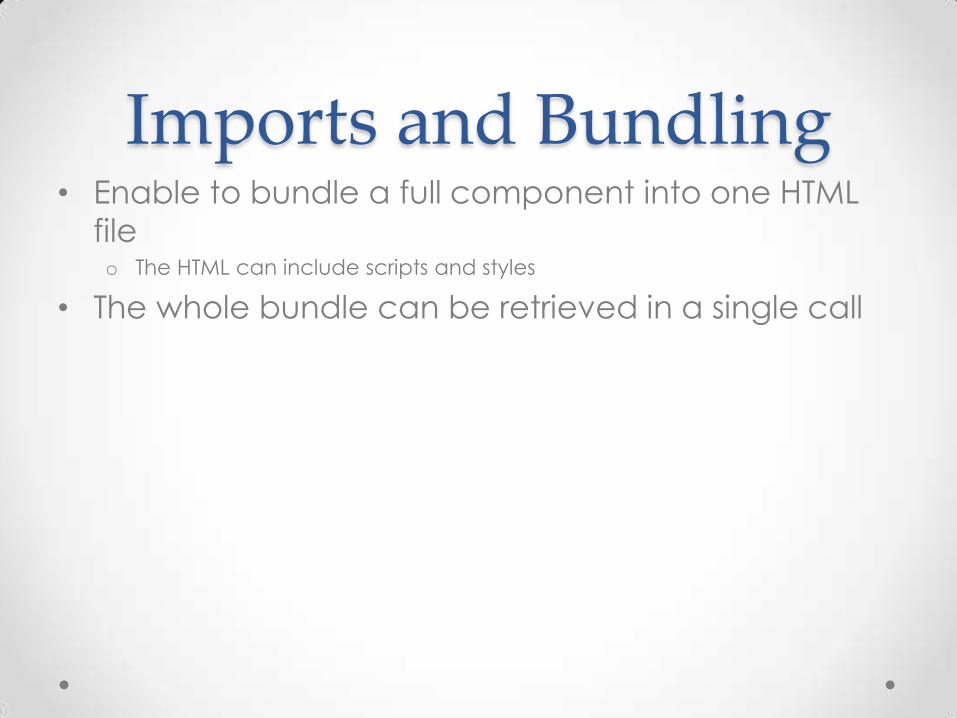
Imports and Bundling • Enable to bundle a full component into one HTML
file o The HTML can include scripts and styles
• The whole bundle can be retrieved in a single call
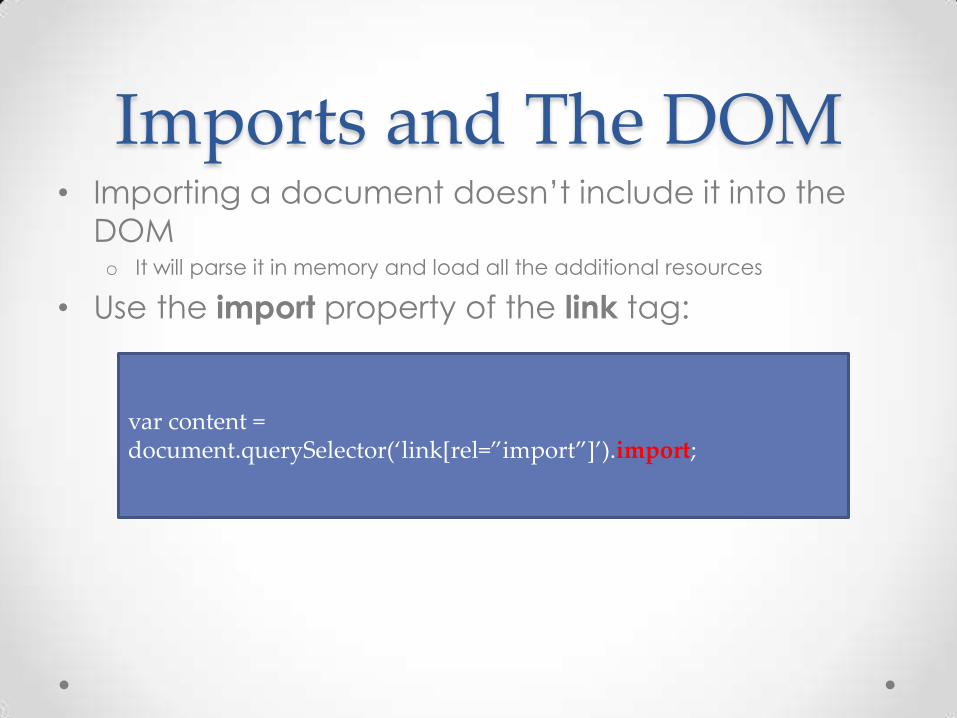
Imports and The DOM • Importing a document doesn’t include it into the
DOM o It will parse it in memory and load all the additional resources
• Use the import property of the link tag:
var content = document.querySelector(‘link[rel=”import”]’).import;
Imports Demo
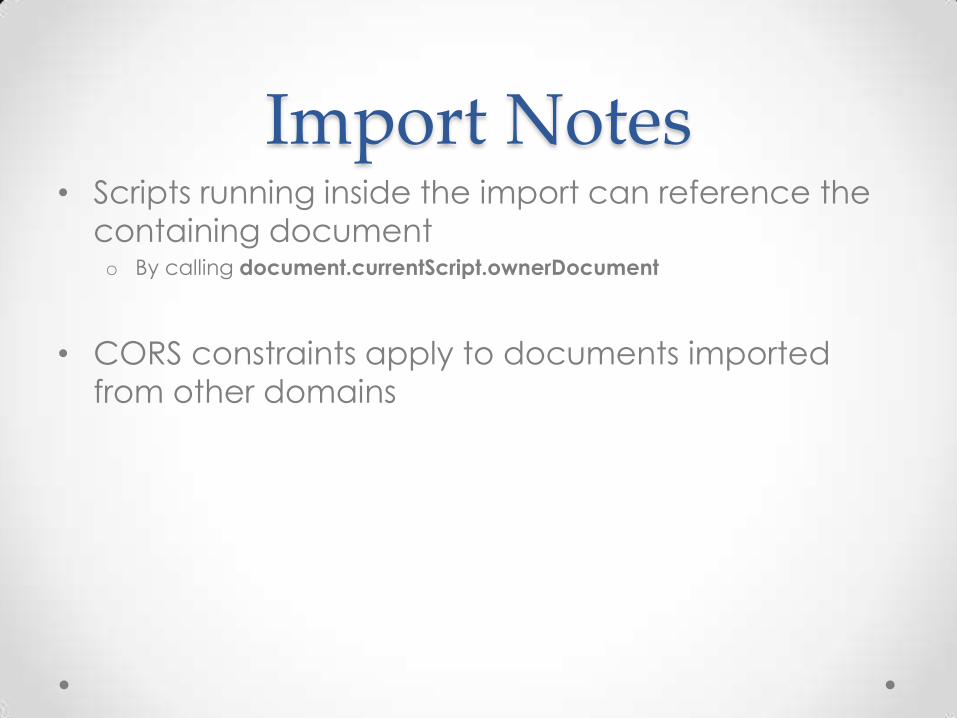
Import Notes • Scripts running inside the import can reference the
containing document o By calling document.currentScript.ownerDocument
• CORS constraints apply to documents imported
from other domains
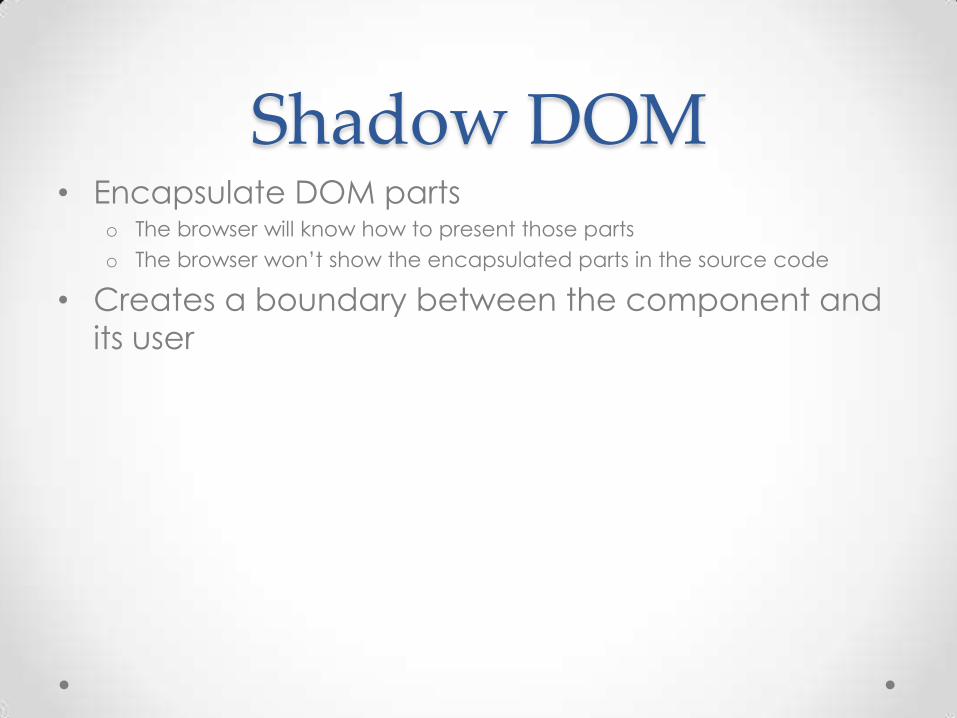
Shadow DOM • Encapsulate DOM parts
o The browser will know how to present those parts
o The browser won’t show the encapsulated parts in the source code
• Creates a boundary between the component and
its user
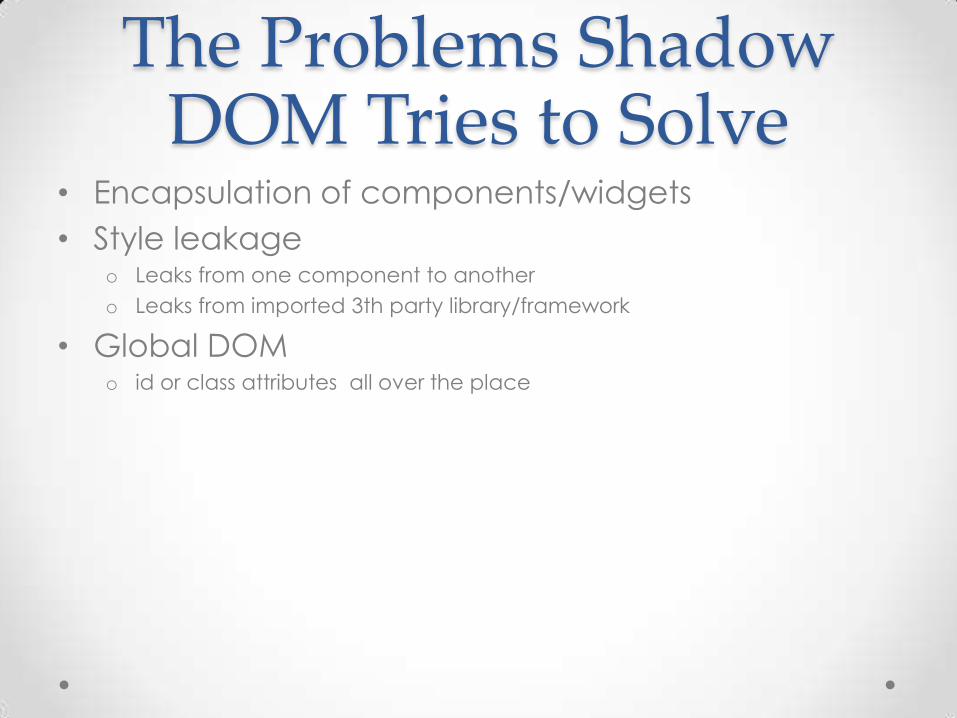
The Problems Shadow DOM Tries to Solve
• Encapsulation of components/widgets
• Style leakage o Leaks from one component to another
o Leaks from imported 3th party library/framework
• Global DOM o id or class attributes all over the place
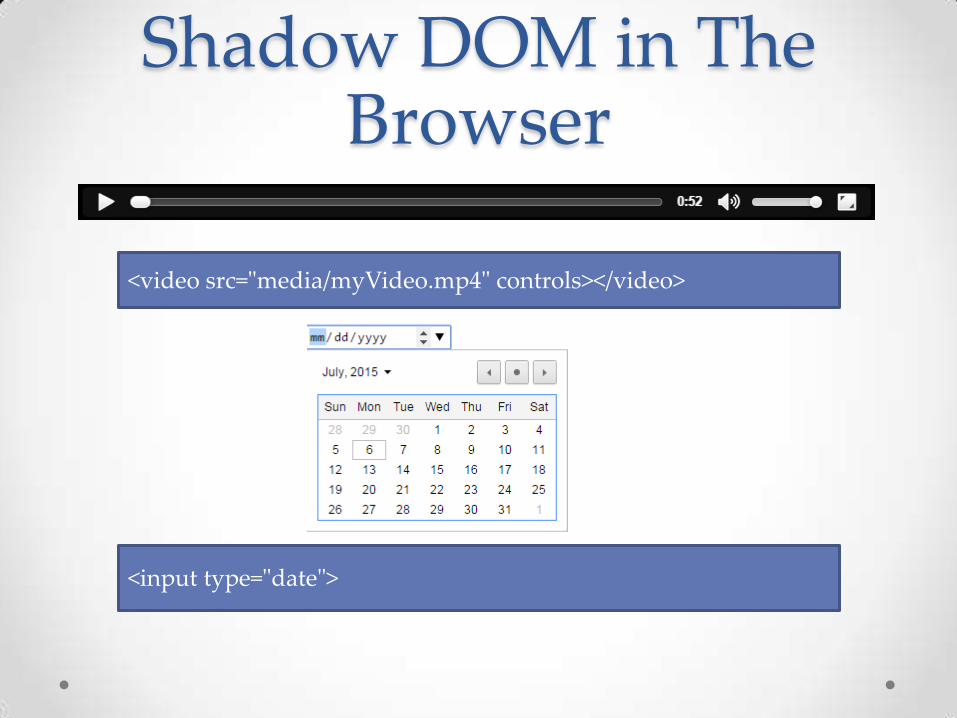
Shadow DOM in The Browser
<video src="media/myVideo.mp4" controls></video>
<input type="date">
Show Shadow DOM Elements in Chrome
Demo
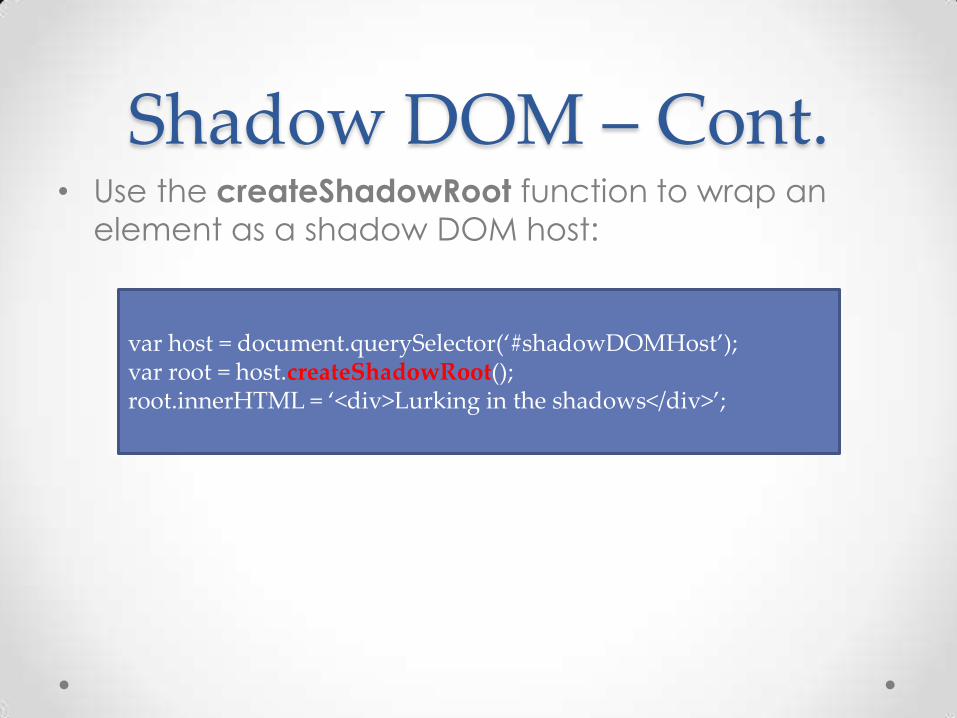
Shadow DOM – Cont. • Use the createShadowRoot function to wrap an
element as a shadow DOM host:
var host = document.querySelector(‘#shadowDOMHost’); var root = host.createShadowRoot(); root.innerHTML = ‘<div>Lurking in the shadows</div>’;
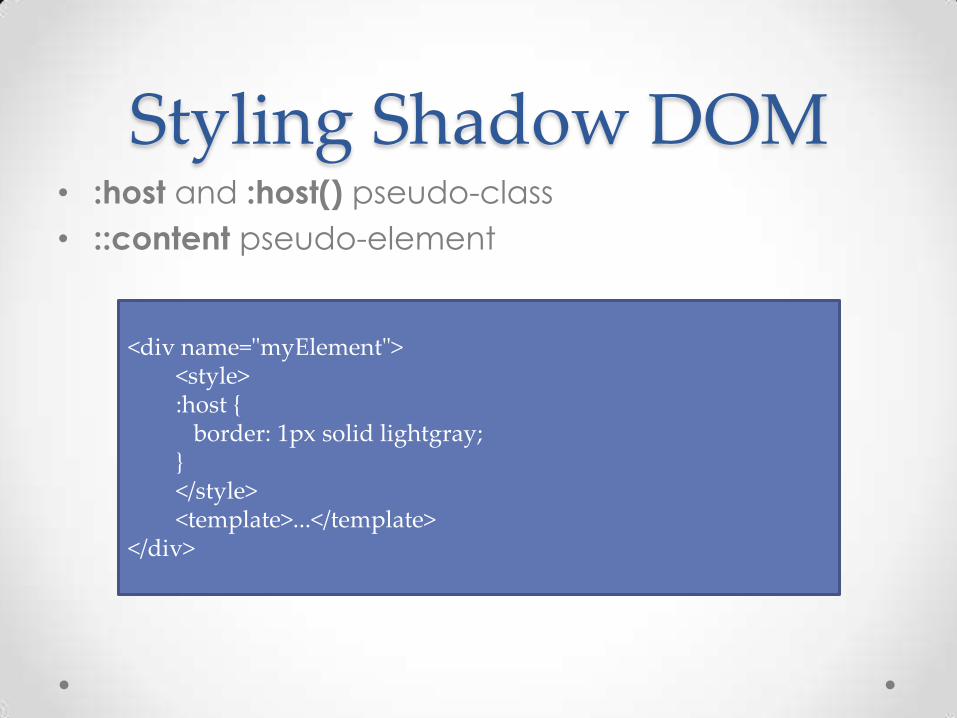
Styling Shadow DOM • :host and :host() pseudo-class
• ::content pseudo-element
<div name="myElement"> <style> :host { border: 1px solid lightgray; } </style> <template>...</template>
</div>
Shadow DOM Demo
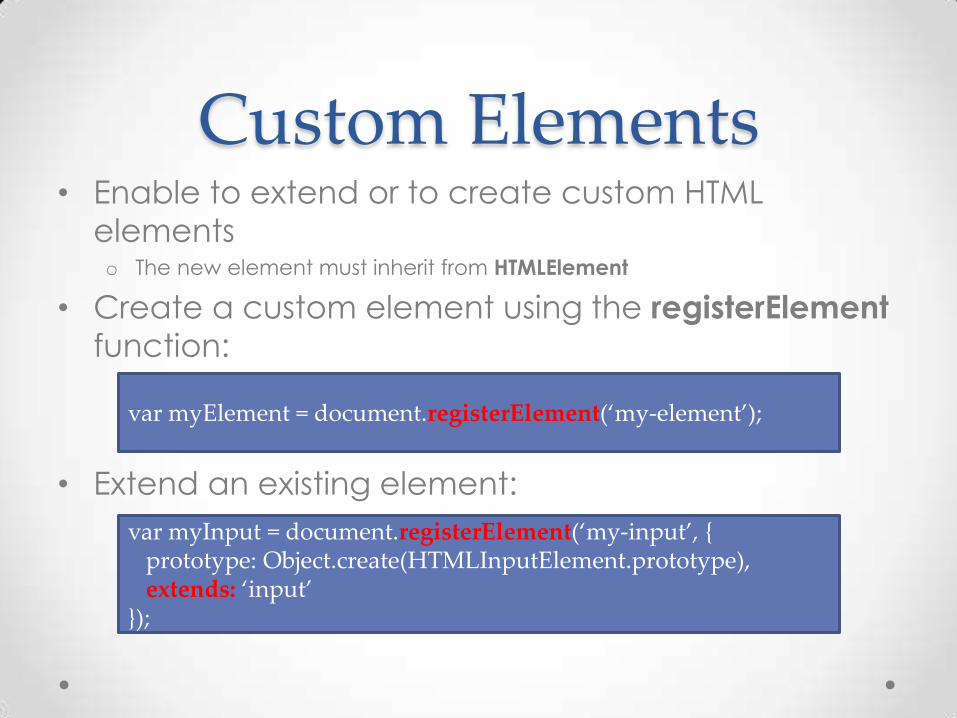
Custom Elements • Enable to extend or to create custom HTML
elements o The new element must inherit from HTMLElement
• Create a custom element using the registerElement
function:
• Extend an existing element:
var myElement = document.registerElement(‘my-element’);
var myInput = document.registerElement(‘my-input’, { prototype: Object.create(HTMLInputElement.prototype), extends: ‘input’ });
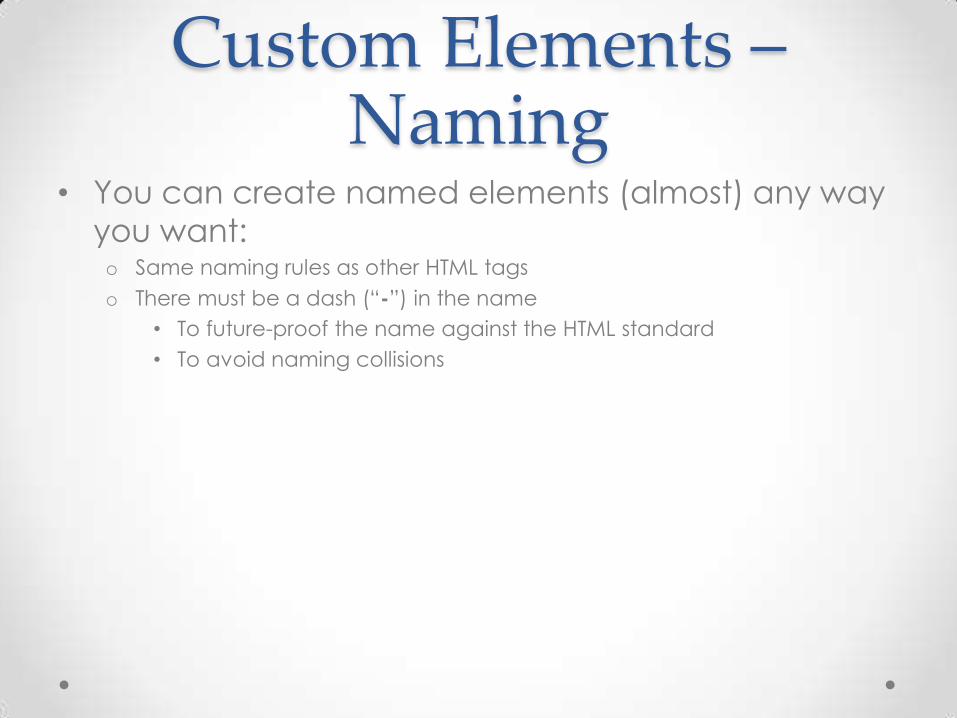
Custom Elements – Naming
• You can create named elements (almost) any way
you want: o Same naming rules as other HTML tags
o There must be a dash (“-”) in the name
• To future-proof the name against the HTML standard
• To avoid naming collisions
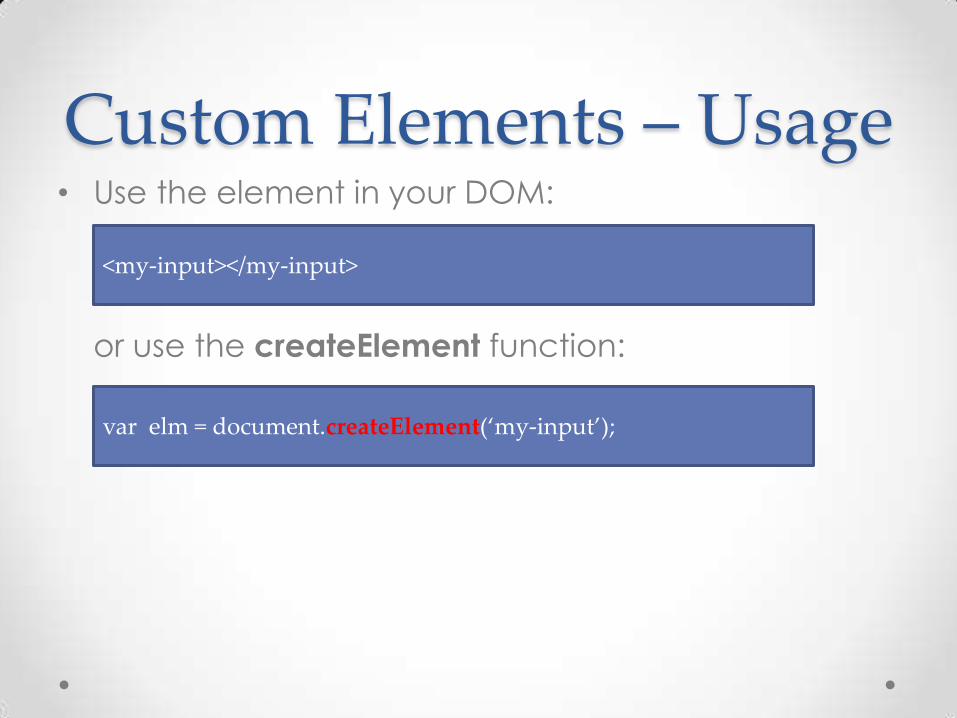
Custom Elements – Usage • Use the element in your DOM:
or use the createElement function:
<my-input></my-input>
var elm = document.createElement(‘my-input’);
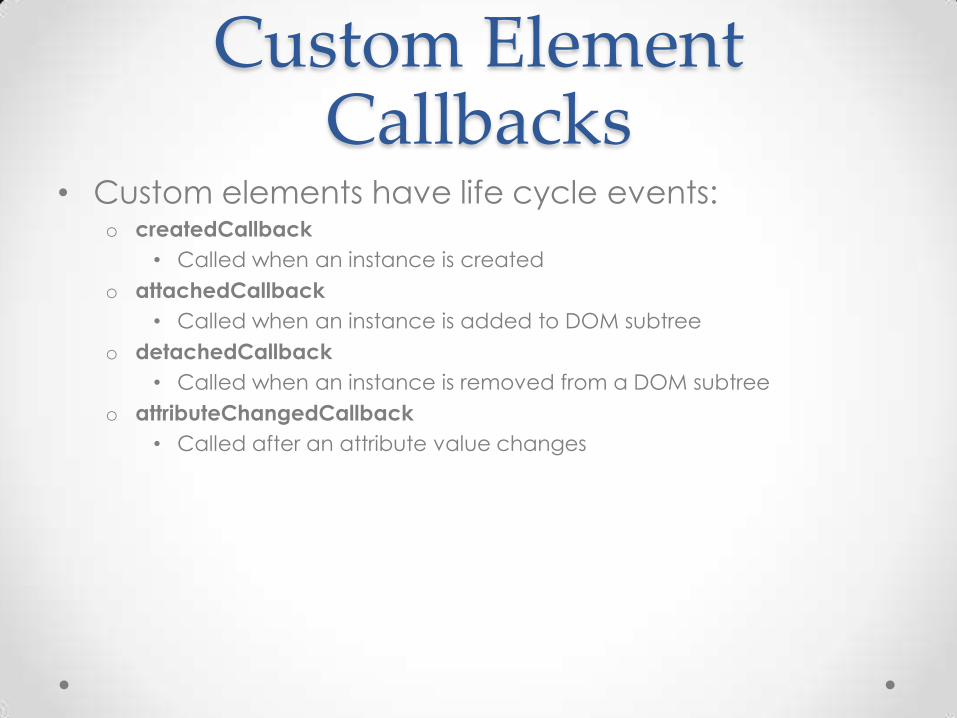
Custom Element Callbacks
• Custom elements have life cycle events: o createdCallback
• Called when an instance is created
o attachedCallback
• Called when an instance is added to DOM subtree
o detachedCallback
• Called when an instance is removed from a DOM subtree
o attributeChangedCallback
• Called after an attribute value changes
Custom Elements Demo
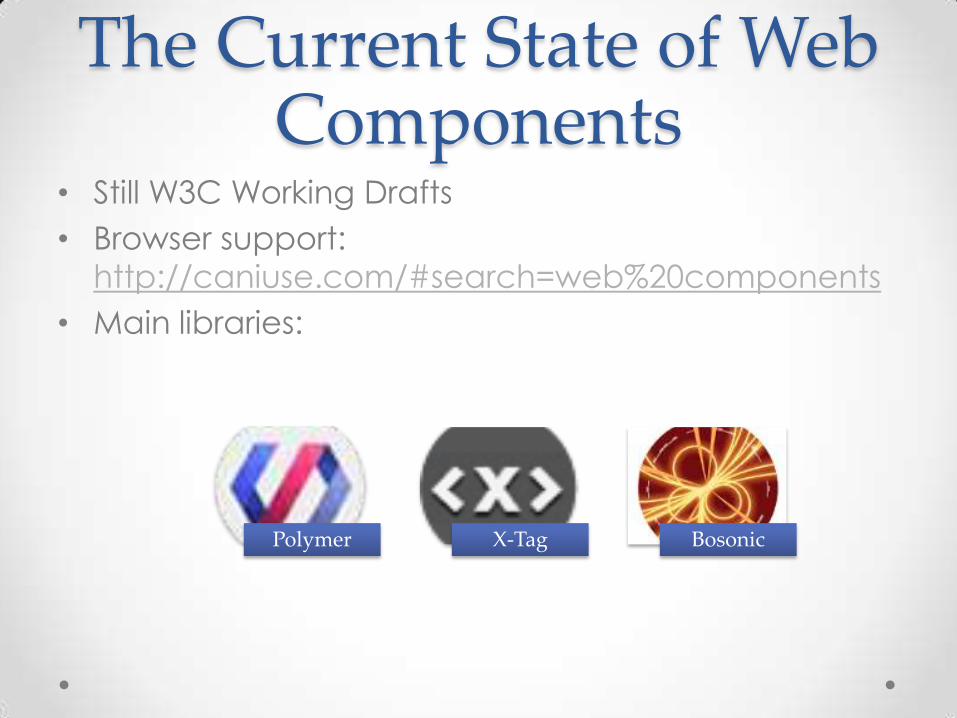
The Current State of Web Components
• Still W3C Working Drafts
• Browser support:
http://caniuse.com/#search=web%20components
• Main libraries:
Polymer X-Tag Bosonic

Questions?
Summary • Web Components are emerging standards that
enables: • Encapsulation
• Separation of Concerns
• Element portability
• And more
• They are still in development
• Taking the web one step forward!
Resources • Download the slide deck:
http://bit.ly/1OCOnbL
• http://webcomponents.org/
https://www.polymer-project.org/1.0/
http://www.x-tags.org/
• My Blog – http://www.gilfink.net
• Follow me on Twitter – @gilfink

Thank You!


![[Type here] [Type here] [Type here]](https://img.pdfslide.tips/doc/110x75/61ac36038ea0783b0a6313a4/type-here-type-here-type-here.jpg)