Embed Size (px)
Citation preview

8/13/2019 compunere tambur
http://slidepdf.com/reader/full/compunere-tambur 1/2
Repairing rear brake - drum brake
Special tools, test and measuring equipment and aids required
Torque wrench
Brake pedal load, e.g. -V.A.G 1869/2-.
Plastic wedge -3409-
Brake filling and bleeding device, e. g. -VAS 5234- or - ROMESS S15-
Hook (commercially available)
Brake fluid → Chapter
Solid lubricant paste -G 000 650-
Note
Use brake pedal loader, e. g. -V.A.G 1869/2-, before removing a brake cylinder, a brake carrier or beforeseparating a brake line from the brake cylinder.
Generally tighten the brake line pipe screws to a tightening torque of 14 Nm.
After working on the rear axle brake: Release hand-brake; forcefully activate the brake pedal repeatedly.
1 - Spring cap
to removepush againstpressurespring andturn 90°
2 - Pressurespring
3 - Locating
spring
4 - Pressure rod
Grease thecontactpoints withsolidlubricantpaste -G 000650-
5 - Wedge
when
removingand installingthe brakedrum pushup through ahole forwheelscrews(reset brake)→ Chapter
6 - Wheel-brakecylinder
check thesystem fortightness→ Chapter
Стр. 1 из 2Repairing rear brake - drum brake
03.03.2013vw-wi://rl/C.en-GB.S00.5303.00.wi::35941851.xml?xsl=3
8/13/2019 compunere tambur
http://slidepdf.com/reader/full/compunere-tambur 2/2
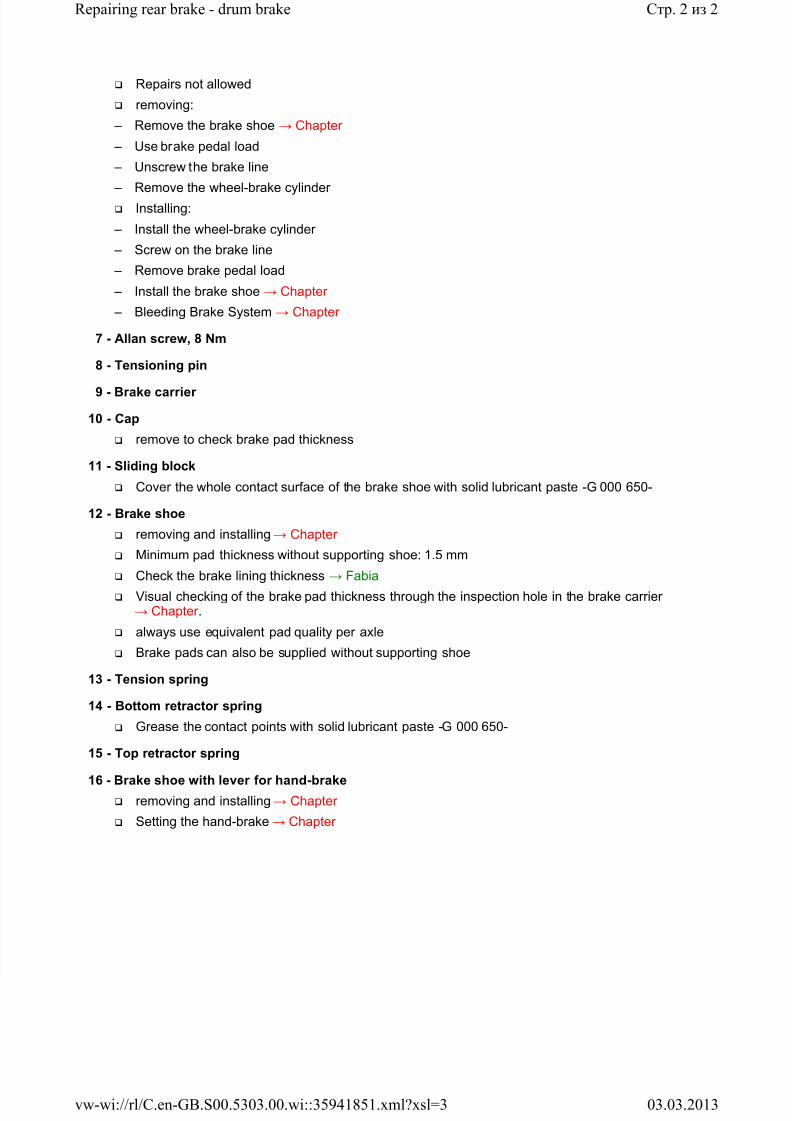
Repairs not allowed
removing:
– Remove the brake shoe → Chapter
– Use brake pedal load
– Unscrew the brake line
– Remove the wheel-brake cylinder
Installing:
– Install the wheel-brake cylinder
– Screw on the brake line
– Remove brake pedal load
– Install the brake shoe → Chapter
– Bleeding Brake System → Chapter
7 - Allan screw, 8 Nm
8 - Tensioning pin
9 - Brake carrier
10 - Cap
remove to check brake pad thickness
11 - Sliding block
Cover the whole contact surface of the brake shoe with solid lubricant paste -G 000 650-
12 - Brake shoe
removing and installing → Chapter
Minimum pad thickness without supporting shoe: 1.5 mm
Check the brake lining thickness → Fabia
Visual checking of the brake pad thickness through the inspection hole in the brake carrier→ Chapter .
always use equivalent pad quality per axle
Brake pads can also be supplied without supporting shoe
13 - Tension spring
14 - Bottom retractor spring
Grease the contact points with solid lubricant paste -G 000 650-
15 - Top retractor spring
16 - Brake shoe with lever for hand-brake removing and installing → Chapter
Setting the hand-brake → Chapter
Стр. 2 из 2Repairing rear brake - drum brake
03.03.2013vw-wi://rl/C.en-GB.S00.5303.00.wi::35941851.xml?xsl=3