Embed Size (px)
Citation preview
1
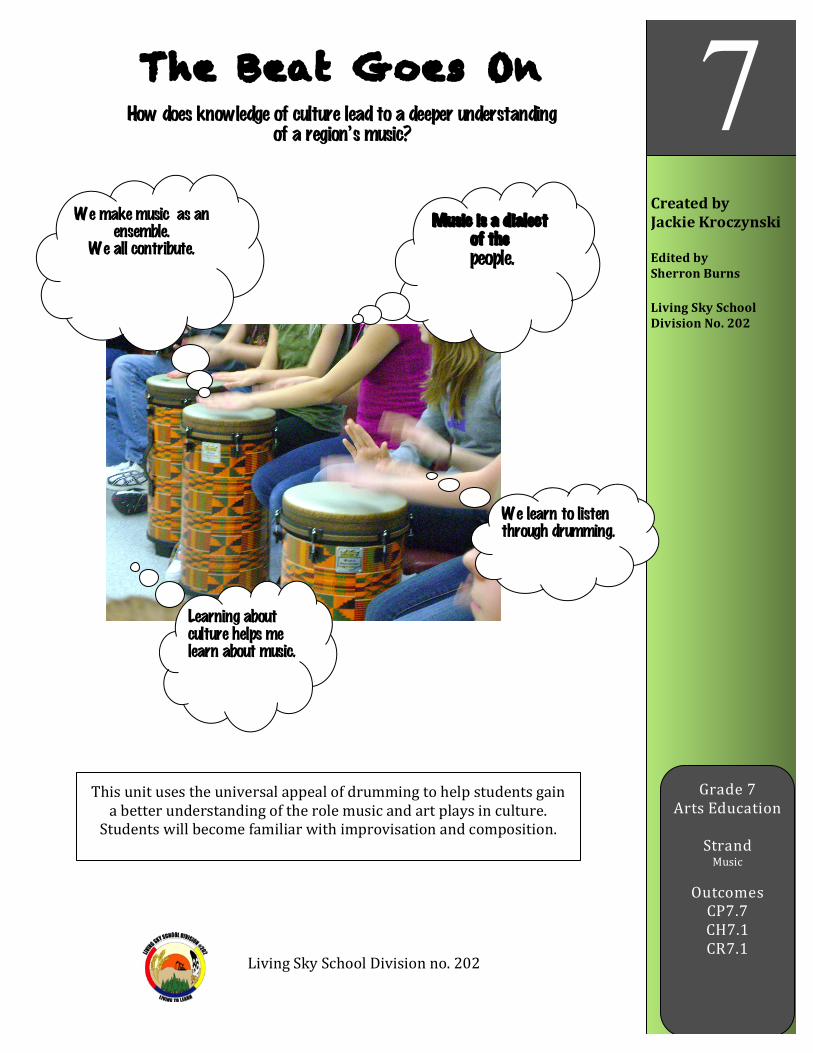
The Beat Goes On
How does knowledge of culture lead to a deeper understanding of a region’s music?
Created by Jackie Kroczynski Edited by Sherron Burns Living Sky School Division No. 202
We make music as an
ensemble. We all contribute.
Music is a dialect of the
people.
We learn to listen through drumming.
Grade 7 Arts Education
Strand Music
Outcomes CP7.7 CH7.1 CR7.1
7
Learning about culture helps me learn about music.
This unit uses the universal appeal of drumming to help students gain a better understanding of the role music and art plays in culture. Students will become familiar with improvisation and composition.
Living Sky School Division no. 202
Living Sky School Division no. 202
2
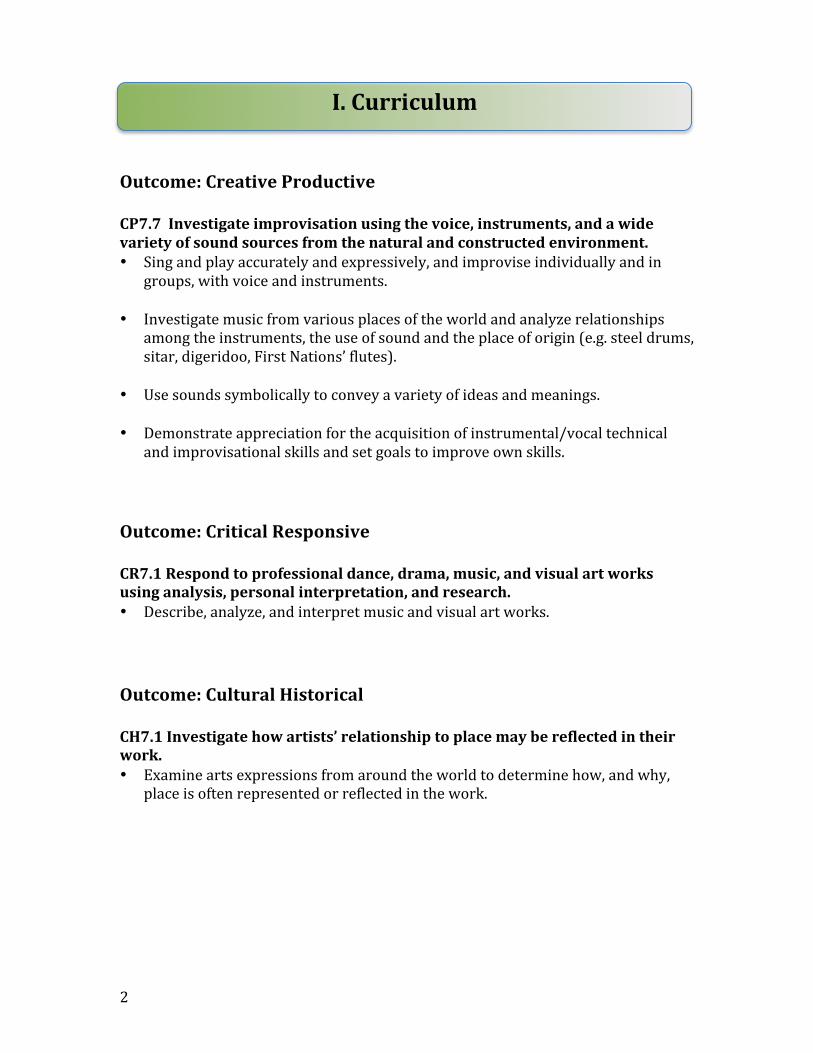
Outcome: Creative Productive CP7.7 Investigate improvisation using the voice, instruments, and a wide variety of sound sources from the natural and constructed environment. • Sing and play accurately and expressively, and improvise individually and in
groups, with voice and instruments. • Investigate music from various places of the world and analyze relationships
among the instruments, the use of sound and the place of origin (e.g. steel drums, sitar, digeridoo, First Nations’ flutes).
• Use sounds symbolically to convey a variety of ideas and meanings. • Demonstrate appreciation for the acquisition of instrumental/vocal technical
and improvisational skills and set goals to improve own skills. Outcome: Critical Responsive CR7.1 Respond to professional dance, drama, music, and visual art works using analysis, personal interpretation, and research. • Describe, analyze, and interpret music and visual art works. Outcome: Cultural Historical CH7.1 Investigate how artists’ relationship to place may be reflected in their work. • Examine arts expressions from around the world to determine how, and why,
place is often represented or reflected in the work.
I. Curriculum
3
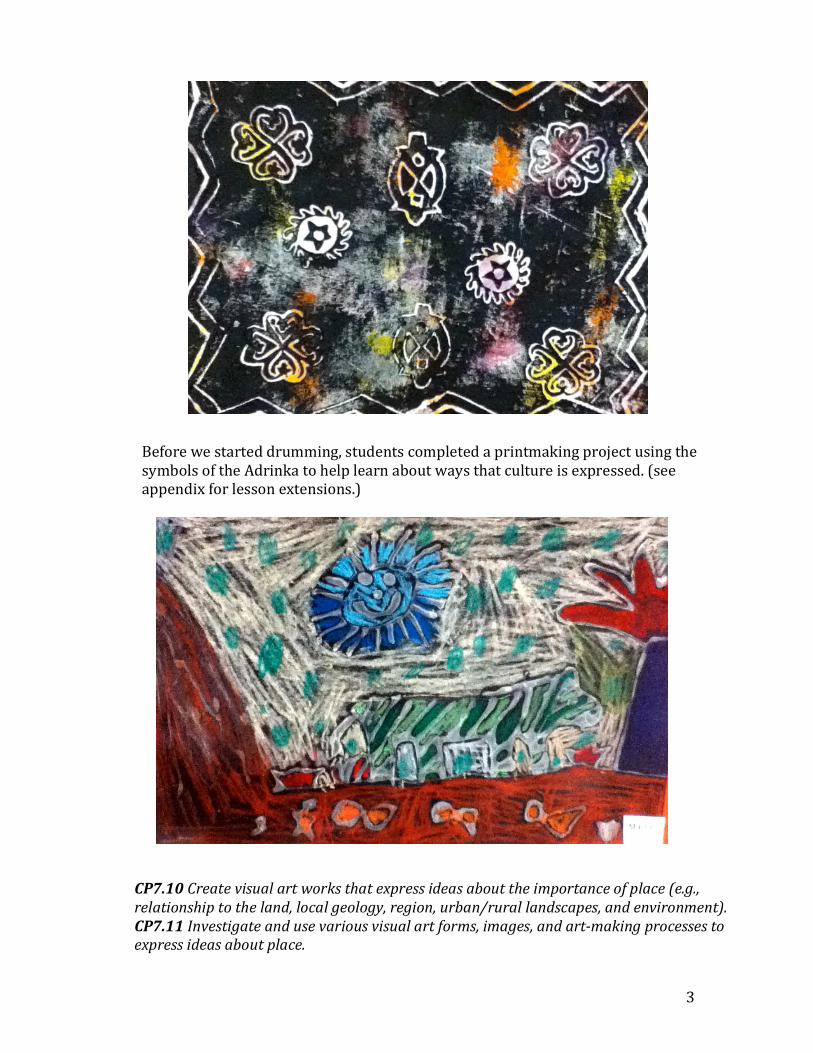
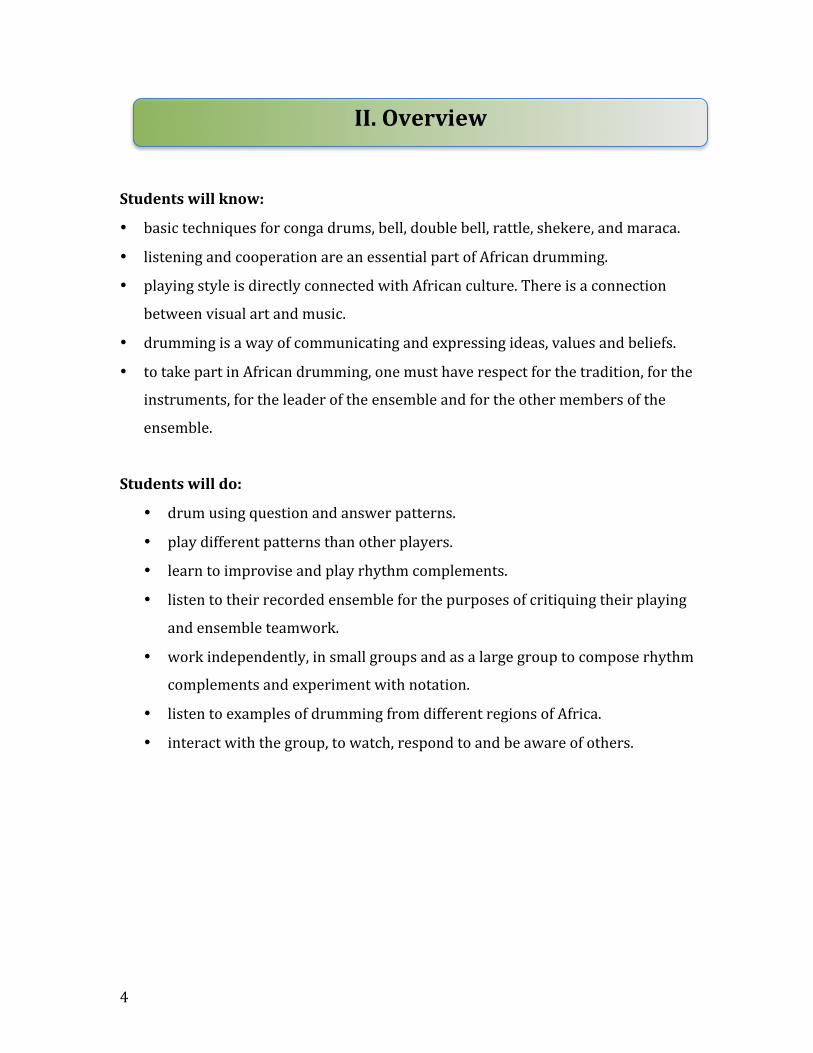
Before we started drumming, students completed a printmaking project using the symbols of the Adrinka to help learn about ways that culture is expressed. (see appendix for lesson extensions.)
CP7.10 Create visual art works that express ideas about the importance of place (e.g., relationship to the land, local geology, region, urban/rural landscapes, and environment). CP7.11 Investigate and use various visual art forms, images, and art-‐making processes to express ideas about place.
4
Students will know:
• basic techniques for conga drums, bell, double bell, rattle, shekere, and maraca.
• listening and cooperation are an essential part of African drumming.
• playing style is directly connected with African culture. There is a connection
between visual art and music.
• drumming is a way of communicating and expressing ideas, values and beliefs.
• to take part in African drumming, one must have respect for the tradition, for the
instruments, for the leader of the ensemble and for the other members of the
ensemble.
Students will do:
• drum using question and answer patterns.
• play different patterns than other players.
• learn to improvise and play rhythm complements.
• listen to their recorded ensemble for the purposes of critiquing their playing
and ensemble teamwork.
• work independently, in small groups and as a large group to compose rhythm
complements and experiment with notation.
• listen to examples of drumming from different regions of Africa.
• interact with the group, to watch, respond to and be aware of others.
II. Overview
5
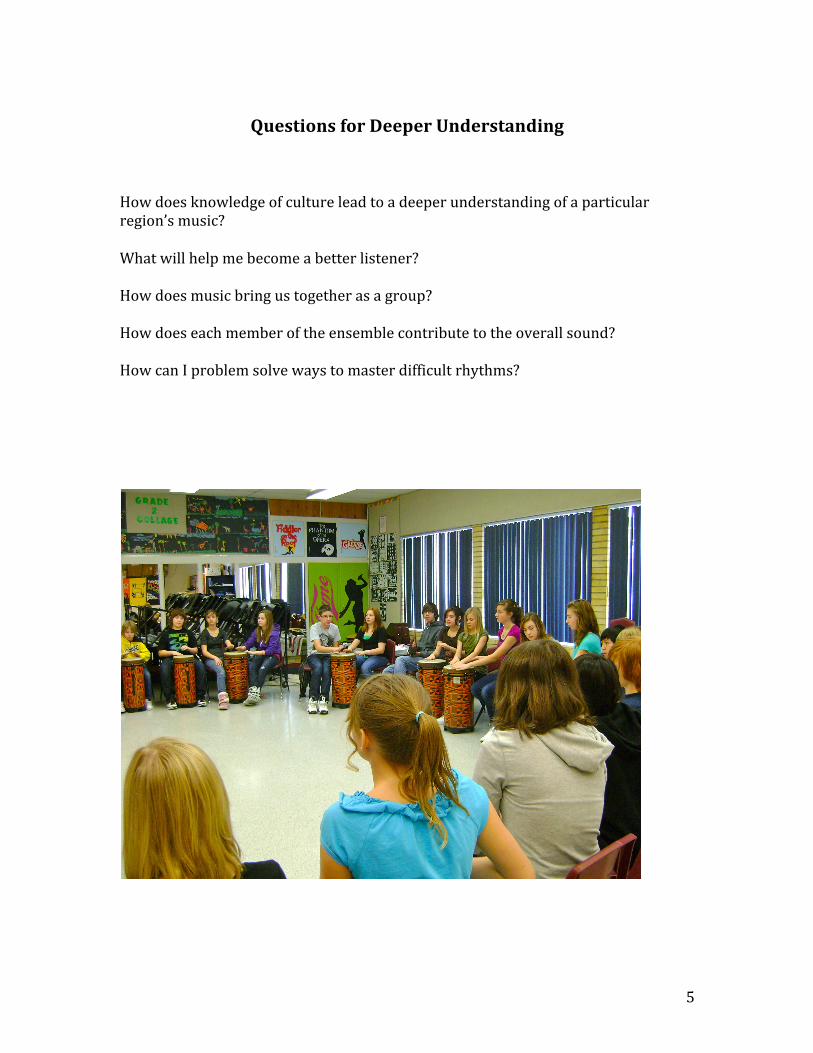
Questions for Deeper Understanding
How does knowledge of culture lead to a deeper understanding of a particular region’s music? What will help me become a better listener? How does music bring us together as a group? How does each member of the ensemble contribute to the overall sound? How can I problem solve ways to master difficult rhythms?
6
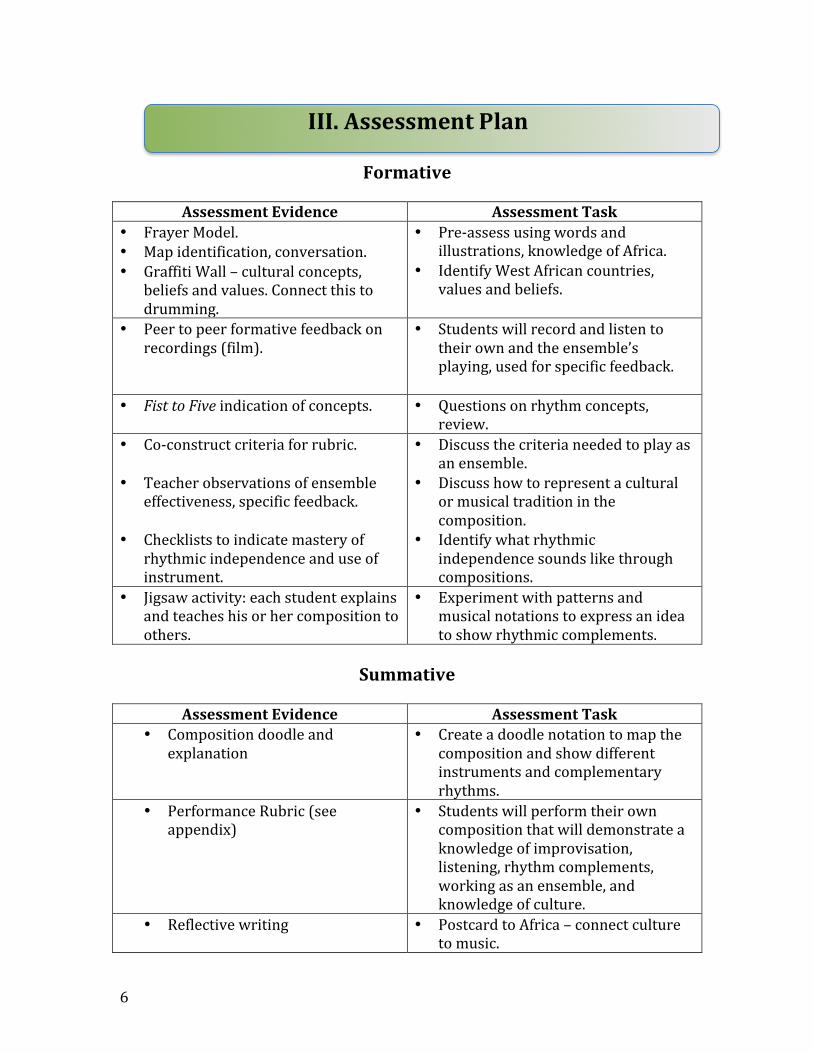
Formative
Assessment Evidence Assessment Task • Frayer Model. • Map identification, conversation. • Graffiti Wall – cultural concepts,
beliefs and values. Connect this to drumming.
• Pre-‐assess using words and illustrations, knowledge of Africa.
• Identify West African countries, values and beliefs.
• Peer to peer formative feedback on recordings (film).
• Students will record and listen to their own and the ensemble’s playing, used for specific feedback.
• Fist to Five indication of concepts. • Questions on rhythm concepts,
review. • Co-‐construct criteria for rubric.
• Teacher observations of ensemble
effectiveness, specific feedback.
• Checklists to indicate mastery of rhythmic independence and use of instrument.
• Discuss the criteria needed to play as an ensemble.
• Discuss how to represent a cultural or musical tradition in the composition.
• Identify what rhythmic independence sounds like through compositions.
• Jigsaw activity: each student explains and teaches his or her composition to others.
• Experiment with patterns and musical notations to express an idea to show rhythmic complements.
Summative
Assessment Evidence Assessment Task
• Composition doodle and explanation
• Create a doodle notation to map the composition and show different instruments and complementary rhythms.
• Performance Rubric (see appendix)
• Students will perform their own composition that will demonstrate a knowledge of improvisation, listening, rhythm complements, working as an ensemble, and knowledge of culture.
• Reflective writing • Postcard to Africa – connect culture to music.
III. Assessment Plan
7
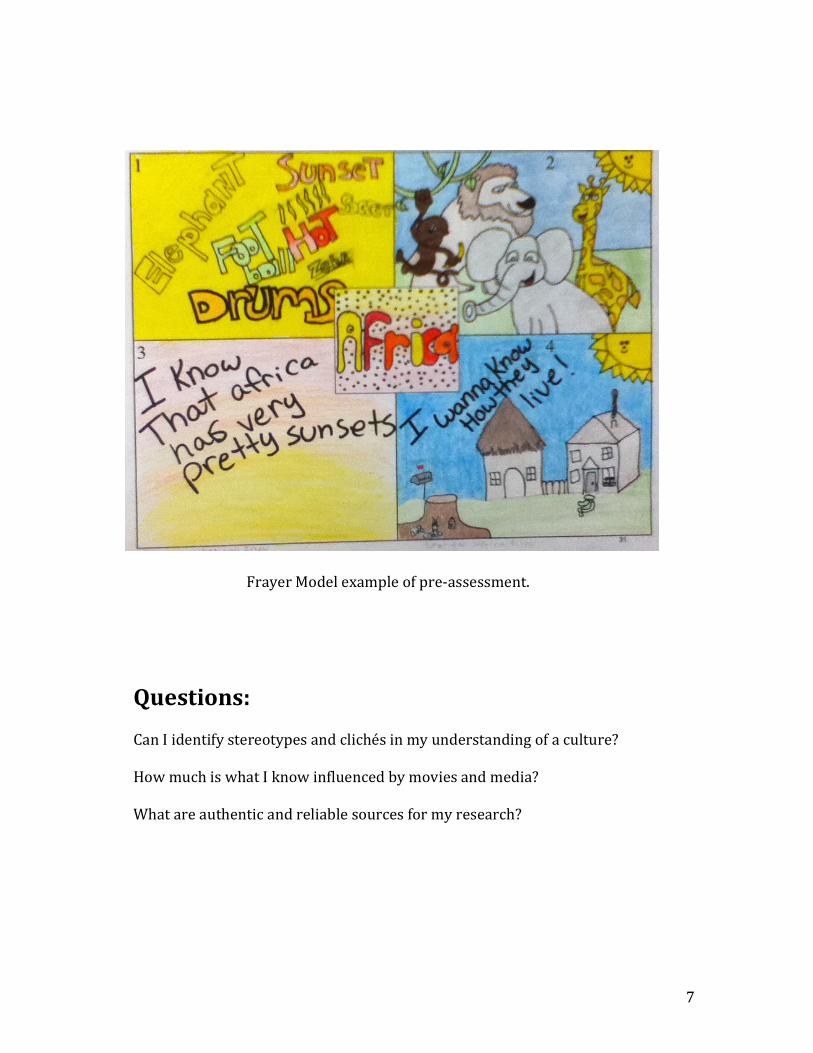
Frayer Model example of pre-‐assessment.
Questions: Can I identify stereotypes and clichés in my understanding of a culture? How much is what I know influenced by movies and media? What are authentic and reliable sources for my research?
8
Lesson One: Everything is Rhythm Time frame: approximately 2 hours • Discuss: What is rhythm? What rhythms are most often heard in your day to day
life? Students can demonstrate the sounds and identify what it reminds them of in their culture. (I.e., playground, hallways, lockers, basketball, hockey). What are the most common rhythms we hear in popular music, here in the western world?
• Pre-‐Assess: What do we know about Africa, and in particular, West Africa? Complete a Frayer Model to indicate what you know, definitions, questions and examples from the culture. Students get into small groups to share their pre-‐assessments and to work together to develop their knowledge further with research.
• West African Rhythms: Watch the film “FOLI (there is no movement without rhythm)” Discuss the culture, value and beliefs of the West African people and how it connects to the drum. What countries are included in the area? Look on a map to understand the geography of Africa and the placement of countries and their relation to water, desert, plains or mountains. How does life style impact the music of a people? Does it impact people here in the western world?
• Graffiti Wall: Create a graffiti wall to document what you have learned about the culture, values and beliefs. The wall can grow and evolve over the course of the unit as you discover more information and knowledge about the music and the people.
Lesson Two: Hearing and Playing Patterns Time frame: 45 minutes • Concepts:
Start developing respect for the instruments and each other. Teach basic open tone drumming. Teach 2 beat echo pattern. Teach Question and Answer drumming.
IV. Learning Plan
9
• Importance of the Circle: Arrange students in a circle for participant interaction. Discuss why we use a circle and the possible benefits to the group. How is a circle symbolic for community? (If students have to share a drum, place it in between students and have them practice changing on the word “switch” and eventually have them switch on their own.)
• Drum basics: To play an open tone on the conga type drums, lay fingers (up to your palm) on the drum head. Practice bouncing off the drum head; use images of a “hot stove” or “bouncing a ball”. Alternating hands.
• Rattles (maraca, shekere): Teach students to play rattles -‐ downward movement only -‐ on the thigh.
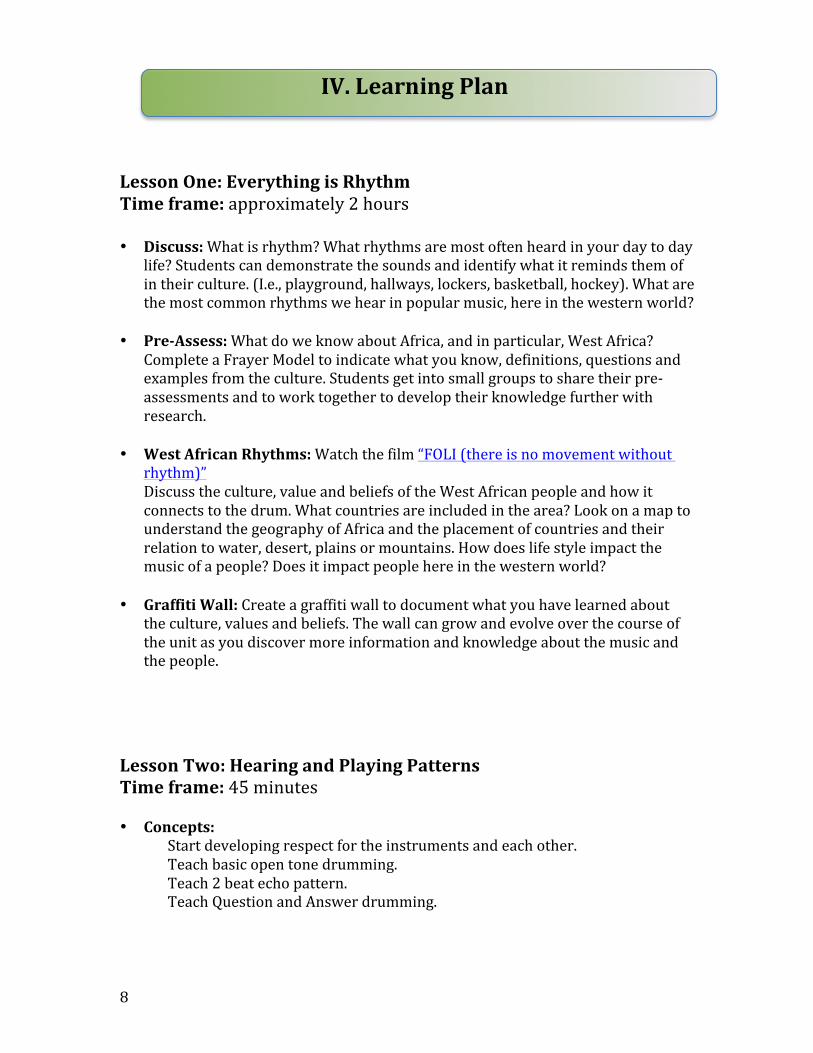
• Echo: 1 -‐ 2 beat echo pattern -‐ “I play, you play”
Question and answer drumming -‐ Leader “What’s for dinner?” (2 beats) Student “mac -‐ a -‐ ro -‐ ni” (2 beats)
Try with just voice, then voice and drum, and then drum alone. Give other examples. “What’s your name?”
Lesson Three: Introducing Ensemble Time Frame: 45 minutes • Skills: Continue to develop the concepts from the previous lesson while
gradually adding the following techniques:
Drum: Bass tone -‐ listen to demonstration. Have students try it by using a slightly cupped hand and bouncing off the center of the drum.
10
Cowbell: low sound -‐ play on the edge . Bounce the stick off the edge of the bell. The bell is muted when firmly held.
• 2 beat patterns using bass and open tones. Check hand position.
Continue repeating pattern until it is played correctly. • Question and answer drumming -‐ teacher leader/student leader. • Drumming Ensemble One: Start by only teaching the low and high drum parts,
over top of the cowbell part. When these parts are stable, add the rattle. Make sure students switch instruments regularly. Gradually add in the medium drum part and the rattles. (see appendix)
• Assessment
How well did the students play the question/answer/echo patterns within the 2 beat time frame? Can students focus on their own part in Ensemble One while others are playing different parts?
Lesson Four: Developing Ensemble and Building Independence Time Frame: 45 minutes
• Listening: music appreciation and listening to examples of West African drumming. Listen to examples of West African ‘influenced’ music of contemporary, western musicians.
• Anchors: Introduce the double bell, a gankogui, is a hand-‐forged iron bell, consisting of two bells, the smaller, higher-‐pitched one resting atop the larger, lower one. Both double and single bells can be used to “anchor” the ensemble.
• Review: Question and answer drumming (review and move to student initiated patterns) Ensemble 1 (review and extend). Review the high and low parts over the bell; then review the medium part separately and put all three together. When these parts are stable, add the bell. Teach the gankogui part; practice with the bell. Put all parts together in score order (Bell, medium drum, low drum etc.)
• Assessment Are students working well in sections?
Tempo -‐ the speed of the music. Timbre -‐ sound quality.
Start with the hand that plays the low (bass) tone in the center; then add the high (open) tone.
11
Can students focus on their own part in Ensemble 1 while others are playing different parts? How is this similar to West African ensembles we listen to? What is different?
• Self Assess: Ask students to evaluate themselves using “Fist to Five” -‐ “Hold
up the number of fingers that you would give us for a mark on the count of three!”
5= Excellent -‐ all parts are accurate and in the right place 4= Very Good -‐ stable tempo, parts are mostly correct and in the right place 3= Good -‐ most parts are correct, but a little shaky; fairly steady tempo 2= Fair -‐ some parts are correct, some are struggling 1= Needs Work -‐ most parts are struggling and unstable Lesson Five: Rhythm Complements Time Frame: 2 hours
• West African: Listen to examples of drumming. Watch “FOLI (there is no movement without rhythm)” again and specifically look for complements and the way the musicians, in a village in Guinea respond to one another as they play. Add new observations to the Graffiti Wall about the music and the culture.
• Experiment with Ideas: in pairs or small groups use paper to make visual notations of a rhythm. Experiment with visual symbols to add in complements. Look at the visual patterns created to imagine the sound of the composition. Problem solve as a group, ways to use sounds symbolically to convey a variety of ideas and meanings. Be sure that each person in the group can play the rhythm and teach the complementary pattern to others. They should also be able to explain the meaning behind the idea they wish to convey.
• Jigsaw: mix the groups up and take turns sharing your compositional experiment with new people. Explain the meaning of the idea, play the pattern and teach the pattern to the others.
• Starting to Compose: Teach students how to create and play complementary parts. This will be the basis of their created compositions. Complements are things that complement each other such as; ice cream and chocolate sauce or macaroni and cheese. To be successful at playing rhythm
Complement is that which fills up or completes. Compliment is something said in admiration or praise.
12
complements, each player must GIVE space to the next person so there is a place for them to play.
• Demonstrate: Support students as they learn to play and create
complementary parts. Demonstrate what complementary parts sound like by having them play pairs of parts from Ensemble 1 as review.
• Compositional Doodles: begin to draw ideas for a composition by thinking the message or concept you wish to express, experiment with images or symbols for the idea and patterns that indicate meaning. Use different coloured pencils to illustrate the complementary pattern or a different instrument. How do the layers of sound continue to complement the overall sound? Consider silence in the composition. These will be shared in small groups in lesson seven.
Lesson Six: Connecting the Voice and the Body Time Frame: 45 minutes
• Talking Drum: Teach the talking drum by experimenting with squeezing the strings and listening for low and high sounds. This is called the Donno or Dundun in Ghana. (see appendix)
• Complexity: Improve on the Question/Answer patterns while further
developing rhythm complements by stressing accuracy and working towards more complex rhythms.
• Singing and Clapping: There are many examples of singing and clapping West African songs. Most songs are of a call and response style of singing and are fun to learn. See the Appendix for one example. If you have booked the Living Sky School Division African Drum set you have access to many resources in the tub that comes with the drums.
• Dance: Make greater connections between playing style with African culture
by adding movement. If students are ready for dance, add steps such as: “right-‐together-‐left-‐together” Clap on beats 2 and 4 (when feet come together). Add the medium drum part from Ensemble 1. Have half of the group make a different sound on beats 1 and 3. Research other dance steps online, there are many examples to follow. Students can also create their own dances once they understand the basics.
13
Lesson Seven: Creating Compositions Time Frame: 2 hours • Improvisations: While seated in a semicircle, have the leader begin with a very
simple pattern. Go around the circle and keep adding to it to create a pleasing composition. Discuss what makes something pleasing. How can we add complexity and interesting layers? Should we add other instruments?
• Rhythm Complements Composition: In small groups, share your composition doodles (from lesson five) and discuss ways to develop a group composition. Negotiation may include merging musical ideas or determining new directions. Rehearse and record it being played. Trade recordings with another group and provide feedback for ways to improve. Use both audio and video to analyze ensemble interaction, posture, energy and rhythm patterns. Should you add movement, voice or clapping? What gives it the most energy?
• Classroom Performance: Invite an audience to come hear your compositions.
• Reflect: Postcards to Africa -‐ write about the experience and what was learned about the deep connection between culture and music.
Helpful Hints for Rhythm Complements
* Leave space for others (windows in your music)
* Play different patterns than other players
* Play in the holes
* Play above or below what you hear
* Play different tone colours.
14
Drumming Ensemble One page 15 Performance Criteria page 16 Outcomes Rubrics page 17 & 18 Talking Drums page 19 Singing and Dancing page 20 Resources page 21 Extension Art Project I “Wild Beasts” page 22 Extension Art Project II “Adrinka Symbol Printmaking” page 23 -‐ 24
V. Appendix
15
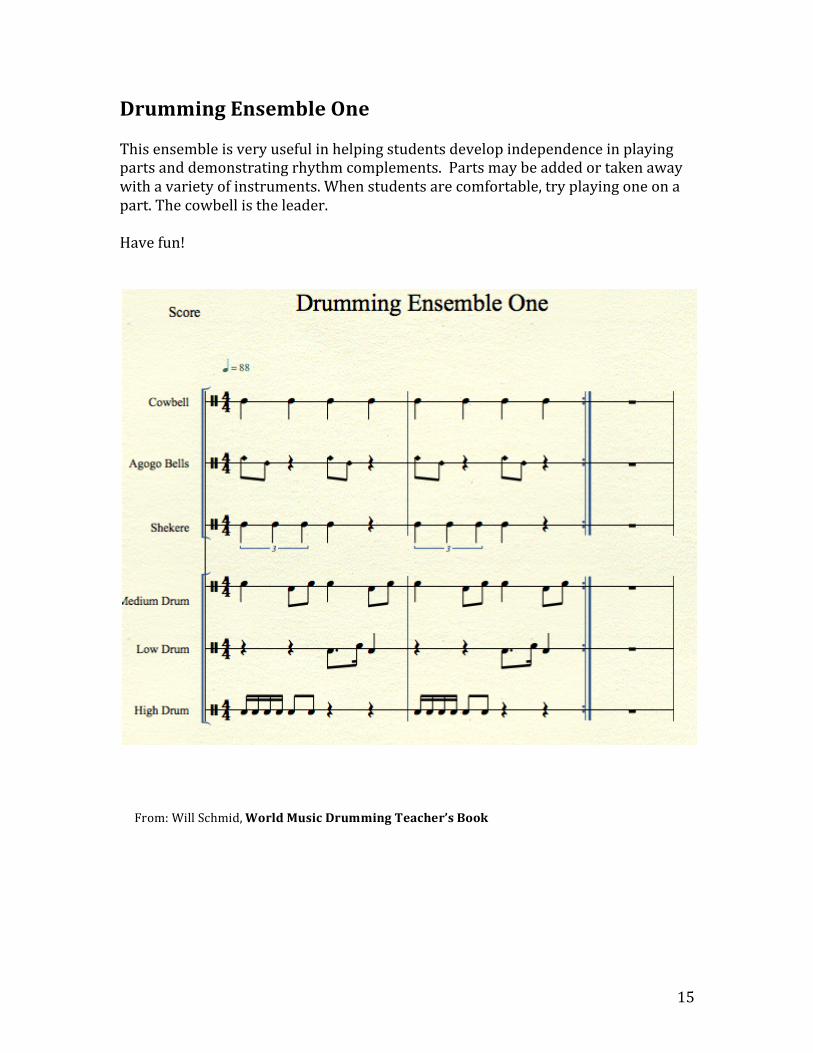
Drumming Ensemble One This ensemble is very useful in helping students develop independence in playing parts and demonstrating rhythm complements. Parts may be added or taken away with a variety of instruments. When students are comfortable, try playing one on a part. The cowbell is the leader. Have fun!
From: Will Schmid, World Music Drumming Teacher’s Book
16
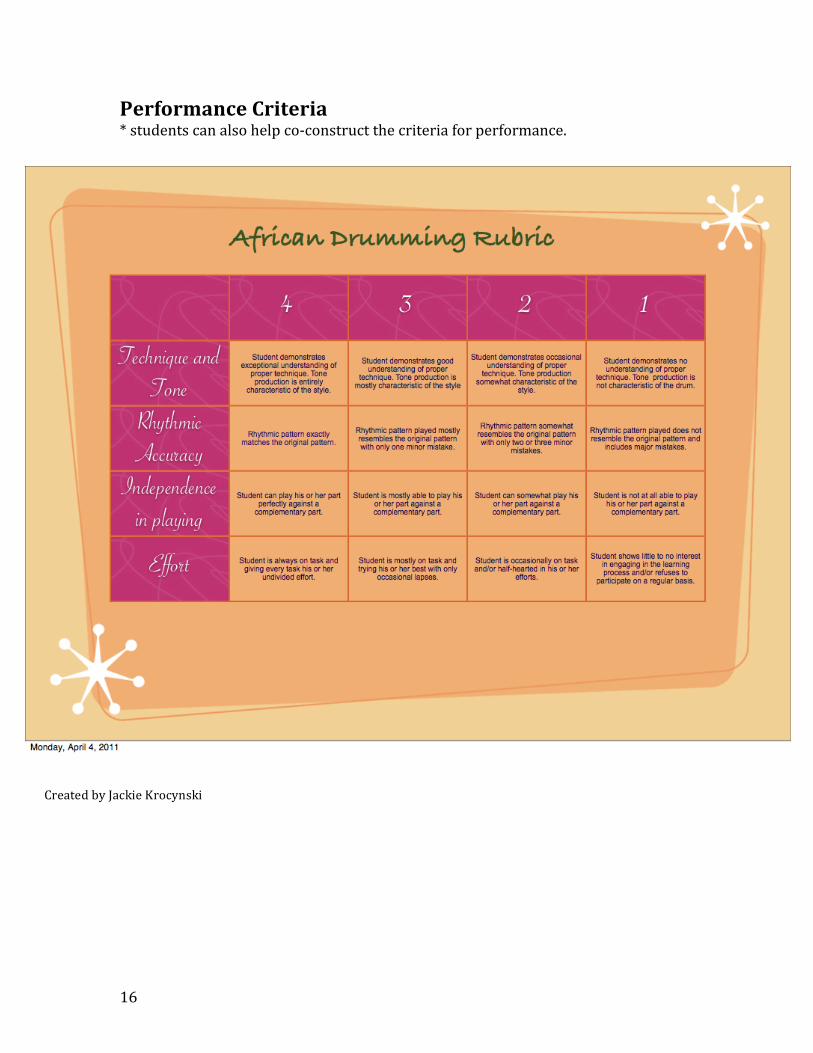
Performance Criteria * students can also help co-‐construct the criteria for performance.
Created by Jackie Krocynski

17
Outcomes Rubrics Use the outcome-‐based rubrics to create a rubric specific to the performance task. Invite students to examine the outcomes and identify key criteria that should be considered. Cultural Historical Outcome CH7.1: Investigate how artists’ relationship to place may be reflected in their work. Beginning – 1 I need help.
Approaching – 2 I have a basic understanding.
Meeting – 3 My work consistently meets expectations.
Excelling – 4 I have a deeper understanding.
I can identify there are differences in musical styles.
I can describe the inspiration for music as it relates to place.
I can listen to music and analyze how place is a source of inspiration.
I can make connections between musicians by analyzing the influence of place.
• Research; Learning log; conversations; listening activities; postcard to Africa
Critical Responsive Outcome CR 7.1: Respond to professional dance, drama, music, and visual art works using analysis, personal interpretation, and research. Beginning – 1 I need help.
Approaching – 2 I have a basic understanding.
Meeting – 3 My work consistently meets expectations.
Excelling – 4 I have a deeper understanding.
With assistance, I can use some language of music when discussing a professional work.
I can use the language of music to respond to the professional work viewed or heard.
I can show understanding of a professional music piece by using a responding process that includes language, analysis and interpretation.
I can interpret a professional music piece with an insightful analysis and create an original new work of my own in response.
• Listening to music from various places; identifying musical style; research;
graffiti wall

18
Creative Productive Outcome CP7.7: Investigate improvisation using the voice, instruments, and a wide variety of sound sources from the natural and constructed environment. Beginning – 1 I need help.
Approaching – 2 I have a basic understanding.
Meeting – 3 My work consistently meets expectations.
Excelling – 4 I have a deeper understanding.
I need assistance to understand what is required for musical improvisation.
I can experiment with my voice or instrument or sound source to create a phrase.
I can use my voice, an instrument and a sound source in a musical phrase or improvised piece of music.
I can create improvisations on my own and with others that uses melodic and harmonic parts expressively.
• Drumming circle; listening; observational checklists; student assessment;
formative feedback; notation – composition doodle; improvisation; performance.
19
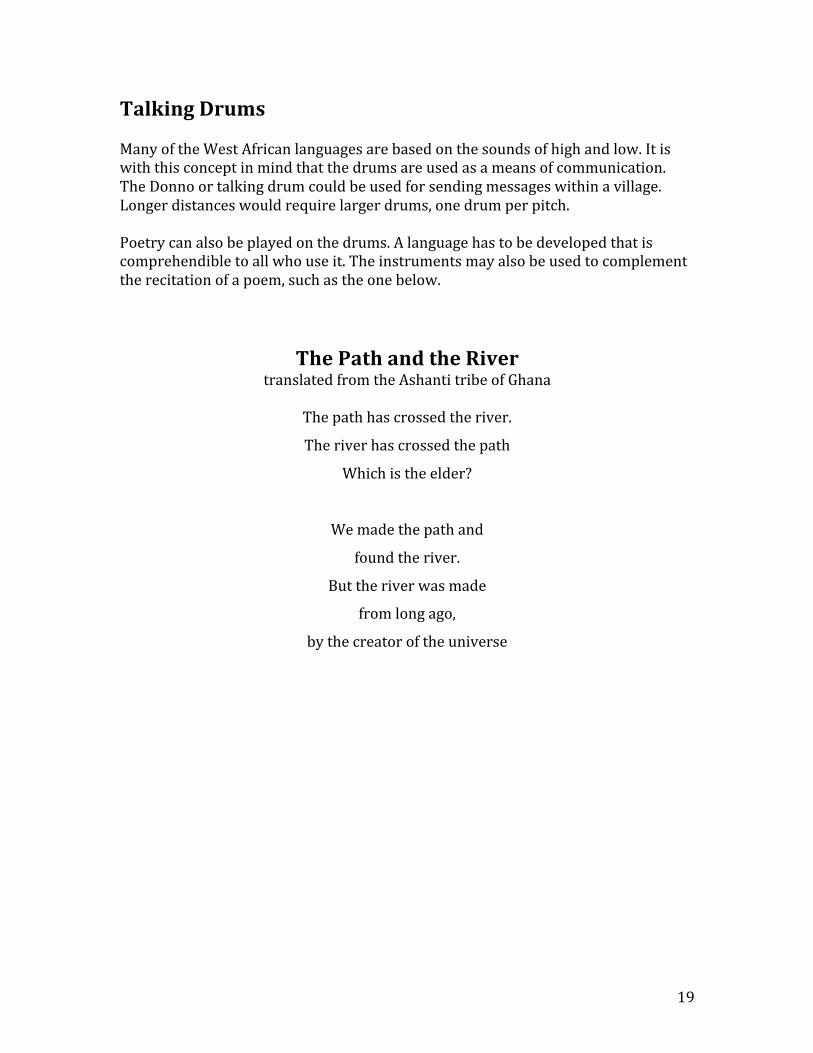
Talking Drums Many of the West African languages are based on the sounds of high and low. It is with this concept in mind that the drums are used as a means of communication. The Donno or talking drum could be used for sending messages within a village. Longer distances would require larger drums, one drum per pitch. Poetry can also be played on the drums. A language has to be developed that is comprehendible to all who use it. The instruments may also be used to complement the recitation of a poem, such as the one below.
The Path and the River translated from the Ashanti tribe of Ghana
The path has crossed the river.
The river has crossed the path
Which is the elder?
We made the path and
found the river.
But the river was made
from long ago,
by the creator of the universe
20
Singing and Dancing Funga Alafia Welcome Song Fanga alafia, ase, ase(2x) Ase, ase, Ase, ase Fanga alafia, ase, ase Ikabo alafia, ase, ase (2x) Ase, ase. Ase, ase Ikabo alafia, ase, ase Eleba (or Elegua) alafia ase , ase (2X) Ase, ase. Ase, ase Eleba alafia, ase, ase Example of song, dance and drum http://youtu.be/ZTWySGpPVv0
21
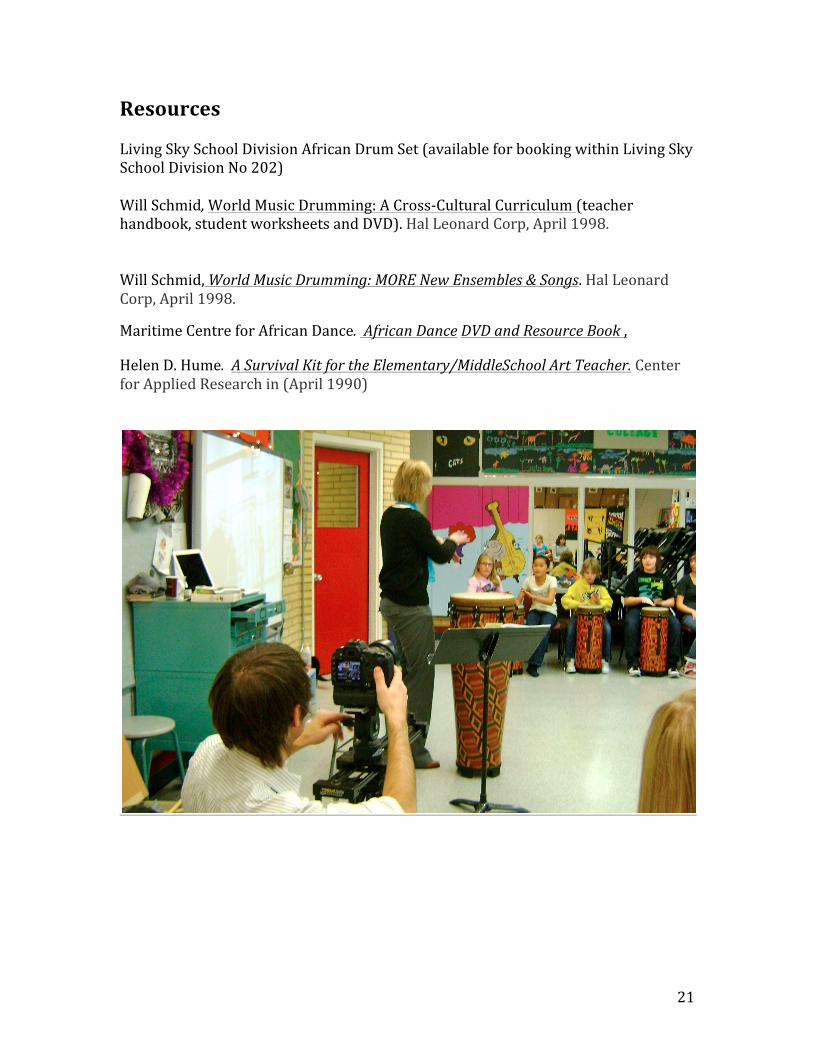
Resources Living Sky School Division African Drum Set (available for booking within Living Sky School Division No 202) Will Schmid, World Music Drumming: A Cross-‐Cultural Curriculum (teacher handbook, student worksheets and DVD). Hal Leonard Corp, April 1998. Will Schmid, World Music Drumming: MORE New Ensembles & Songs. Hal Leonard Corp, April 1998.
Maritime Centre for African Dance. African Dance DVD and Resource Book ,
Helen D. Hume. A Survival Kit for the Elementary/MiddleSchool Art Teacher. Center for Applied Research in (April 1990)
22
Possible Visual Arts Extensions Project 1 The Wild Beasts CP7.10 Create visual art works that express ideas about the importance of place (e.g., relationship to the land, local geology, region, urban/rural landscapes, and environment). CP7.11 Investigate and use various visual art forms, images, and art-‐making processes to express ideas about place. Materials black bristol board tissues chalk clear white glue oil pastels hair spray Background: The reason the work of the Fauves (wild beasts),1905-‐1907, was so shocking to the people of the early twentieth century was that all the colours they used were so unexpected. Water was red, rather than blue-‐green; horses were blue; a face had a green stripe down the middle (a painting of Henri Matisse’s wife). Even though your subject matter may not be extraordinary, make sure that your use of colour is bizarre. Sometimes the Fauves outlined everything in black. Working on black paper will give you that same effect. Suggested subjects: African landscape, African animals, etc. Procedure: 1. Use chalk to draw picture on the bristol board. Holding a bottle of glue upright,
make a thin bead of glue along the chalk line. Allow to dry overnight. 2. When the glue is dry on your design, colour strongly, using pure, bright colours
in unexpected ways. Really think about different colours for a zebra rather than black and white. What if he was purple and orange? Do not colour over the glue lines.
3. When you have finished drawing, use a tissue to wipe excess pastel from the glue
lines so the black will show. 4. Spray with hair spray.
23
Possible Visual Arts Extensions Project 2 Adrinka Symbol Printmaking CP7.10 Create visual art works that express ideas about the importance of place (e.g., relationship to the land, local geology, region, urban/rural landscapes, and environment). CP7.11 Investigate and use various visual art forms, images, and art-‐making processes to express ideas about place. Materials white paper (12 x 18 ) tempera paint sponges stamping tools (sponges, containers, erasers, anything that can be dipped in paint) Scratch Foam Board India ink brayers newspaper Adrinka symbols (http://adinkra.org/htmls/adinkra_index.htm) Procedure: Almost anything that can be inked, can be stamped. This would include fingers; sponges; found objects such as corks, coins, buttons, vegetables, erasers, Lego, shoes, etc. The colours in stamp pads are usually limited. Instead, use large sponges cut to fit a foam board. Try keeping them “charged” with tempera (turning over from time to time, as the tempera seeps downward). To keep from drying out, simply cover with plastic wrap overnight. The whole process of printmaking can be simplified if you have an area for inking the plates, a separate area for actually printing, a third for placing the wet prints, and a fourth for cleanup. Cover tables with paper. Use buckets and trays with paper towels and place them near the sink to avoid the last minute pile up at the sink. 1. Fill four sheets of white paper with a variety of stamped designs to use as a
background for print. Let dry.
2. Make a sketch using the Adrinka symbols. Know in advance what you are going to scratch into the surface. When you have a design with which you are satisfied, redraw it on newsprint the exact size of the plate. Scribble over the back of the drawing with pencil and tape it to the plate.
3. Transfer your design by pressing firmly on the front of your drawing with a ballpoint pen, sharp pencil, or paintbrush end for thicker line. Lift the

24
corner of your drawing to make sure the design is transferring. ANYWHERE YOU HAVE DRAWN A LINE WILL BE WHITE, EVERYTHING ELSE WILL BE BLACK. (This is why we scribble on the background or it would be solid black and we wouldn’t see any of the stamping).
4. Roll ink onto the plate with a brayer, going all the way to the edges. If your first print is a little light, just go back and re-‐ink. Remember that if you roll the ink on too thickly, it will fill in the lines and you won’t see them on the print.
5. To print, place the plate face down on the paper. Turn the paper over holding the place in place. Rub on the back of the paper to transfer the ink giving even pressure all around the edge. Do all of the stamped sheets at the same time, working on your favorite part of the paper.
6. When the prints are dry, cut them out of the larger, stamped piece of paper. Sign in pencil. The name goes on the right, and a title (if any) on the left. If the prints are all exactly the same colour, you have printed an edition and the prints should be numbered. For example, 2/8 means that this was the second of eight prints made. (the edition in this case was eight)
MATE MASIE "What I hear, I keep" symbol of wisdom, knowledge and prudence The implied meaning of the phrase "mate masie" is "I understand". Understanding means wisdom and knowledge, but it also represents the prudence of taking into consideration what another person has said.