Embed Size (px)
DESCRIPTION
Â
Citation preview
VesselBY KYLE O’ROURKE

Artist Research
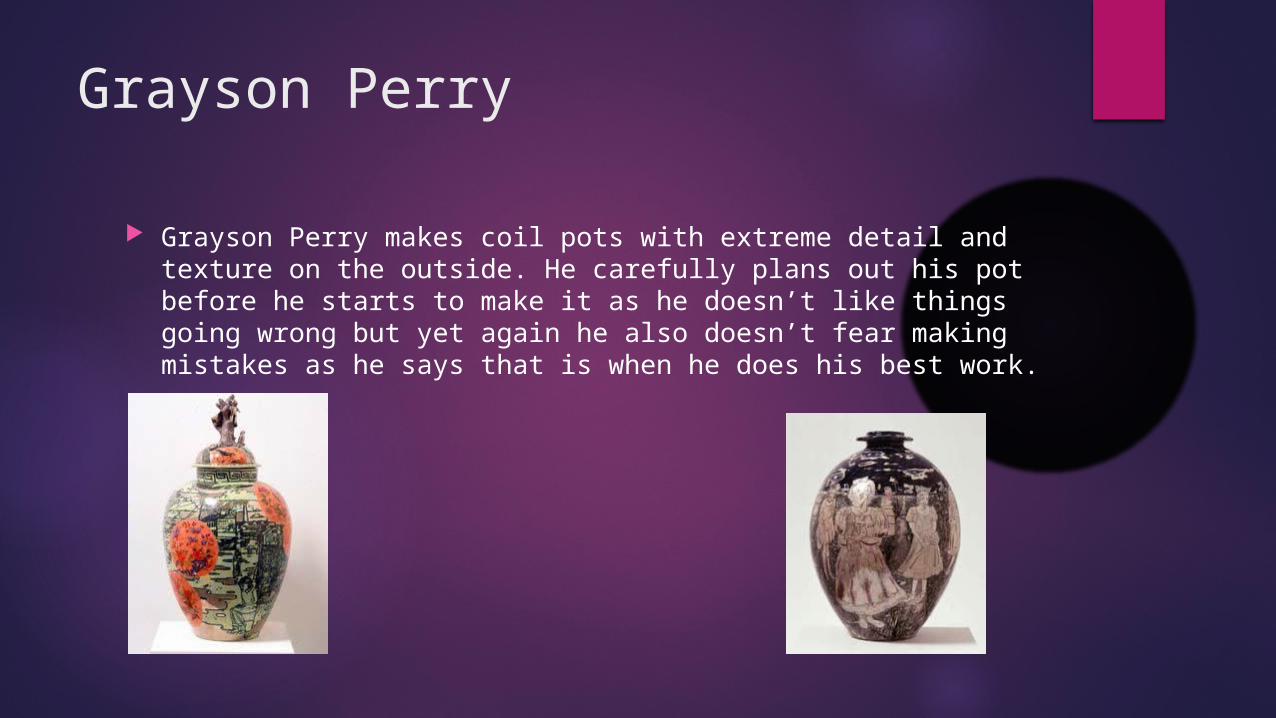
Grayson Perry
Grayson Perry makes coil pots with extreme detail and texture on the outside. He carefully plans out his pot before he starts to make it as he doesn’t like things going wrong but yet again he also doesn’t fear making mistakes as he says that is when he does his best work.
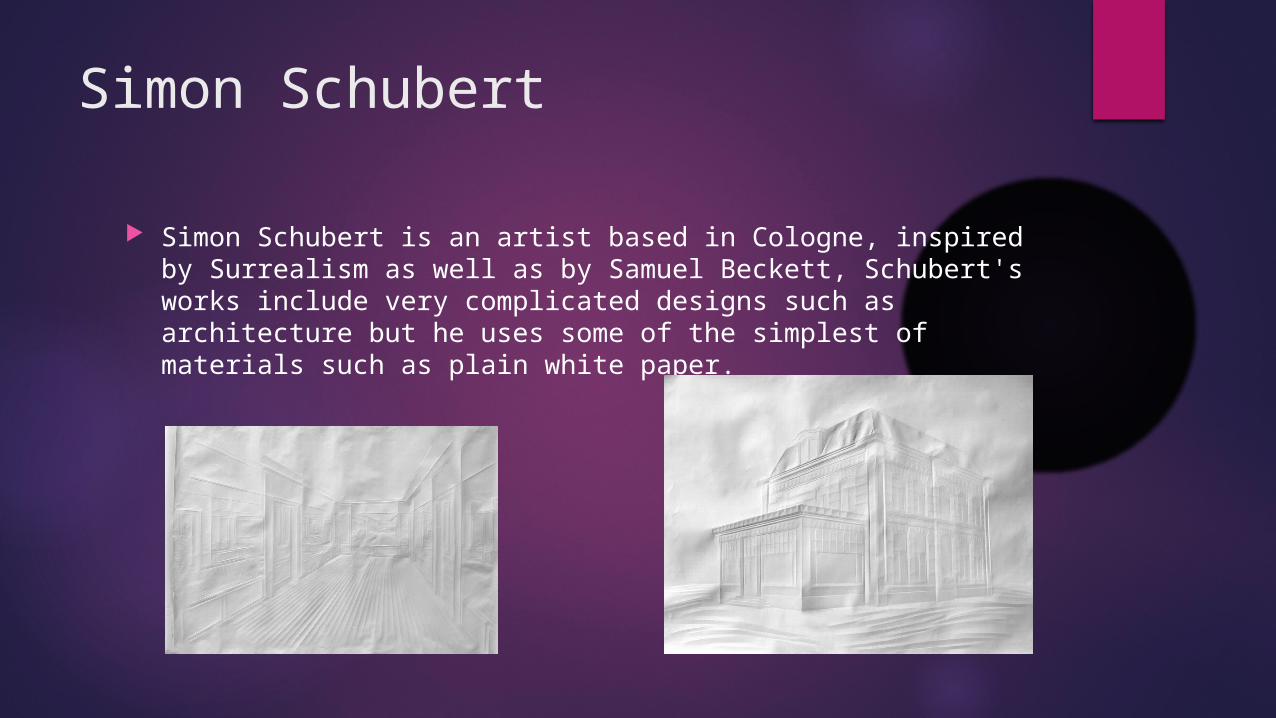
Simon Schubert
Simon Schubert is an artist based in Cologne, inspired by Surrealism as well as by Samuel Beckett, Schubert's works include very complicated designs such as architecture but he uses some of the simplest of materials such as plain white paper.
Grayson Perry - Coil Pots
Grayson Perry is a ceramist who works with clay and creates large coil pots with detailed images inlayed and carved into the side.
He uses a lot of research either secondary or primary (art gallerys), he says he needs a lot of research because he mind doesn’t have endless creativity.
Another thing he says is that is some of his best moments making pots was when he wasn’t worried about making a mistake.
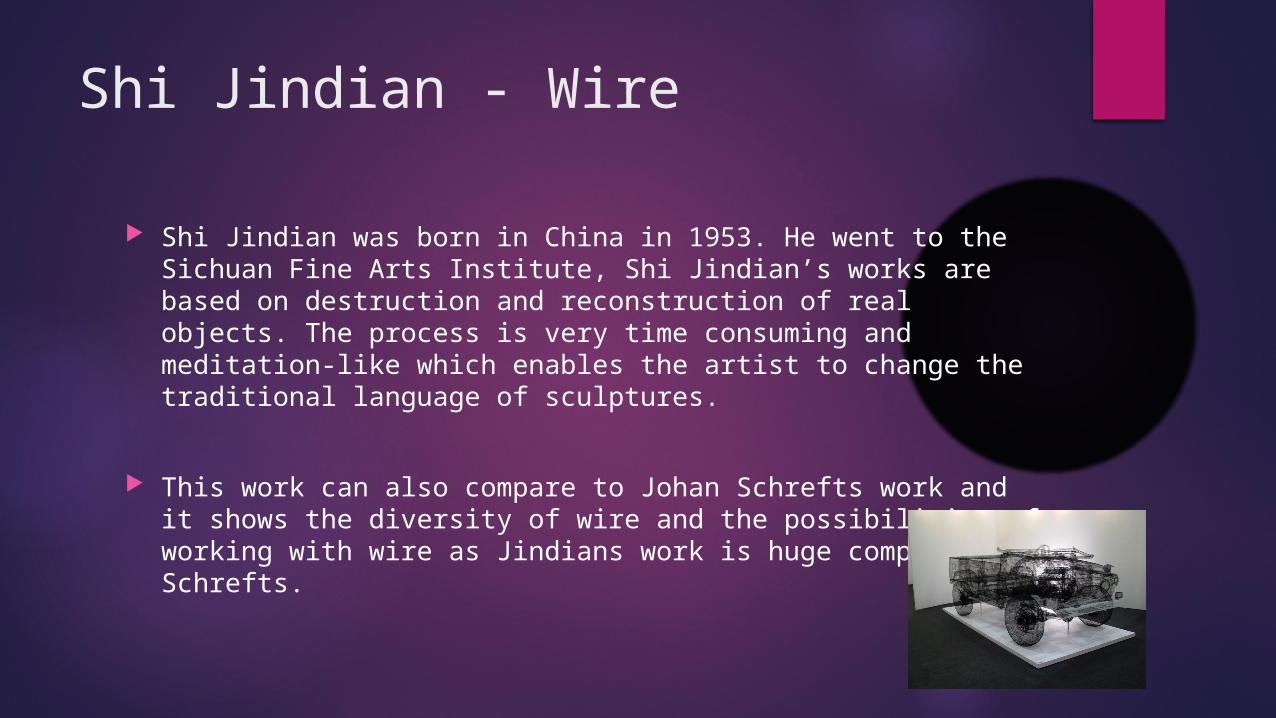
Shi Jindian - Wire
Shi Jindian was born in China in 1953. He went to the Sichuan Fine Arts Institute, Shi Jindian’s works are based on destruction and reconstruction of real objects. The process is very time consuming and meditation-like which enables the artist to change the traditional language of sculptures.
This work can also compare to Johan Schrefts work and it shows the diversity of wire and the possibilities of working with wire as Jindians work is huge compared to Schrefts.
Johan Schreft – Paper/Wire
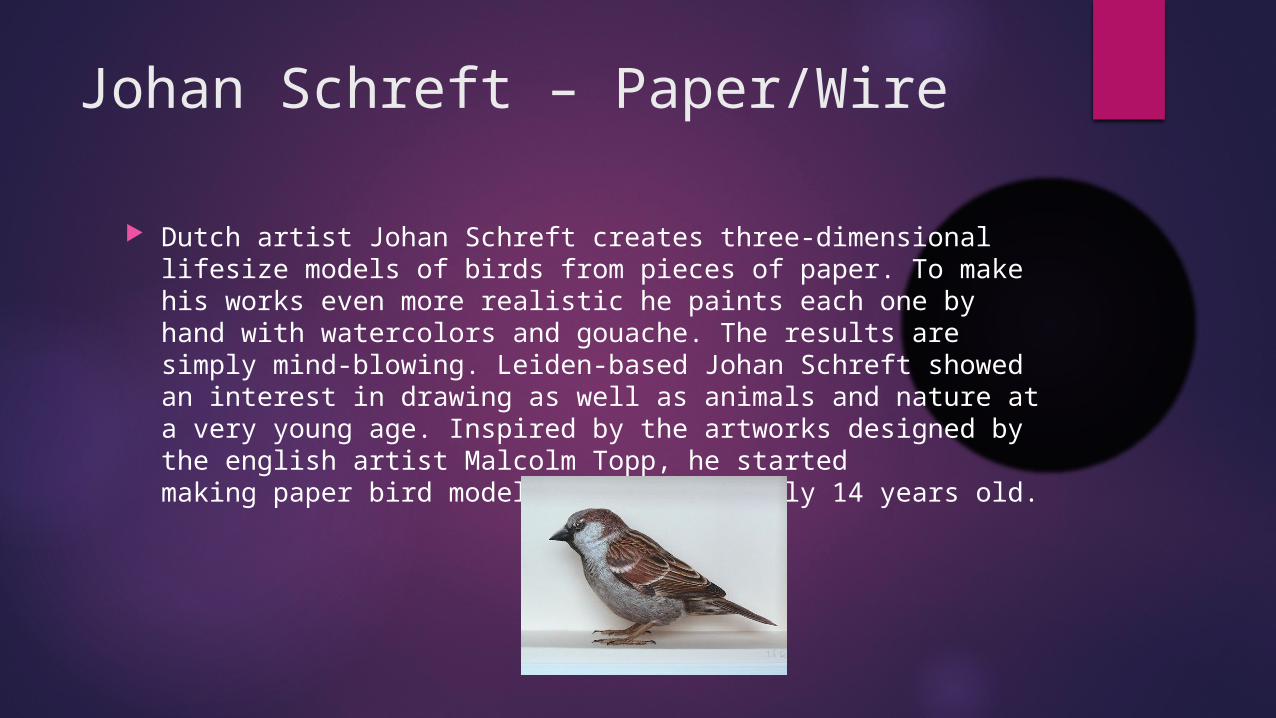
Dutch artist Johan Schreft creates three-dimensional lifesize models of birds from pieces of paper. To make his works even more realistic he paints each one by hand with watercolors and gouache. The results are simply mind-blowing. Leiden-based Johan Schreft showed an interest in drawing as well as animals and nature at a very young age. Inspired by the artworks designed by the english artist Malcolm Topp, he started making paper bird models when he was only 14 years old.
Li Hongbo - Paper
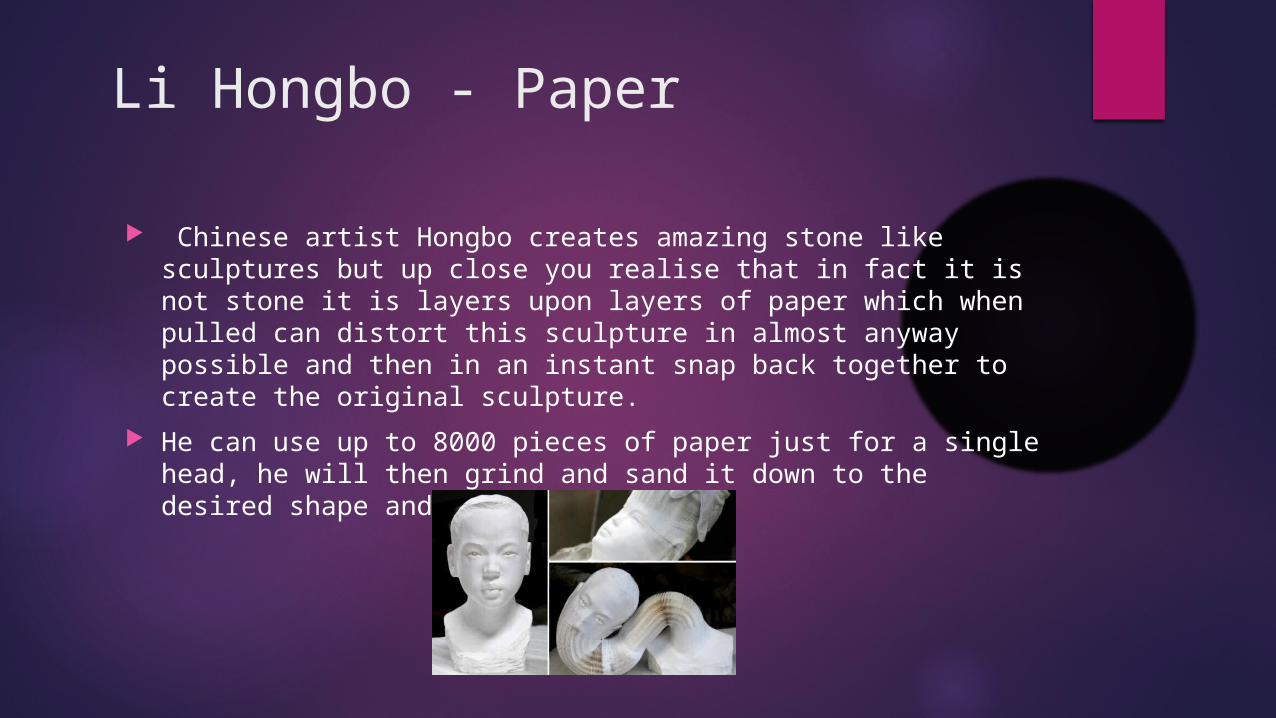
Chinese artist Hongbo creates amazing stone like sculptures but up close you realise that in fact it is not stone it is layers upon layers of paper which when pulled can distort this sculpture in almost anyway possible and then in an instant snap back together to create the original sculpture.
He can use up to 8000 pieces of paper just for a single head, he will then grind and sand it down to the desired shape and size.
Jennifer McCurdy
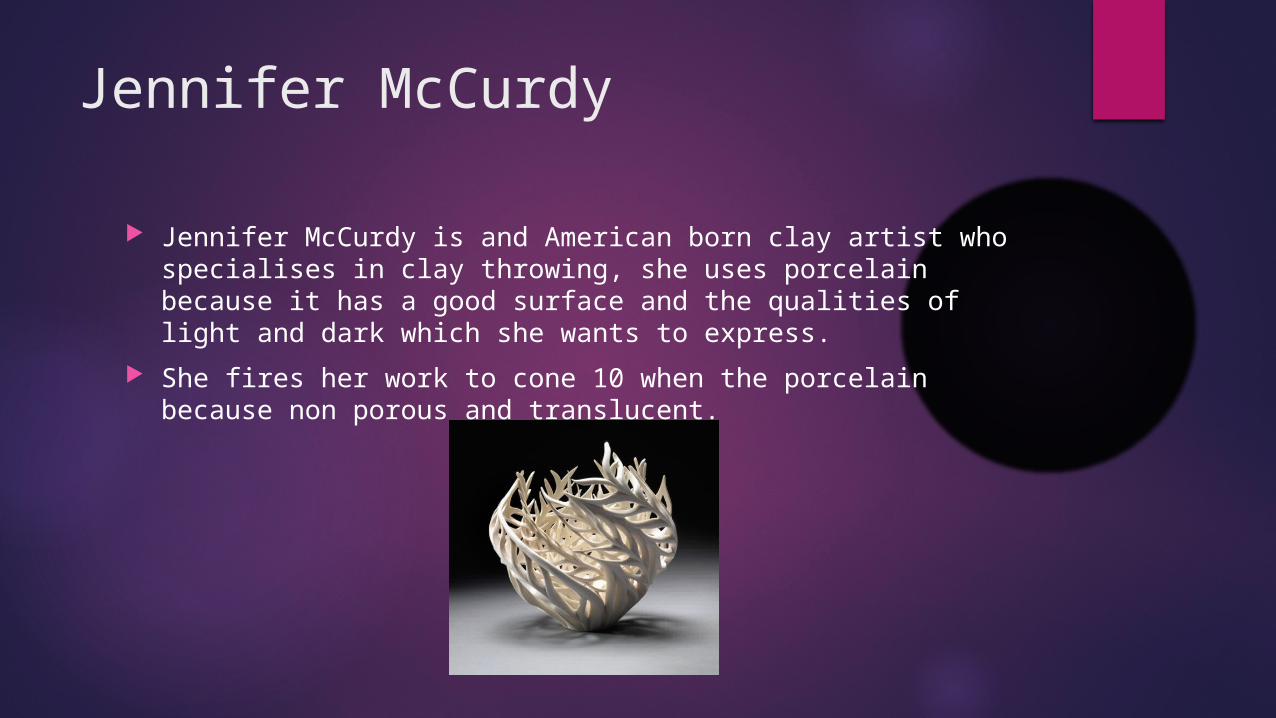
Jennifer McCurdy is and American born clay artist who specialises in clay throwing, she uses porcelain because it has a good surface and the qualities of light and dark which she wants to express.
She fires her work to cone 10 when the porcelain because non porous and translucent.
Ellen Jackson
Ellen Jackson has created an art form that mirrors her intrigue with the relationship of the woven form, color, and texture. She graduated from New York’s Fashion Institute of Technology, with a degree in textile design.
While she was there, she was introduced to the art of weaving and a delightfully unexpected passion for the woven structure began.
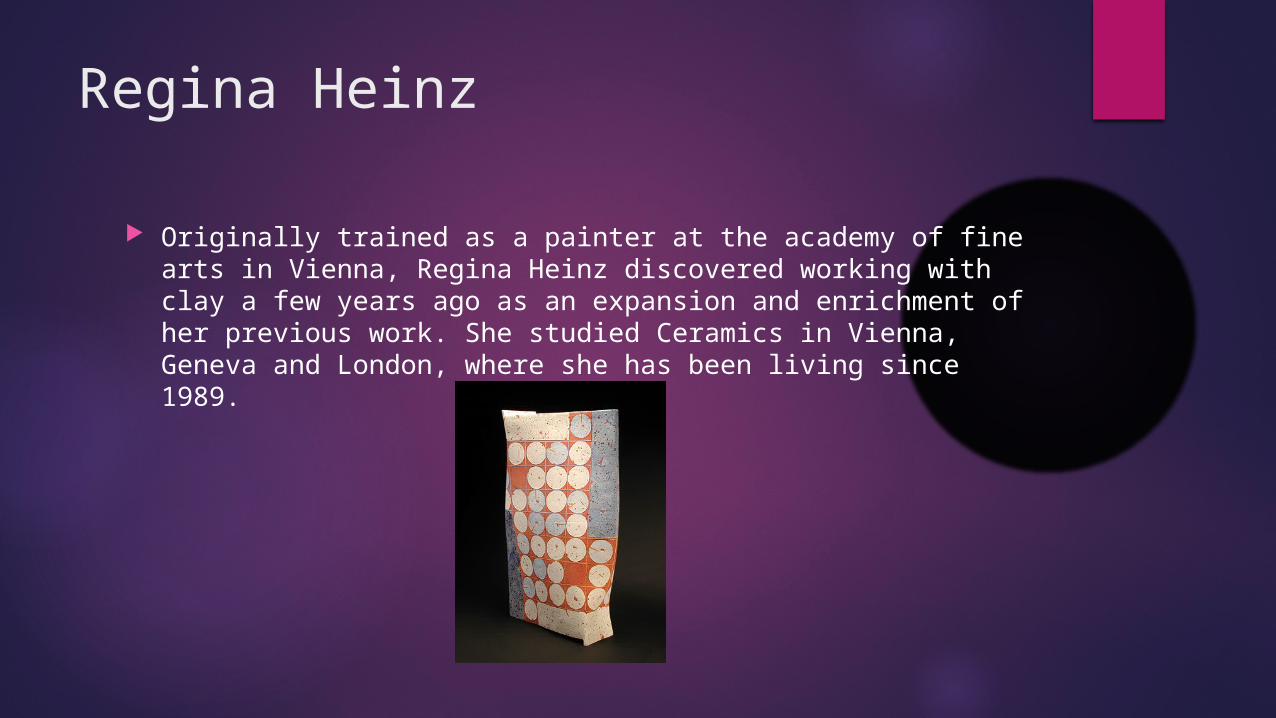
Regina Heinz
Originally trained as a painter at the academy of fine arts in Vienna, Regina Heinz discovered working with clay a few years ago as an expansion and enrichment of her previous work. She studied Ceramics in Vienna, Geneva and London, where she has been living since 1989.

Workshops
Weaving
Equipment/Materials
Scissors Cutting mat Plastic bags - It is very weak and struggles to hold its self up. It
can bend in any shape and can be stretched but that does make it weaker.
Cardboard (loom) - Is quite rigid and inflexible. It can be used as support other structures
Potential and Limitations
The potentials of this method can go all the way to edge of the materials capabilities, its main and usual uses are making lightweight, flexible vessels
Limitations of this material would be that it cannot be made to carry heavy objects or be a waterproof vessel.
Health and Safety
Respect your environment by putting bags under desks and no messing around with scissors
Do not eat or drink in the room
Technique
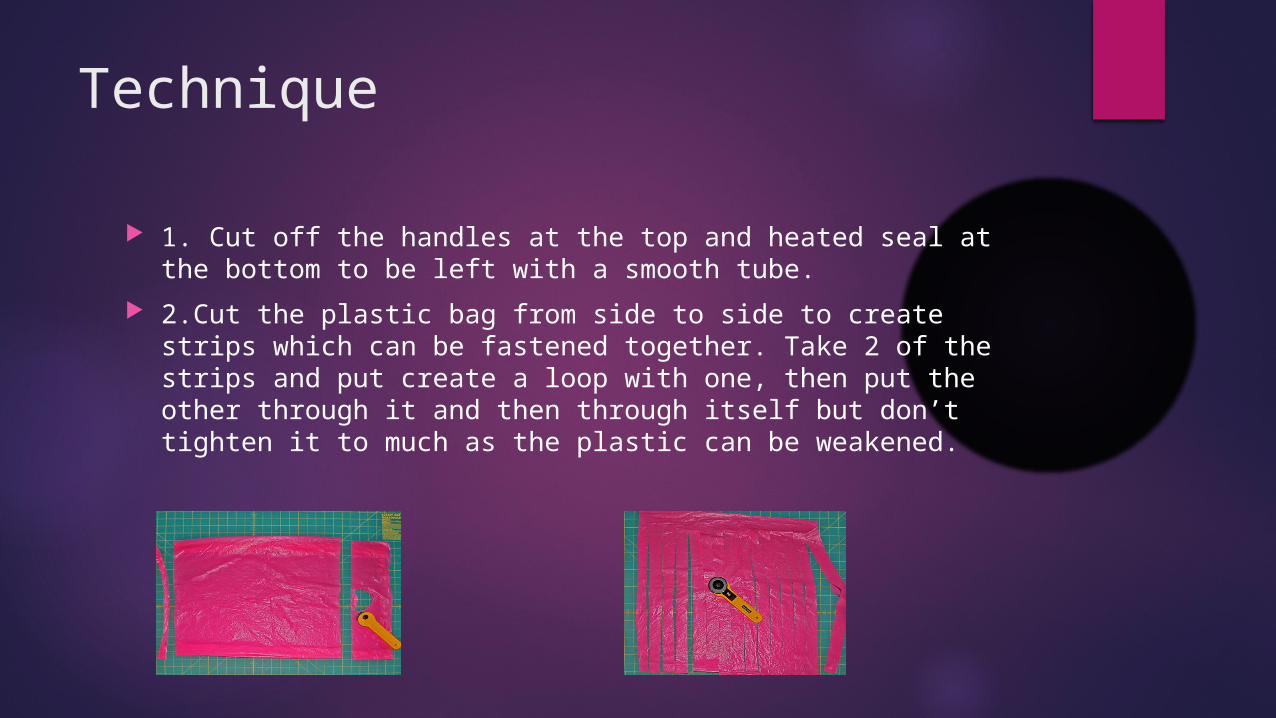
1. Cut off the handles at the top and heated seal at the bottom to be left with a smooth tube.
2.Cut the plastic bag from side to side to create strips which can be fastened together. Take 2 of the strips and put create a loop with one, then put the other through it and then through itself but don’t tighten it to much as the plastic can be weakened.
Technique (cont)
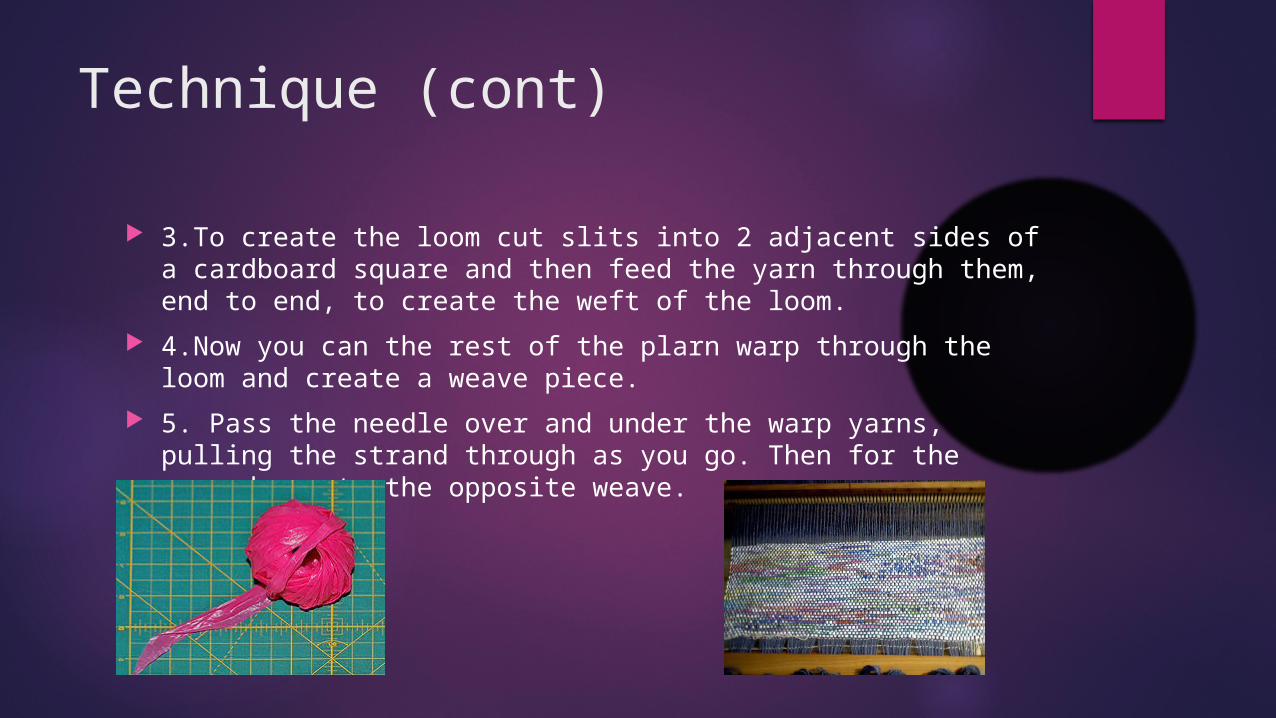
3.To create the loom cut slits into 2 adjacent sides of a cardboard square and then feed the yarn through them, end to end, to create the weft of the loom.
4.Now you can the rest of the plarn warp through the loom and create a weave piece.
5. Pass the needle over and under the warp yarns, pulling the strand through as you go. Then for the second row to the opposite weave.
Evaluation
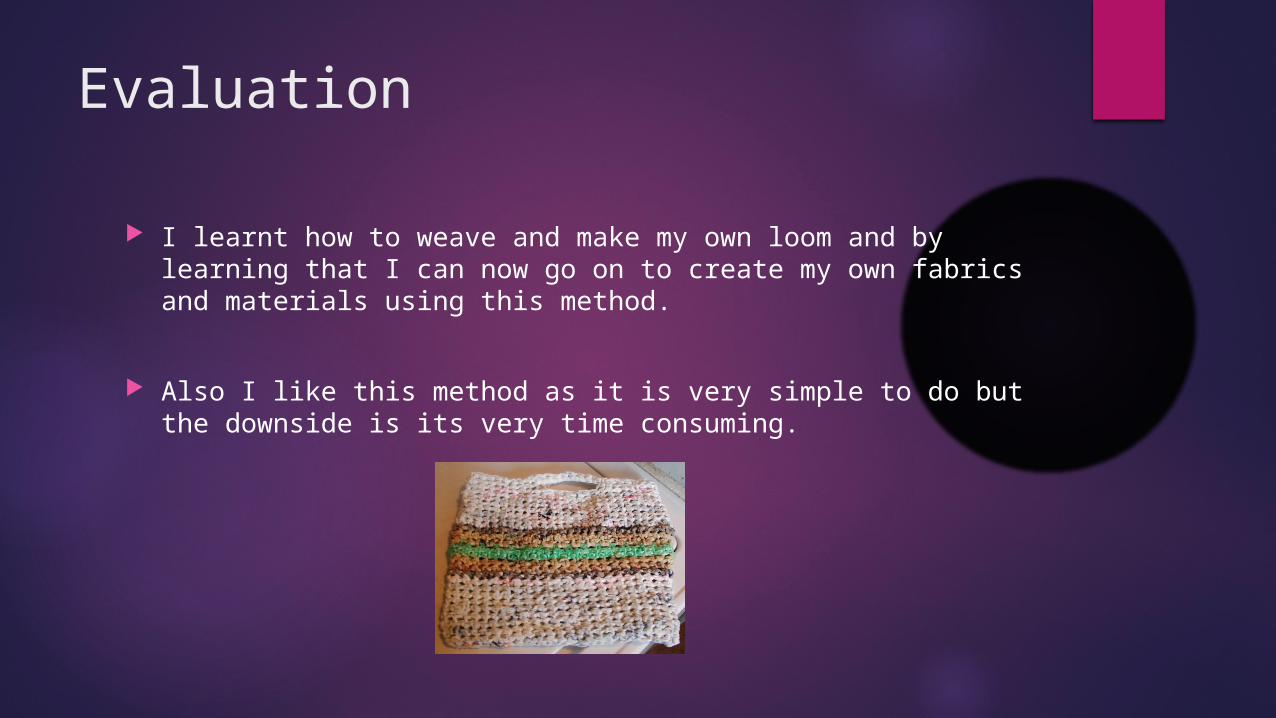
I learnt how to weave and make my own loom and by learning that I can now go on to create my own fabrics and materials using this method.
Also I like this method as it is very simple to do but the downside is its very time consuming.
Wire Drawing
Equipment/Materials
Green Wire, It is very flexible and easy to bend but can also stand on its own.
Silver Wire, It is very strong and hard to manipulate into shapes.
Wire cutters
Technique
To make a wire sculpture/drawing you basically just bend and manipulate wires into the shapes you want and then put them all together, while it sounds easy enough its harder than it looks.
Evaluation
I learnt how to make wire sculptures which I didn’t particularly like doing because the wire is very fiddly and annoying to attach and get into shape.
Potential and Limitations
The potential of this could be making fruit bowls and heavy vessels depending on the strength of the wire.
However it cannot be made into a liquid carrying vessel as it would be extremely difficult to make waterproof or maybe its not even possible.

Coil Pots
Equipment/Materials
Stoneware clay, it is very soft when first worked on but when it starts drying out it gets constantly harder to shape and mould. After being fired in the kiln it becomes as hard as rock. After it has been properly fired stoneware resists chipping, it is also quite heavy for its size compared to the likes of porcelain and earthenware. It normally has quite a dull or dark colour and has a glass like sheen.
Technique
1. Squeezing the clay into a coil or rolling between your hands are two ways to make coils. This technique can be difficult to
make a smooth round coil because of the uneven pressure from your hands and fingers.
2. When hand rolling coils, use a smooth surface and spreading your hands to apply even pressure. Gently roll the clay back and forth.
3. Roll the coils so that they are a little thicker than a pencil. Then stack the coils one on top of another.
Technique (cont)
4. For strength, force the clay together on the inside of the piece. Use you finger and scrape the top coil onto the coil under
it.5. When smoothing the inside of the piece hold you other hand on the outside so you do not damage what you have completed
already. 6. If you want the top level, gently turn your piece over and lightly tap it on a smooth surface.
7. When you are finished with your piece let it dry slowly. The grooves in the piece are weak spots and if this dries too quick it will crack.
Evaluation
I learnt how to make a coil pot from scratch and build it into a specified design. I also learnt some of the properties of stoneware clay and what can happen to it while being fired.

Potential and Limitations
The potentials are that it could be as big as you want and can have a lot of curves. They can be used to carry things such as liquids but can also carry solid objects but would be less effective.
A limitation to this would be the weight of the clay as the bigger you make it the more weight will be on the bottom coils which could cause them to be crushed or crack in the kiln.

Slab Pots
Equipment
Stoneware clay
Rolling pin
Roller guides
Newspaper
Technique
1. Begin with a smooth flat surface. Place newspaper or cloth over the surface to prevent the clay from sticking to your work
surface. Spread the clay out by patting it with your whole hand.
2. To flip the clay over - carefully hold top and bottom of the clay with the palms of your hands. This will prevent the clay from tearing while you are flipping it.
3. To help you roll your clay to an even thickness, place a yard stick on each side and roll out until the clay is the same thickness as your yard stick.
Technique (cont)
4. Use a ruler to help you cut a straight line. After you cut out your bottom and sides, let them sit until the clay is leather hard. For most clay's this will take about an hour.
5. When your clay is leather hard use a needle or sharp pencil to scratch the edges of the clay where the clay will be joined
together. A criss-cross pattern works well for this.
6. Make some slip by watering down a small amount of clay until it is the consistency of yogurt. Apply the slip to the areas you just scratched.
Technique (cont)
7. I like to use the top end of a brush to smooth out the corners. Notice my other hand holding the corner so I don't break
it away.
8. If you plan to make a lid measure the length and width of the piece and write down the measurements. The piece will
shrink as it dries and you will need these measurements to make the lid.
Evaluation
I learnt how to make and roll slabs of clay and then create a piece of pottery with them. I also learnt how to make slip which is used to attach the pieces of slip together.
Potential and Limitations
A potential of this technique is to make huge sculptures which can carry heavy objects or a lot of liquid depending on how strong the slab and slip are.
Something this technique will struggle to be used for is to carry or hold delicate objects as the clay turns hard and brittle which could damage the object and or the pot.
Throwing
Equipment
Stoneware clay
Pottery wheel
Shaping tools

Technique
1. Throw the clay down close to the center of the wheel. You want the clay to stick well, so give it a good toss onto the wheel.
2. Get the wheel spinning at a moderate to fast speed. Wet your hands and the clay. Begin to force the clay in to the centre. Using the left hand as a guide, press down with the right hand forcing the clay downward.
3. Use both hands and your body to keep your arms from moving with the clay, press the clay on both sides to force the clay upwards.
Technique (cont)
4. While pressing down with the thumb use your other hand to help hold your thumb still. Also, press your arms into your side to help hold your arms still. Be careful to leave enough clay for the bottom of the piece.
5. Pull the walls up by squeezing the clay and pulling up - all in one motion. The speed at which you pull up will be affected by the speed of your wheel. The faster the wheel is spinning the faster you can pull up.
6. Repeat the pulling until you get the walls to the desired thickness. Trim the base of the piece with a wood tool that has been cut on a diagonal.

Paper Sculpture
Equipment
Paper – Depending on which paper is used it vary can vary from being strong and self standing to weak and needing support
Tape – this is only needed to add extra support
Wire – this is only needed for extra support
Technique
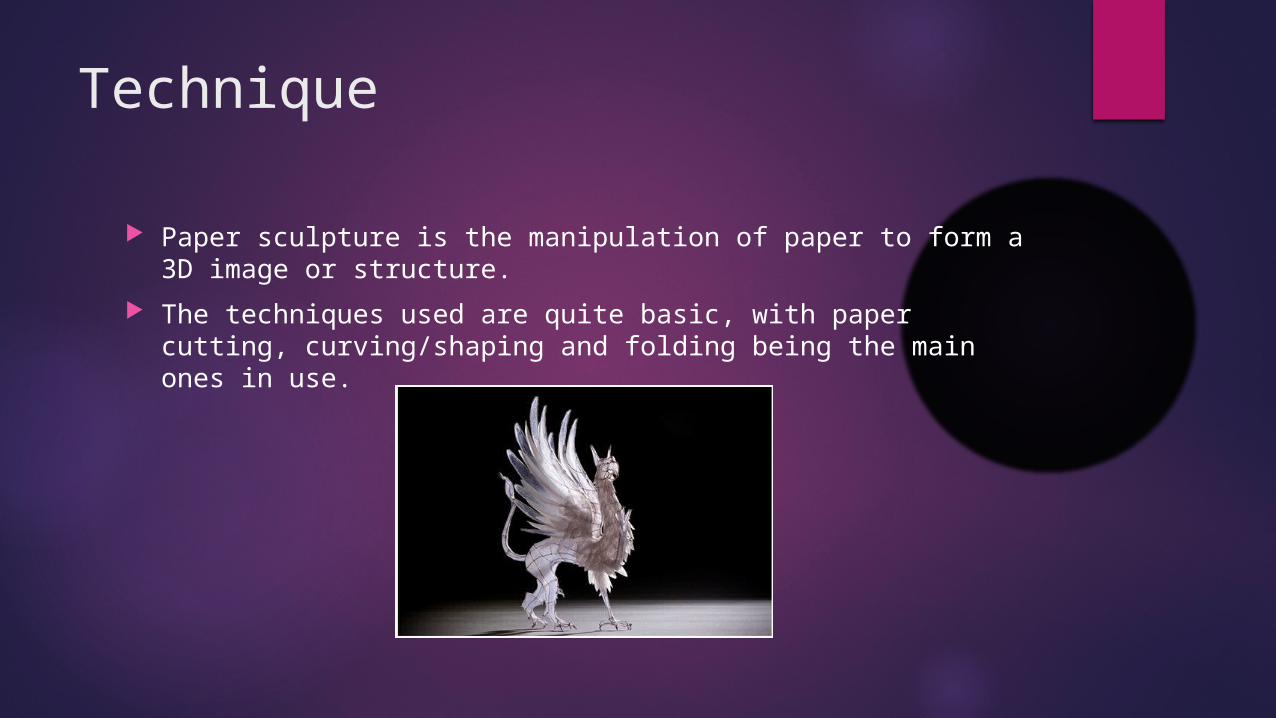
Paper sculpture is the manipulation of paper to form a 3D image or structure.
The techniques used are quite basic, with paper cutting, curving/shaping and folding being the main ones in use.

Sgraffito
Equipment
Clay slab
Wire Stylus
Rubber Shaping tools
Technique
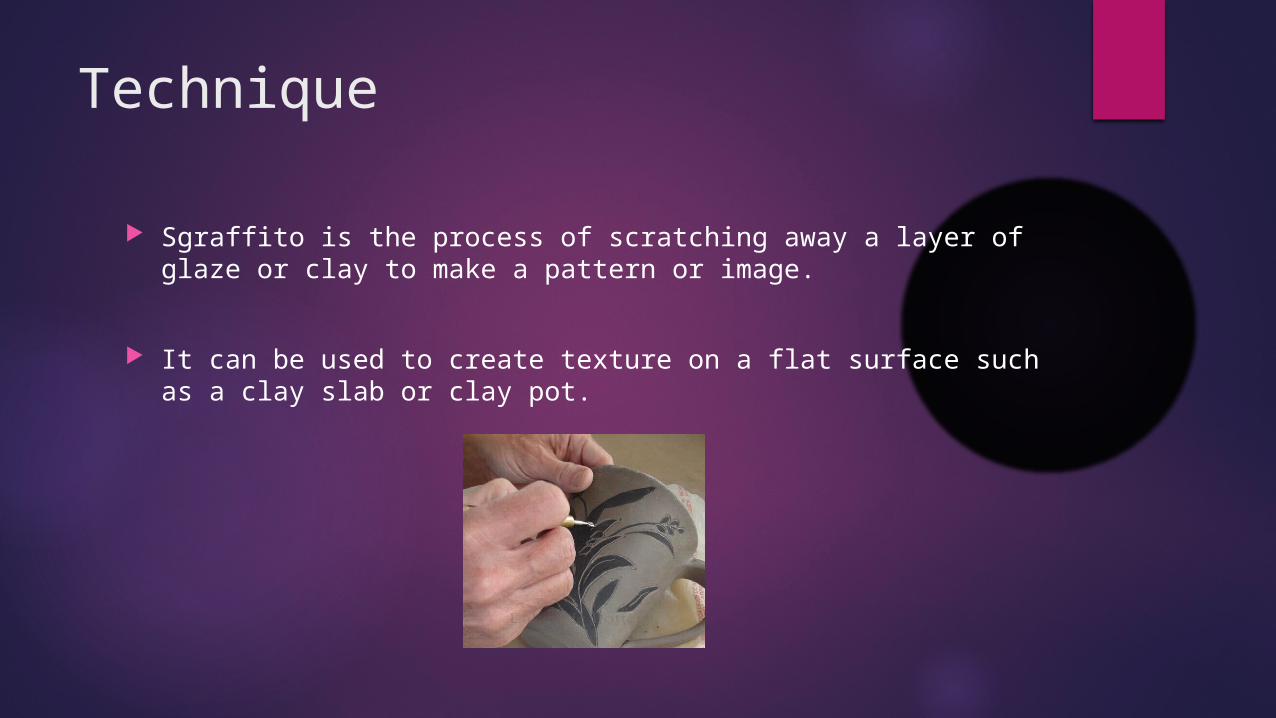
Sgraffito is the process of scratching away a layer of glaze or clay to make a pattern or image.
It can be used to create texture on a flat surface such as a clay slab or clay pot.

Peer Feedback
Feedback
During the peer evaluation I got told to go with my original pot idea maybe experiment with different types of pot making and coloured glazes.
Siobhan also said to practice making pots using my chosen technique so my final piece will look good.
Corrin also said I could make a fish head for lid and I may still experiment with that idea.
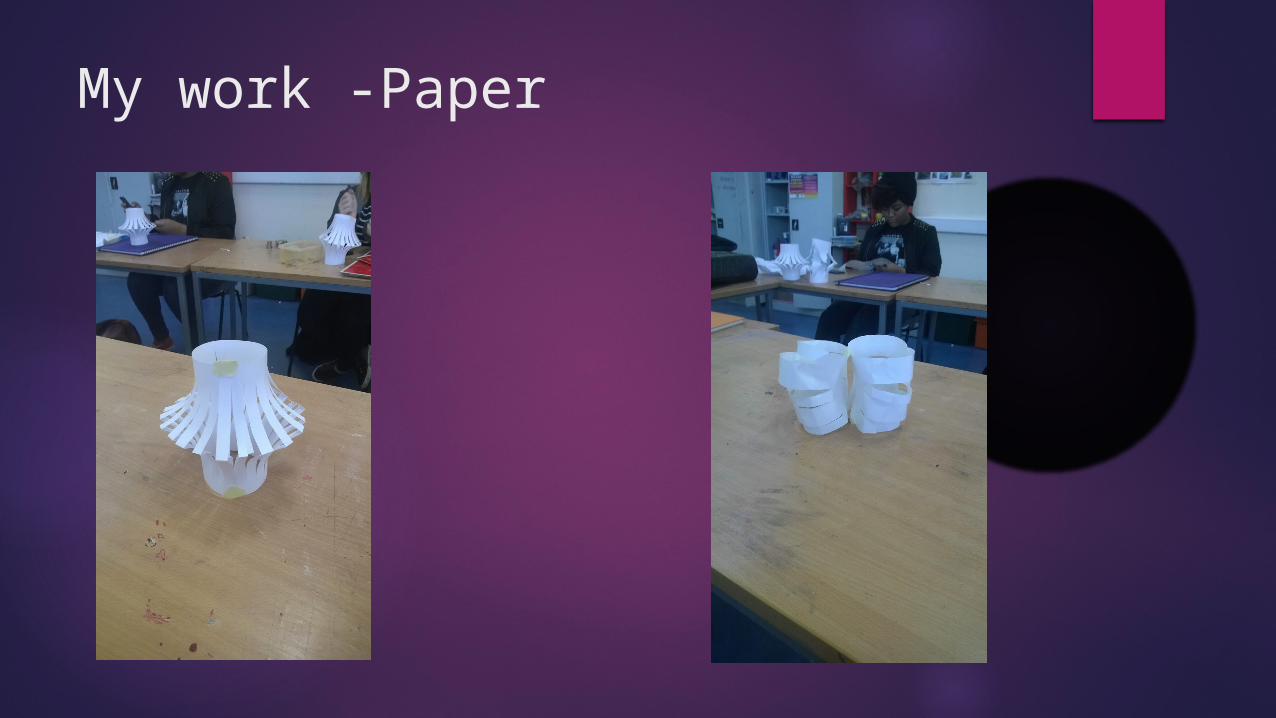
My work -Paper
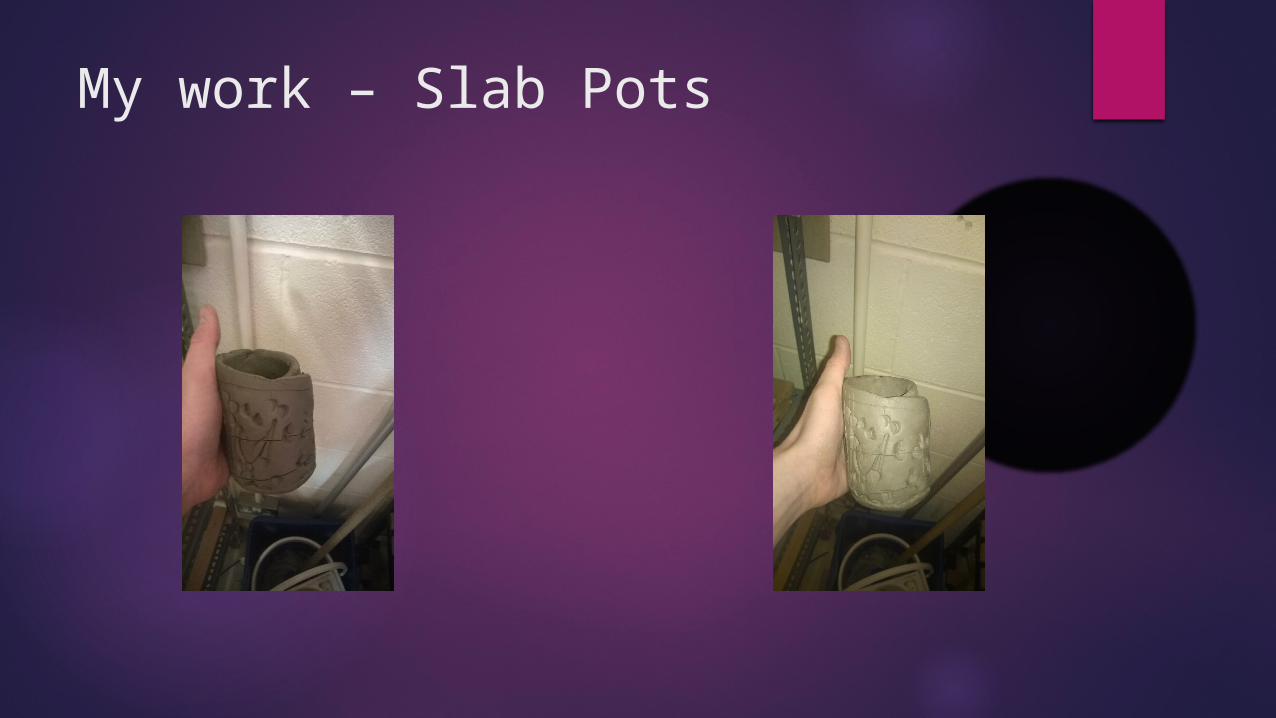
My work – Slab Pots
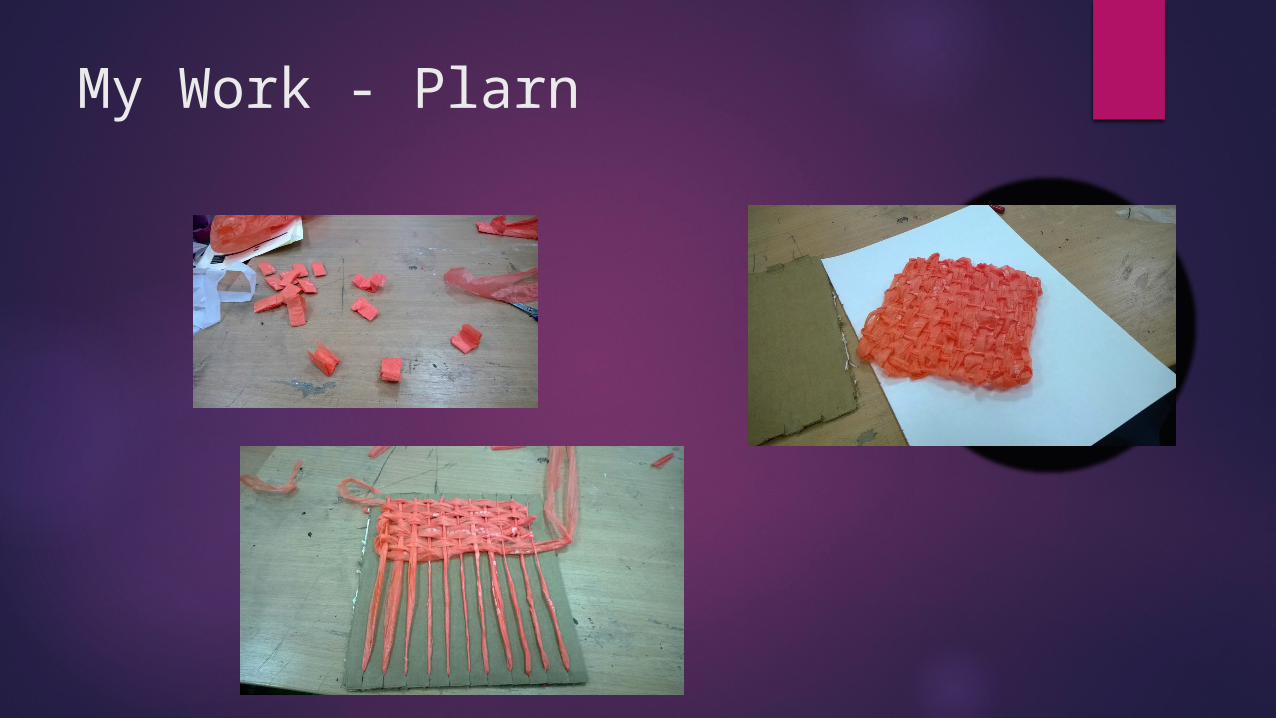
My Work - Plarn
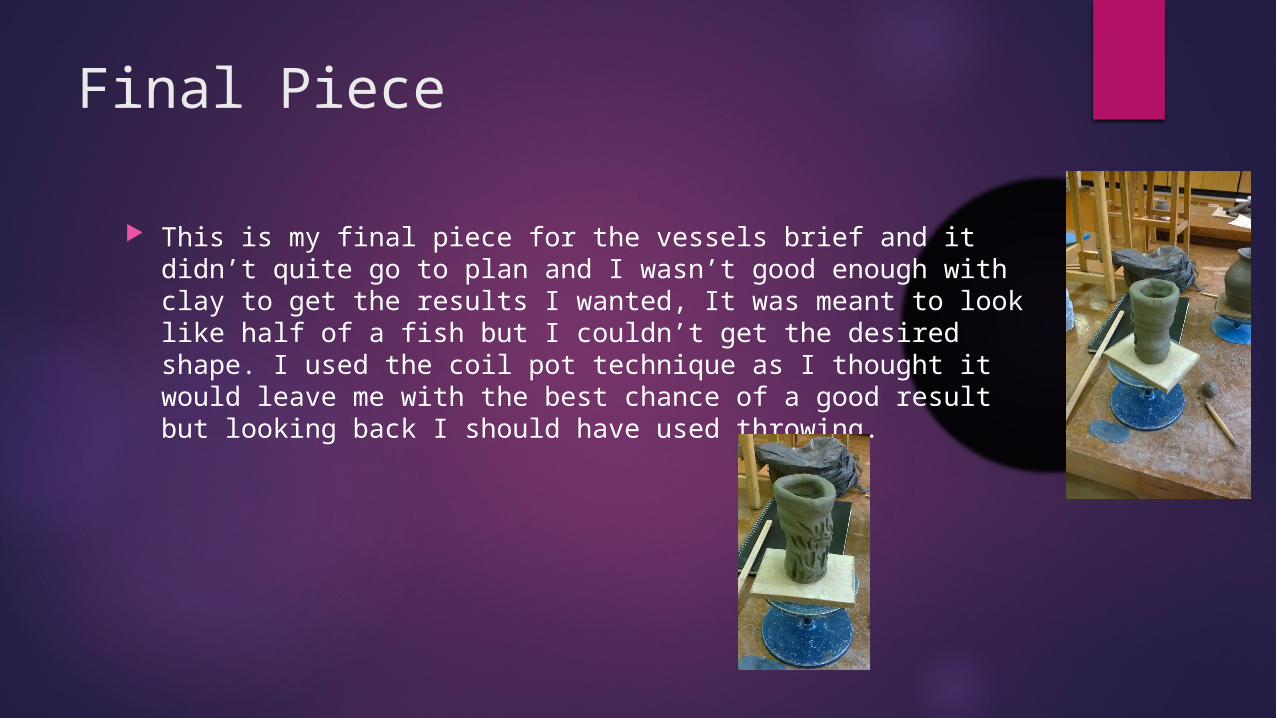
Final Piece
This is my final piece for the vessels brief and it didn’t quite go to plan and I wasn’t good enough with clay to get the results I wanted, It was meant to look like half of a fish but I couldn’t get the desired shape. I used the coil pot technique as I thought it would leave me with the best chance of a good result but looking back I should have used throwing.


![Pressure Vessel [Design]](https://img.pdfslide.tips/doc/110x75/546b26fcb4af9f000e8b4629/pressure-vessel-design-5584556ceffe5.jpg)